
Franklin-Titebond Shop-Made Wooden Try Square: Part 1
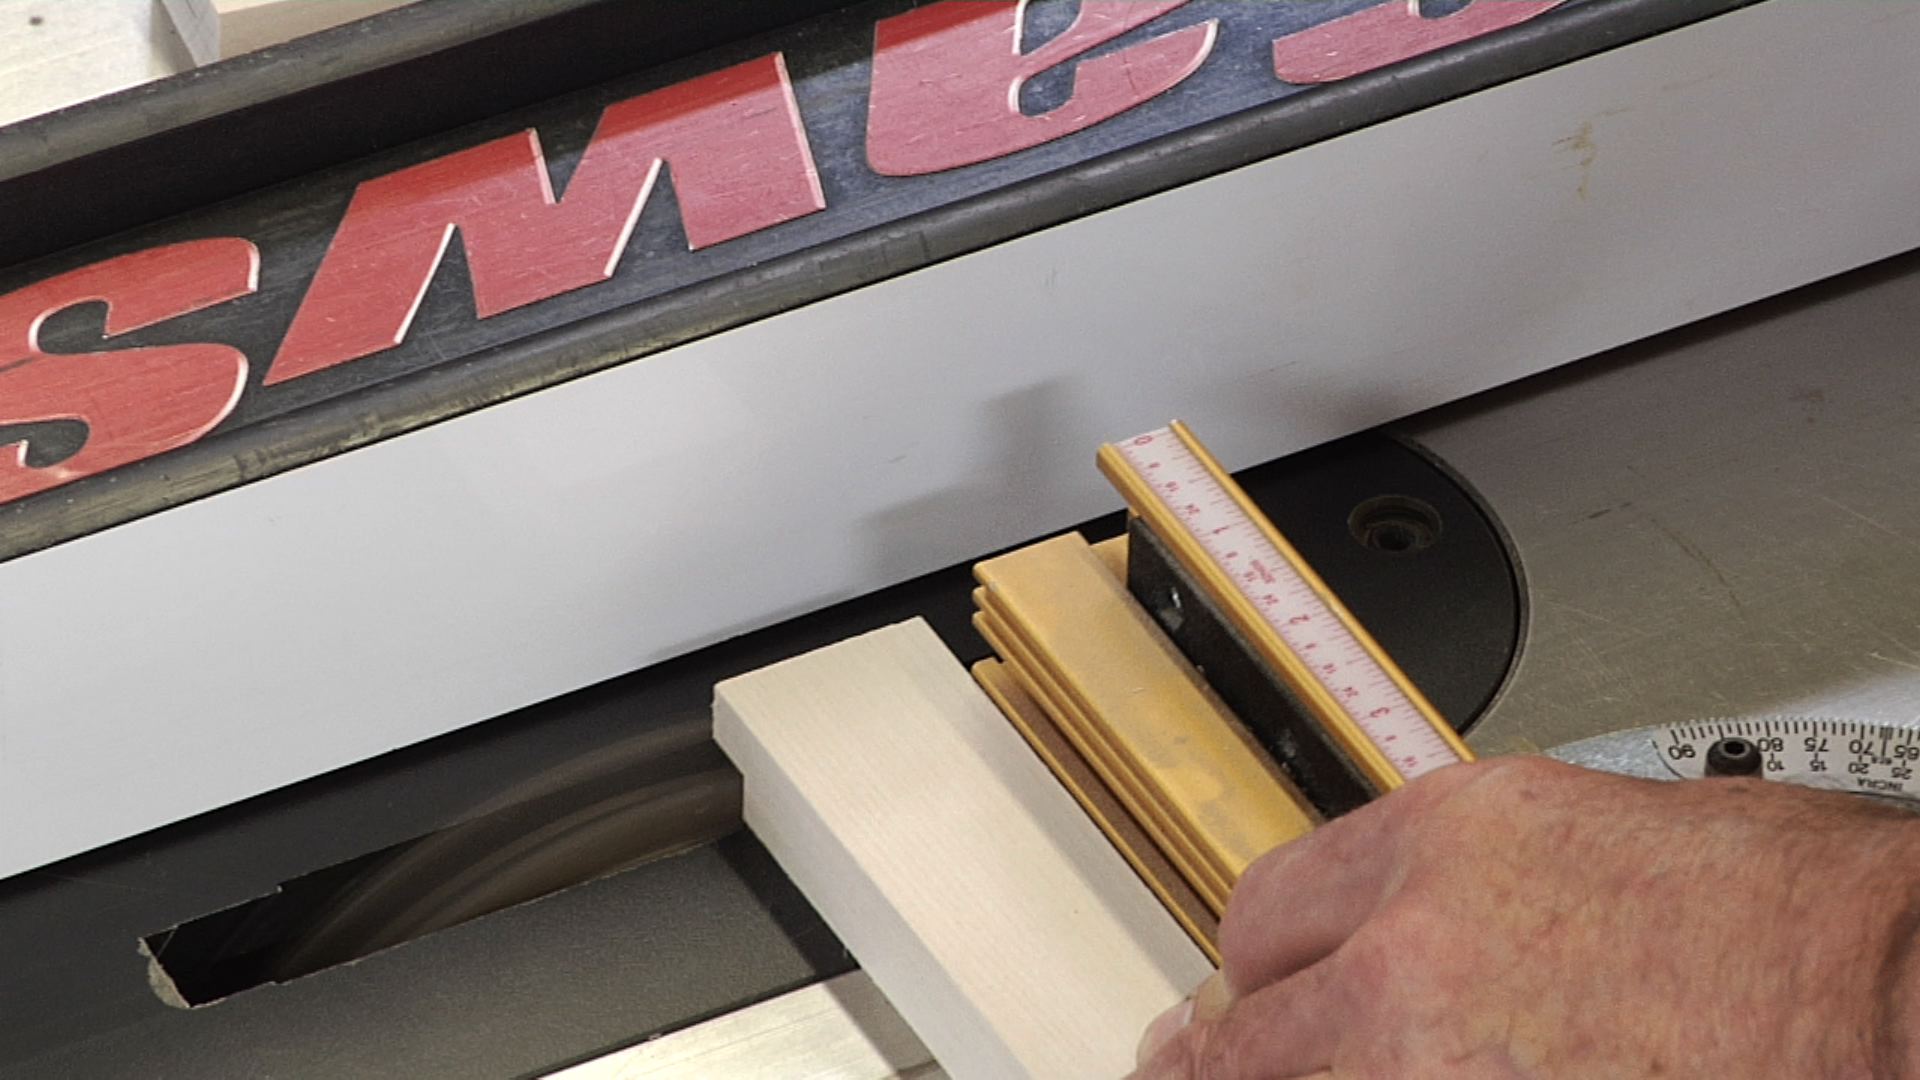
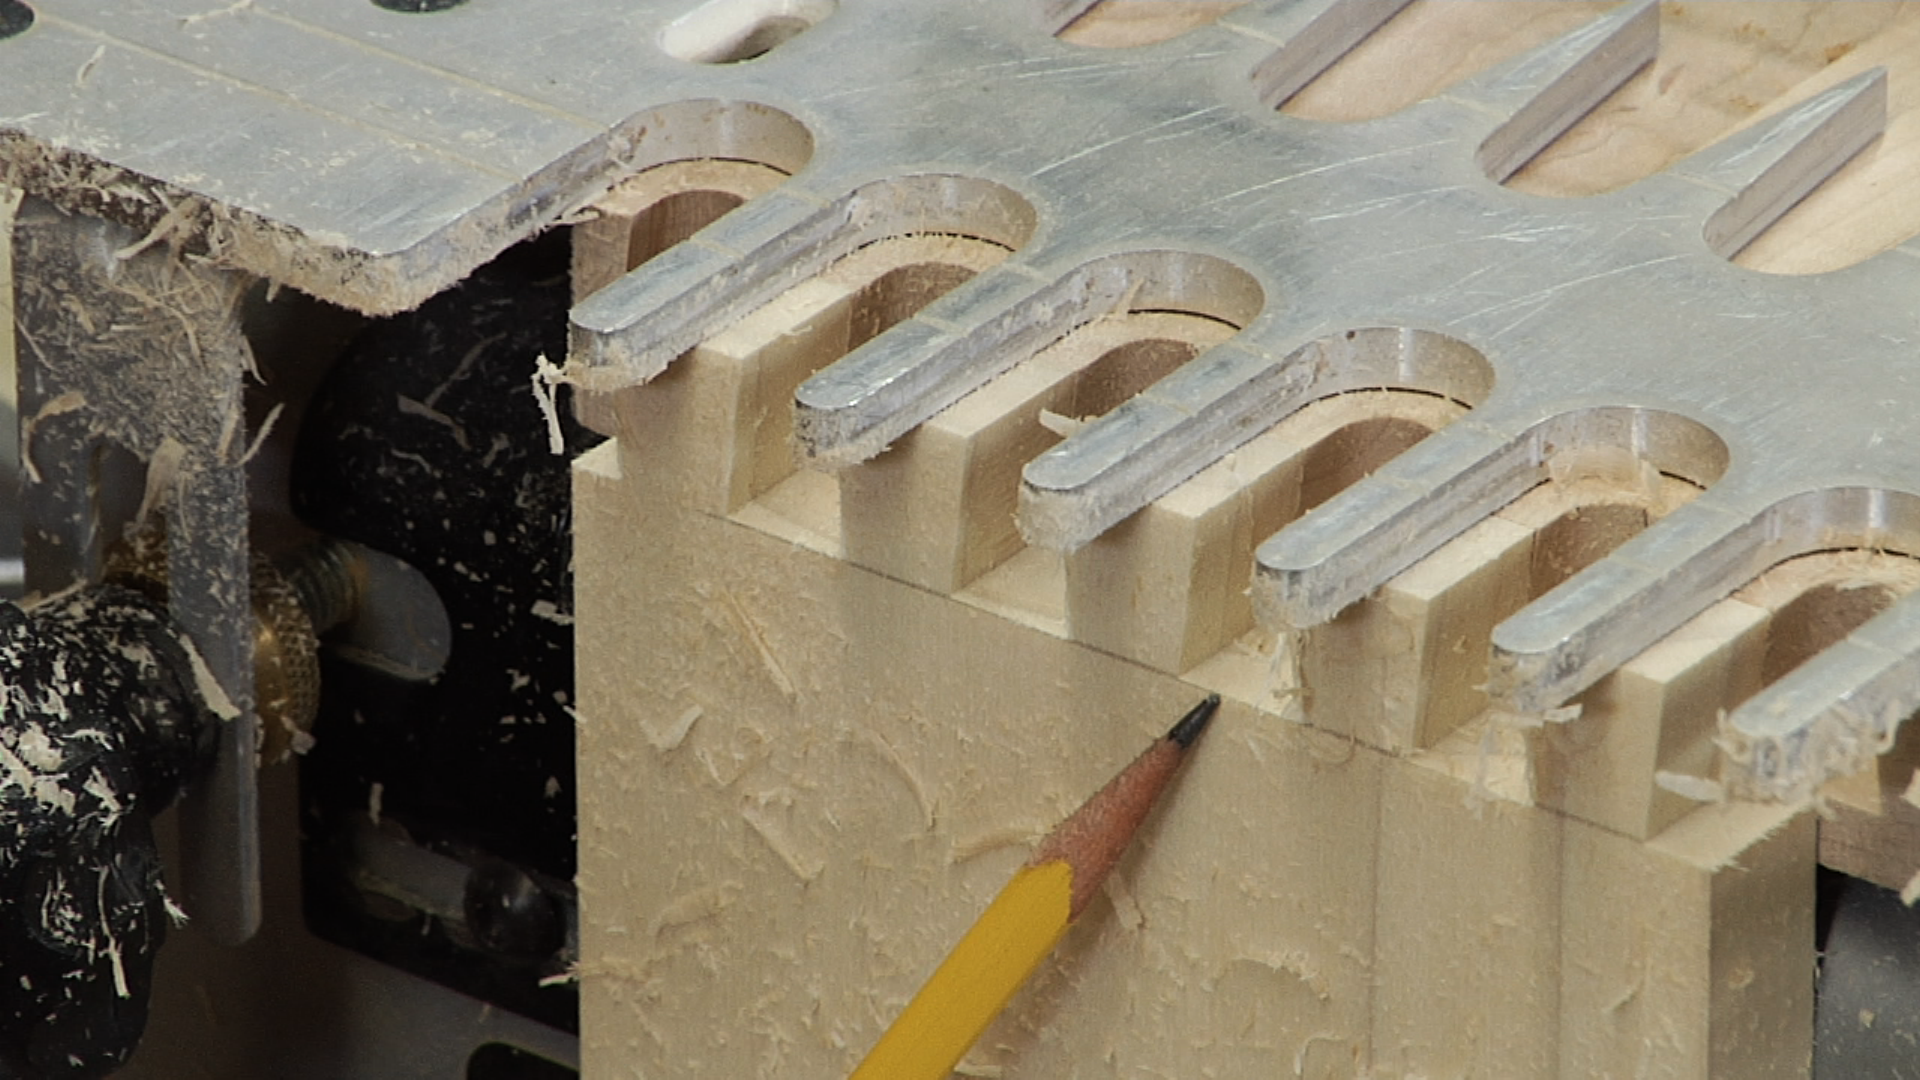
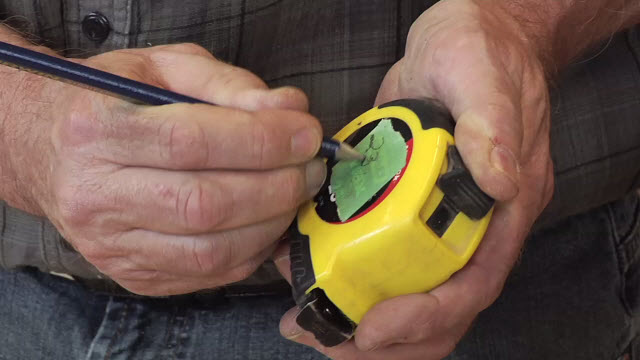
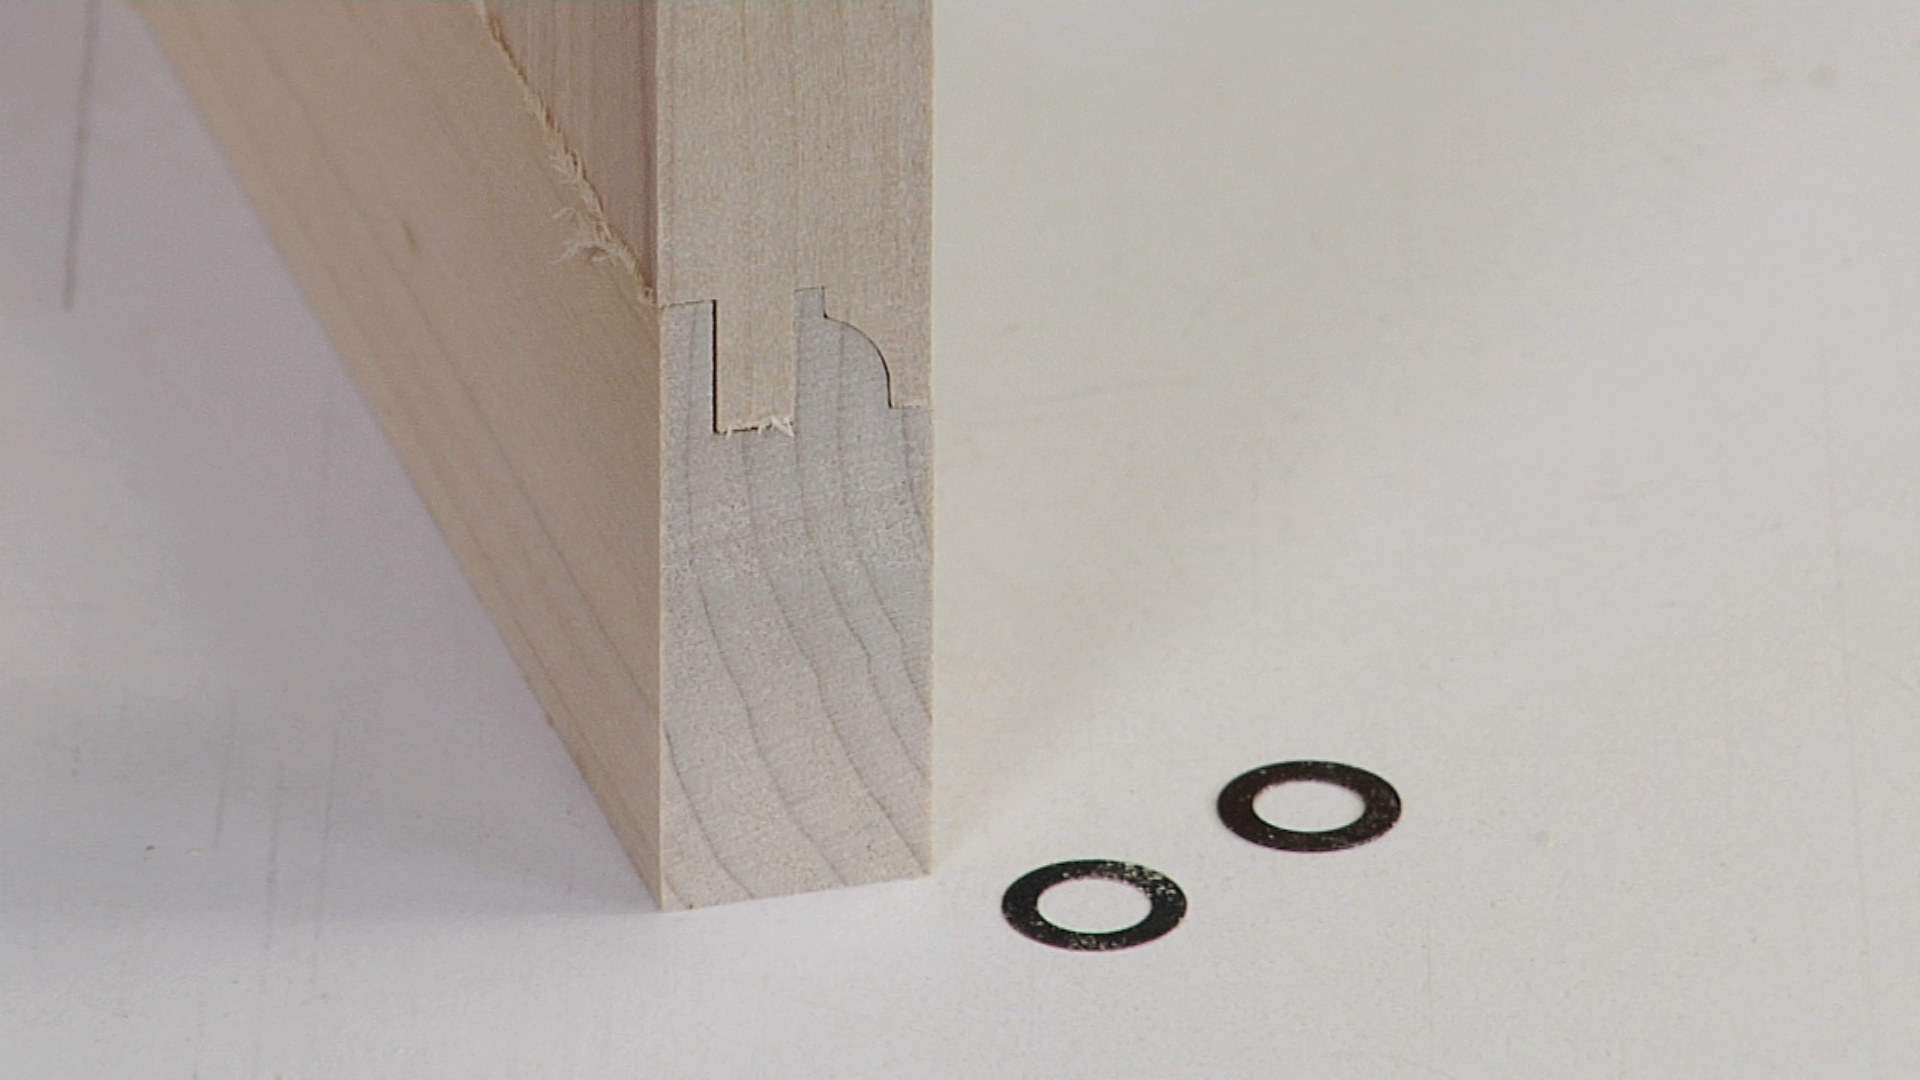
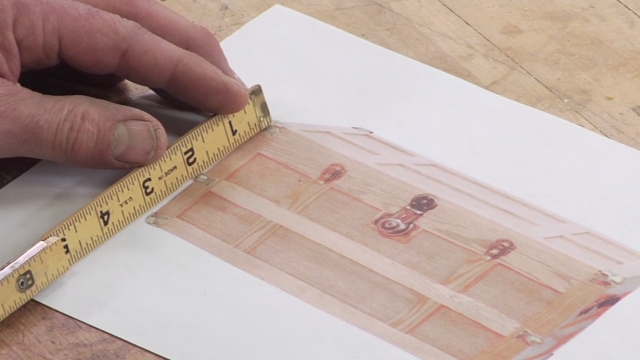
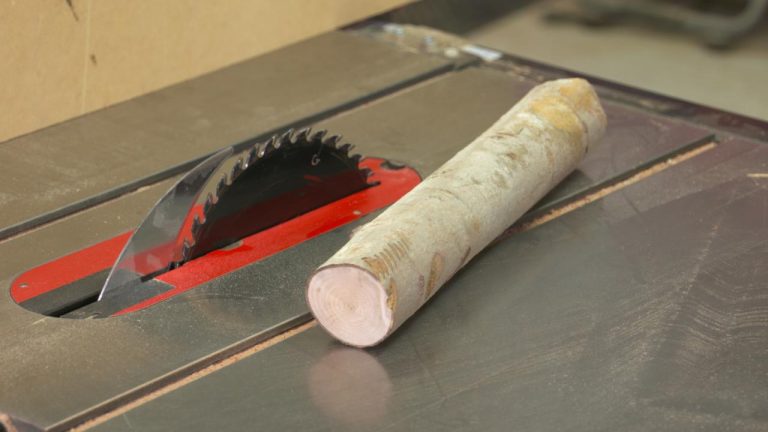
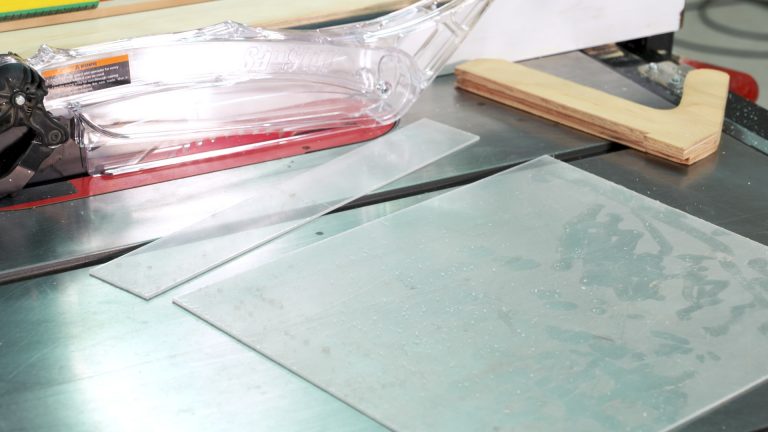
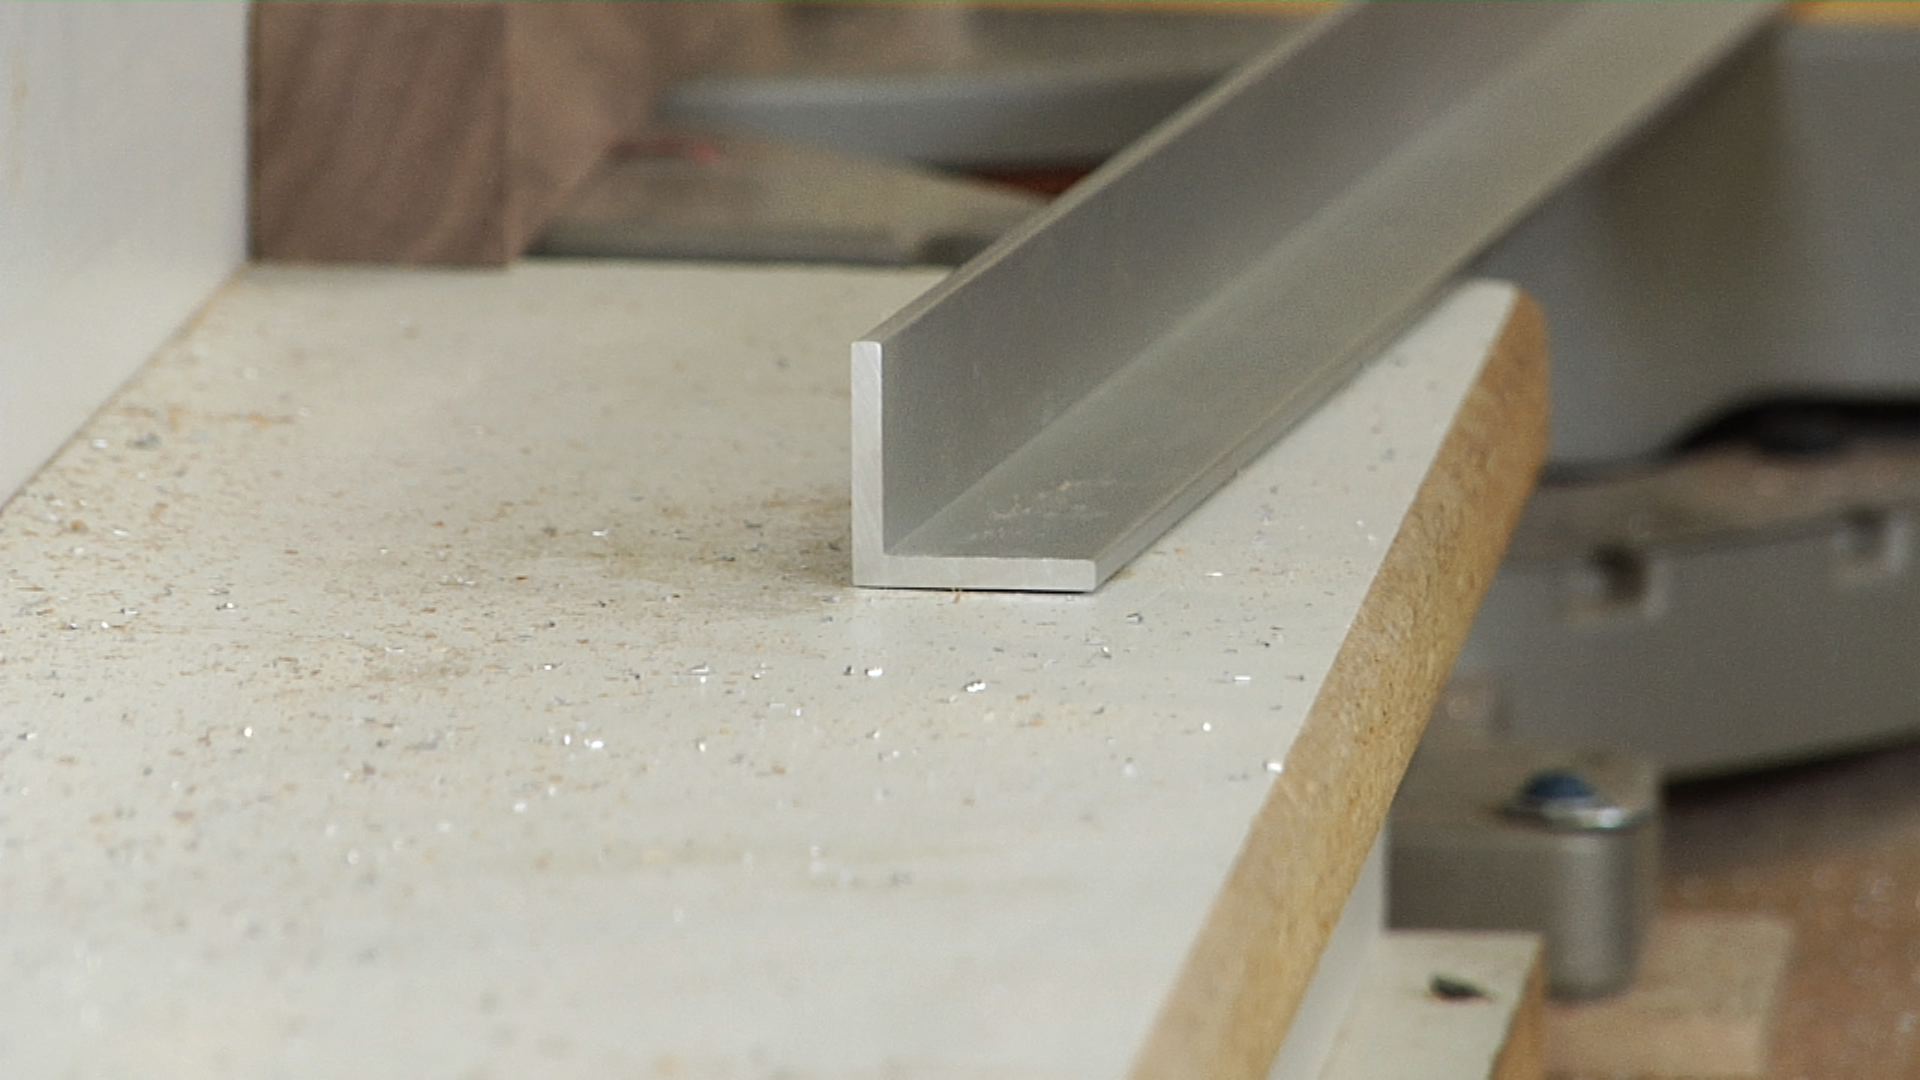
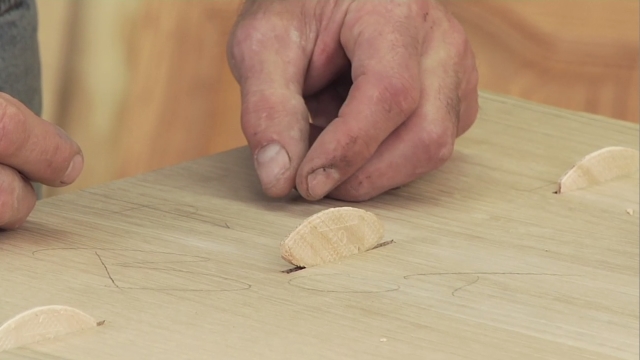
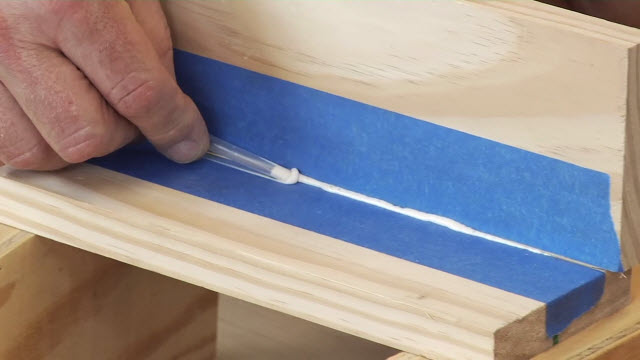
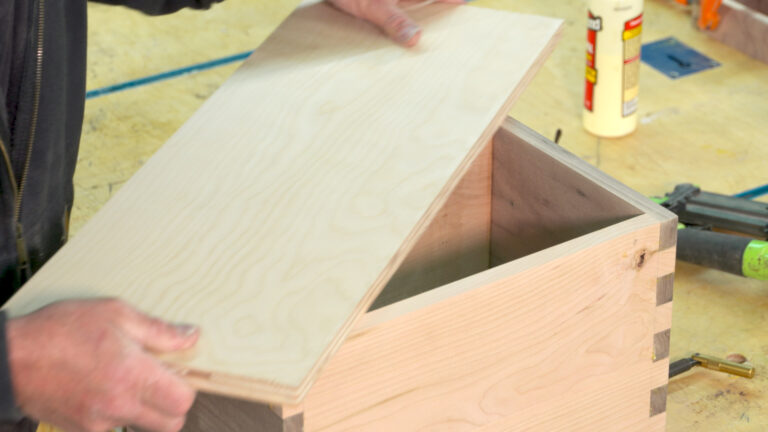
George VondriskaIt’s always cool to make projects that improve your shop. And it’s really cool, and fun, to make your own tools for your shop. In this video we teach you to make a wooden try square. Not only is it functional when it’s complete, it also looks great. The project calls for small pieces of wood, so here’s an opportunity to use some of that beautiful scrap you’ve been keeping. This is a two-part project. In Part 1 you’ll learn how to prep the pieces to ensure a perfect fit and easy assembly, and a great trick for capturing the blade in the handle.
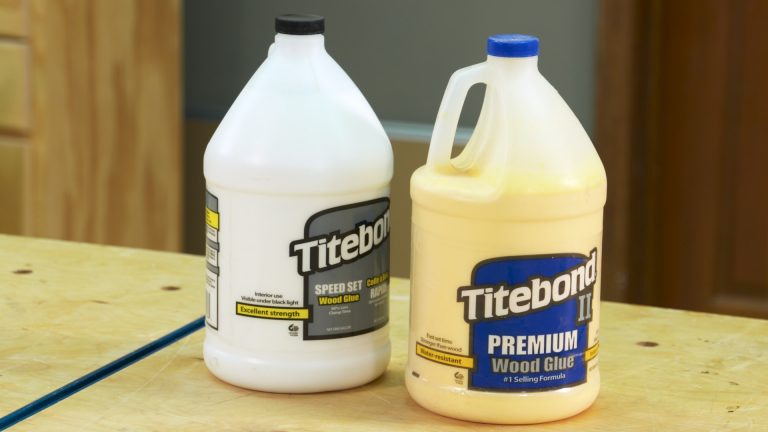
Titebond Original Wood Glue, Titebond III Ultimate Wood Glue, and Titebond Instant Adhesive provided by Titebond. For more information, visit www.titebond.com.
More Videos from Titebond:
Franklin-Titebond Shop-Made Wooden Try Square: Part 2
How To Install Crown Molding on Cabinets
How to build a Birdhouse
Adding Accents to Outdoor Products
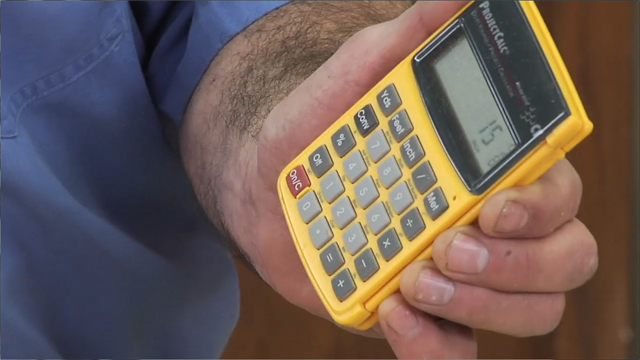
Calculating Wood Dimensions for Outside Corners
Super Finishing for Turning
Adhere Ceramic Tile to Wood
Create a Crackle Finish on Wood
Glue Squeeze Out that Glows
Unlock Your Woodworking Potential!
Sign up for our newsletter for endless woodworking inspiration! Become a member today and gain access to a world of craftsmanship.
Share tips, start a discussion or ask one of our experts or other students a question.
Already a member? Sign in
2 Responses to “Franklin-Titebond Shop-Made Wooden Try Square: Part 1”
Explore videos by George Vondriska


You may be interested in


Premium Membership
Unlock exclusive member content from our industry experts.
- 24/7 Access to Premium Woodworking Videos, Projects, and Tips
- Step-by-Step Instructional Demos, Plans, and Tutorials
- 50% Off Video Downloads Purchased in the Woodworkers Guild of America Shop
- 2 Printable Woodworking Plans
Unlock exclusive member content from our industry experts.
- 24/7 Access to Premium Woodworking Videos, Projects, and Tips
- Step-by-Step Instructional Demos, Plans, and Tutorials
- 50% Off Video Downloads Purchased in the Woodworkers Guild of America Shop
- 2 Full-Length Video Downloads to Watch Offline
- 2 Printable Woodworking Plans
Gold Membership
$370 Value
Get everything included in Premium plus exclusive Gold Membership benefits.
- 24/7 Access to Premium Woodworking Videos, Projects, and Tips
- Step-by-Step Instructional Demos, Plans, and Tutorials
- 8 Full-Length Video Downloads to Watch Offline
- 3 Full-Length Woodworking Classes to Keep for Life
- 7 Printable Woodworking Plans
- Discounts on Purchase-to-Own Content in the Woodworkers Guild of America Shop
- Access to Ask the Expert Program
- Exclusive GOLD LIVE Streaming Events
When I click on the video, nothing happens, except the title shows.
it's a lot easier to dome the pens before cutting it off the main peace of stock