
How to Install Crown Molding on Cabinets
George VondriskaAs you learn how to build cabinets, you’ll look for ways to dress up the basic wooden box. One surefire upgrade is installing crown molding. This video teaches you how to install crown molding on cabinets with clever tricks and tips it would take you years to learn on your own.
Watch this video, and even your first crown molding installation will look neat and professional.
Gussets
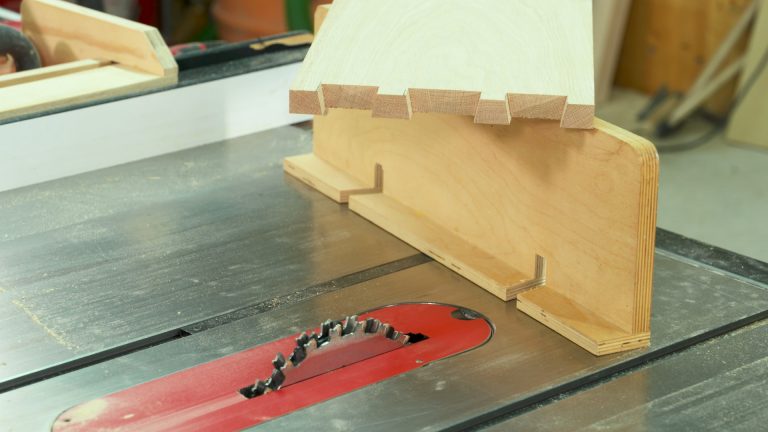
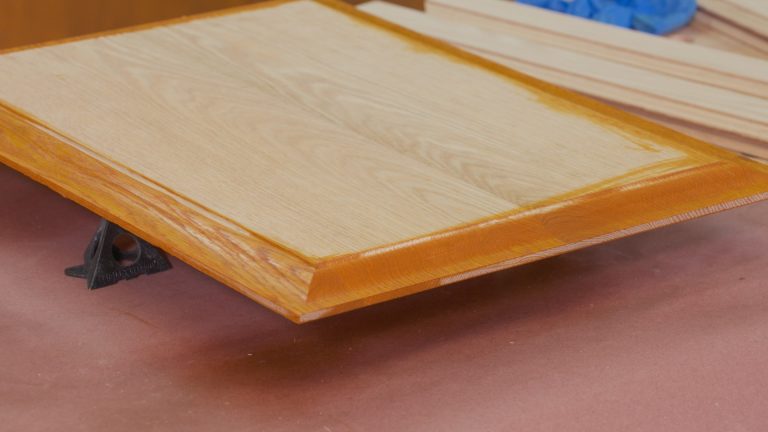
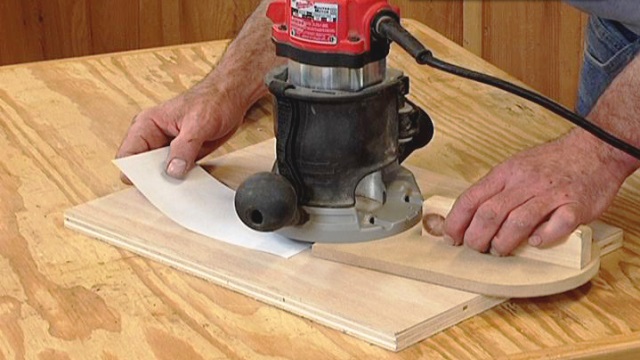
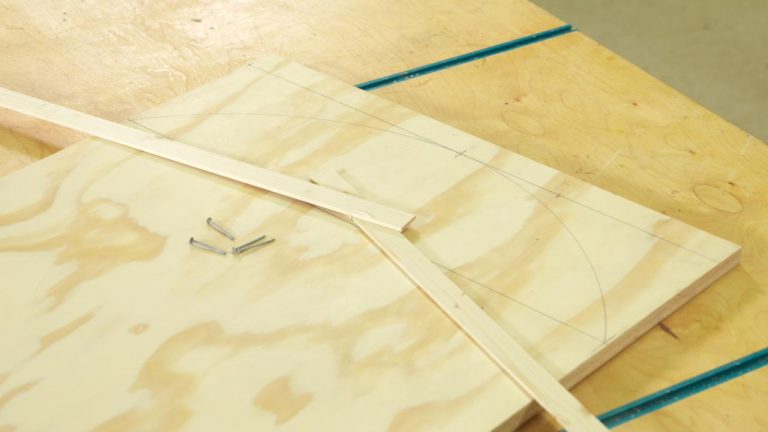
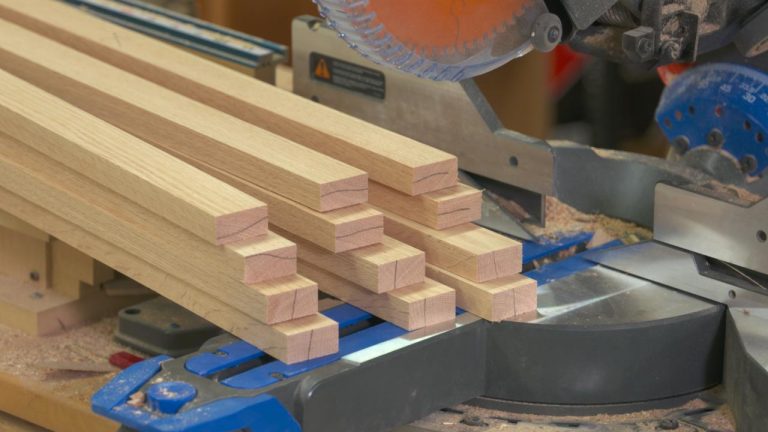
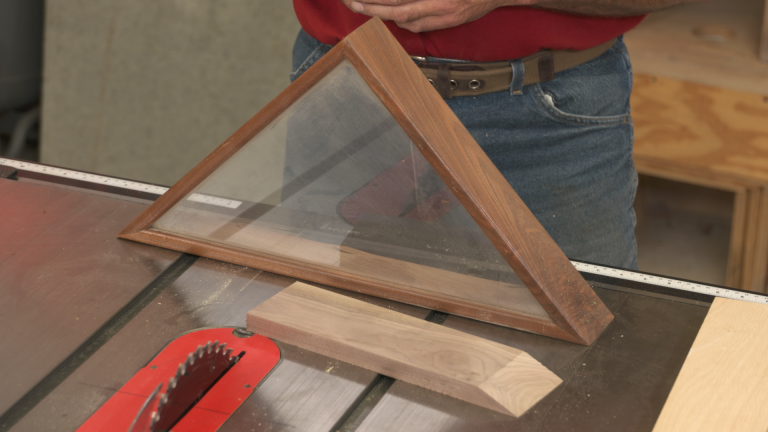
Crown molding that sits atop kitchen cabinets gives them a solid, finished look. For strength and stability, gussets are added to the top. You don’t want this molding to pull off the cabinet if someone pulls or pushes on it when moving the cabinet, for example. Learn how to angle-cut the gussets and where to locate them on the top of the cabinet.
Helping Hand
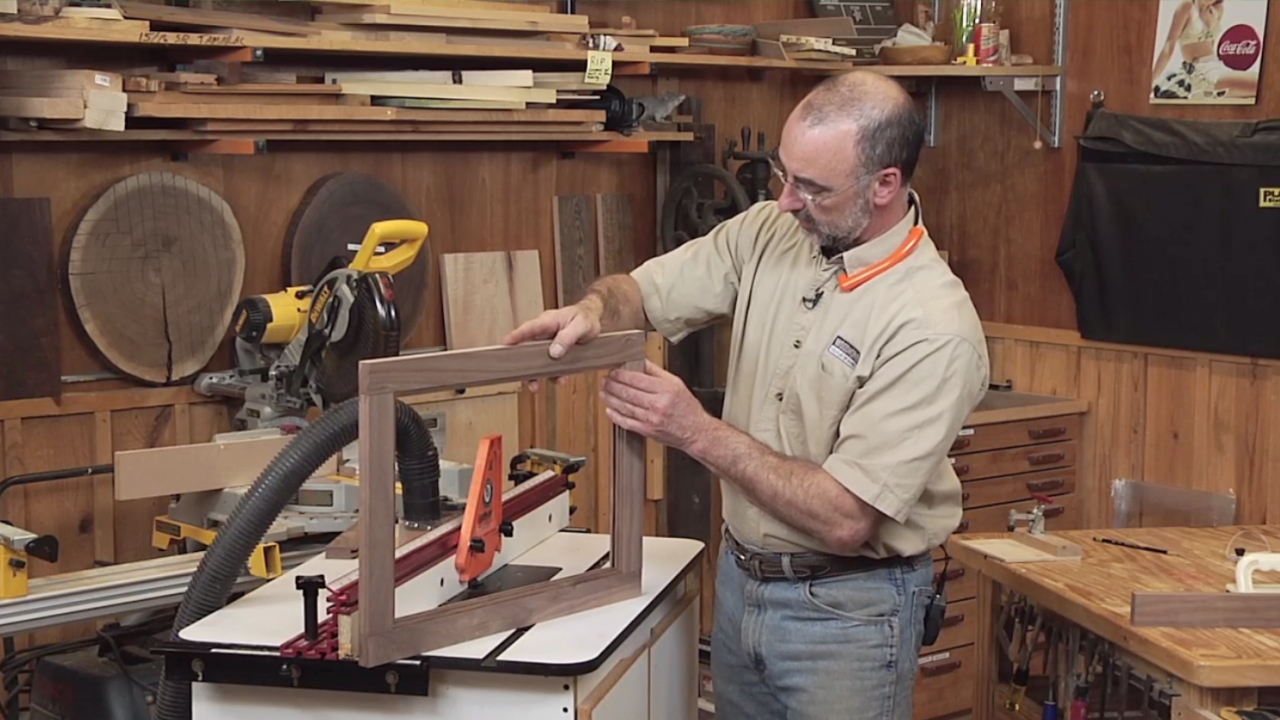
It can be difficult to install trim pieces like crown molding when you’re working alone. Our trick comes in very handy as you learn how to install crown molding on cabinets, and you’ll find lots of other uses for it when you’re assembling furniture projects.
Transfer Measurements
Discover the best way to ensure perfect-fitting miters. Hint: It was nothing to do with your ruler or tape measure.
Glue
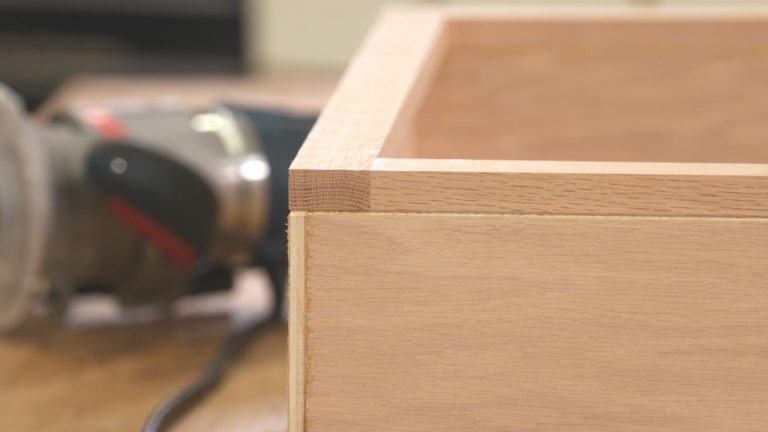
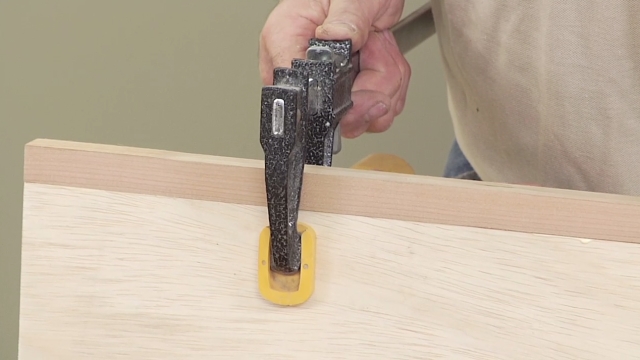
It’s important to choose the right glue as you learn how to install crown molding on cabinets. You don’t want drips, runs, and squeeze-out, so a thick glue is recommended. Watch to learn the best method for applying the glue to kitchen cabinet crown molding.
Finishing Touches
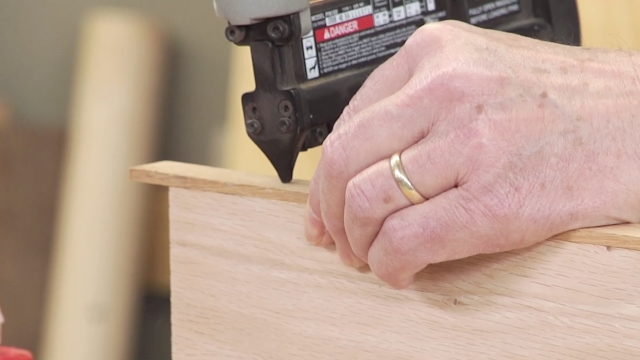
Fasten the crown molding to the top of the cabinet (we used a brad nailer). Then stand back and look at your crowning achievement.
Titebond No Run, No Drip Wood Glue provided by Titebond. For more information, visit www.titebond.com.
More Videos from Titebond:
How to Build a Birdhouse
Adding Accents to Outdoor Products
Calculating Wood Dimensions for Outside Corners
Super Finishing for Turning
Adhere Ceramic Tile to Wood
Create a Crackle Finish on Wood
Glue Squeeze-Out That Glows
Easy Iron-On Veneer Applications
Easy Face Grain Column Assembly
Share tips, start a discussion or ask one of our experts or other students a question.
Already a member? Sign in
12 Responses to “How to Install Crown Molding on Cabinets”
Explore videos by George Vondriska
You may be interested in
Premium Membership
Unlock exclusive member content from our industry experts.
- 24/7 Access to Premium Woodworking Videos, Projects, and Tips
- Step-by-Step Instructional Demos, Plans, and Tutorials
- 50% Off Video Downloads Purchased in the Woodworkers Guild of America Shop
- 2 Printable Woodworking Plans
Unlock exclusive member content from our industry experts.
- 24/7 Access to Premium Woodworking Videos, Projects, and Tips
- Step-by-Step Instructional Demos, Plans, and Tutorials
- 50% Off Video Downloads Purchased in the Woodworkers Guild of America Shop
- 2 Full-Length Video Downloads to Watch Offline
- 2 Printable Woodworking Plans
Gold Membership
$370 Value
Get everything included in Premium plus exclusive Gold Membership benefits.
- 24/7 Access to Premium Woodworking Videos, Projects, and Tips
- Step-by-Step Instructional Demos, Plans, and Tutorials
- 8 Full-Length Video Downloads to Watch Offline
- 3 Full-Length Woodworking Classes to Keep for Life
- 7 Printable Woodworking Plans
- Discounts on Purchase-to-Own Content in the Woodworkers Guild of America Shop
- Access to Ask the Expert Program
- Exclusive GOLD LIVE Streaming Events











This was a disappointment coming frong fro the guild. Tje laying flat method of cutting tje crown on a compound miter saw with the appropriate angles would be the modern way of cutting, rather than the cumbersome, less accurate, upside down, backwards method, not even discribed here.
Useless what angle is he using?
I agree with one of the suggestions...clamp a block to the face of the cabinet on the other end, to rest the crown on while your measuring/gluing/nailing. That especially prevents smearing glue on the cabinet face. The other point is: if this happened to be a repair of an antique cabinet, the glue used would most likely been hide glue. It would be good to use the same kind. Old Brown Glue can be bought, which has urea in it, to keep it liquid. It works great.
Crown molding and gusset angles would be a big improvement to the video.
Thanks for this very helpful video. Could you please comment on whether it is advisable to apply wood finish (lacquer, stain, etc) before or after cutting and assembly?
I watched the video "how to install crown molding on cabinets" it's great. But what I need is paper drawings or plans on how to do it so I can take it into my shop in the garage. Does WWGOA have such a thing and if so where should I look? Can you help me and if you can email me at nancy3304@yahoo.com. Yours truly, Nancy
Not much information on creating "Gussets" ie making them and how to fasten them?
Any idea on what to do to the top of this when cabinets are installed in an open floor plan, and the top of the cabinets can be seen?
This video could have been much more informative if the person explained the compound angles needed for each of the 90* corners. Since the molding does not lay flat against the cabinet, it is much more complicated to get the angles correct. This is my weak point in installing crown molding.
two things.. you still got glue on the face of the cabinet while positioning the crown. and a note to the web designer. Move the video left or move the social media buttons somewhere else. Very annoying.