
How to Build a Birdhouse
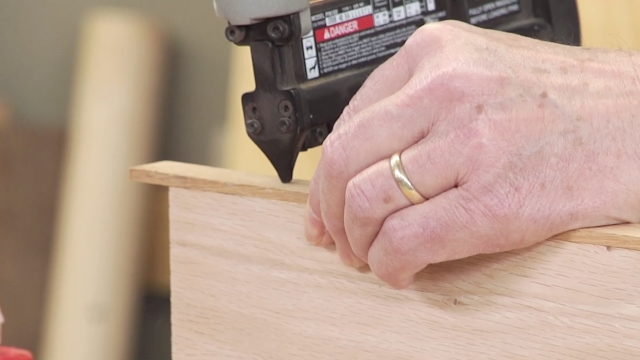
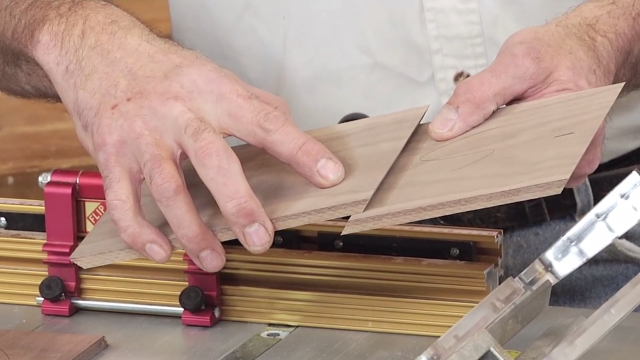
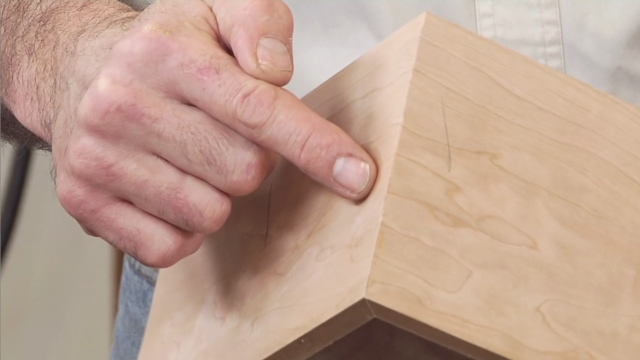
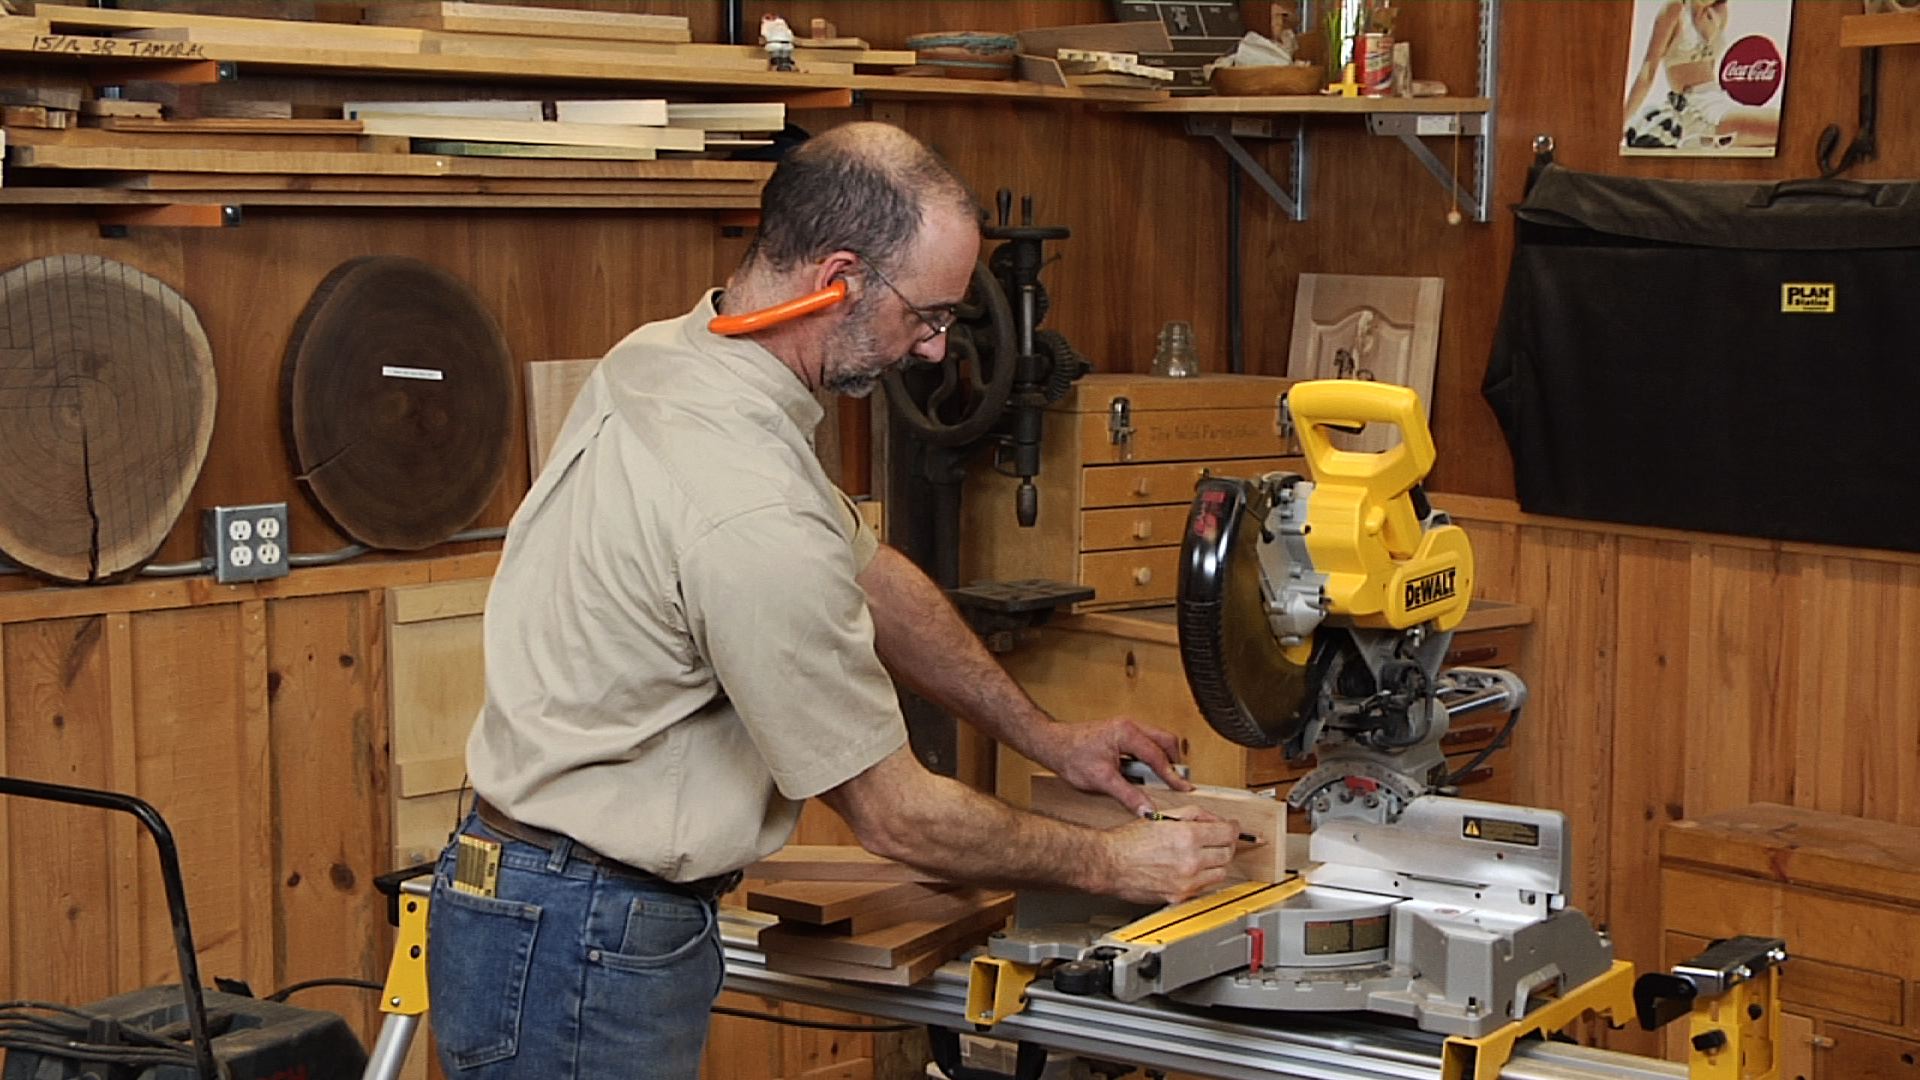
George VondriskaExpert woodworker George Vondriska and his guest demonstrate the easy step-by-step woodworking process for building a birdhouse from one piece of solid cedar wood. You’ll learn how to make all the necessary accommodations for the birds in your neighborhood, including a space for seed and waste removal.
Titebond III Ultimate Wood Glue provided by Titebond. For more information, visit www.titebond.com.
More Videos from Titebond:
How to Install Crown Molding on Cabinets
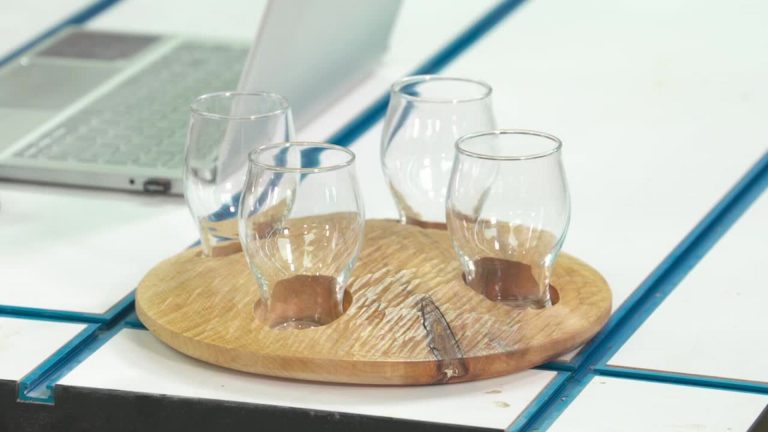
Adding Accents to Outdoor Products
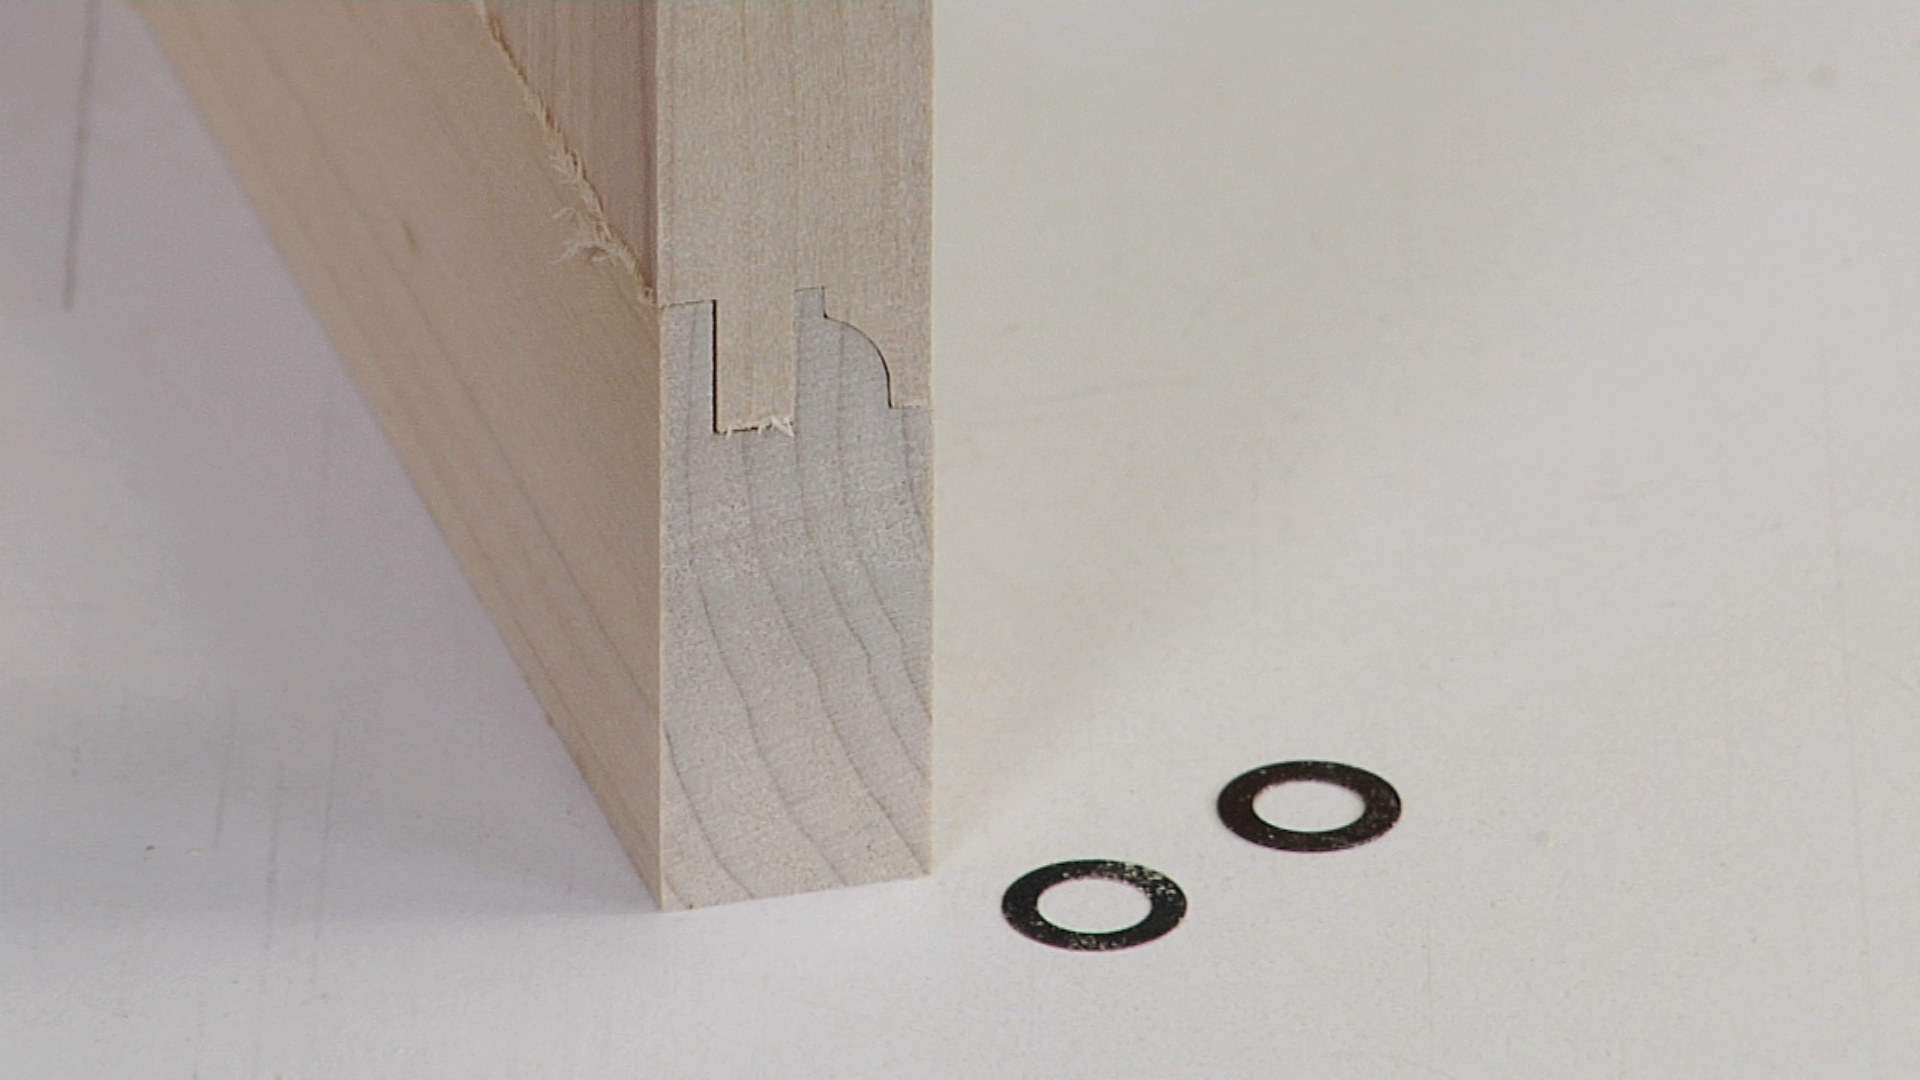
Calculating Wood Dimensions for Outside Corners
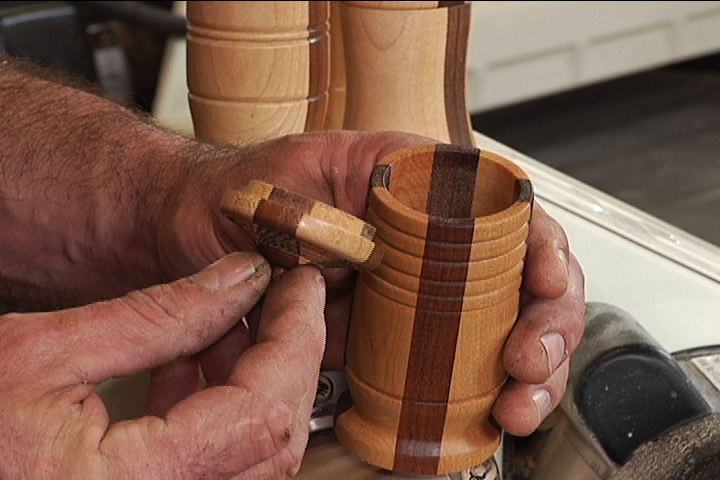
Super Finishing for Turning
Adhere Ceramic Tile to Wood
Create a Crackle Finish on Wood
Glue Squeeze Out that Glows
Easy Iron-On Veneer Applications
Easy Face Grain Column Assembly
Share tips, start a discussion or ask one of our experts or other students a question.
Already a member? Sign in
8 Responses to “How to Build a Birdhouse”
Explore videos by George Vondriska


You may be interested in


Premium Membership
Unlock exclusive member content from our industry experts.
- 24/7 Access to Premium Woodworking Videos, Projects, and Tips
- Step-by-Step Instructional Demos, Plans, and Tutorials
- 50% Off Video Downloads Purchased in the Woodworkers Guild of America Shop
- 2 Printable Woodworking Plans
Unlock exclusive member content from our industry experts.
- 24/7 Access to Premium Woodworking Videos, Projects, and Tips
- Step-by-Step Instructional Demos, Plans, and Tutorials
- 50% Off Video Downloads Purchased in the Woodworkers Guild of America Shop
- 2 Full-Length Video Downloads to Watch Offline
- 2 Printable Woodworking Plans
Gold Membership
$370 Value
Get everything included in Premium plus exclusive Gold Membership benefits.
- 24/7 Access to Premium Woodworking Videos, Projects, and Tips
- Step-by-Step Instructional Demos, Plans, and Tutorials
- 8 Full-Length Video Downloads to Watch Offline
- 3 Full-Length Woodworking Classes to Keep for Life
- 7 Printable Woodworking Plans
- Discounts on Purchase-to-Own Content in the Woodworkers Guild of America Shop
- Access to Ask the Expert Program
- Exclusive GOLD LIVE Streaming Events
Where can I get plans for this birdhouse?
I watched the entire video with thoughts of when I was 12 years old helping my Dad build out the basement with knotty Pine for a party room. Thank you
Good project to do with my kids. Thank you George.
Thanks for the video, guys! I was just looking for a simple birdhouse to build with my 4 year old son. He will love it!
Thanks George. When my grandson was younger, his first birdhouse build had nail holes pre-drilled in the front, back and top, making it easier for inexperienced hands to get the nails in straight!
wHERE DO i FIND THE LIST OF CUTS FOR THE 8' BOARD?
George, Great video. I plan to do this with my grandsons. As you well know, it is important that loose clothing, such as sleeves, be secured so it cannot get caught in tools and drill bits. Clay
So that's your Eagle Scout? Congratulations.