
Franklin-Titebond Shop-Made Wooden Try Square: Part 2
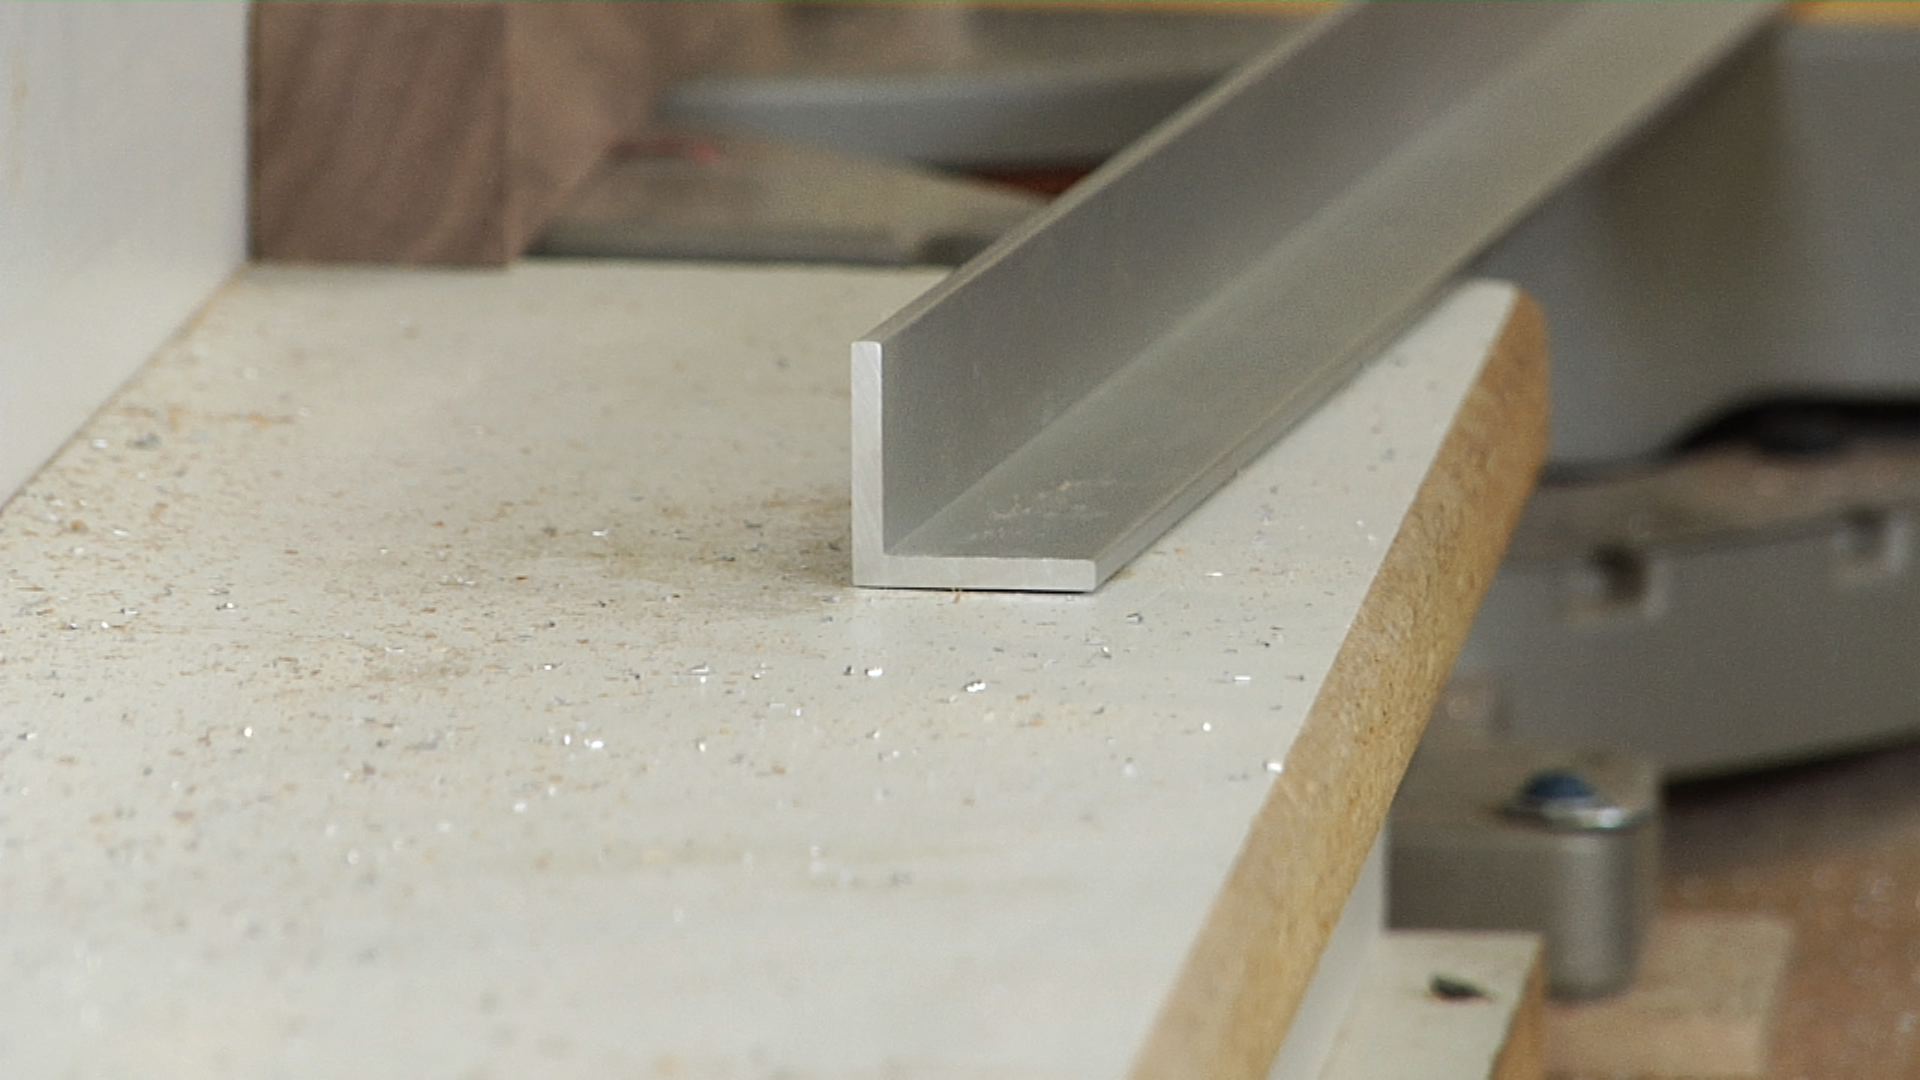
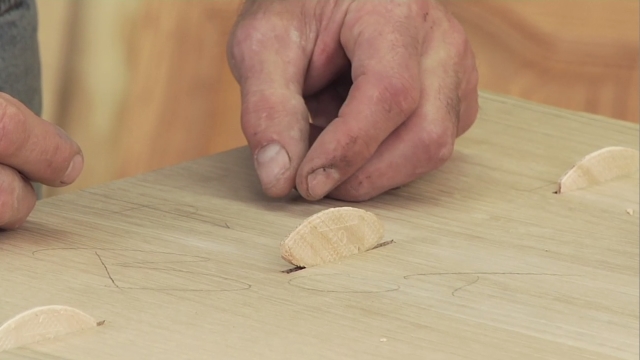
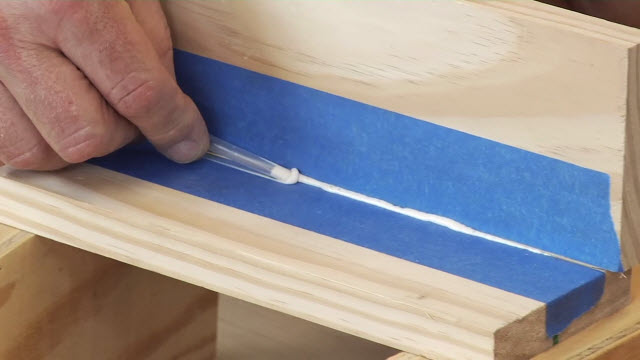
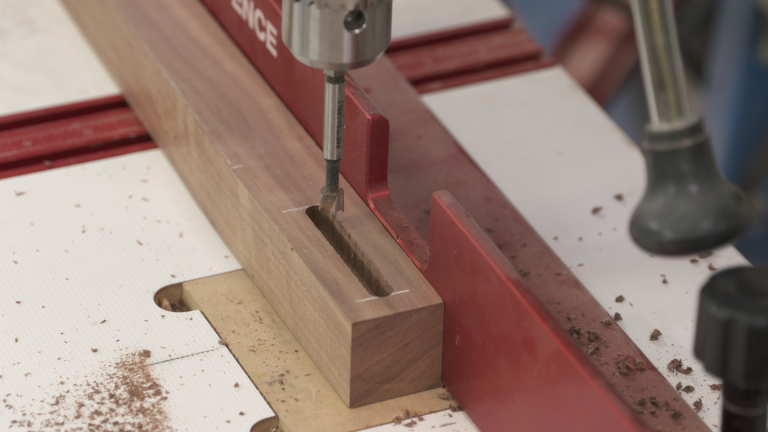
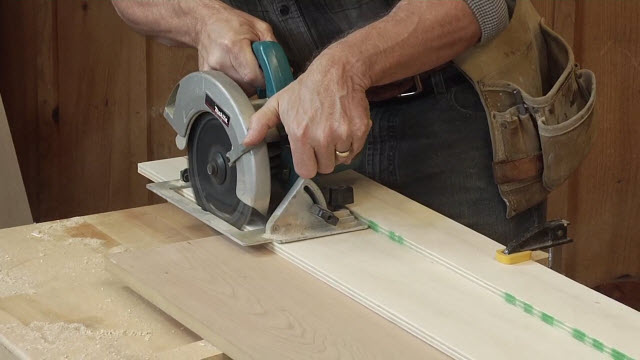
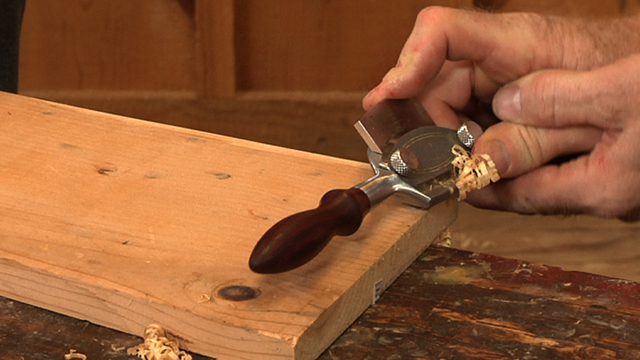
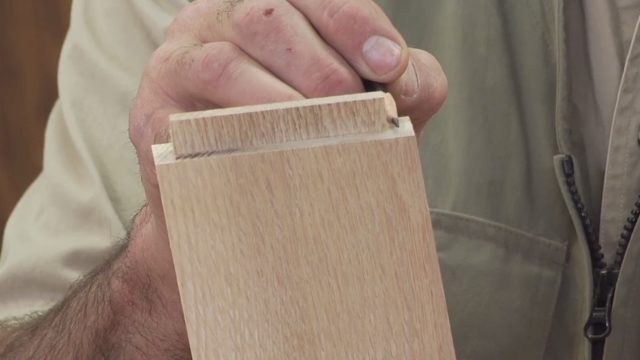
George VondriskaIn the second, and final, part of this project series you’ll learn how to assemble the blade and handle so they’re perfectly square. This requires a shop-made assembly block, and glue with a longer open time, to make sure everything is perfect and the square is reliable. Once the blade and handle are assembled, we’ll pin them together with brass rods, which adds a great detail. A coat of finish, and the wooden try square will be ready to use, and show off.
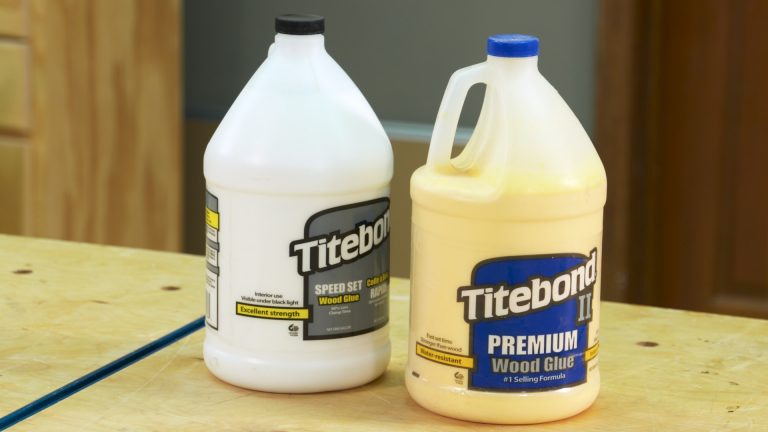
Titebond Original Wood Glue, Titebond III Ultimate Wood Glue, and Titebond Instant Adhesive provided by Titebond. For more information, visit www.titebond.com.
More Videos from Titebond:
Franklin-Titebond Shop-Made Wooden Try Square: Part 1
How To Install Crown Molding on Cabinets
How to build a Birdhouse
Adding Accents to Outdoor Products
Calculating Wood Dimensions for Outside Corners
Super Finishing for Turning
Adhere Ceramic Tile to Wood
Create a Crackle Finish on Wood
Glue Squeeze Out that Glows
Share tips, start a discussion or ask one of our experts or other students a question.
Already a member? Sign in
2 Responses to “Franklin-Titebond Shop-Made Wooden Try Square: Part 2”
Explore videos by George Vondriska


You may be interested in

Premium Membership
Unlock exclusive member content from our industry experts.
- 24/7 Access to Premium Woodworking Videos, Projects, and Tips
- Step-by-Step Instructional Demos, Plans, and Tutorials
- 50% Off Video Downloads Purchased in the Woodworkers Guild of America Shop
- 2 Printable Woodworking Plans
Unlock exclusive member content from our industry experts.
- 24/7 Access to Premium Woodworking Videos, Projects, and Tips
- Step-by-Step Instructional Demos, Plans, and Tutorials
- 50% Off Video Downloads Purchased in the Woodworkers Guild of America Shop
- 2 Full-Length Video Downloads to Watch Offline
- 2 Printable Woodworking Plans
Gold Membership
$370 Value
Get everything included in Premium plus exclusive Gold Membership benefits.
- 24/7 Access to Premium Woodworking Videos, Projects, and Tips
- Step-by-Step Instructional Demos, Plans, and Tutorials
- 8 Full-Length Video Downloads to Watch Offline
- 3 Full-Length Woodworking Classes to Keep for Life
- 7 Printable Woodworking Plans
- Discounts on Purchase-to-Own Content in the Woodworkers Guild of America Shop
- Access to Ask the Expert Program
- Exclusive GOLD LIVE Streaming Events
Great videos - Thanks for sharing. One question though: The clamping wedge you made looks like it doesn't have a notch at the point of the 90 degree point. How did it not get glued to the try-square with the squeeze out?
A simple yet unique tool that most amateurs can accomplish!! The description calls it a "Try Square" and I believe that it should be a "Tri Square". Aside from that, a great idea!!