
Epoxy Camper Upgrade
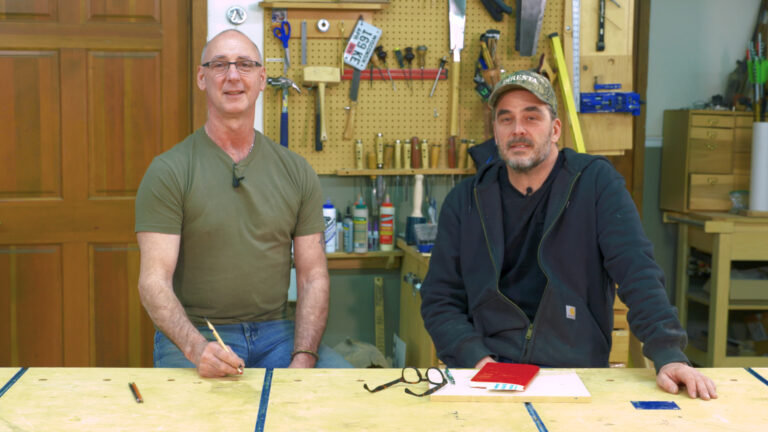
George VondriskaYou’re probably here at WWGOA because you’re an avid woodworker. But if you enjoy woodworking, there’s a good chance you’re hands-on in other areas, too. When he’s not in his shop, George has been busy doing a full upgrade on a 1997 20’ bumper pull camper. There’s an entire video series on this project.
The camper has a rock guard on the front that’s pretty… tired. George decided to give the camper some pizazz by removing the existing rock guard and creating an epoxy-coated rock guard. Kind of like the largest charcuterie board ever.
Background
WWGOA has lots of videos that cover working with resin (epoxy), so if you’re interested in doing a similar project, that’s a good starting point. There are lots of very important aspects to working with epoxy: environmental conditions, mixing and, of course, choosing the right epoxy.
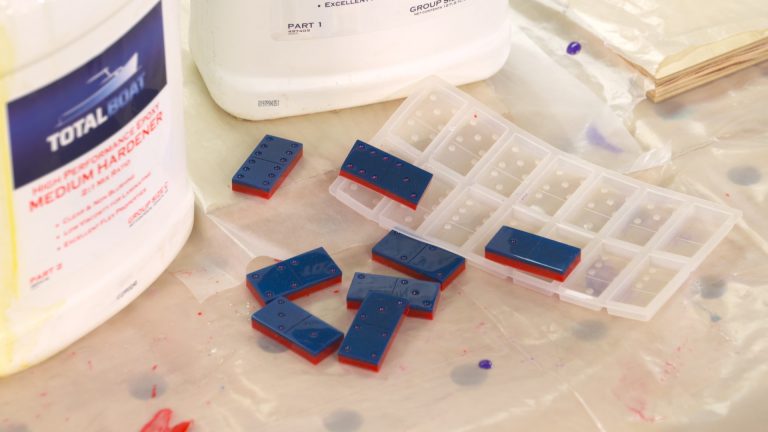
Epoxy choice
The epoxy needs to be durable but flexible. This TotalBoat product is perfect for this project. It’s the same epoxy that George is using on his cedar strip canoe.
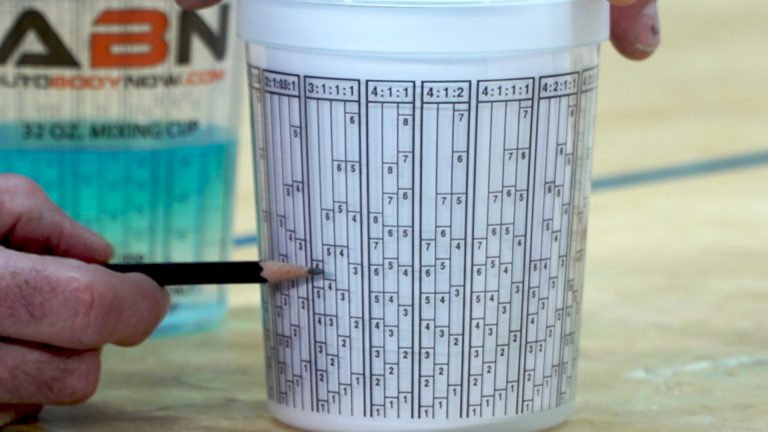
Coloring
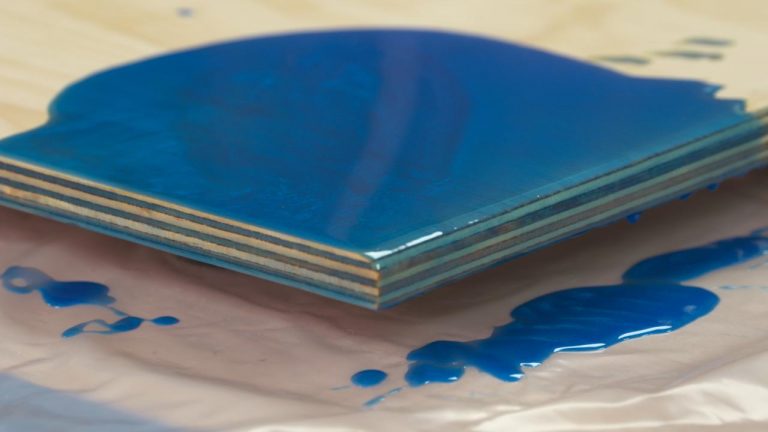
George and Krista are coloring the epoxy with a mix of pigment and mica powder. Pigment provides one uniform color. Mica powder provides some depth and pearlescence.
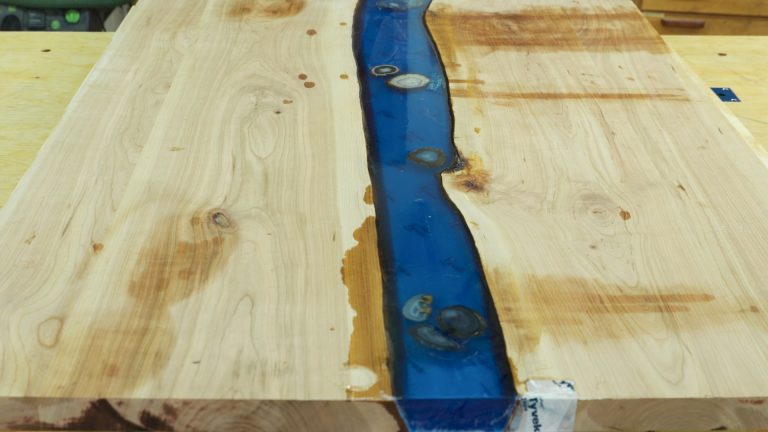
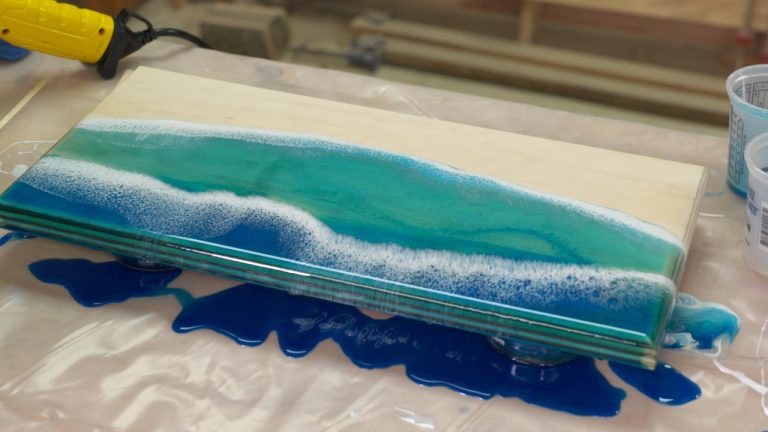
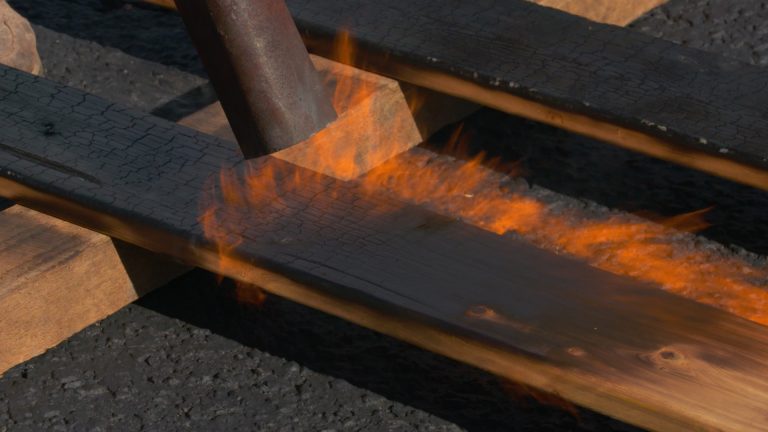
Making waves
They’ll get the wave pattern by using white pigment, the heat gun, and a spritz of isopropyl alcohol. It’s best to practice this technique on a smaller scale before using it on a project that’s this large.
UV protection
The final step is sealing everything with a UV-resistant sealer.
Both faces of the new rock guard were sealed with epoxy and UV resistant sealer. The back is clear.
Unlock Your Woodworking Potential!
Sign up for our newsletter for endless woodworking inspiration! Become a member today and gain access to a world of craftsmanship.
Share tips, start a discussion or ask one of our experts or other students a question.
Already a member? Sign in
One Response to “Epoxy Camper Upgrade”
Explore videos by George Vondriska


You may be interested in


Premium Membership
Unlock exclusive member content from our industry experts.
- 24/7 Access to Premium Woodworking Videos, Projects, and Tips
- Step-by-Step Instructional Demos, Plans, and Tutorials
- 50% Off Video Downloads Purchased in the Woodworkers Guild of America Shop
- 2 Printable Woodworking Plans
Unlock exclusive member content from our industry experts.
- 24/7 Access to Premium Woodworking Videos, Projects, and Tips
- Step-by-Step Instructional Demos, Plans, and Tutorials
- 50% Off Video Downloads Purchased in the Woodworkers Guild of America Shop
- 2 Full-Length Video Downloads to Watch Offline
- 2 Printable Woodworking Plans
Gold Membership
$370 Value
Get everything included in Premium plus exclusive Gold Membership benefits.
- 24/7 Access to Premium Woodworking Videos, Projects, and Tips
- Step-by-Step Instructional Demos, Plans, and Tutorials
- 8 Full-Length Video Downloads to Watch Offline
- 3 Full-Length Woodworking Classes to Keep for Life
- 7 Printable Woodworking Plans
- Discounts on Purchase-to-Own Content in the Woodworkers Guild of America Shop
- Access to Ask the Expert Program
- Exclusive GOLD LIVE Streaming Events
Excellent video. I wish you had an over head camera. Really enjoyed an learned as lot.