
Sign Painting: Filling in the Letters
George VondriskaMaking signs is one of those activities that capture the imagination of just about every woodworker at some point. The ability to make custom signs for yourself, a customer, or a friend is a neat skill to have in your arsenal. When you want to make signs, it will be important to hone your CNC, router, or hand carving skills, depending on the approach that you take.
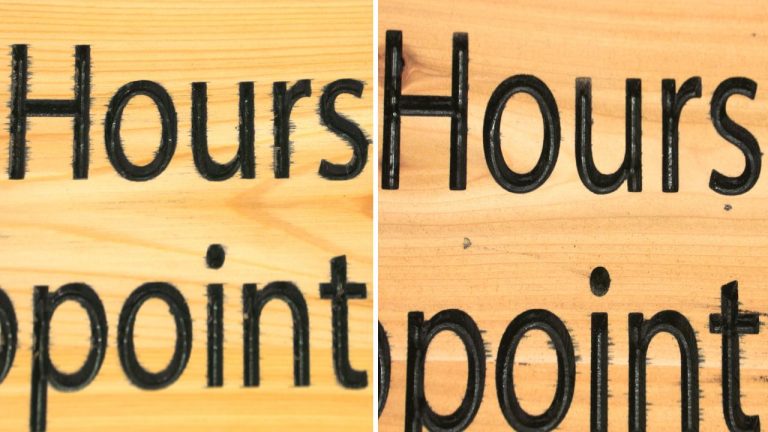
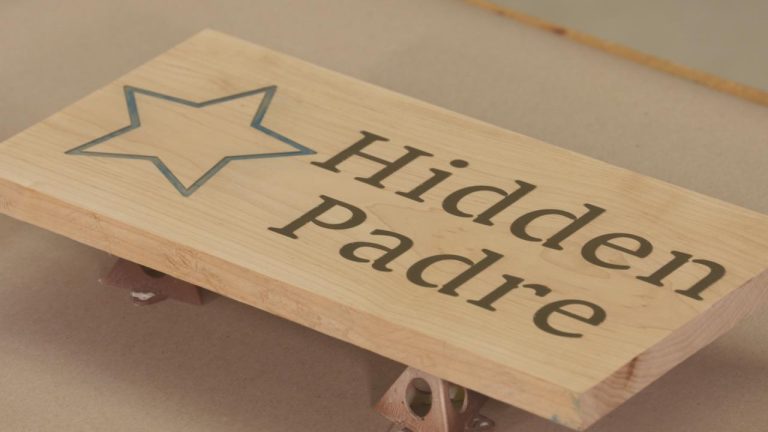
Regardless of your sign making approach, the look of your sign will be greatly enhanced by sign painting. Sign painting in this context is simply the process by which you paint the engraved area so that it stands out better against the backdrop of the plain wood. Sign painting can be done using different types of paints, but the process of cleaning up the top surface will be the same.
To complete the sign painting process in a way that makes your work stand out, your steps include:
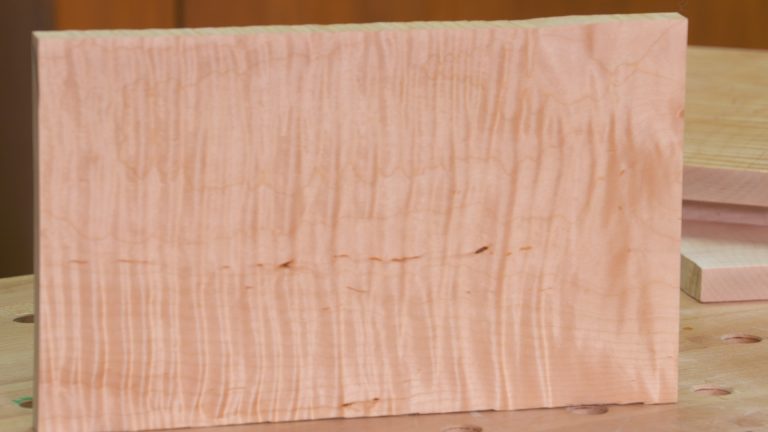
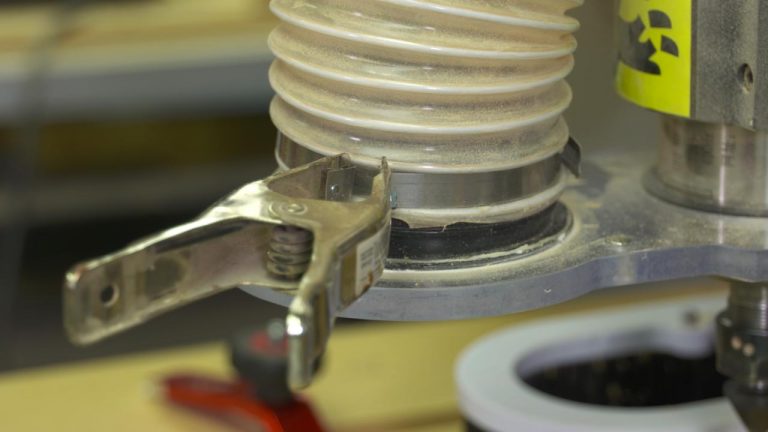
Carve the sign. Complete the removal of wood to create the artwork that you have designed or chosen. Be sure to go deep enough to allow for the cleanup steps that follow, ensuring that the sign painting will stand out.
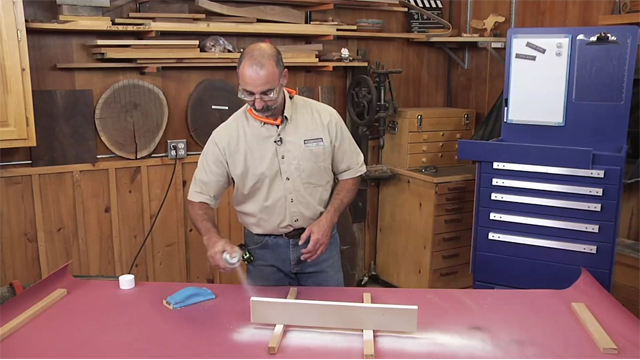
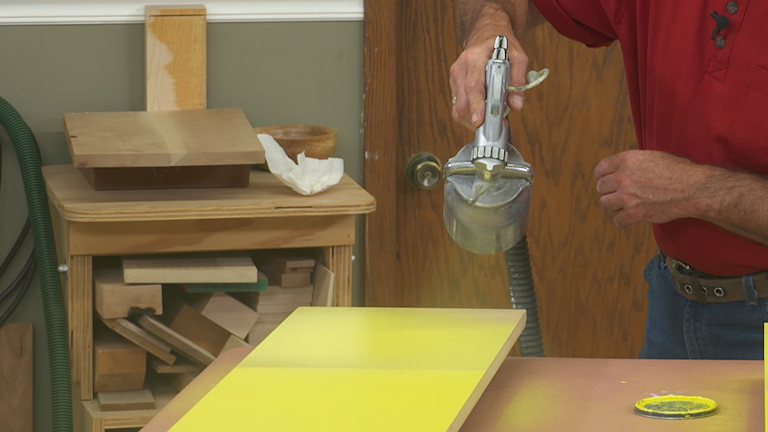
Paint the sign. Paint the areas that you want covered, making sure that your sign painting completely covers all of the desired areas.
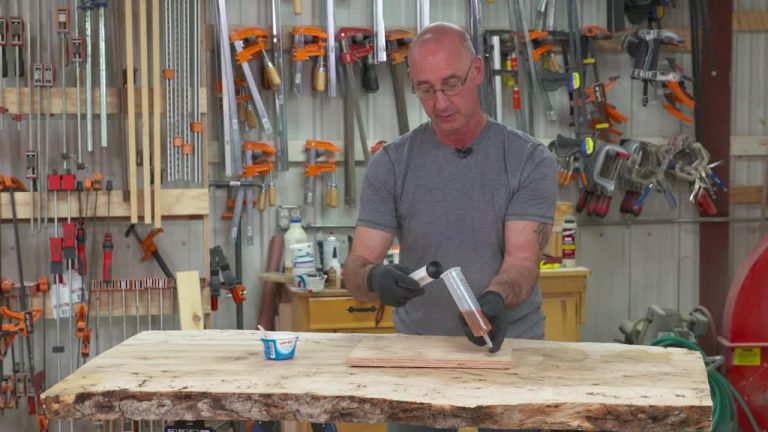
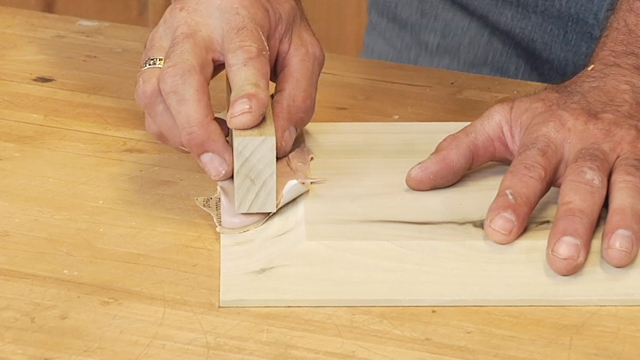
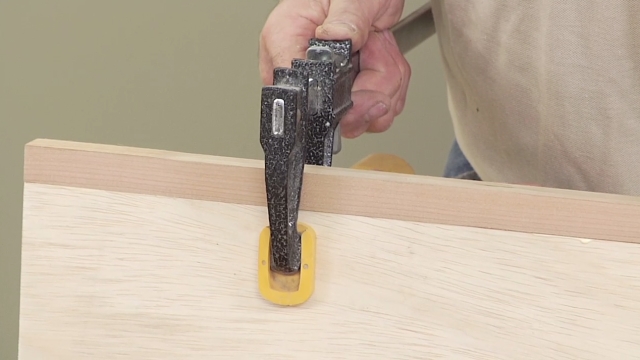
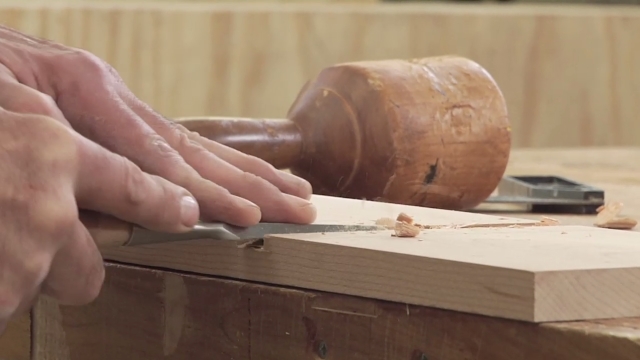
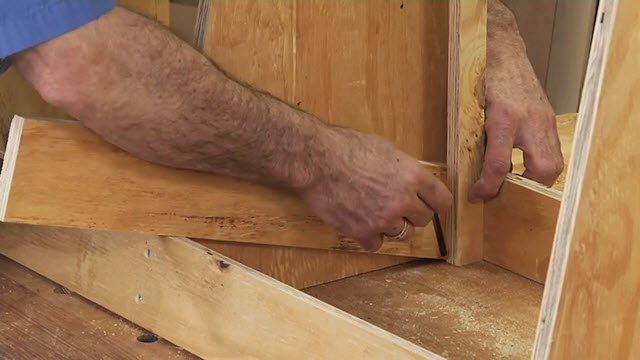
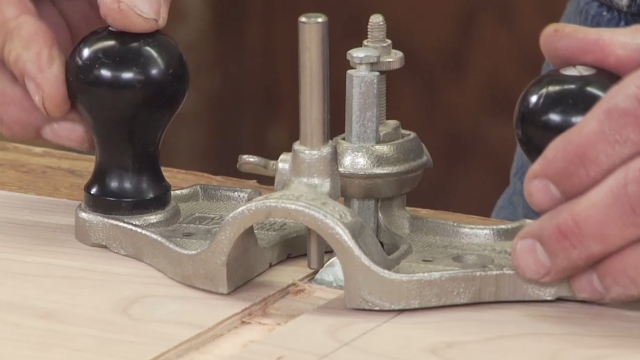
Remove the paint from the top surface. Using the approach that George demonstrates, completely remove the paint that has gotten onto the top surface, leaving paint in only the desired areas.
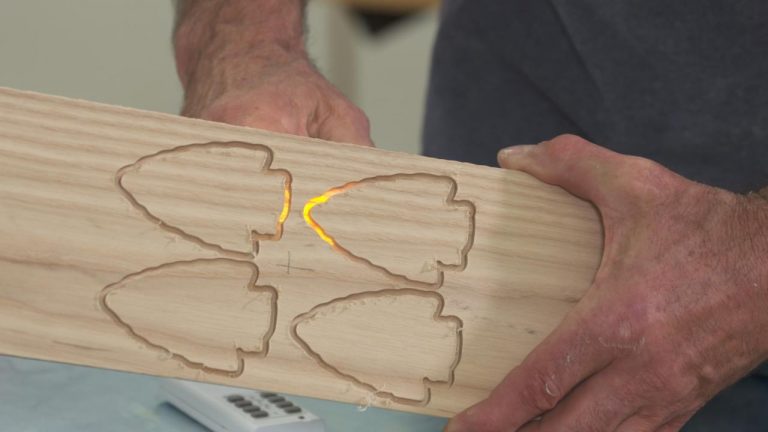
Use a good quality light to look closely at the surface, and be sure to remove any paint that might have penetrated into the pores of the wood by continuing to sand. Then, after you complete your sign painting, you’ll be ready to move on to your next project.
Explore videos by George Vondriska


You may be interested in
Premium Membership
Unlock exclusive member content from our industry experts.
- 24/7 Access to Premium Woodworking Videos, Projects, and Tips
- Step-by-Step Instructional Demos, Plans, and Tutorials
- 50% Off Video Downloads Purchased in the Woodworkers Guild of America Shop
- 2 Printable Woodworking Plans
Unlock exclusive member content from our industry experts.
- 24/7 Access to Premium Woodworking Videos, Projects, and Tips
- Step-by-Step Instructional Demos, Plans, and Tutorials
- 50% Off Video Downloads Purchased in the Woodworkers Guild of America Shop
- 2 Full-Length Video Downloads to Watch Offline
- 2 Printable Woodworking Plans
Gold Membership
$370 Value
Get everything included in Premium plus exclusive Gold Membership benefits.
- 24/7 Access to Premium Woodworking Videos, Projects, and Tips
- Step-by-Step Instructional Demos, Plans, and Tutorials
- 8 Full-Length Video Downloads to Watch Offline
- 3 Full-Length Woodworking Classes to Keep for Life
- 7 Printable Woodworking Plans
- Discounts on Purchase-to-Own Content in the Woodworkers Guild of America Shop
- Access to Ask the Expert Program
- Exclusive GOLD LIVE Streaming Events