
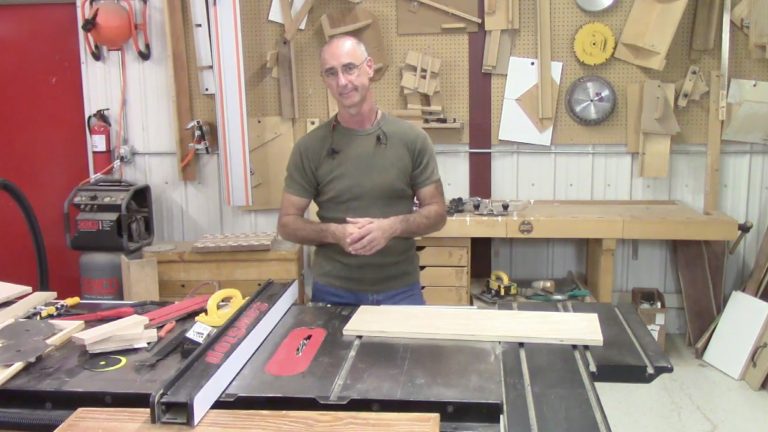
Jointing with a Router
George VondriskaPerhaps you are just getting started in woodworking and you don’t have a jointer in your shop. Or, if you are fortunate enough to have a jointer, there are situations where the boards that you want to joint exceed the capacity of your jointer. Sure, if you have money and space you can always use these situations as an excuse to upgrade to an aircraft carrier-sized jointer, but surely there has to be a work-around, right? Well, if the monster jointer is not in this month’s budget, never fear, George is here with a great solution.
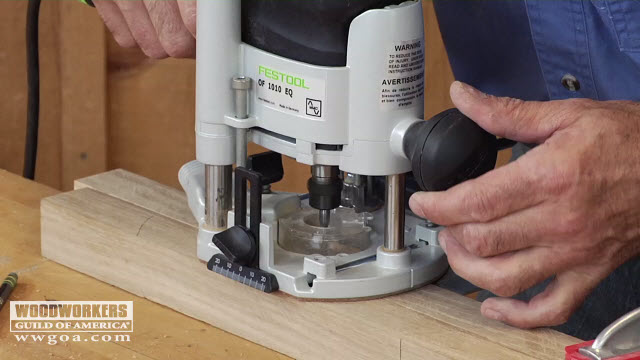
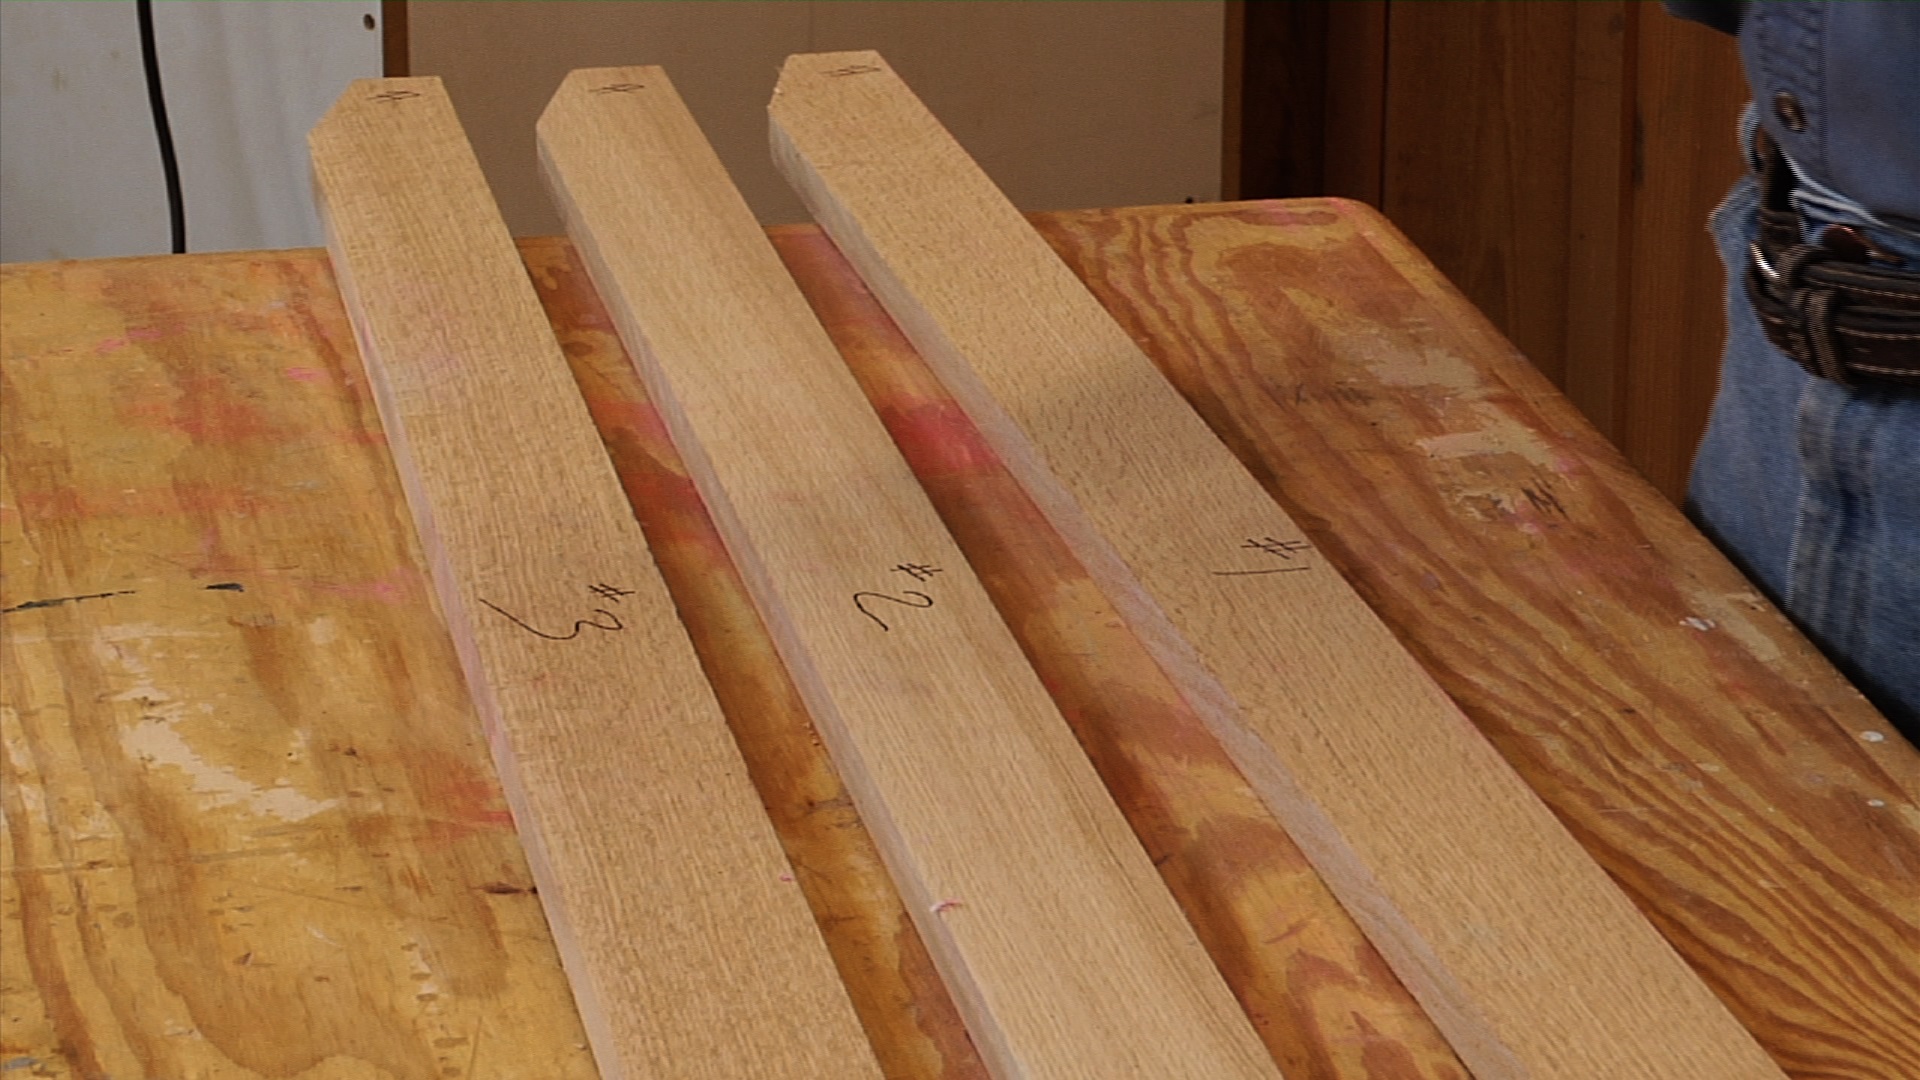
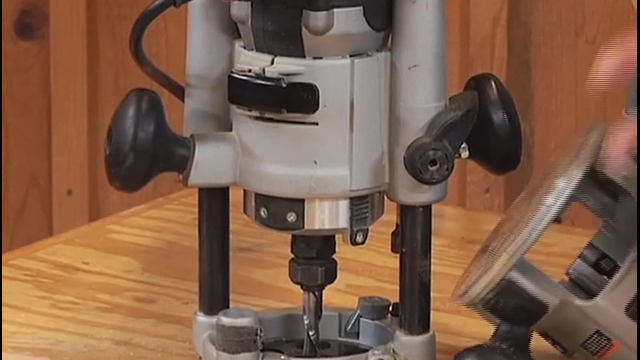
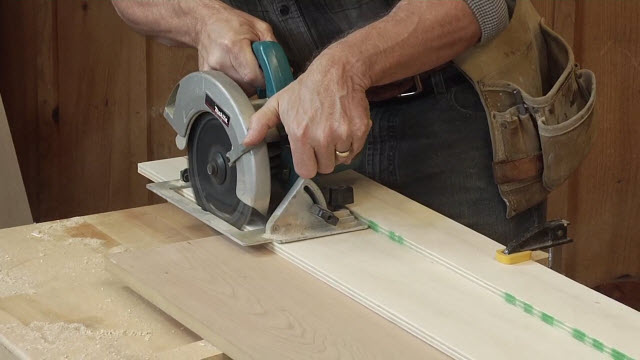
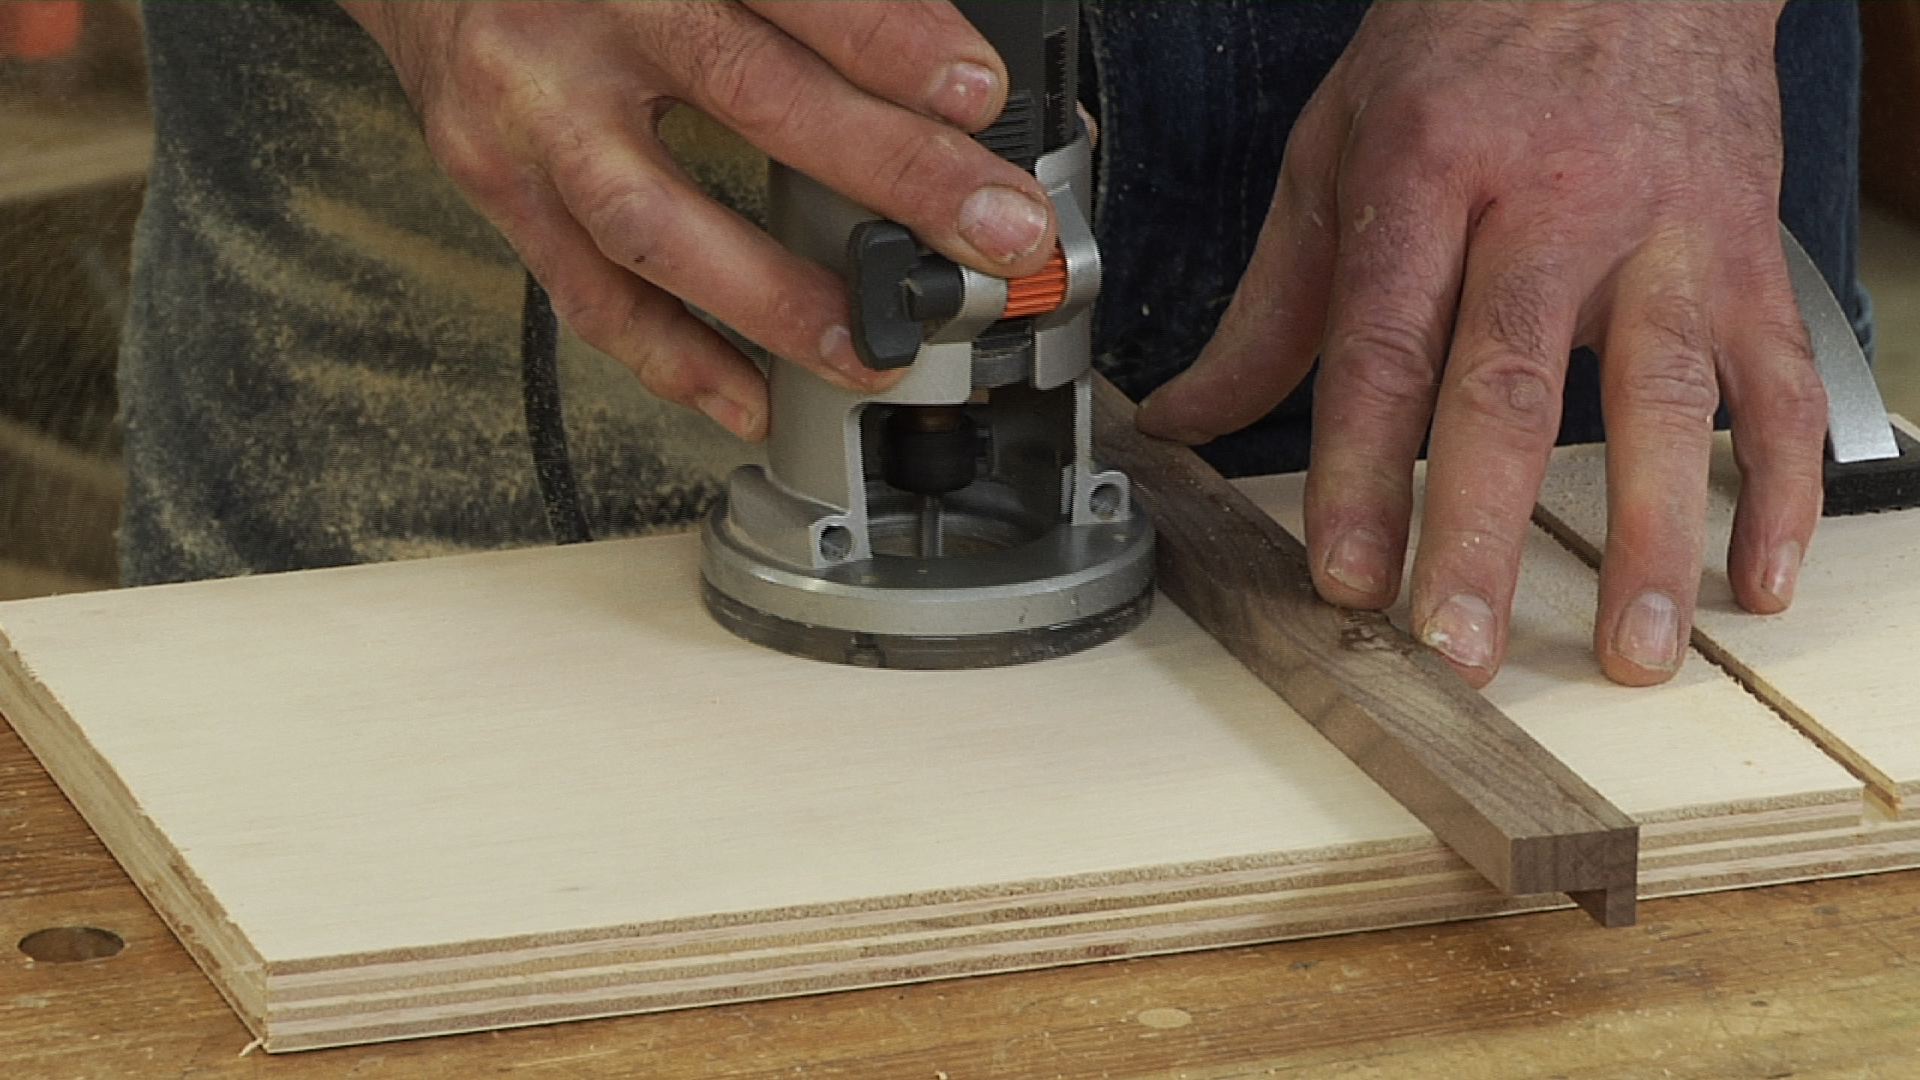
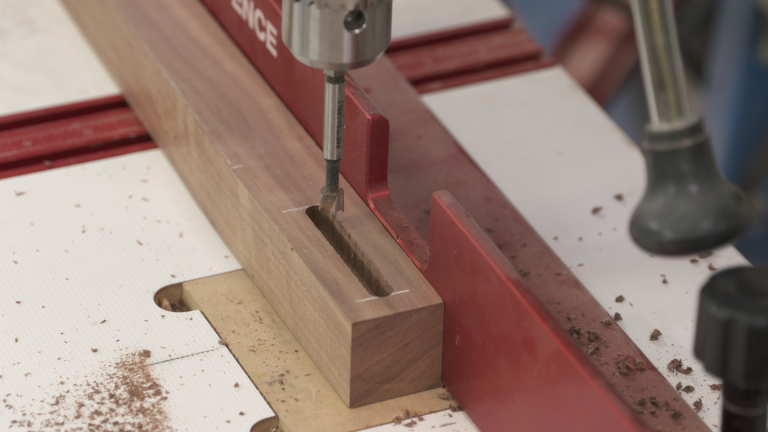
When the capacity of a board is too much for your jointer, George recommends jointing with the most versatile tool in your shop; the router. Jointing with a router is an economical way to achieve a seamless joint on any size of lumber that you might be working with. Sound tricky? Well, jointing with a router is a lot easier than it might seem if you follow a few basic rules:
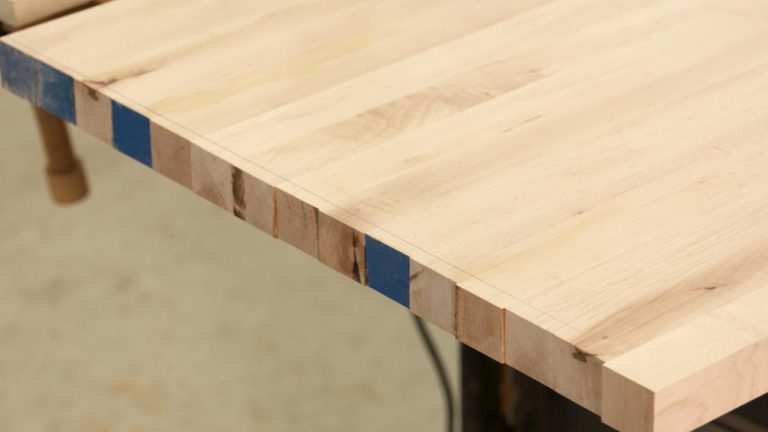
Use a long straight edge. Jointing with a router requires a straight edge that is longer than the pieces that you want to joint. It doesn’t have to be perfectly straight, but it does have to be long.
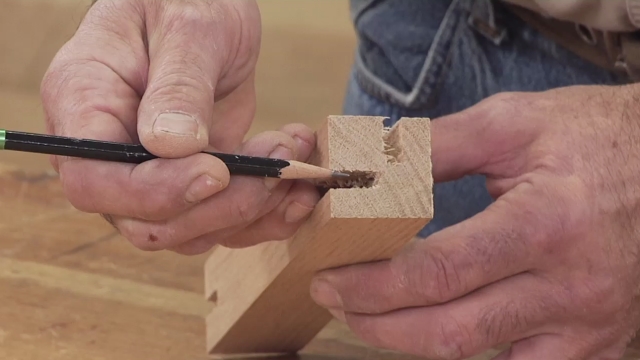
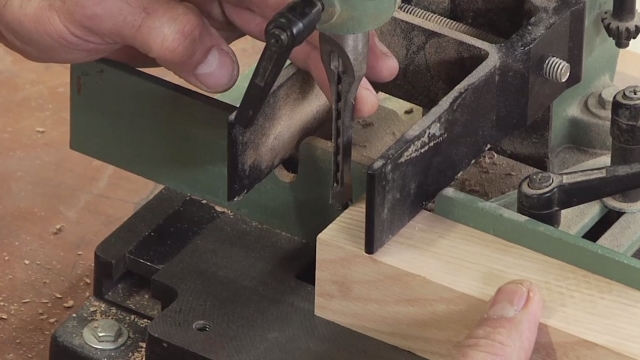
Take a light cut. As with any routing operation, jointing with a router works best with multiple light passes if a lot of material needs to be removed.
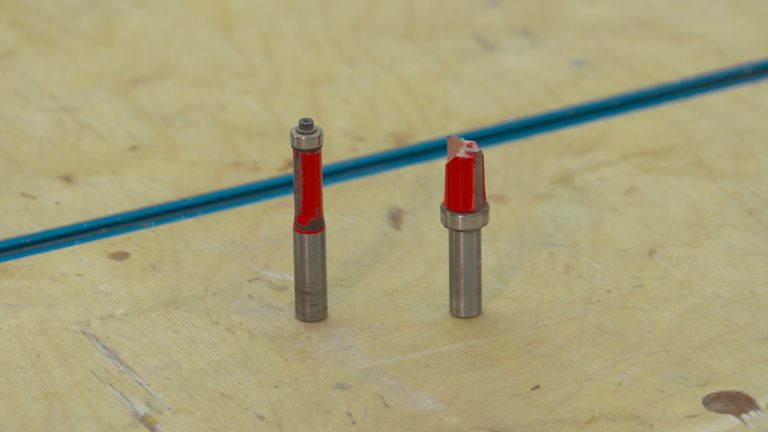
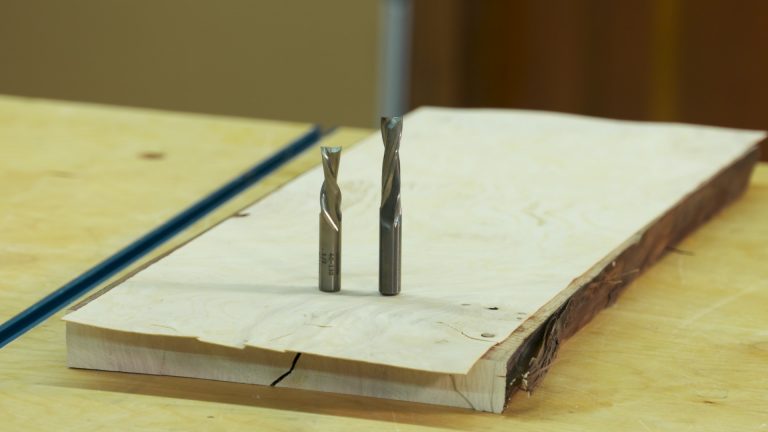
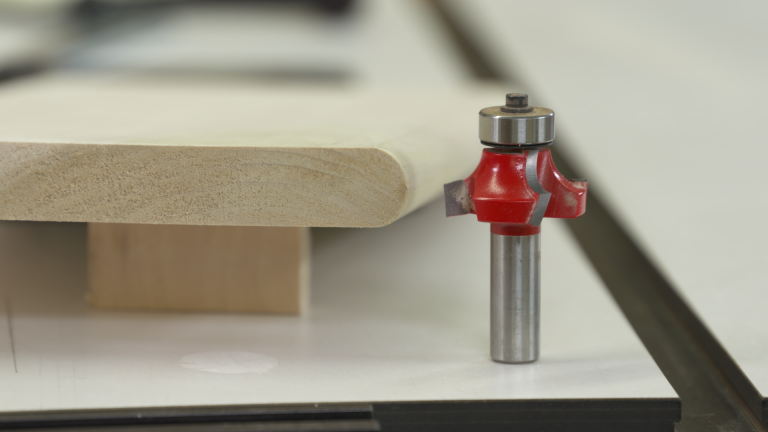
Larger bits work better. A larger diameter bit uses a gentler cutting angle and create a smoother jointed surface.
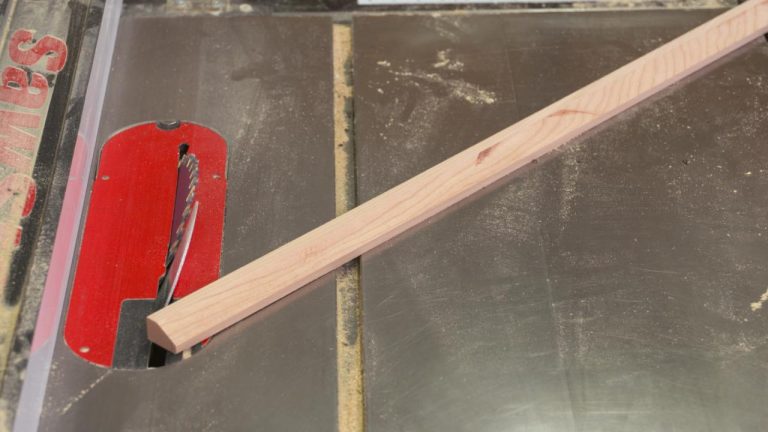
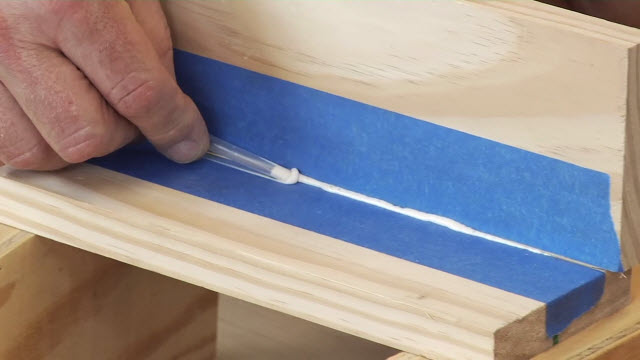
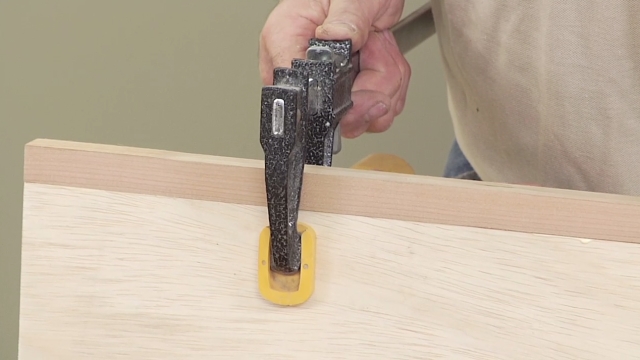
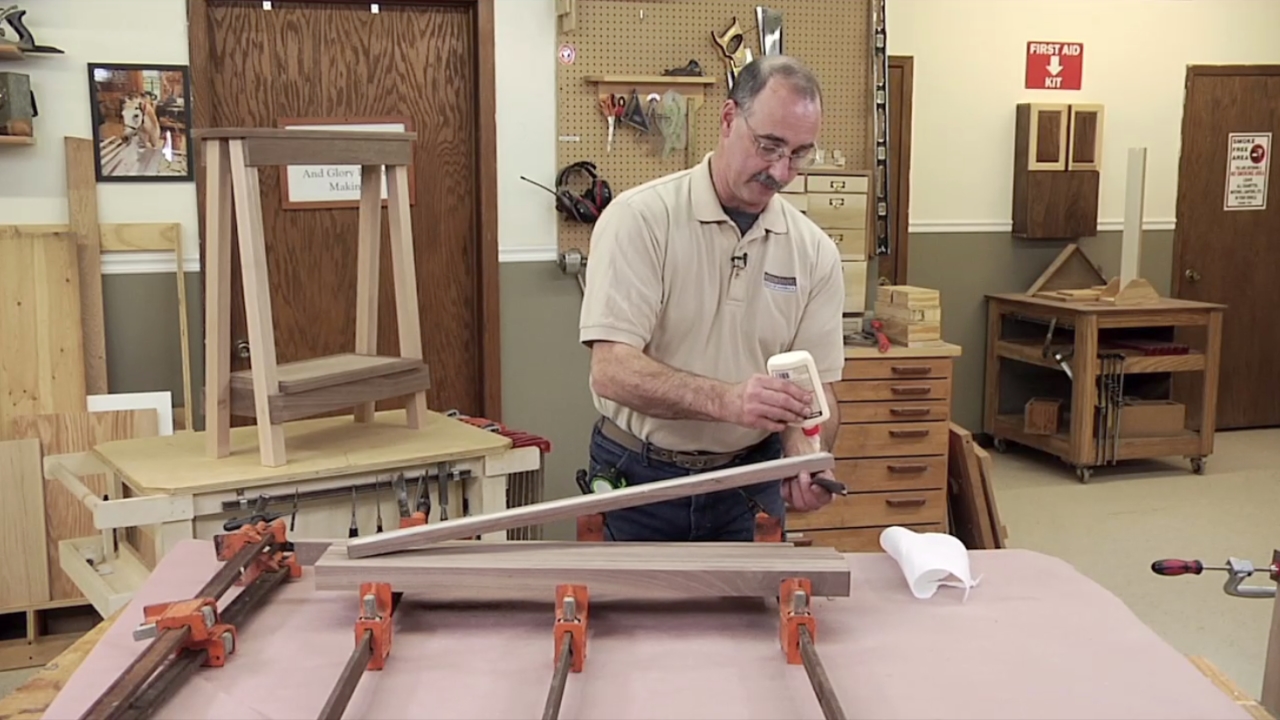
This skill will enable you to build that huge dining table, or any other project that requires a large glued up panel. If this sounds interesting and you want to learn more, we have more information on jointing with a router, and tons more router videos in general.
Explore videos by George Vondriska


You may be interested in


Premium Membership
Unlock exclusive member content from our industry experts.
- 24/7 Access to Premium Woodworking Videos, Projects, and Tips
- Step-by-Step Instructional Demos, Plans, and Tutorials
- 50% Off Video Downloads Purchased in the Woodworkers Guild of America Shop
- 2 Printable Woodworking Plans
Unlock exclusive member content from our industry experts.
- 24/7 Access to Premium Woodworking Videos, Projects, and Tips
- Step-by-Step Instructional Demos, Plans, and Tutorials
- 50% Off Video Downloads Purchased in the Woodworkers Guild of America Shop
- 2 Full-Length Video Downloads to Watch Offline
- 2 Printable Woodworking Plans
Gold Membership
$370 Value
Get everything included in Premium plus exclusive Gold Membership benefits.
- 24/7 Access to Premium Woodworking Videos, Projects, and Tips
- Step-by-Step Instructional Demos, Plans, and Tutorials
- 8 Full-Length Video Downloads to Watch Offline
- 3 Full-Length Woodworking Classes to Keep for Life
- 7 Printable Woodworking Plans
- Discounts on Purchase-to-Own Content in the Woodworkers Guild of America Shop
- Access to Ask the Expert Program
- Exclusive GOLD LIVE Streaming Events