
Build a Tiled Table Part 3: Sand, Finish, and Install the Tile
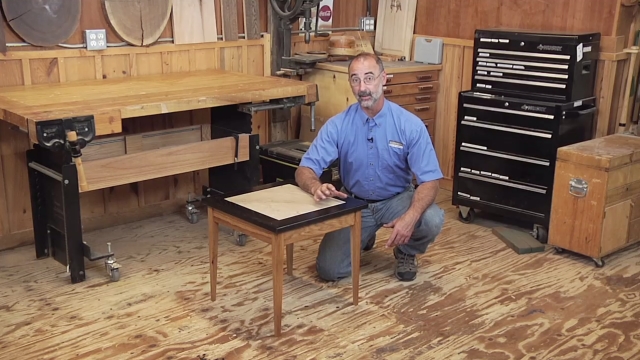
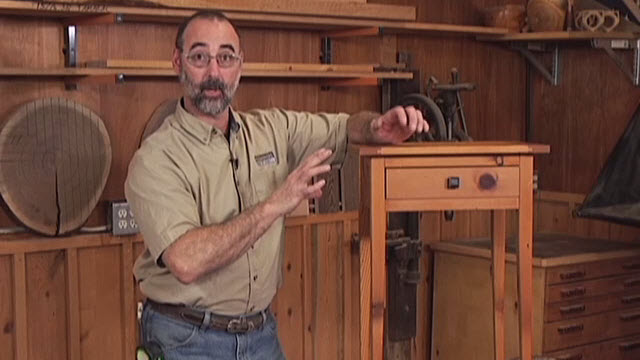
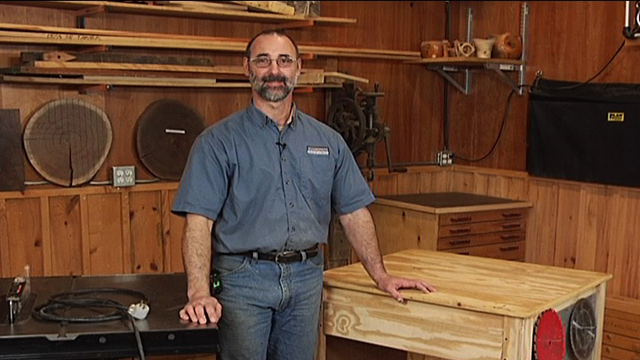
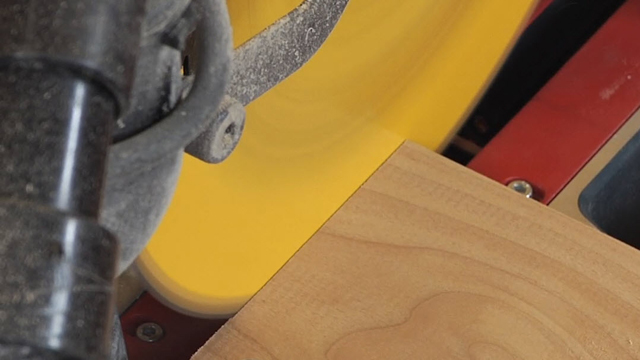
George VondriskaIn the final installation of our three-part series on building a tiled sofa table, George vondriska teaches you how to sand and finish the wooden carcass of the table and then install the tile into the frame that you created in the second step. He demonstrates the proper technique for using a handheld sander to remove any milling marks or pencil lines, CA glue and sawdust to fill cracks leftover from your mitering, and hot glue to affix the tile top to the table. And tada, you have a handsome table to set your cups and bottles on without the need for a coaster.
Titebond Original Wood Glue and HiPURformer Adhesive Applicator provided by Titebond. For more information, visit www.titebond.com.
More Videos from Titebond:
Part 1: Build a Tiled Table – Rail and Leg Assembly
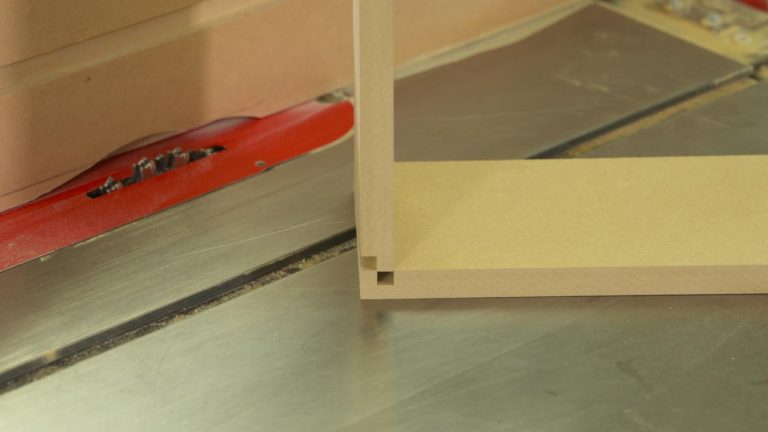
Part 2: Build a Tiled Table – Frame the Tile
How To Install Crown Molding on Cabinets
How to build a Birdhouse
Adding Accents to Outdoor Products
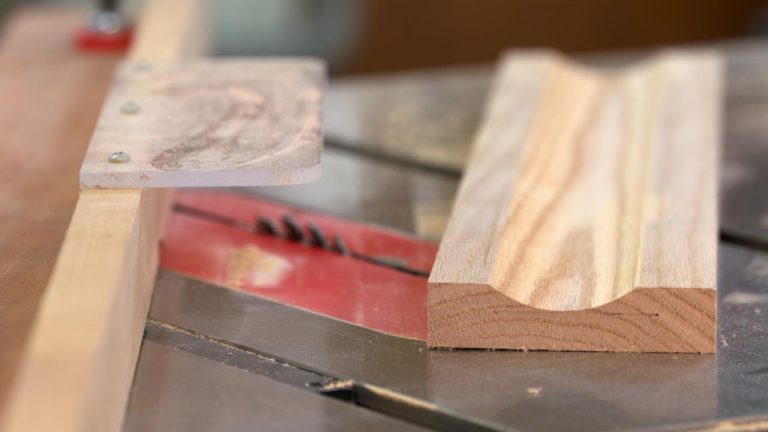
Calculating Wood Dimensions for Outside Corners
Super Finishing for Turning
Adhere Ceramic Tile to Wood
Create a Crackle Finish on Wood
Share tips, start a discussion or ask one of our experts or other students a question.
Already a member? Sign in
6 Responses to “Build a Tiled Table Part 3: Sand, Finish, and Install the Tile”
Explore videos by George Vondriska


You may be interested in


Premium Membership
Unlock exclusive member content from our industry experts.
- 24/7 Access to Premium Woodworking Videos, Projects, and Tips
- Step-by-Step Instructional Demos, Plans, and Tutorials
- 50% Off Video Downloads Purchased in the Woodworkers Guild of America Shop
- 2 Printable Woodworking Plans
Unlock exclusive member content from our industry experts.
- 24/7 Access to Premium Woodworking Videos, Projects, and Tips
- Step-by-Step Instructional Demos, Plans, and Tutorials
- 50% Off Video Downloads Purchased in the Woodworkers Guild of America Shop
- 2 Full-Length Video Downloads to Watch Offline
- 2 Printable Woodworking Plans
Gold Membership
$370 Value
Get everything included in Premium plus exclusive Gold Membership benefits.
- 24/7 Access to Premium Woodworking Videos, Projects, and Tips
- Step-by-Step Instructional Demos, Plans, and Tutorials
- 8 Full-Length Video Downloads to Watch Offline
- 3 Full-Length Woodworking Classes to Keep for Life
- 7 Printable Woodworking Plans
- Discounts on Purchase-to-Own Content in the Woodworkers Guild of America Shop
- Access to Ask the Expert Program
- Exclusive GOLD LIVE Streaming Events
I feel like I hear you say in the video that you flip the top of the table before attaching it to the legs and rails and after installing the MDF piece into the top piece. Is that right? Do you put the MDF piece in placed on the rabbets that were cut then flip the whole top of the table before attaching it to the rails and legs?
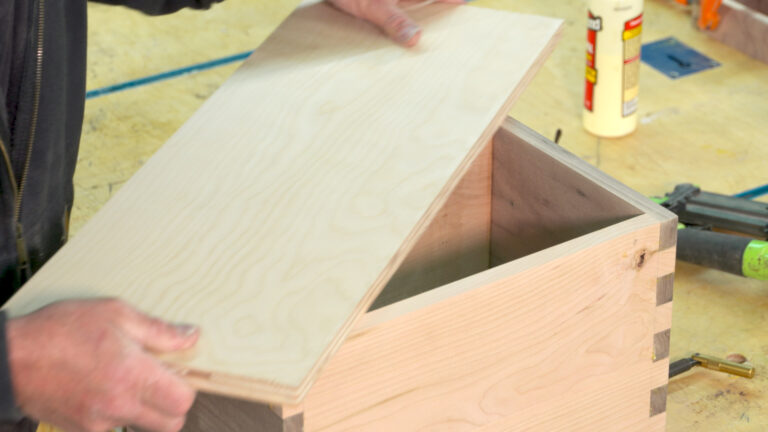
George, I'm a fairly newcomer to woodworking and in the process of building this table, how did you fasten the 1/4" mdf to the bottom of the top? I really enjoy your videos on this project
Great project, George. But following up on Ed's water spill comment, may I suggest replacing the MDF tile substrate with 1/4 ply? I think its prudent practice to avoid MDF entirely on anything that has a chance of getting wet - unless maybe you want a raised tile top...
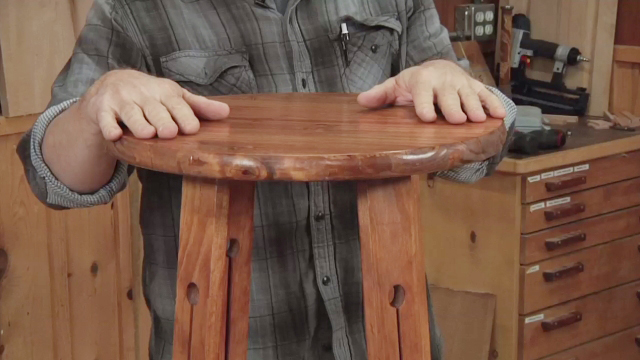
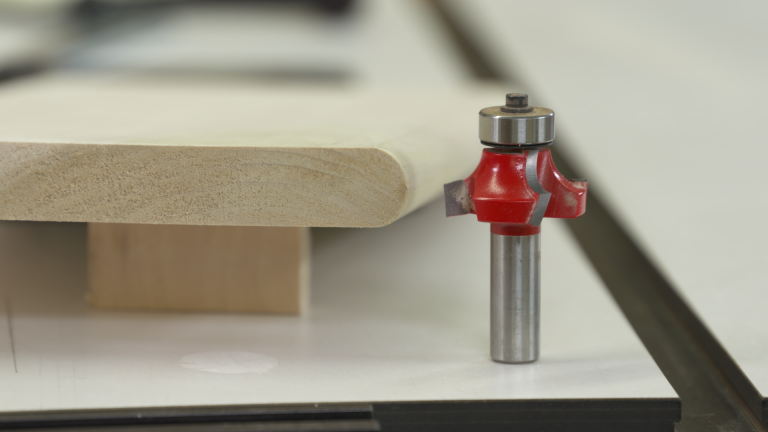
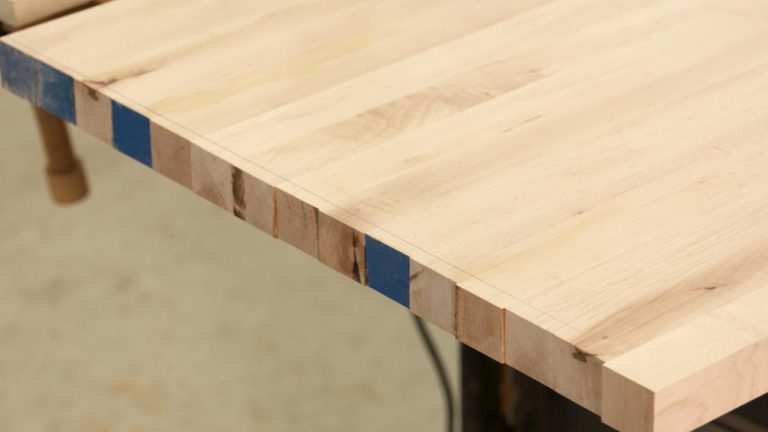
Did you roundover or somehow soften the outer edges of the table top? From the video image, that appears to be the case, but I saw no mention of that in the videos.
I would be concerned about liquid spills dripping between the tile and the frame.
awesome 3 part series. simple construction and assembly. I made a coffee table with 12 inch floor tiles and this gives me some good ideas for an end table. thanks