
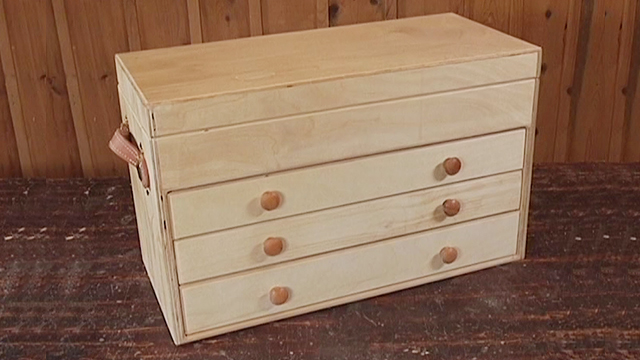
Build a Veneer Lid Box
George VondriskaThis box is a simple project, but a few things help it stand out: it’s simple to build, its contrasting woods make it visually interesting, and adding a layer of veneer is easy and beautiful.
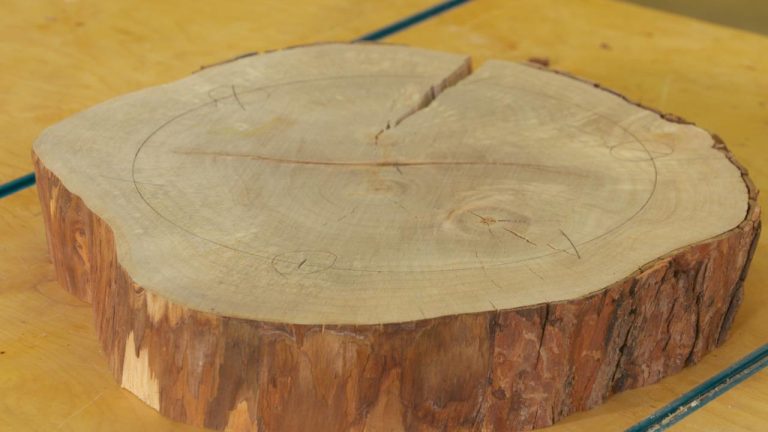
Cut list:
– Ends ⅝” x 5-1⁄<sub2” x 4-⅞”
– Front and back ⅝” x 5-½” x 8-¾”
– Bottom ¼” x 4-13⁄16” x 8-1⁄16”
– Lid ⅝” x 5-¾” x 9”
Joinery
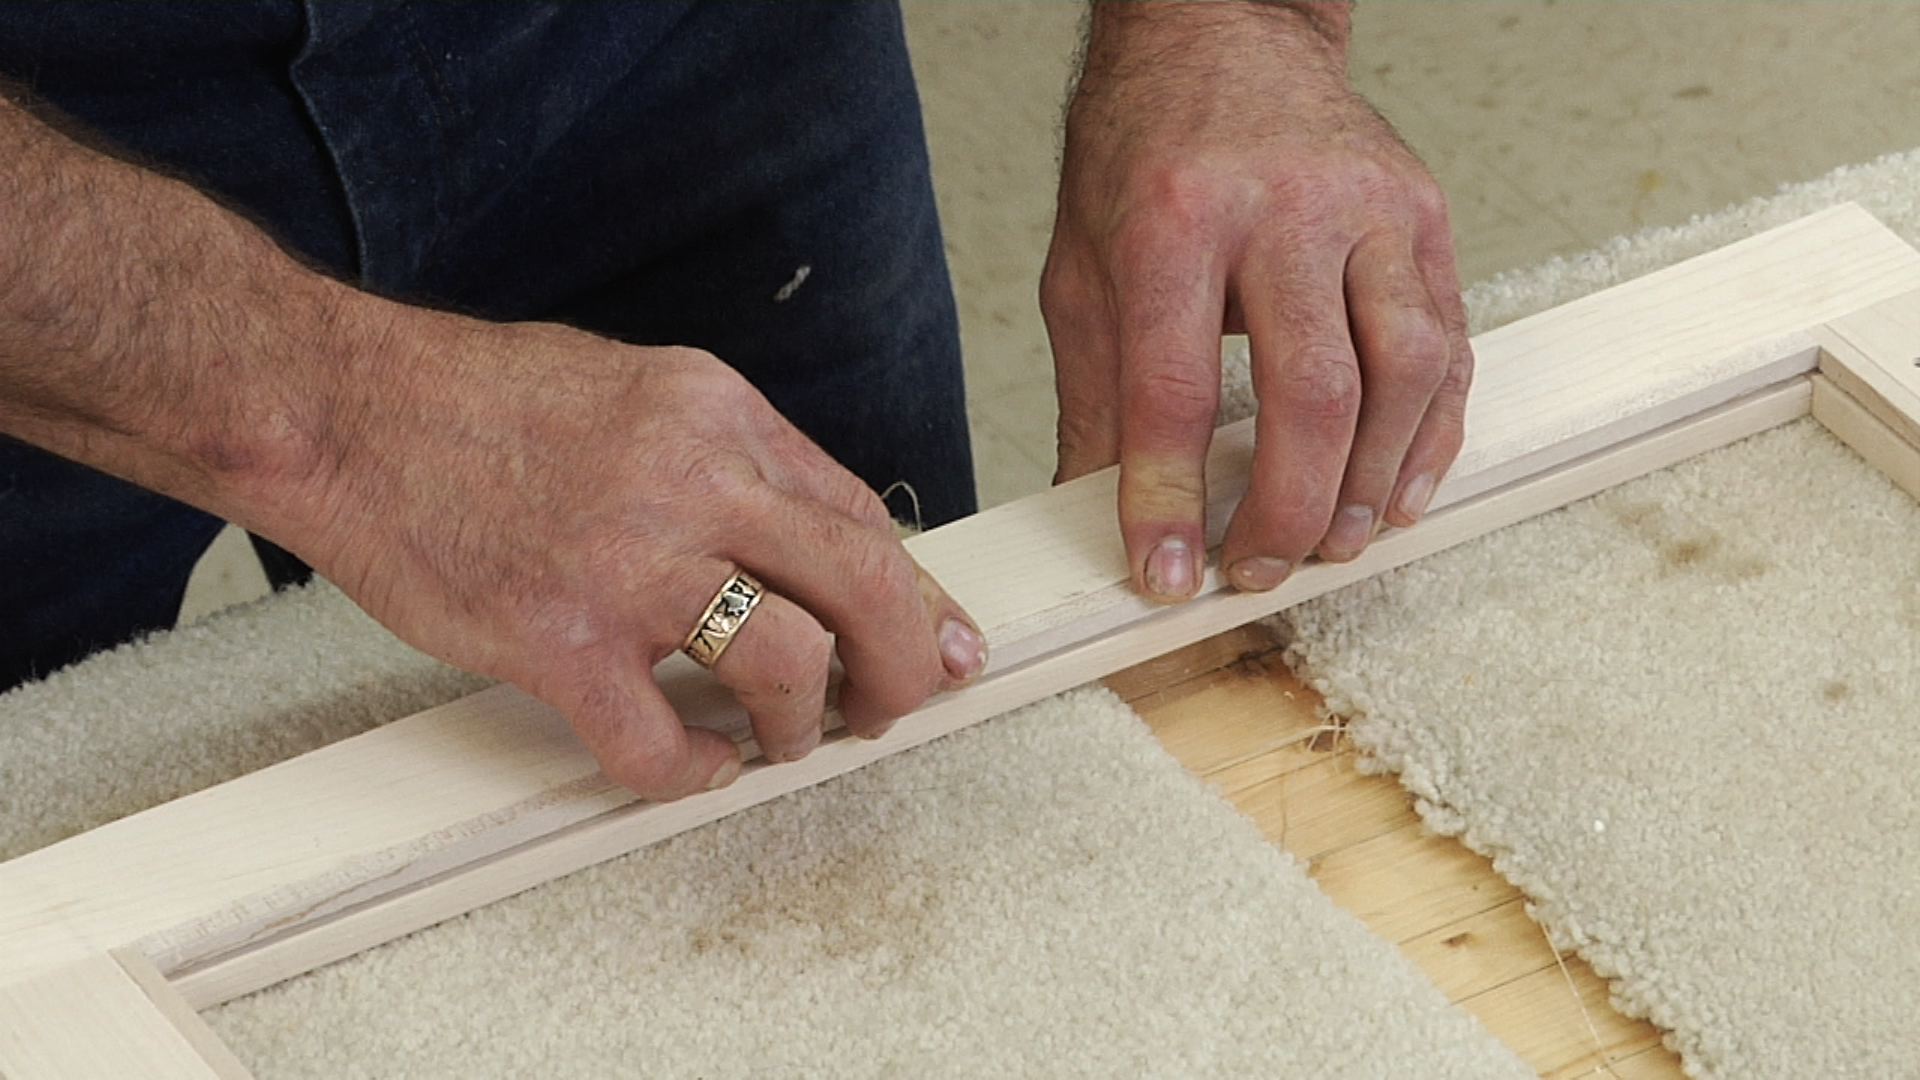
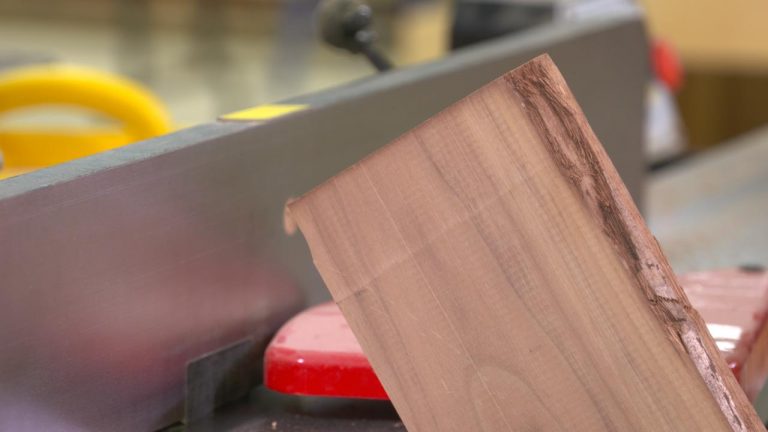
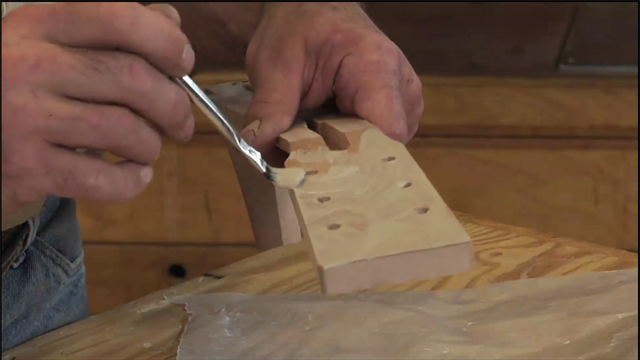
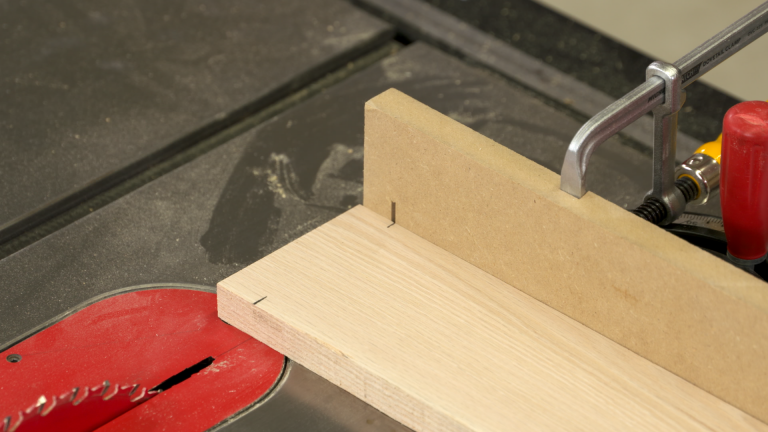
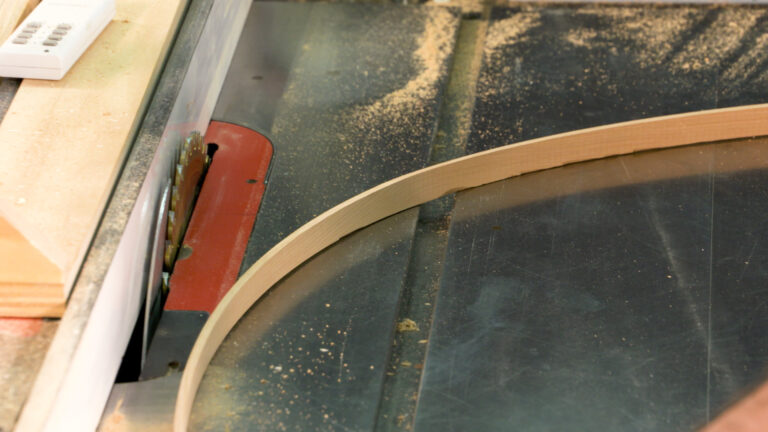
All the joinery can be done on the router table. Cut a 5/16” deep by ⅝” wide rabbet on the front and back using a ¾” bit. Be sure to use a backer board to prevent chipping. Use a ¼” bit to cut the groove for the bottom, which is also 5⁄16” deep, ¼” from the bottom edge. Do this to all four pieces, keeping the rabbeted faces of the front and back down on the router table. The rabbet in the lid is ¼” x ¾”. Be sure to test the fit to make certain the lid fits on the box. Cut a ¼” x ¼” chamfer on the top of the lid using a chamfer bit.
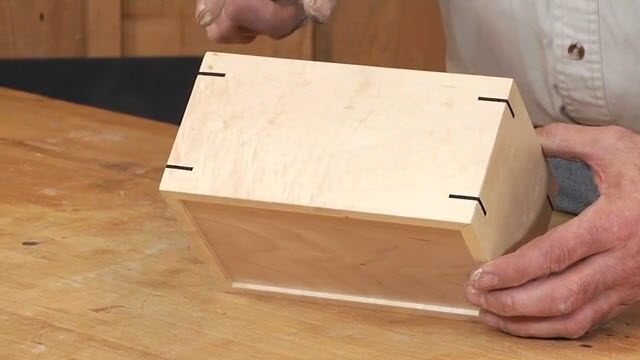
Assemble
Sand the inside faces and assemble the box. Double-check the dimensions of the bottom before installing it and gluing the box together. Standard yellow glue works fine for this.
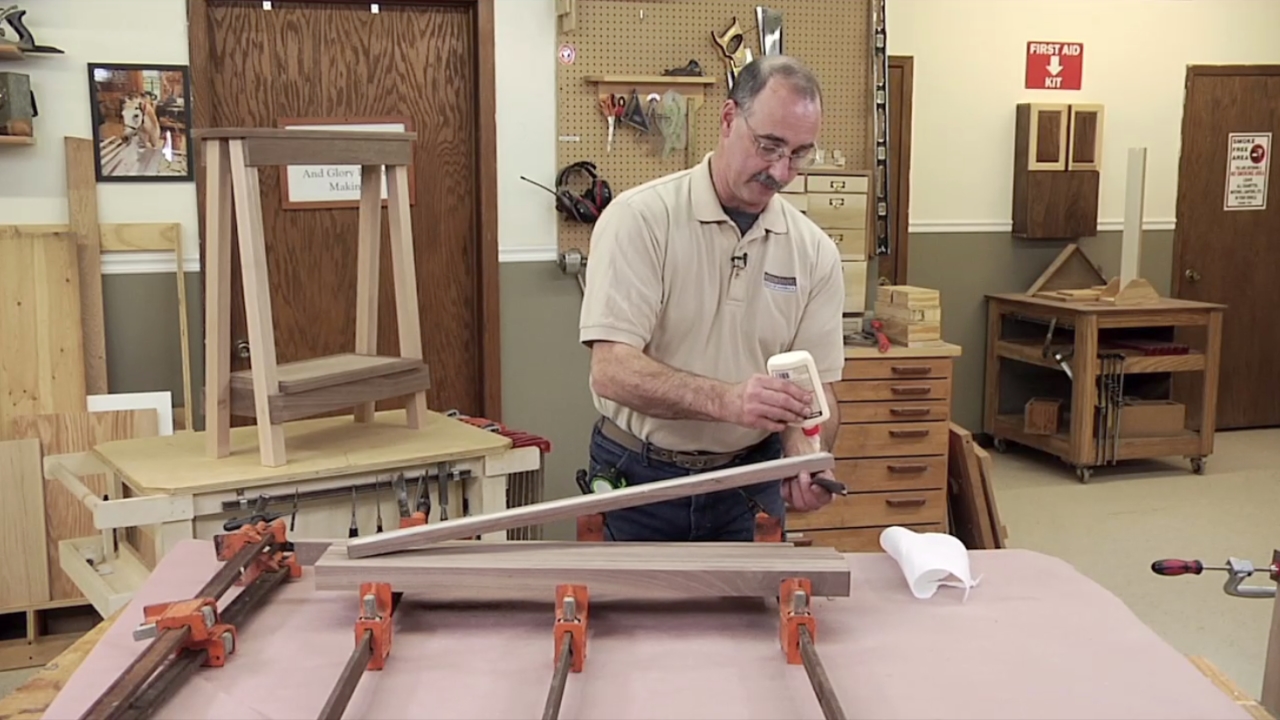
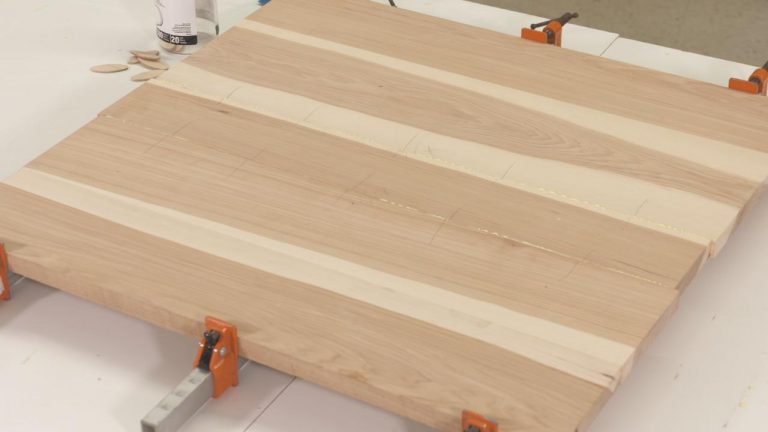
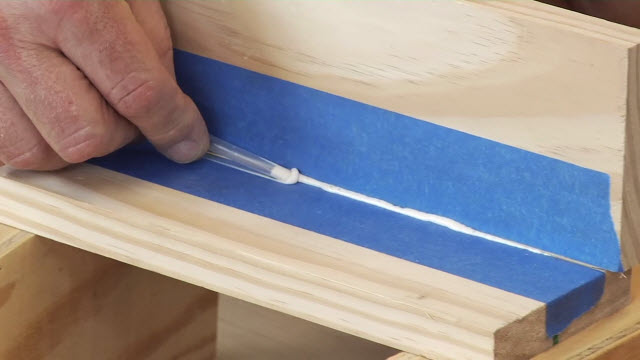
Veneer the lid
If you get a mixed pack of veneers, you’ll have lots of species to choose from. Leave the lid and veneer oversize and cut them to size after the veneer is on. Be sure to use wax paper between the veneer and caul when you glue them up.
More veneering
If you enjoyed this project, check out our veneered-face clock.
More info
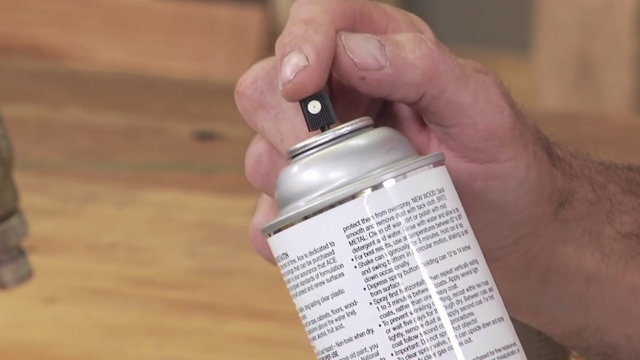
For more information on Titebond products, call (800) 669-4583 or visit the company’s website.
Share tips, start a discussion or ask one of our experts or other students a question.
Already a member? Sign in
6 Responses to “Build a Veneer Lid Box”
Explore videos by George Vondriska


You may be interested in


Premium Membership
Unlock exclusive member content from our industry experts.
- 24/7 Access to Premium Woodworking Videos, Projects, and Tips
- Step-by-Step Instructional Demos, Plans, and Tutorials
- 50% Off Video Downloads Purchased in the Woodworkers Guild of America Shop
- 2 Printable Woodworking Plans
Unlock exclusive member content from our industry experts.
- 24/7 Access to Premium Woodworking Videos, Projects, and Tips
- Step-by-Step Instructional Demos, Plans, and Tutorials
- 50% Off Video Downloads Purchased in the Woodworkers Guild of America Shop
- 2 Full-Length Video Downloads to Watch Offline
- 2 Printable Woodworking Plans
Gold Membership
$370 Value
Get everything included in Premium plus exclusive Gold Membership benefits.
- 24/7 Access to Premium Woodworking Videos, Projects, and Tips
- Step-by-Step Instructional Demos, Plans, and Tutorials
- 8 Full-Length Video Downloads to Watch Offline
- 3 Full-Length Woodworking Classes to Keep for Life
- 7 Printable Woodworking Plans
- Discounts on Purchase-to-Own Content in the Woodworkers Guild of America Shop
- Access to Ask the Expert Program
- Exclusive GOLD LIVE Streaming Events
This a great project for a beginner like me. I don't have a router, so how would I build this? What joint would work here? Thanks
Even though you say to use a back for a push block to prevent tear out on the router table, after you make the first cut there is no back board there any more to prevent it or is it the sides that still support there is what is helping. Thanks, Alan
But how do you cut it to size with the oversized veneer? That was the part I was most interested in. The ends had overhanging veneer that couldn't safely butt up against a table saw fence...
Whenever you add veneer to a surface ( Especially a piece of solid wood) you have to add a piece of veneer to the opposite side to “Balance” , the panel. Not doing this will make the panel warp and twist out of shape.
Were the bottom grooves unglued for expansion? Not needed because the box is small? Wood they be glued or nailed if the box were bigger and holding weight like a tool box?
This is a great use of veneer, I have found a simple way, thinly apply glue to both the lid and the veneer, let it dry and activate both glued surfaces with an ordinary household iron.