
Custom Clock Tutorial: Master Woodworking Basics
George VondriskaLooking for a DIY clock project you can craft quickly? Dive into our step-by-step video tutorial and create a custom clock perfect for a shelf or nightstand.
Key Skills Acquired
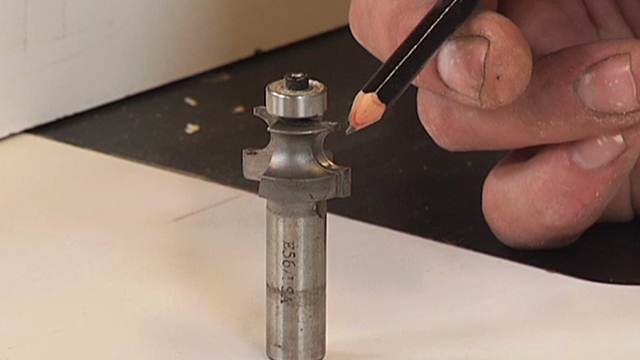
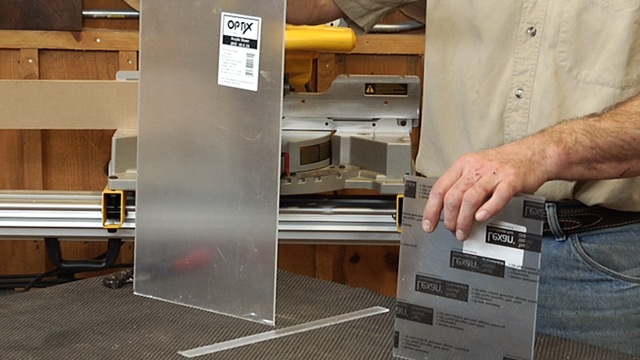
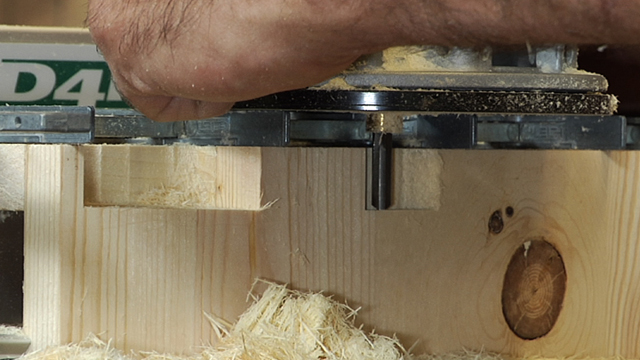
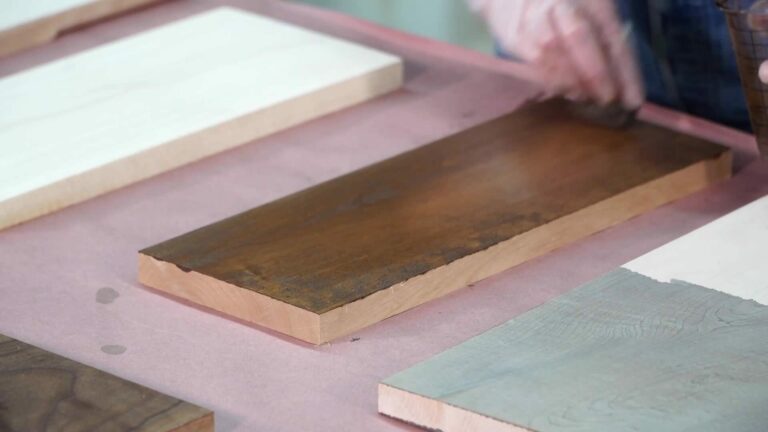
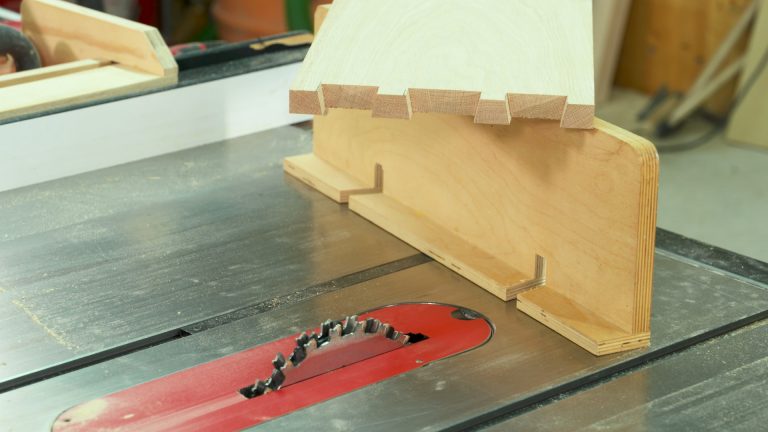
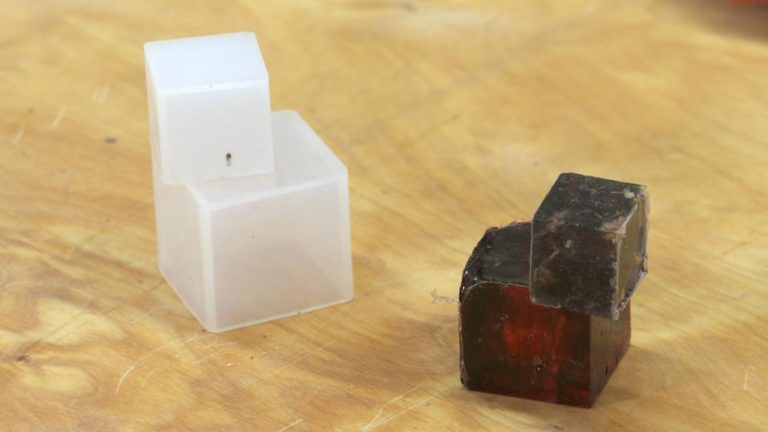
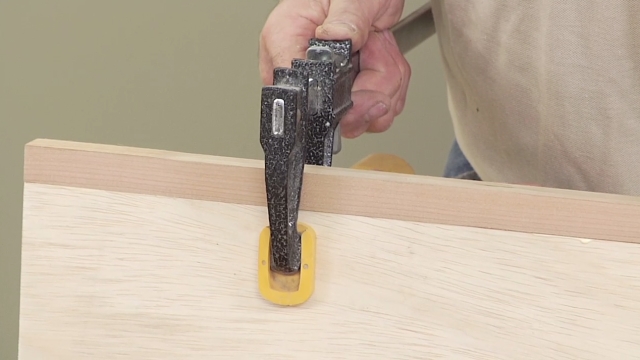
Master essential woodworking techniques with this project. Learn the art of applying veneer with the right tools and discover the importance of using a caul for a smooth finish. This DIY clock guide also offers insights on the ideal adhesive for attaching a brass rod, used to mark 12:00, to a wooden surface. Plus, get hands-on experience with the rub joint method, essential for attaching the kickstands securely.
DIY Clock Dimensions & Details
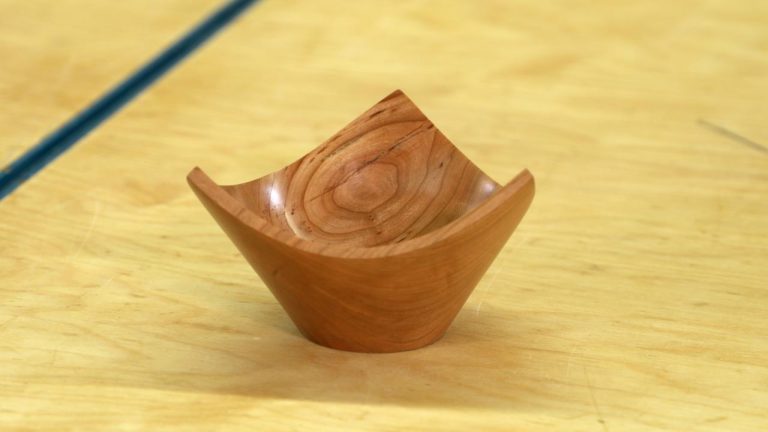
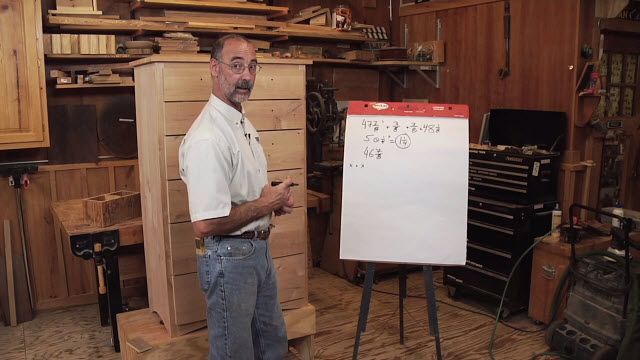
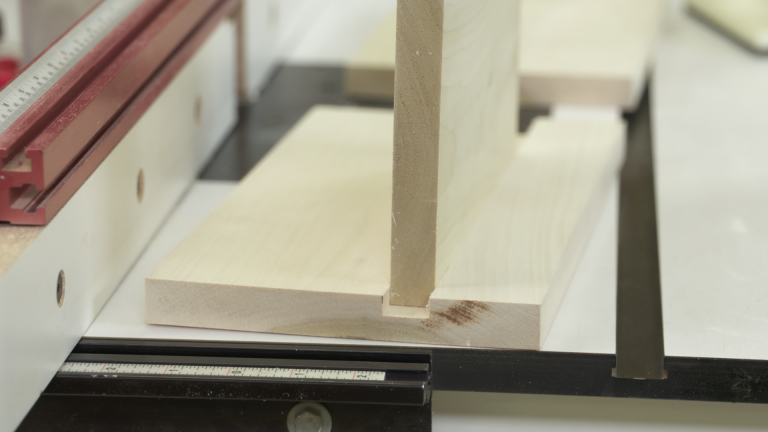
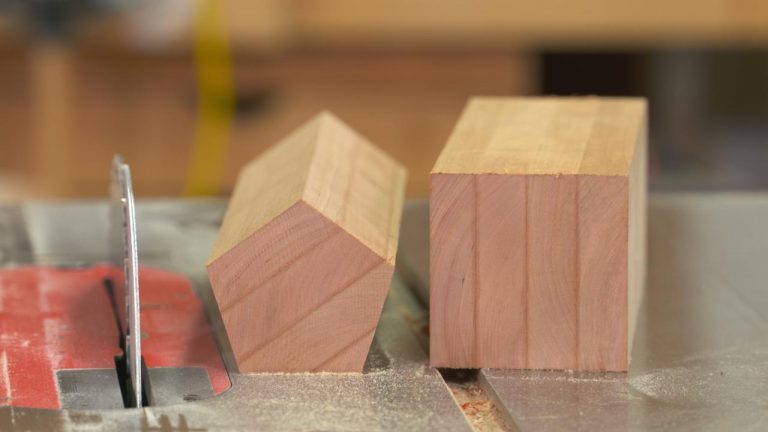
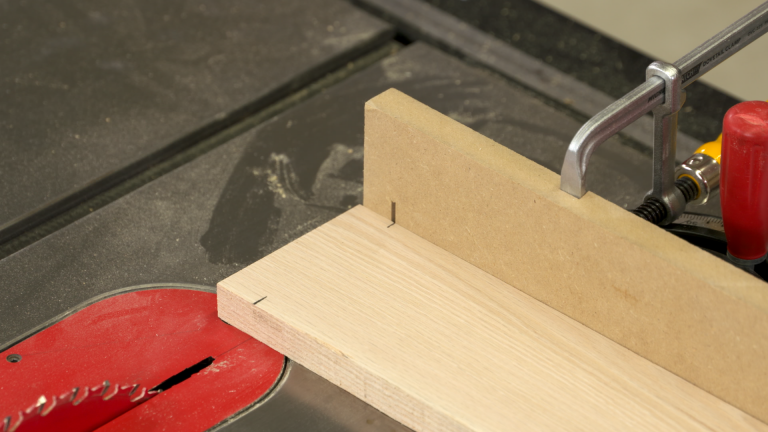
Customize your clock’s size based on your preference. Here’s a quick look at our design: the face measures ¾” x 7” x 7”. The supporting kickstands are crafted with dimensions of ⅝” thickness, 4” length, with a width varying between 2-¼” and ¾”. These are cut with a precise 10-degree angle. Adding a ¼” chamfer around the clock provides an elegant finishing touch to the edge.
Explore More Woodworking Projects
At WoodWorkers Guild of America, we offer a plethora of woodworking designs, ranging from beginner-friendly tasks to advanced projects. Whether you’re intrigued by lathe work, keen on crafting cabinets, or eyeing furniture designs, we’ve got something for every enthusiast. Short on time? Browse our curated list of quick woodworking gifts that promise to leave a lasting impression.
For in-depth insights on Titebond Original and Cyanoacrylate adhesives, check out www.titebond.com or get in touch at (800) 877-4583.
Unlock Your Woodworking Potential!
Sign up for our newsletter for endless woodworking inspiration! Become a member today and gain access to a world of craftsmanship.
Share tips, start a discussion or ask one of our experts or other students a question.
Already a member? Sign in
2 Responses to “Custom Clock Tutorial: Master Woodworking Basics”
Explore videos by George Vondriska


You may be interested in


Premium Membership
Unlock exclusive member content from our industry experts.
- 24/7 Access to Premium Woodworking Videos, Projects, and Tips
- Step-by-Step Instructional Demos, Plans, and Tutorials
- 50% Off Video Downloads Purchased in the Woodworkers Guild of America Shop
- 2 Printable Woodworking Plans
Unlock exclusive member content from our industry experts.
- 24/7 Access to Premium Woodworking Videos, Projects, and Tips
- Step-by-Step Instructional Demos, Plans, and Tutorials
- 50% Off Video Downloads Purchased in the Woodworkers Guild of America Shop
- 2 Full-Length Video Downloads to Watch Offline
- 2 Printable Woodworking Plans
Gold Membership
$370 Value
Get everything included in Premium plus exclusive Gold Membership benefits.
- 24/7 Access to Premium Woodworking Videos, Projects, and Tips
- Step-by-Step Instructional Demos, Plans, and Tutorials
- 8 Full-Length Video Downloads to Watch Offline
- 3 Full-Length Woodworking Classes to Keep for Life
- 7 Printable Woodworking Plans
- Discounts on Purchase-to-Own Content in the Woodworkers Guild of America Shop
- Access to Ask the Expert Program
- Exclusive GOLD LIVE Streaming Events
How do I begin to lay out the kick stands. Table saw, gig saw,router. Thanks, William
Why not veneer on the back to keep it from bowing the substrate?