
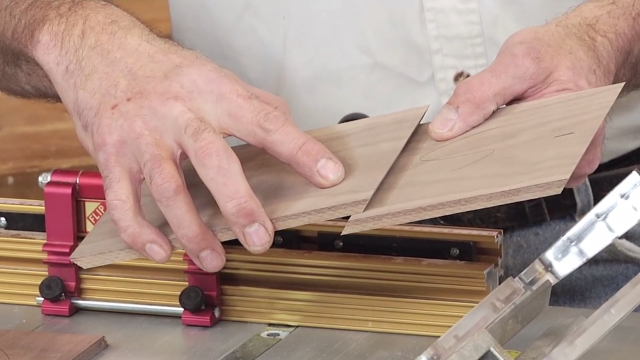
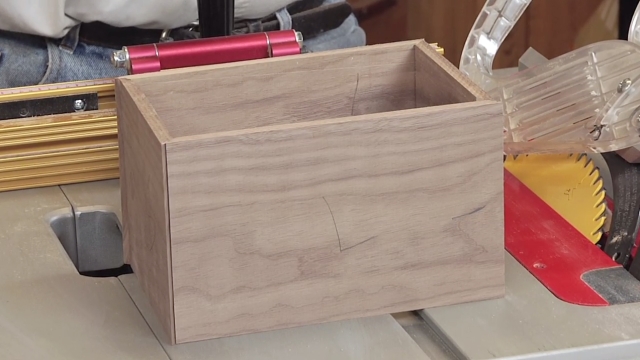
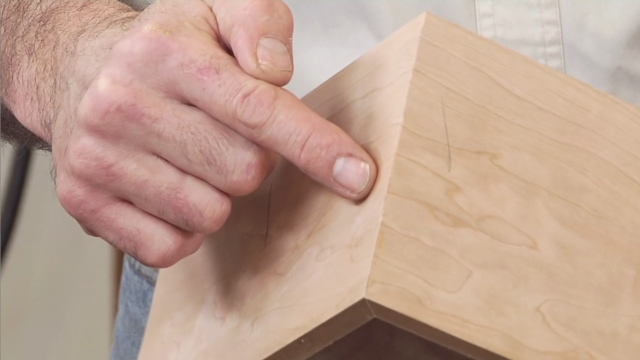
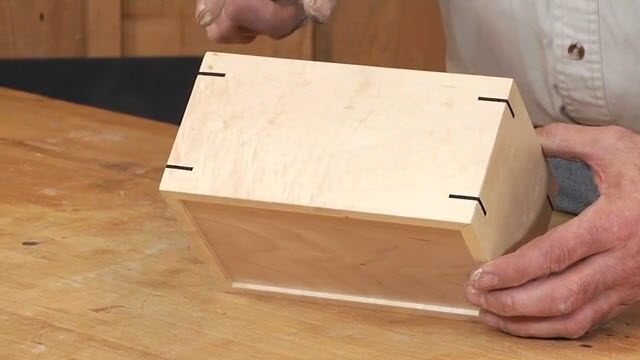
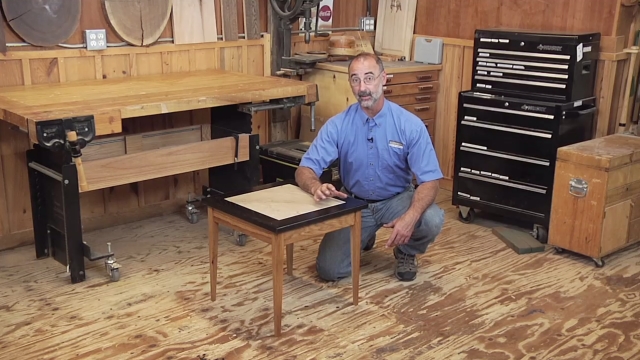
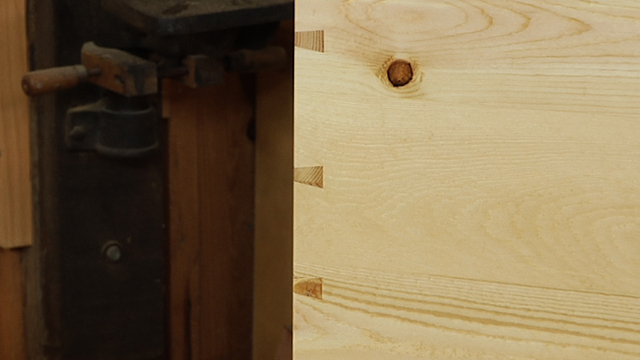
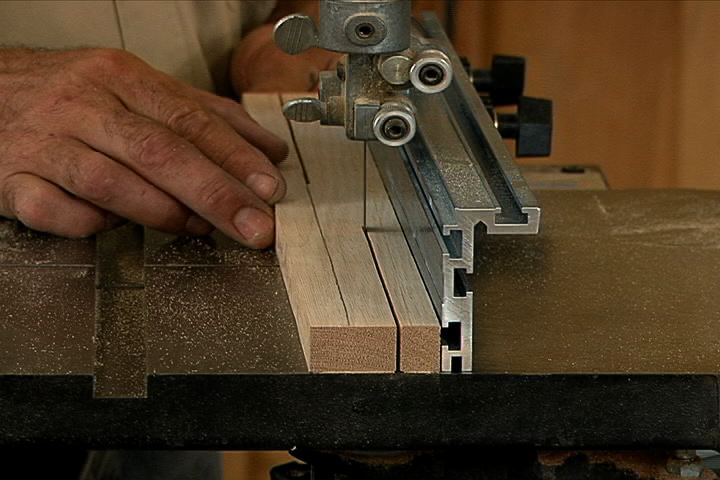
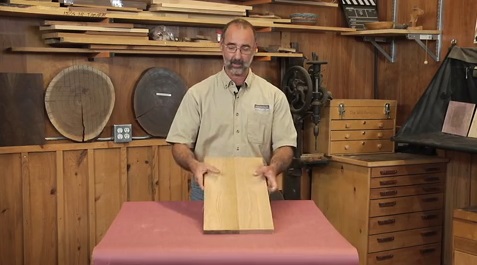
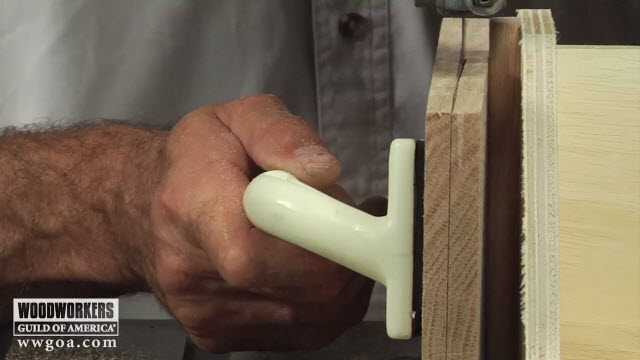
Make a Continuous Grain Box
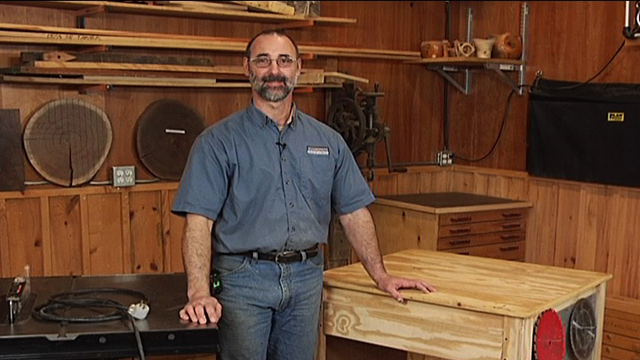
George VondriskaWoodworking expert George Vondriska demonstrates how to make a continuous grain box. A WoodWorkers Guild of America (WWGOA) original video.
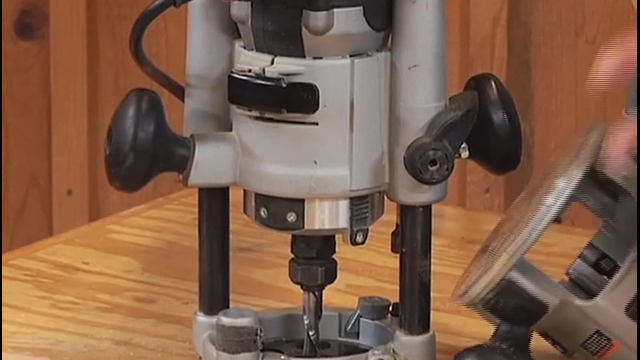
Dual Bevel Glide Miter Saw provided by Bosch. For more information, visit www.boschtools.com
More Videos from Bosch:
Function of Riving Knives for Table Saws
Finish Nailer Buying Advice
Tool Maintenance Using an Inspection Camera
Tips for Using a Finish Nailer
Plunge Cutting in a Countertop
Guitar Repair Using An Inspection Camera
Random Orbit Sander Buying Advice
Using Lithium Ion Batteries in Woodworking Tools
Table Saw Buying Guide
Share tips, start a discussion or ask one of our experts or other students a question.
Already a member? Sign in
6 Responses to “Make a Continuous Grain Box”
Explore videos by George Vondriska


You may be interested in


Premium Membership
Unlock exclusive member content from our industry experts.
- 24/7 Access to Premium Woodworking Videos, Projects, and Tips
- Step-by-Step Instructional Demos, Plans, and Tutorials
- 50% Off Video Downloads Purchased in the Woodworkers Guild of America Shop
- 2 Printable Woodworking Plans
Unlock exclusive member content from our industry experts.
- 24/7 Access to Premium Woodworking Videos, Projects, and Tips
- Step-by-Step Instructional Demos, Plans, and Tutorials
- 50% Off Video Downloads Purchased in the Woodworkers Guild of America Shop
- 2 Full-Length Video Downloads to Watch Offline
- 2 Printable Woodworking Plans
Gold Membership
$370 Value
Get everything included in Premium plus exclusive Gold Membership benefits.
- 24/7 Access to Premium Woodworking Videos, Projects, and Tips
- Step-by-Step Instructional Demos, Plans, and Tutorials
- 8 Full-Length Video Downloads to Watch Offline
- 3 Full-Length Woodworking Classes to Keep for Life
- 7 Printable Woodworking Plans
- Discounts on Purchase-to-Own Content in the Woodworkers Guild of America Shop
- Access to Ask the Expert Program
- Exclusive GOLD LIVE Streaming Events
Nicely done! I should do that as an exercise in setting up my saw at top precision!! You did use the word 'fold' at the start, and I thought you were going to get into the technique of cutting the miters not quite through and then actually folding the sides around the corners ... I have heard of this but never seen it ... has anybody else? Stay well and stay safe! John
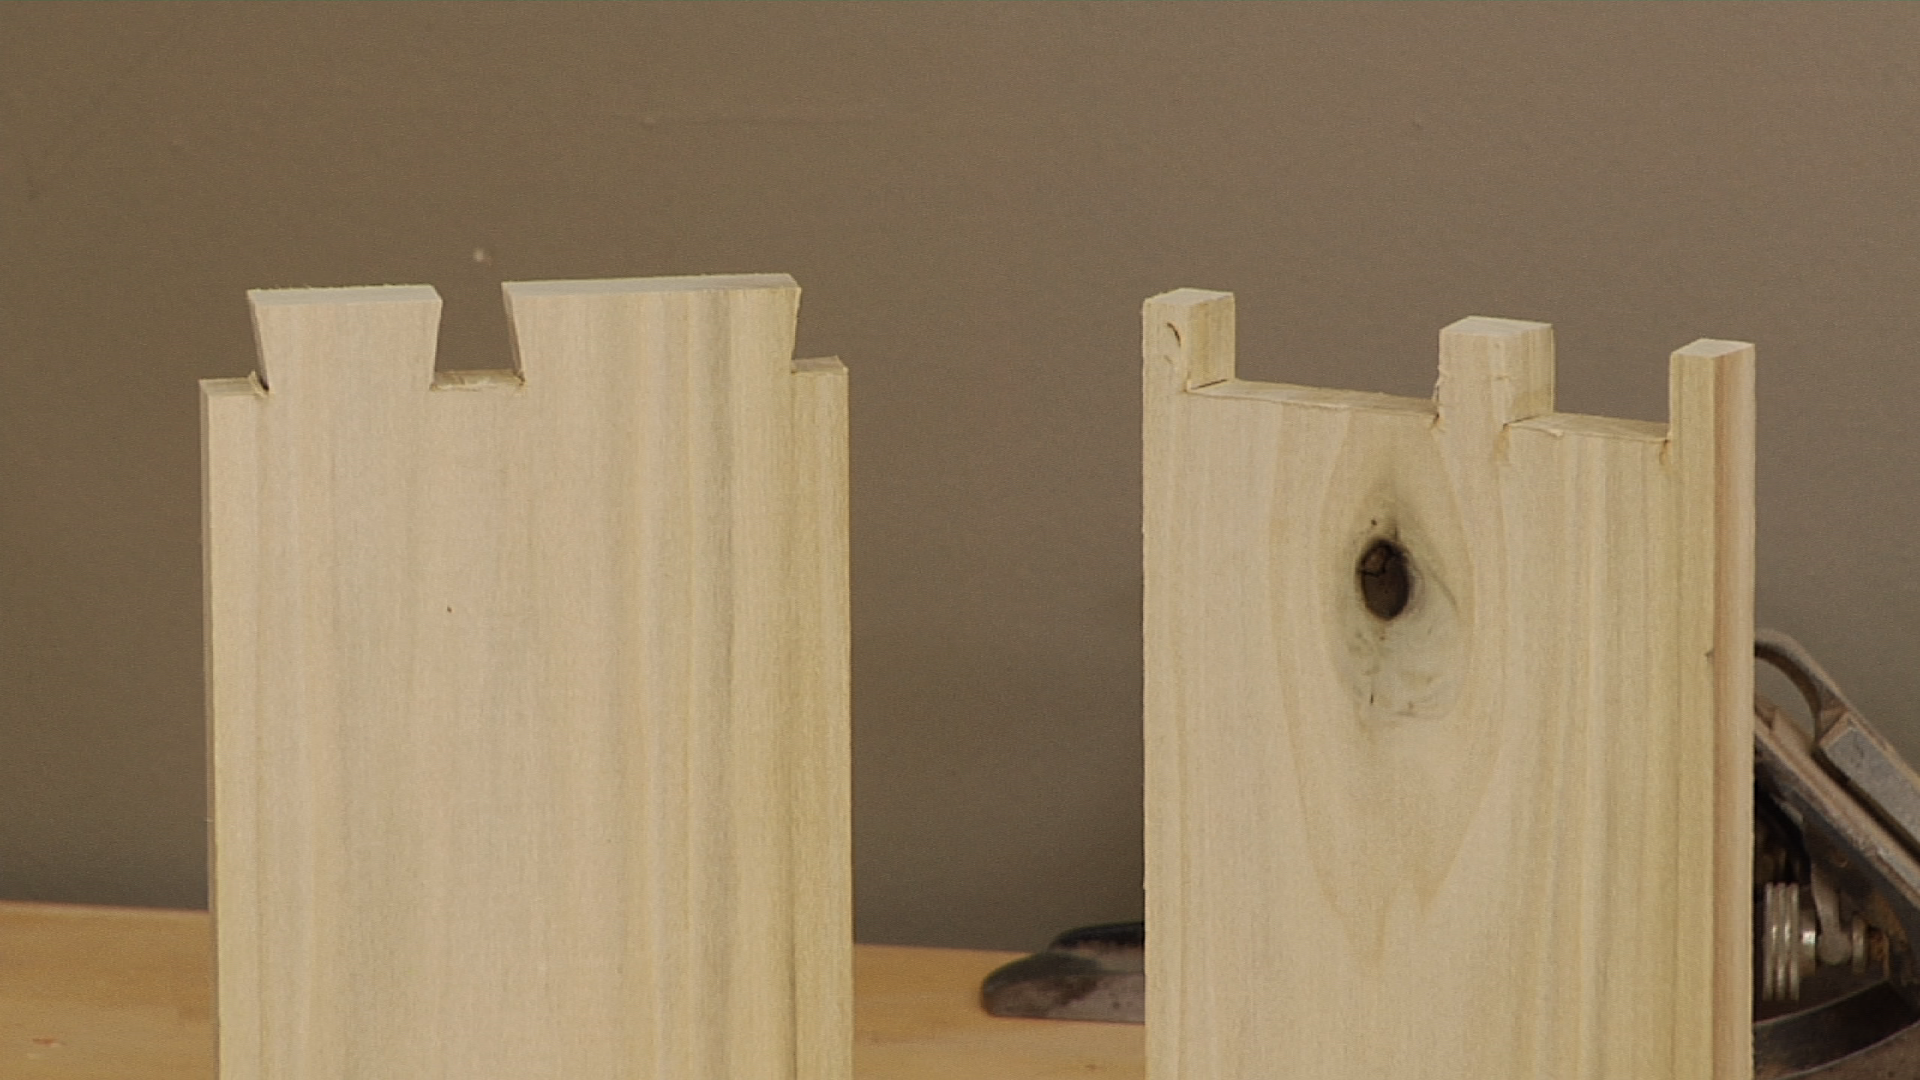
This approach yields a box with a three corner match, not really "continuous grain", as the fourth corner consists of the two extreme ends of the original board. To make a true "continuous grain" box with a four corner match you must first re-saw the board and then open in end to end before laying out the four sides.
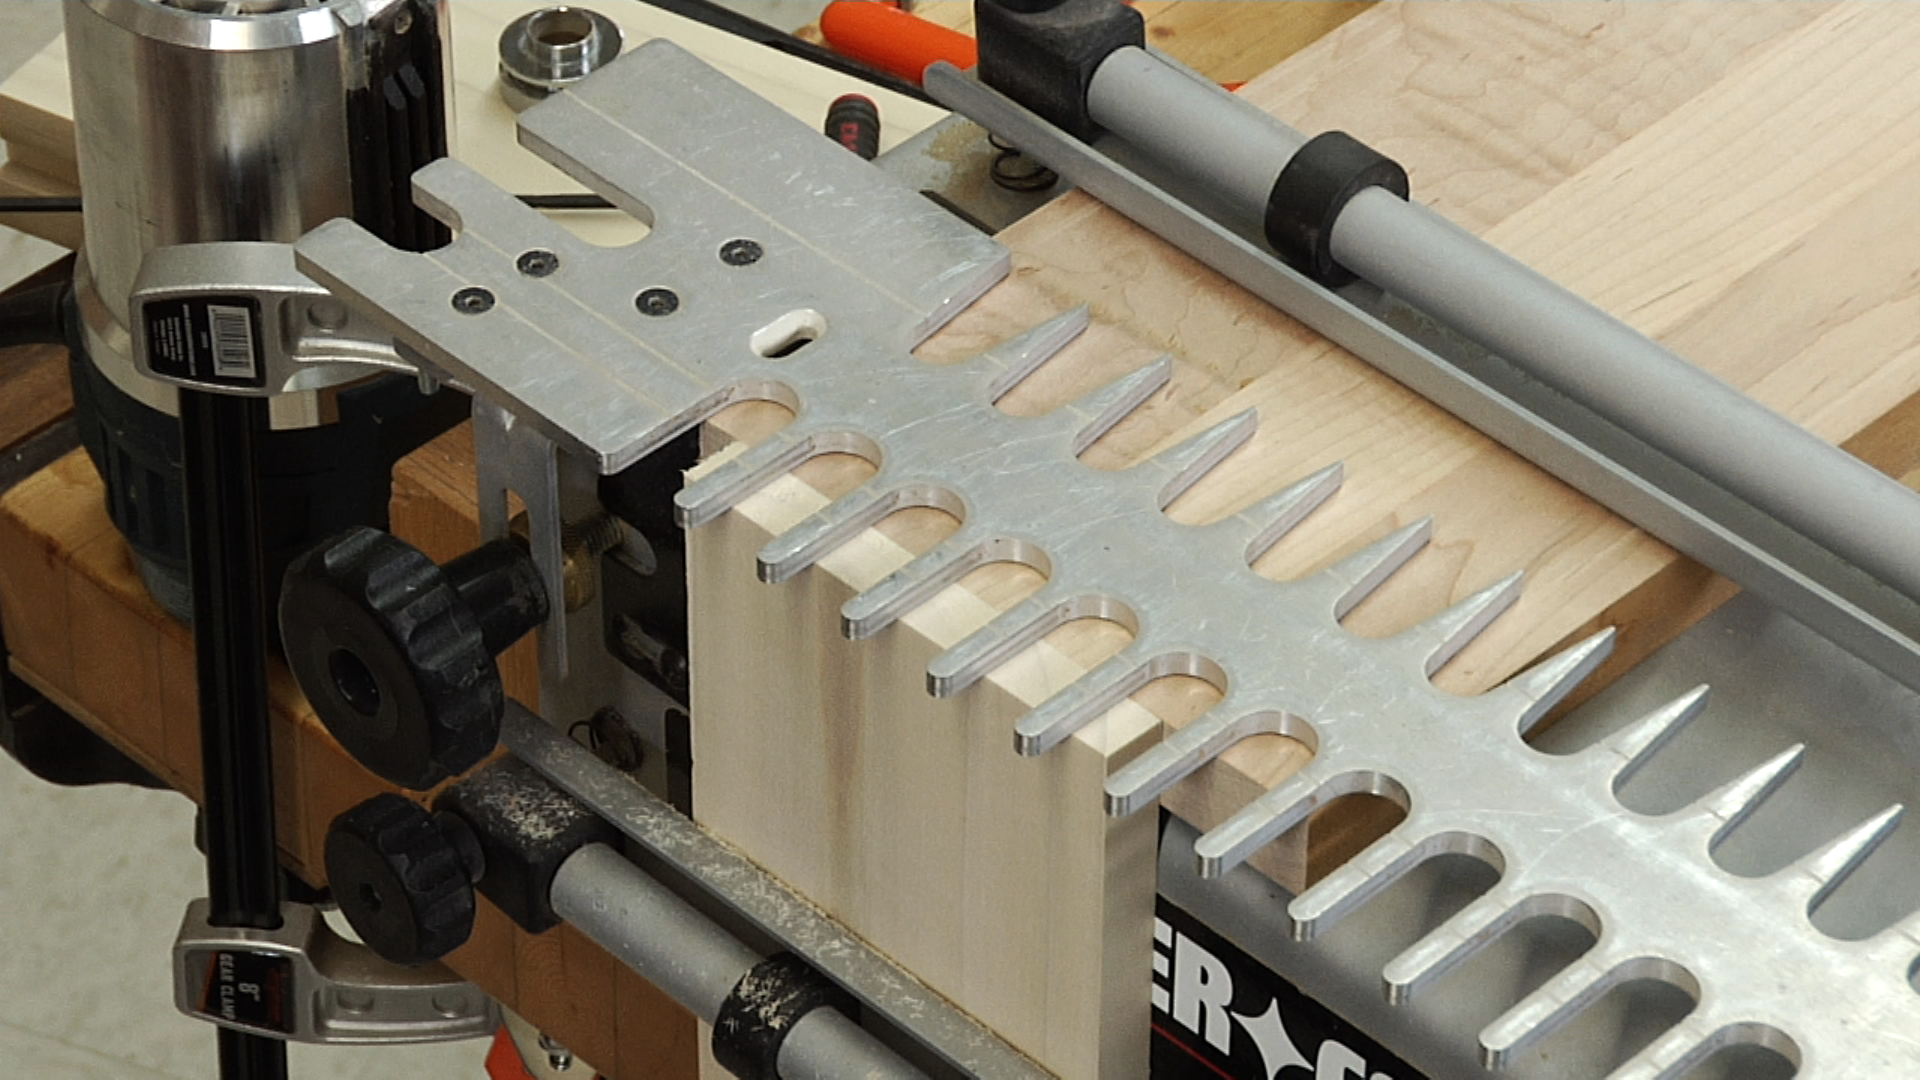
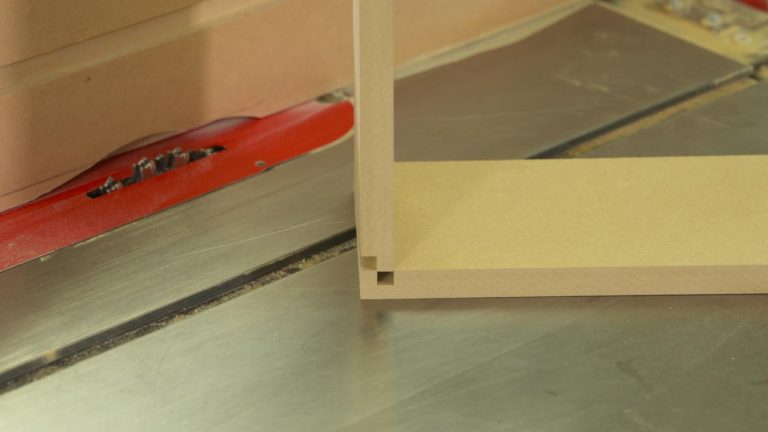
Very detailed in the cutting of the board, but would have been nice to see from the other side of the saw for that short end to short end cut. I'm new to woodworking and don't fully understand the short end to short end cut. Thank you, you have a subscriber for life.
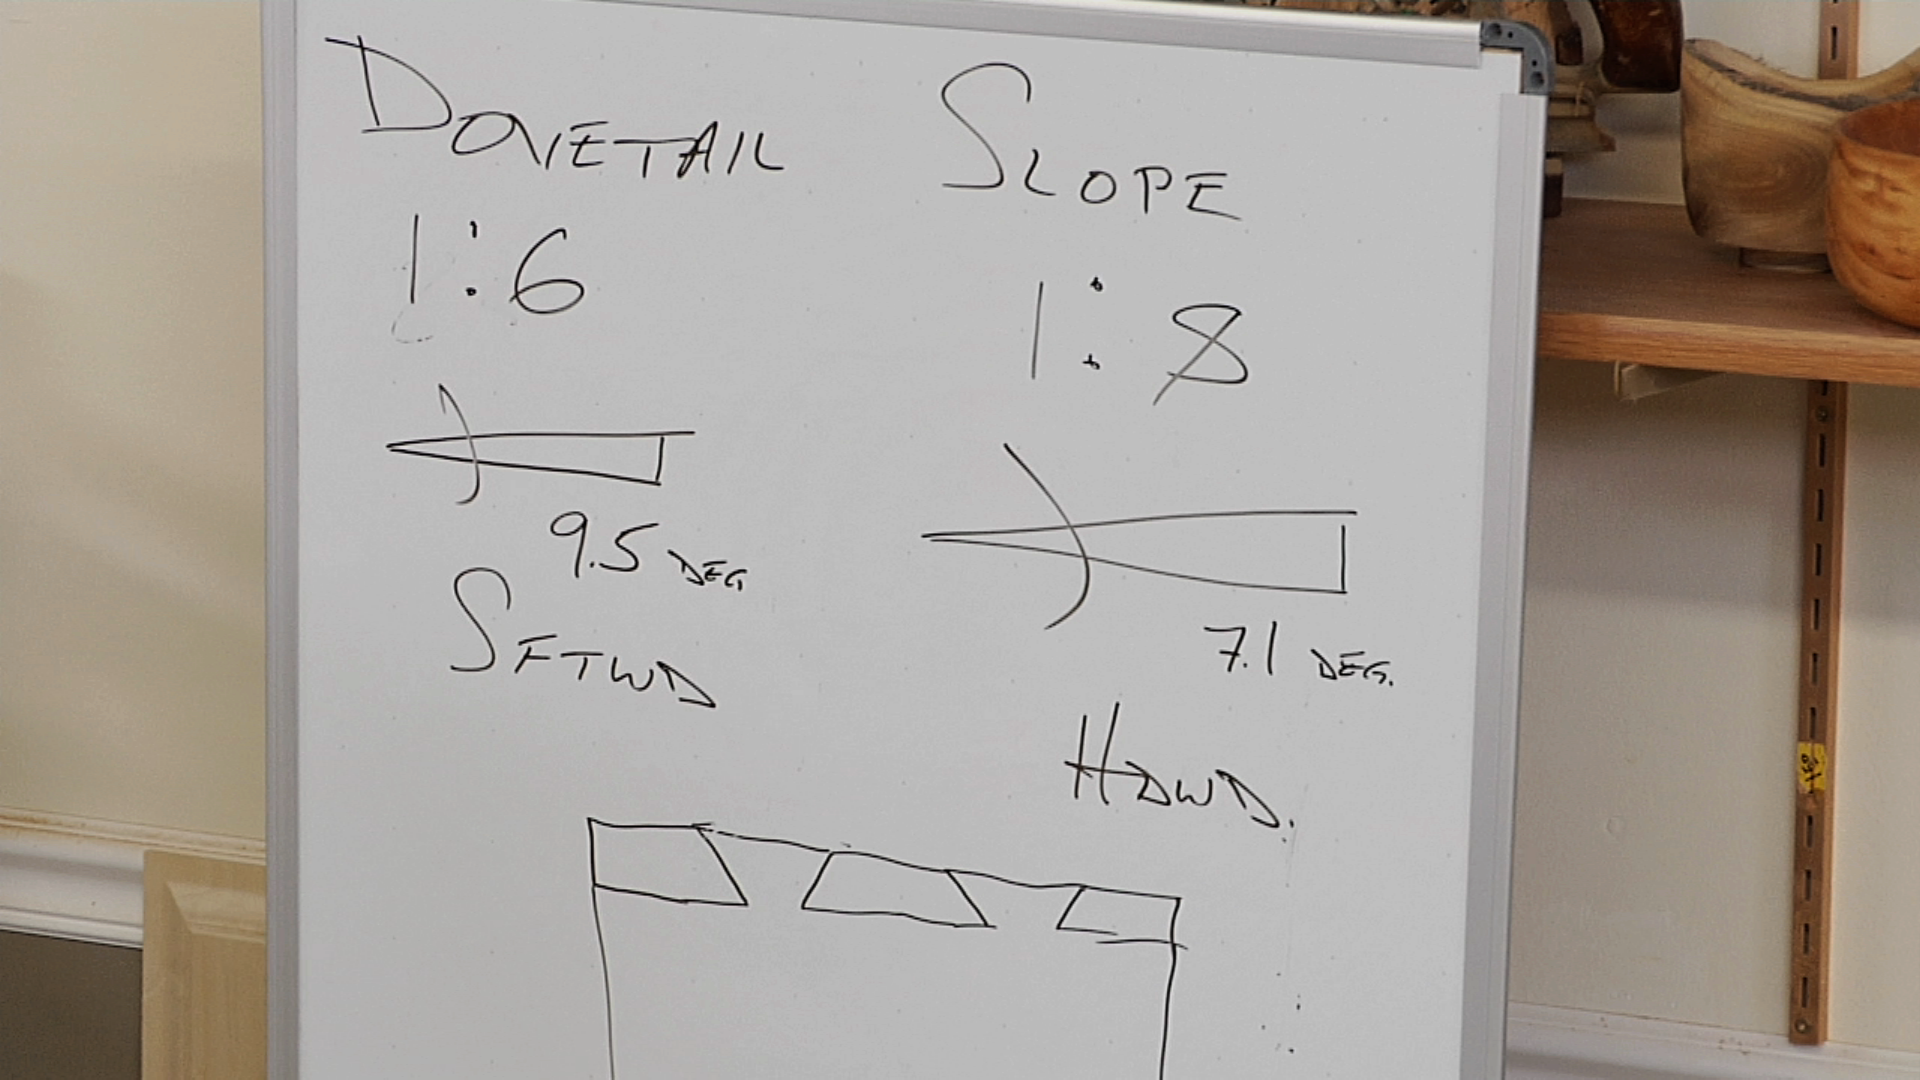
What is the best type of blade for the miter for this project?
Thanks for the video! At the end of the video it seems like the sides of the box are not continuous, because the 2 parts of the knot (I hope I translated this right) are not on adjacent sides?. Maybe I misunderstood something? Thanks and regards from the Netherlands, Michiel
Great video, Thanks! Perhaps you could comment on the following: My boxes are 5 1/2 in tall or less - so I can use my simple 10" chop saw. But I had a lot of trouble getting a square cut - the outside of the 45 cut (nearest me) was always very slightly shorter than the inside next to the fence. But cutting at 90 always was square. No way could I adjust it out. Eventually, I thought that the workpiece was either being pulled forward a bit during the cut, or alternatively the saw head itself was slightly being pulled down-left at the end of the cut. I put a piece of sandpaper on the bed of the sled, and when its long enough, I clamo it to the bed of the sled. I also, when making the cut, try not to 'bear down' during the slice - but instead actually try to have a slight upward pressure during the cut. The 'shortening' is reduced - but not totally gone. What do you think is happening? Any suggestions? What floors me is that the cut is perfectly square at 90. The shortening only happens during the miter 45 cut. Thanks for your help. Chris