
Adding Liquid Inlay for Wood Projects
George VondriskaAdding inlay to a project is a great way to create an element of distinction, and to set your project apart as a unique gift or work of art. There are several ways that inlay can be done; using solid wood, veneer, or even marquetry can create an inlay effect. While these approaches can produce dramatic effects in a project, they are all time-consuming and meticulous processes. Wouldn’t it be nice if there was a way to create an inlay effect without all of the tediousness of these approaches? Your wish is our command. The answer lies in liquid inlay for wood.
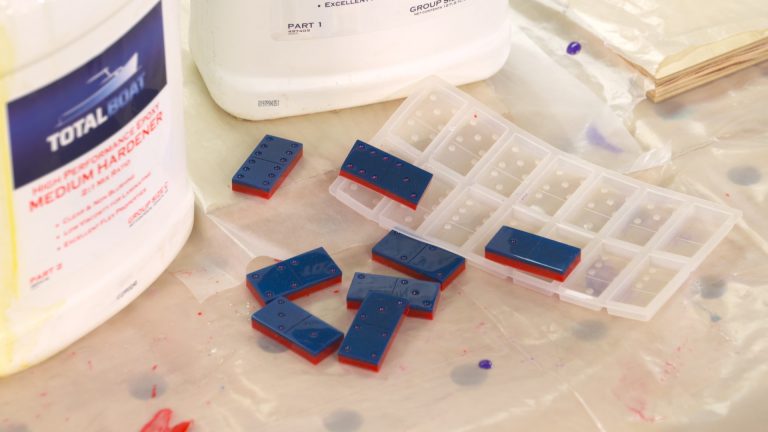
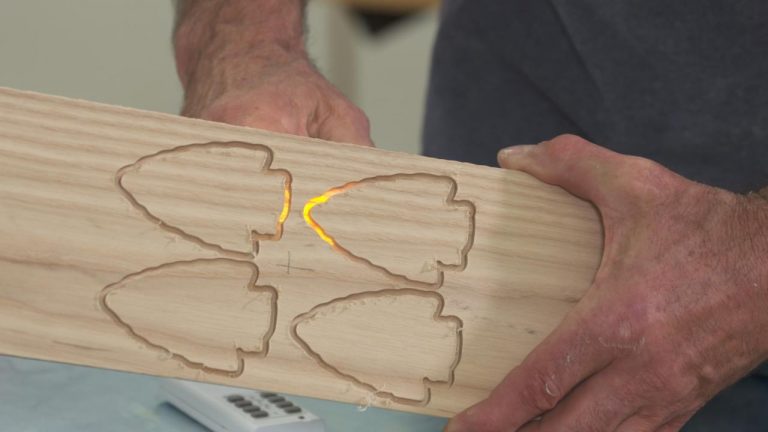
Liquid inlay for wood is a process that utilizes two-part pourable epoxy along with some form of colorant to create a beautiful contrasting image into a piece of wood. The process is relatively quick and simple, and the results can be spectacular.
To incorporate liquid inlay for wood into a project, you will:
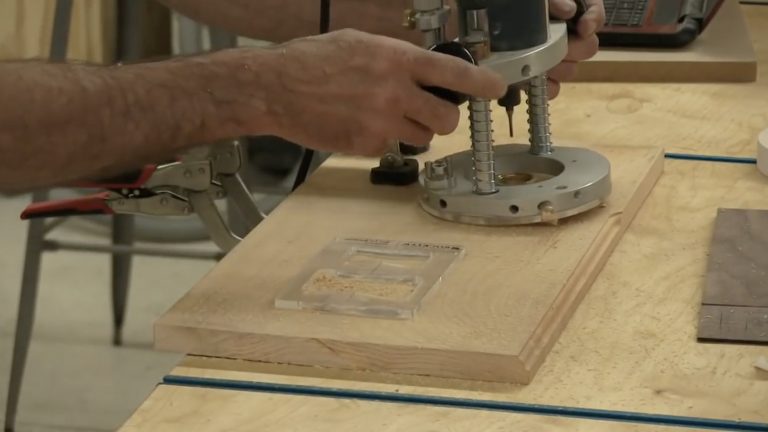
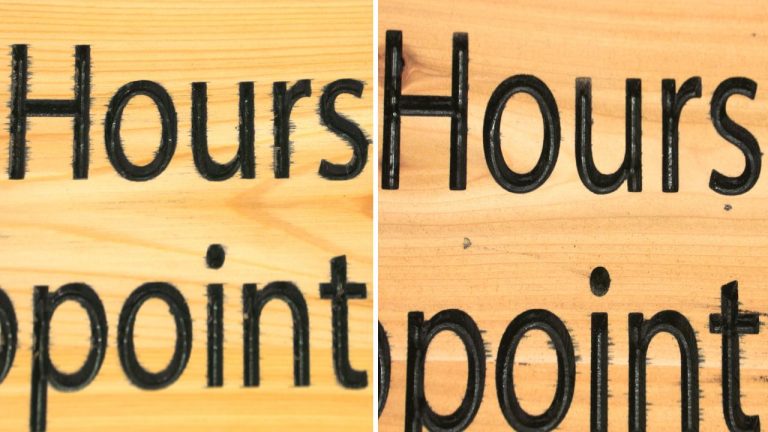
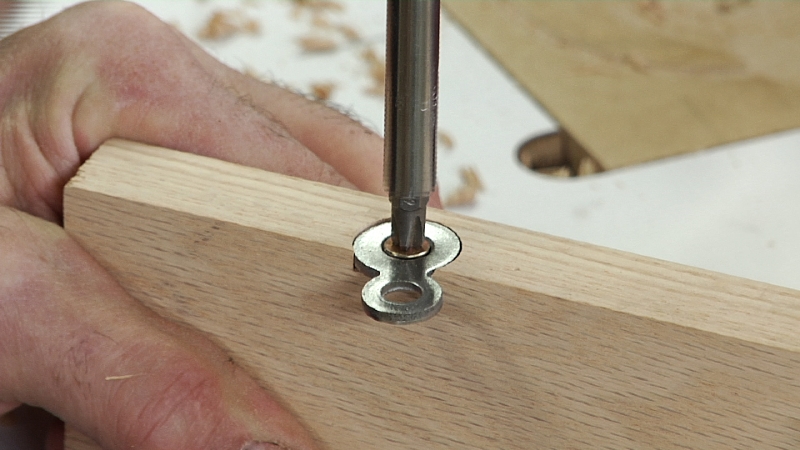
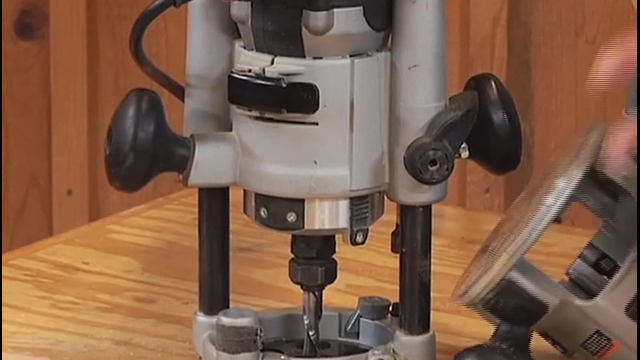
- Create the pattern in the wood. This can be done by cutting letters with a CNC, hand-held router, laser engraver, or by using carving tools.
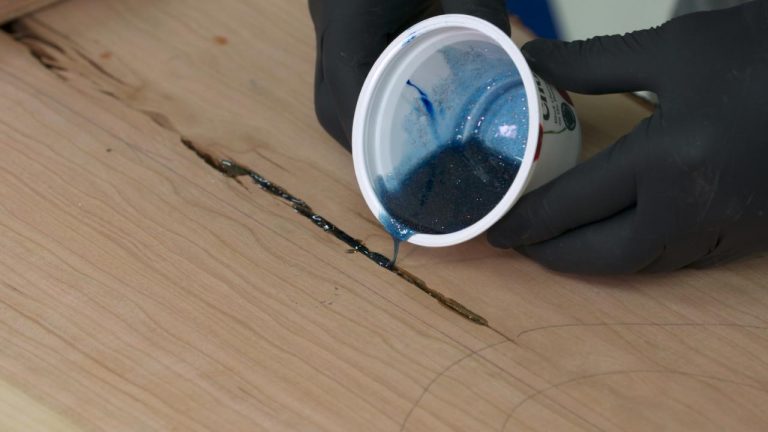
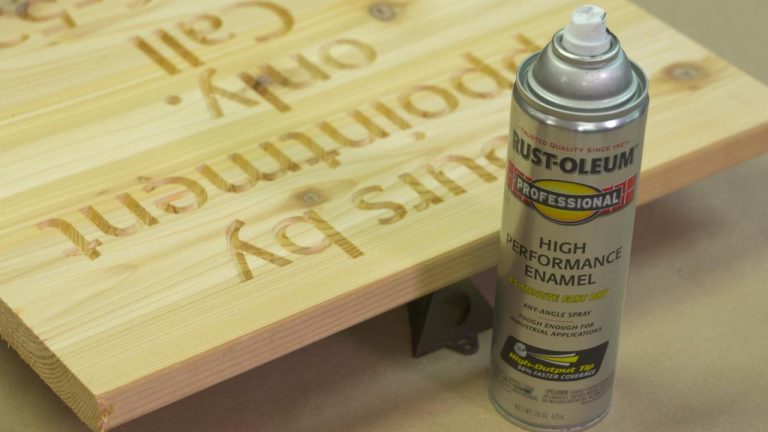
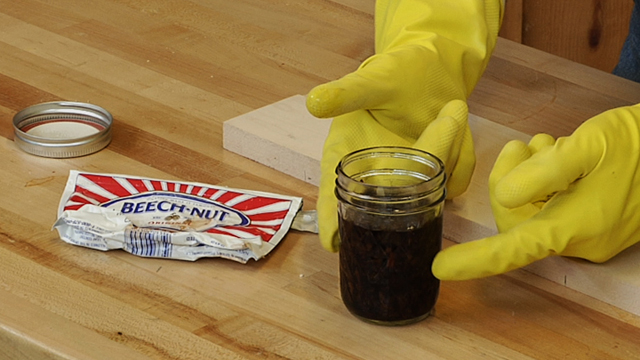
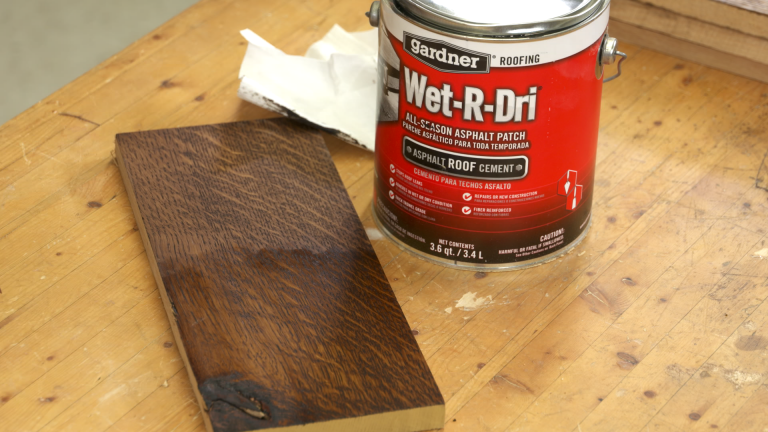
- Mix two-part epoxy and add colorant. Using pourable epoxy, mix the two parts thoroughly, then add colorant to achieve the tone that you’re after. Many types of colorant are available.
- Carefully pour and remove bubbles. Fill the trenches with epoxy, and use the technique that George demonstrates in the video to remove the bubbles.
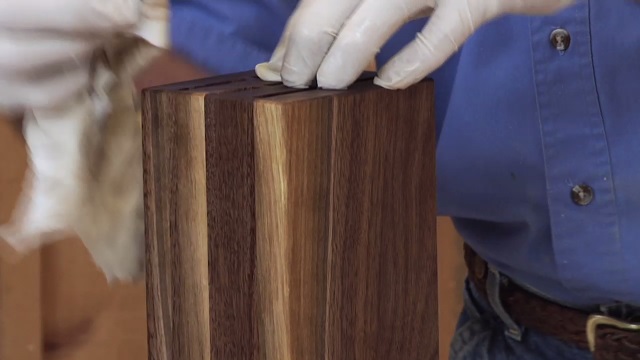
- Sand flat. After the epoxy fully cures, sanding the epoxy flat, using increasingly fine grits until you achieve a nice luster on the epoxy.
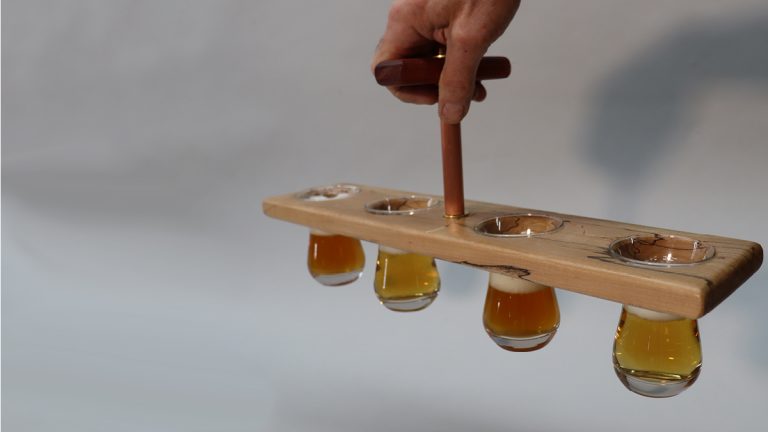
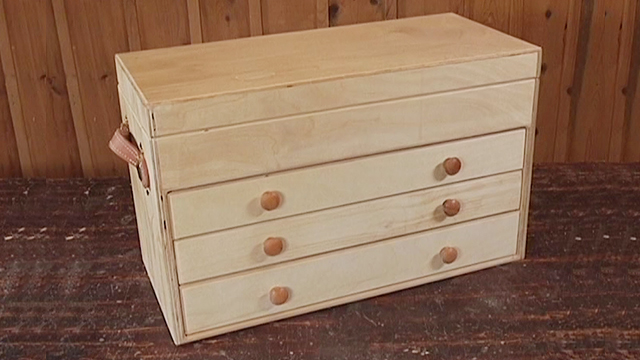
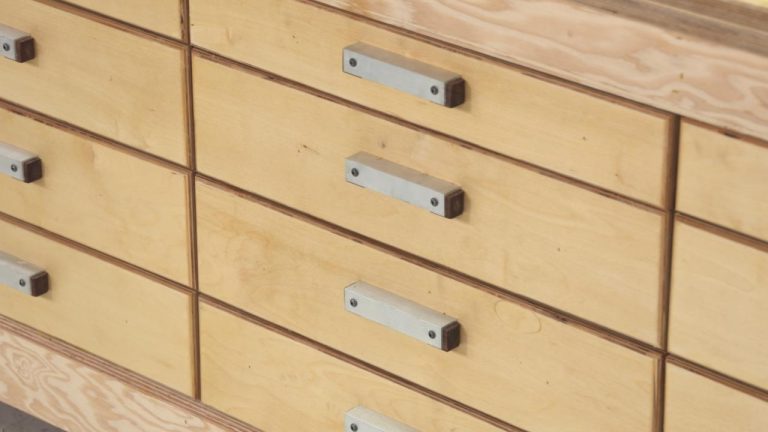
This new skill opens up a world of possibilities; signs, river tables, furniture ornamentation, and any number of additional applications. Once you’ve mastered this trick, check out more shop tips from WWGOA to keep upping your woodworking game!
Explore videos by George Vondriska


You may be interested in
Premium Membership
Unlock exclusive member content from our industry experts.
- 24/7 Access to Premium Woodworking Videos, Projects, and Tips
- Step-by-Step Instructional Demos, Plans, and Tutorials
- 50% Off Video Downloads Purchased in the Woodworkers Guild of America Shop
- 2 Printable Woodworking Plans
Unlock exclusive member content from our industry experts.
- 24/7 Access to Premium Woodworking Videos, Projects, and Tips
- Step-by-Step Instructional Demos, Plans, and Tutorials
- 50% Off Video Downloads Purchased in the Woodworkers Guild of America Shop
- 2 Full-Length Video Downloads to Watch Offline
- 2 Printable Woodworking Plans
Gold Membership
$370 Value
Get everything included in Premium plus exclusive Gold Membership benefits.
- 24/7 Access to Premium Woodworking Videos, Projects, and Tips
- Step-by-Step Instructional Demos, Plans, and Tutorials
- 8 Full-Length Video Downloads to Watch Offline
- 3 Full-Length Woodworking Classes to Keep for Life
- 7 Printable Woodworking Plans
- Discounts on Purchase-to-Own Content in the Woodworkers Guild of America Shop
- Access to Ask the Expert Program
- Exclusive GOLD LIVE Streaming Events