
Zero-Clearance Router Table Fence
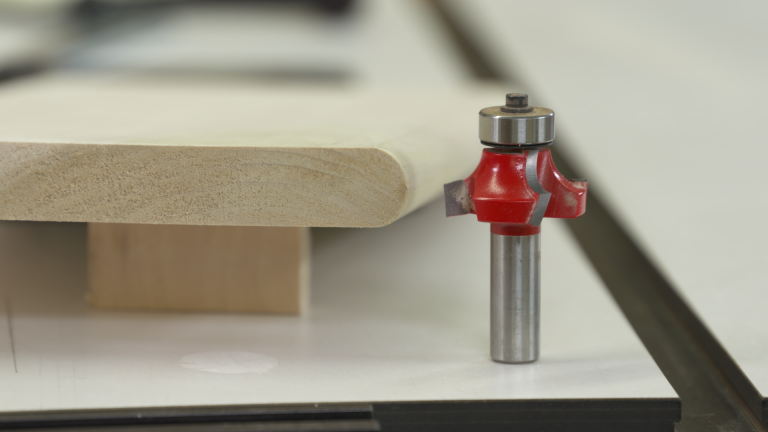
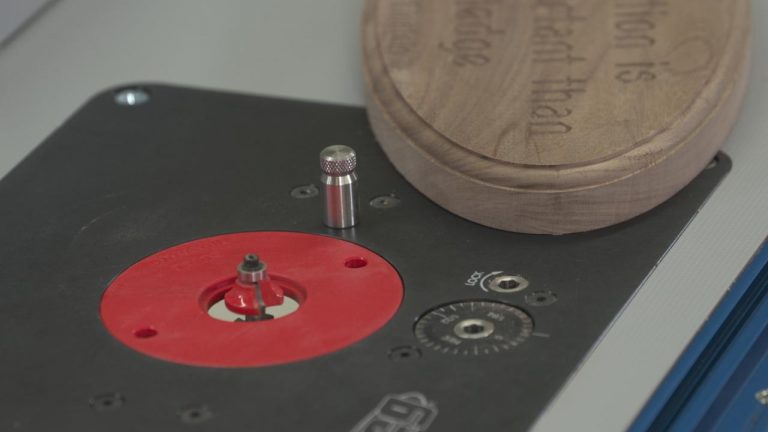
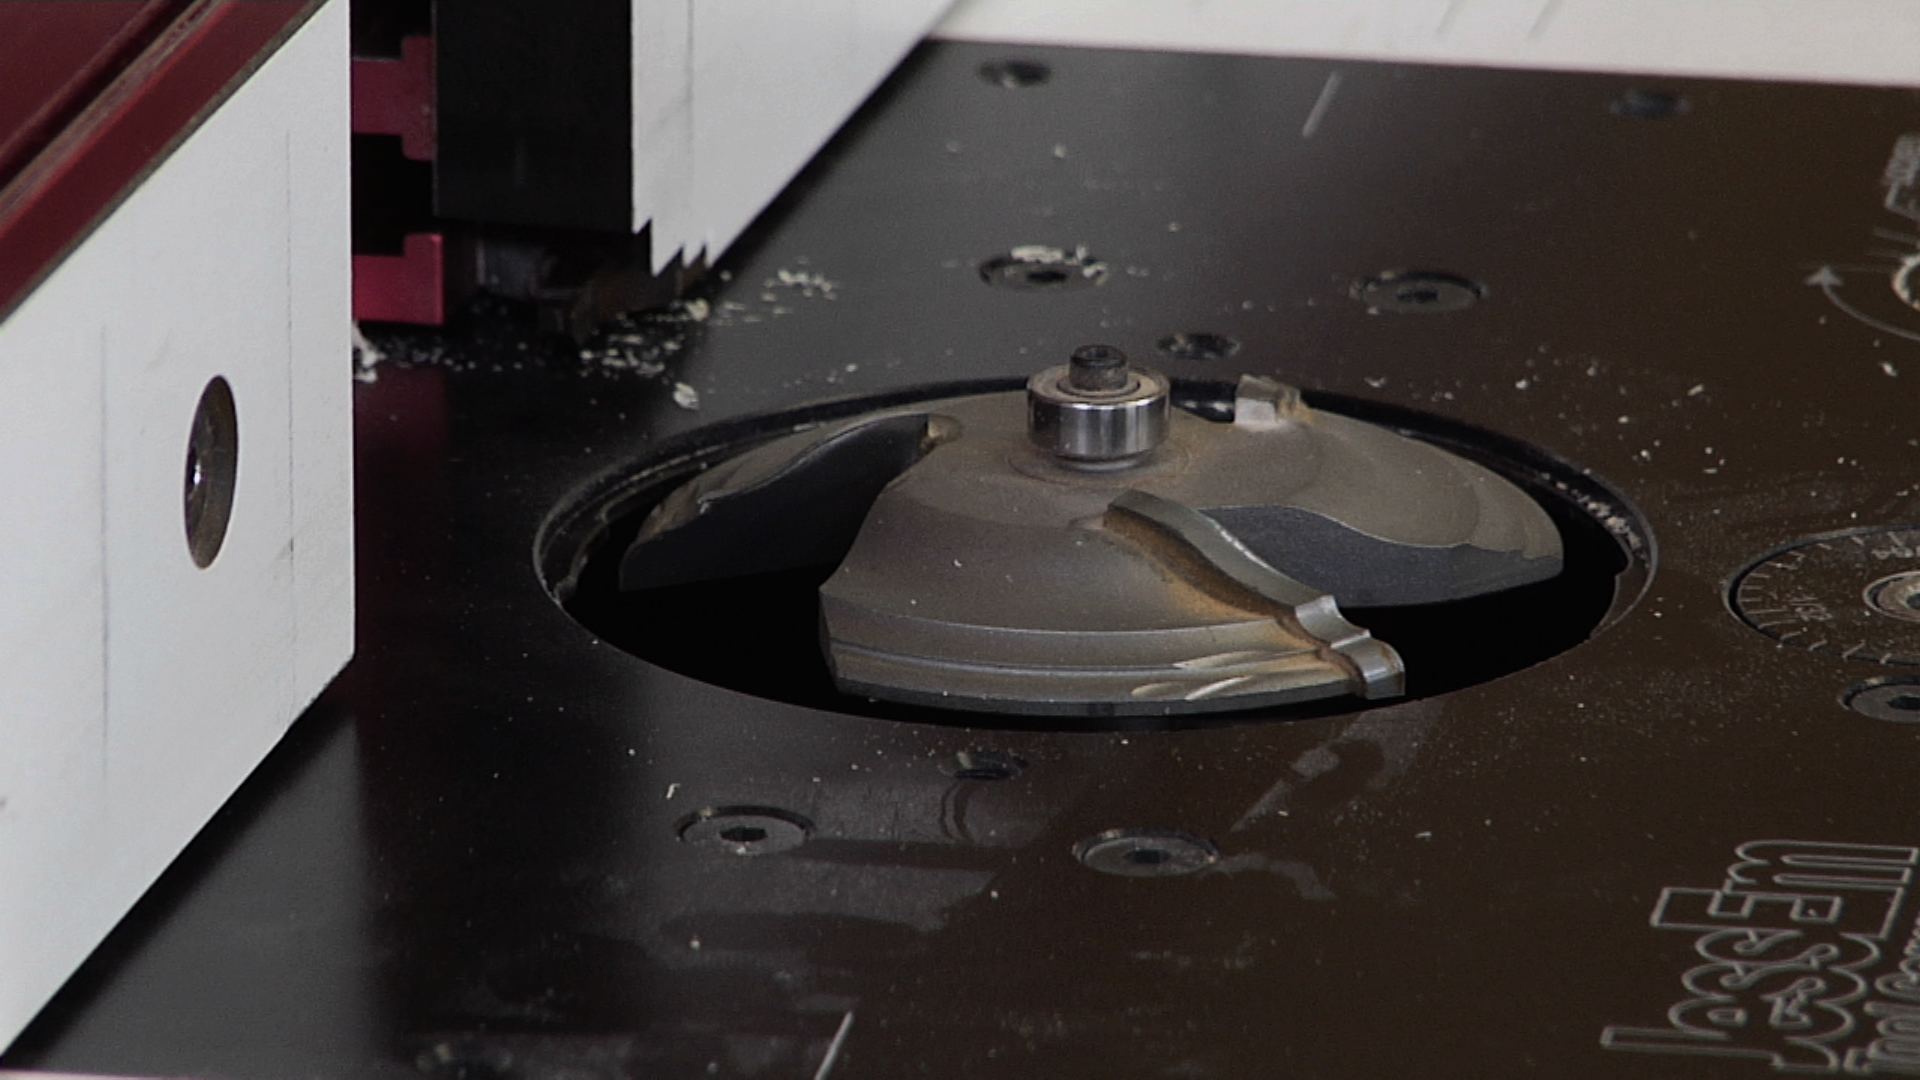
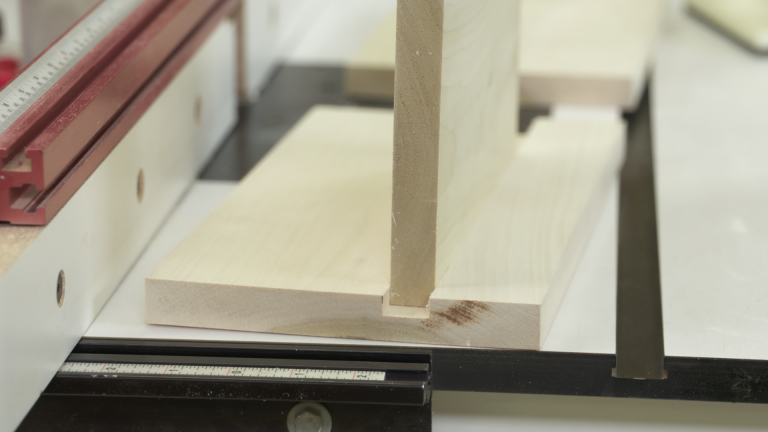
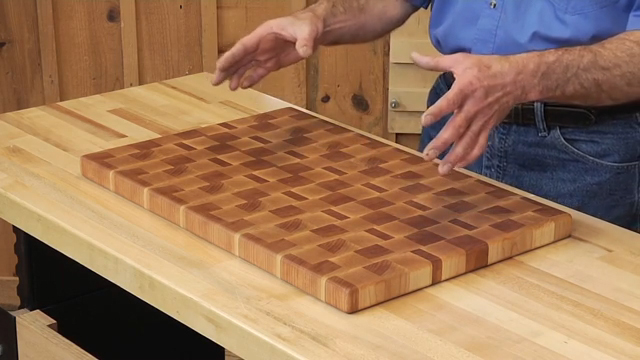
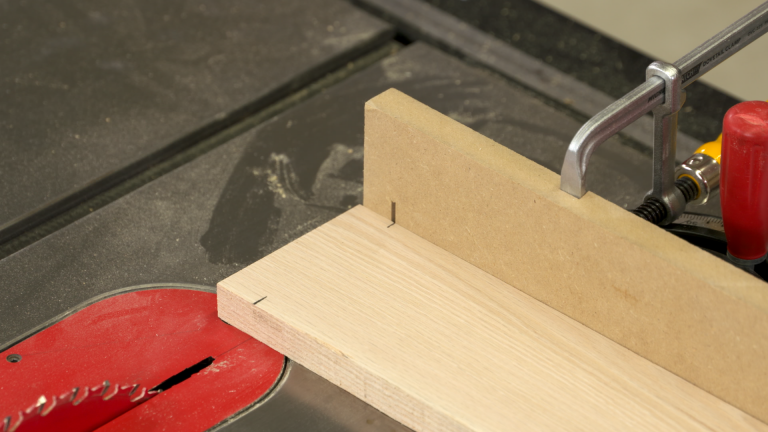
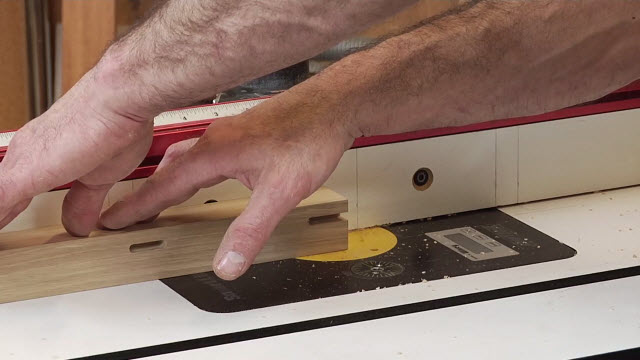
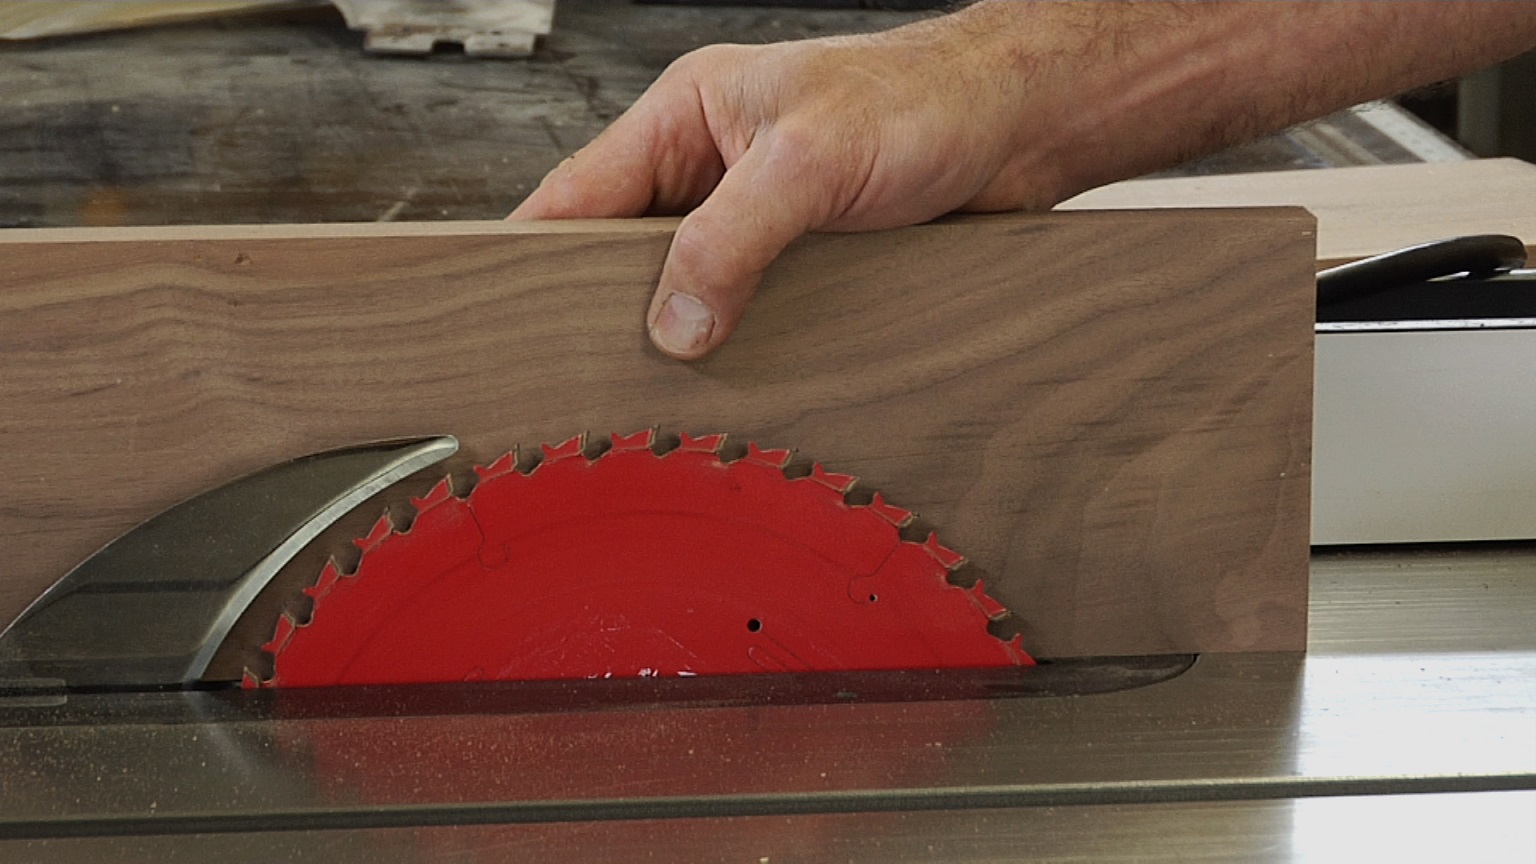
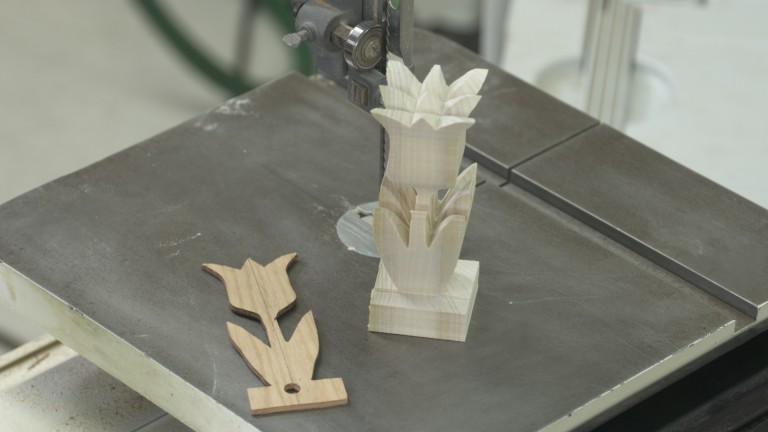
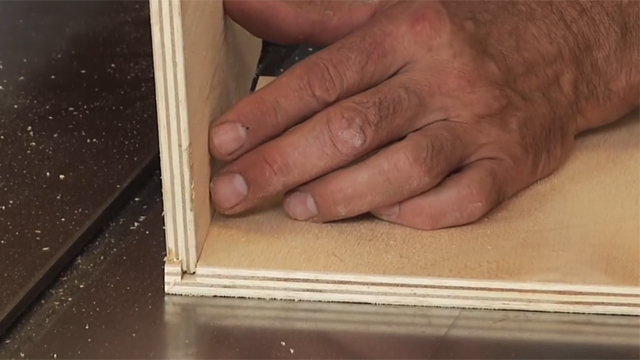
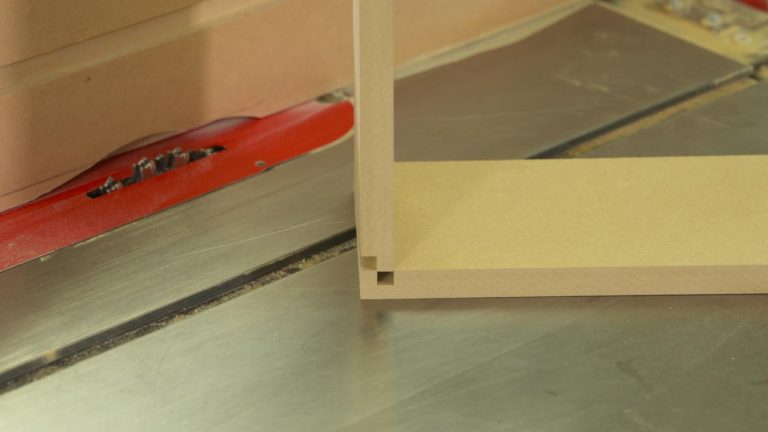
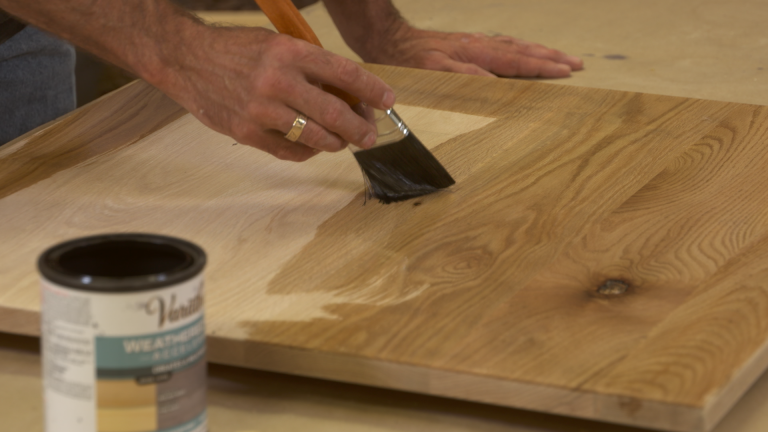
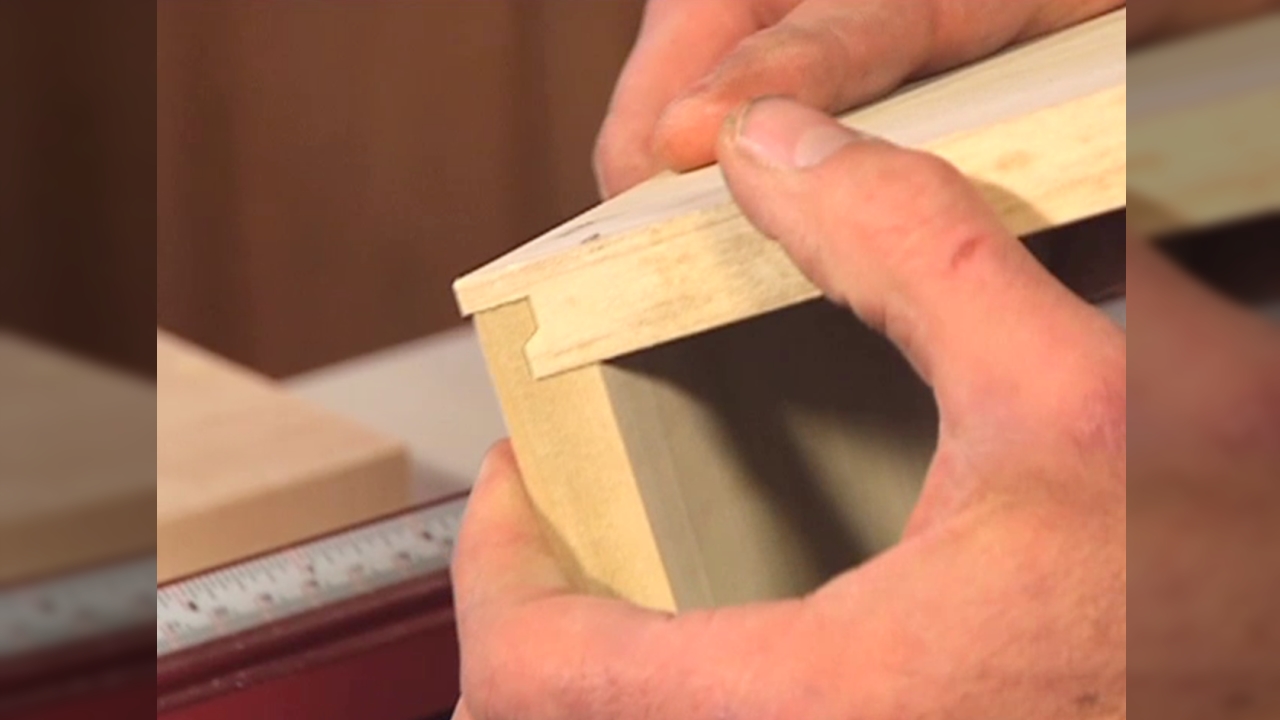
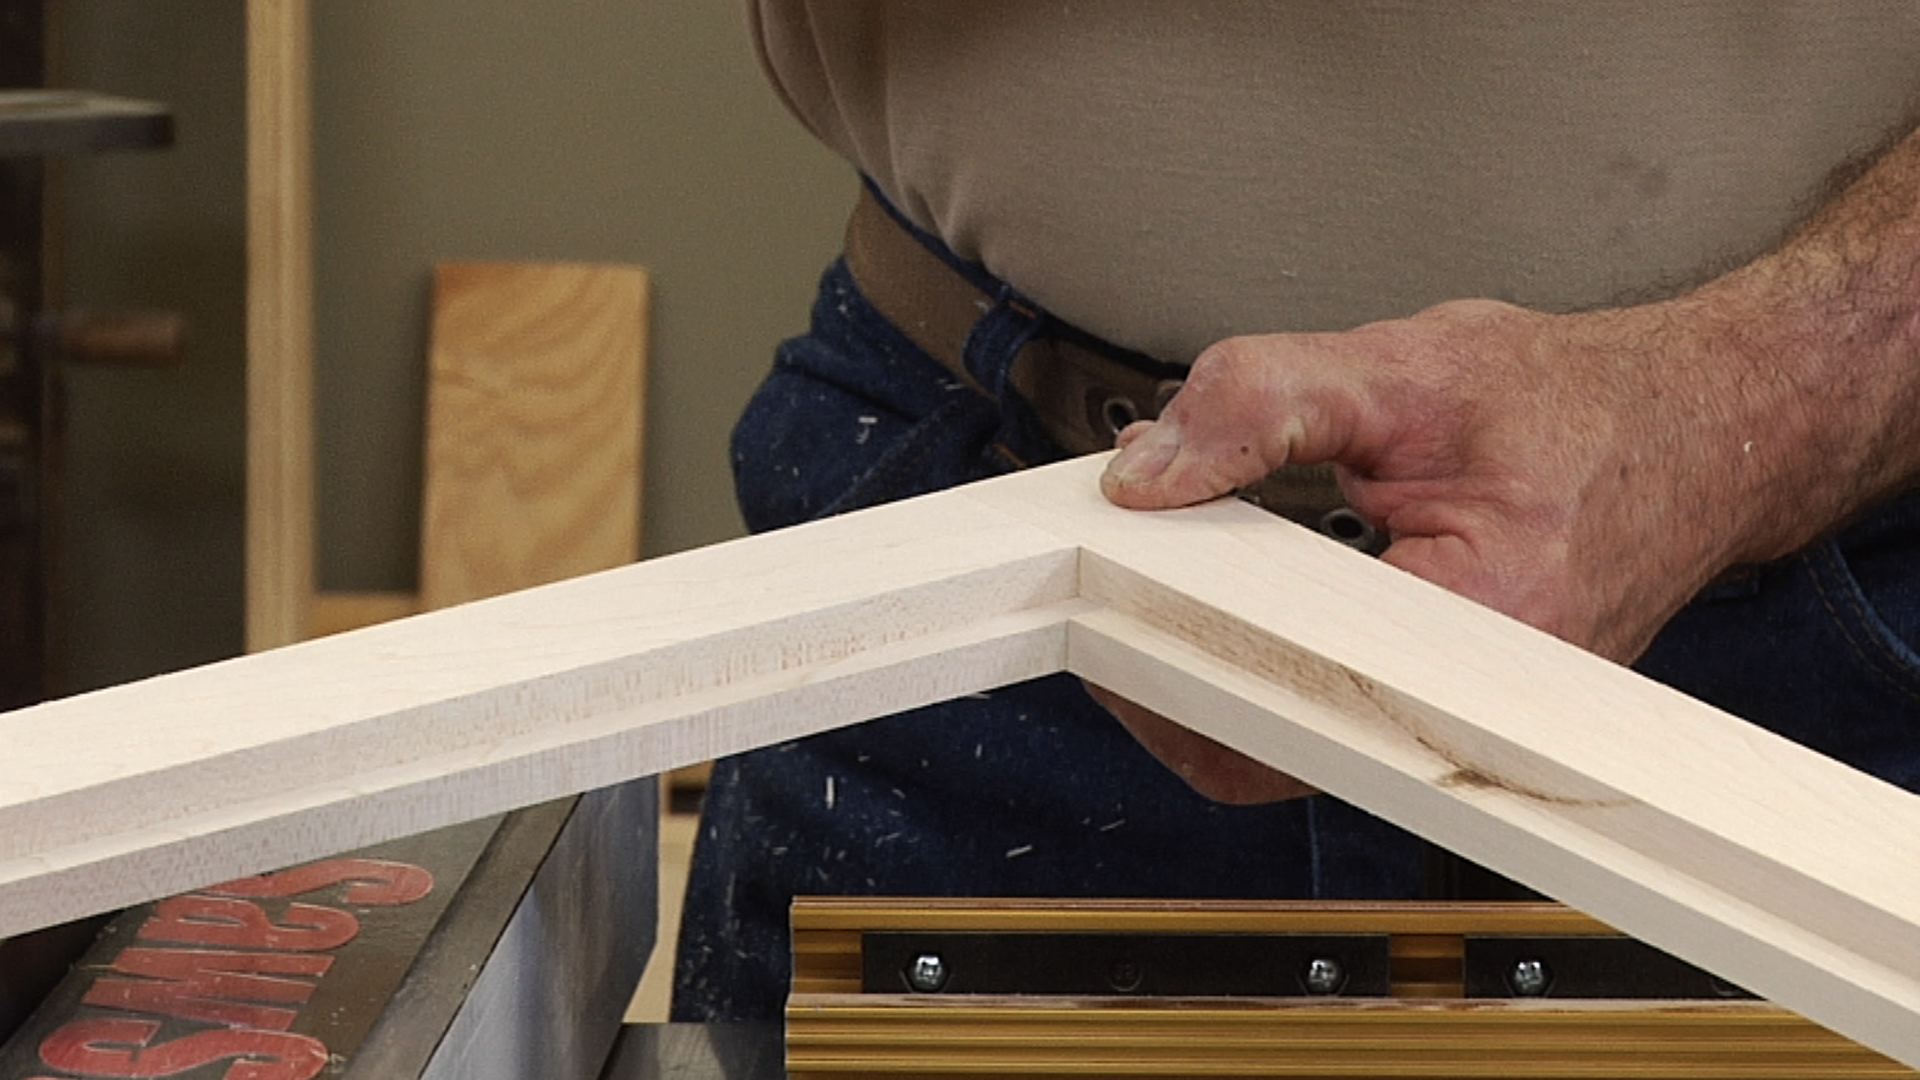
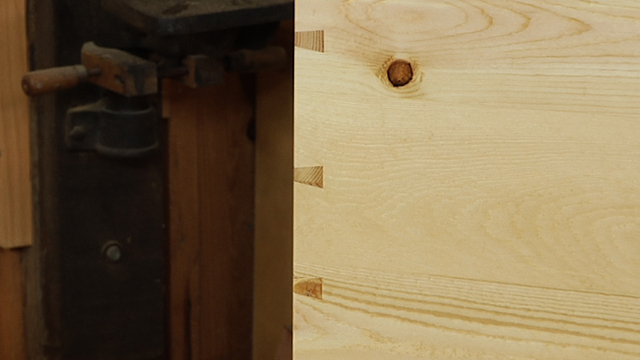
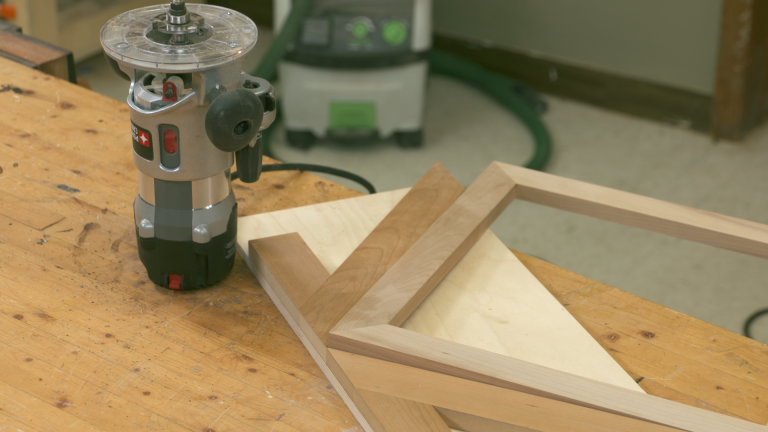
George VondriskaFrom drawer lock joints to rail and stile doors, it stinks when your projects end up with ugly chips and tear out caused by the router table. A zero-clearance fence is a simple solution to this common problem. Don’t let the chips fall where they may. Eliminate them! A WoodWorkers Guild of America (WWGOA) original video.
Share tips, start a discussion or ask one of our experts or other students a question.
Already a member? Sign in
7 Responses to “Zero-Clearance Router Table Fence”
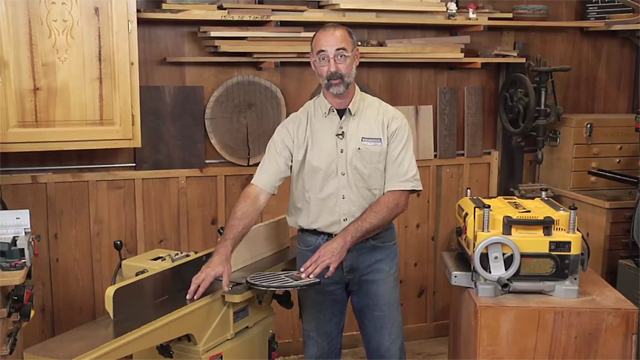
Explore videos by George Vondriska


You may be interested in


Premium Membership
Unlock exclusive member content from our industry experts.
- 24/7 Access to Premium Woodworking Videos, Projects, and Tips
- Step-by-Step Instructional Demos, Plans, and Tutorials
- 50% Off Video Downloads Purchased in the Woodworkers Guild of America Shop
- 2 Printable Woodworking Plans
Unlock exclusive member content from our industry experts.
- 24/7 Access to Premium Woodworking Videos, Projects, and Tips
- Step-by-Step Instructional Demos, Plans, and Tutorials
- 50% Off Video Downloads Purchased in the Woodworkers Guild of America Shop
- 2 Full-Length Video Downloads to Watch Offline
- 2 Printable Woodworking Plans
Gold Membership
$370 Value
Get everything included in Premium plus exclusive Gold Membership benefits.
- 24/7 Access to Premium Woodworking Videos, Projects, and Tips
- Step-by-Step Instructional Demos, Plans, and Tutorials
- 8 Full-Length Video Downloads to Watch Offline
- 3 Full-Length Woodworking Classes to Keep for Life
- 7 Printable Woodworking Plans
- Discounts on Purchase-to-Own Content in the Woodworkers Guild of America Shop
- Access to Ask the Expert Program
- Exclusive GOLD LIVE Streaming Events
Hello, is anything either safety or cut wuality gained if sliding both sides of sacrificial fence into bit?
Thank you, I had this kind of problem several times and didn't know how to solve it!
Pretty impressive demonstration there, George. Thanks for all you do!
Thanks! I try to get the most out of the fence.
Awesome!
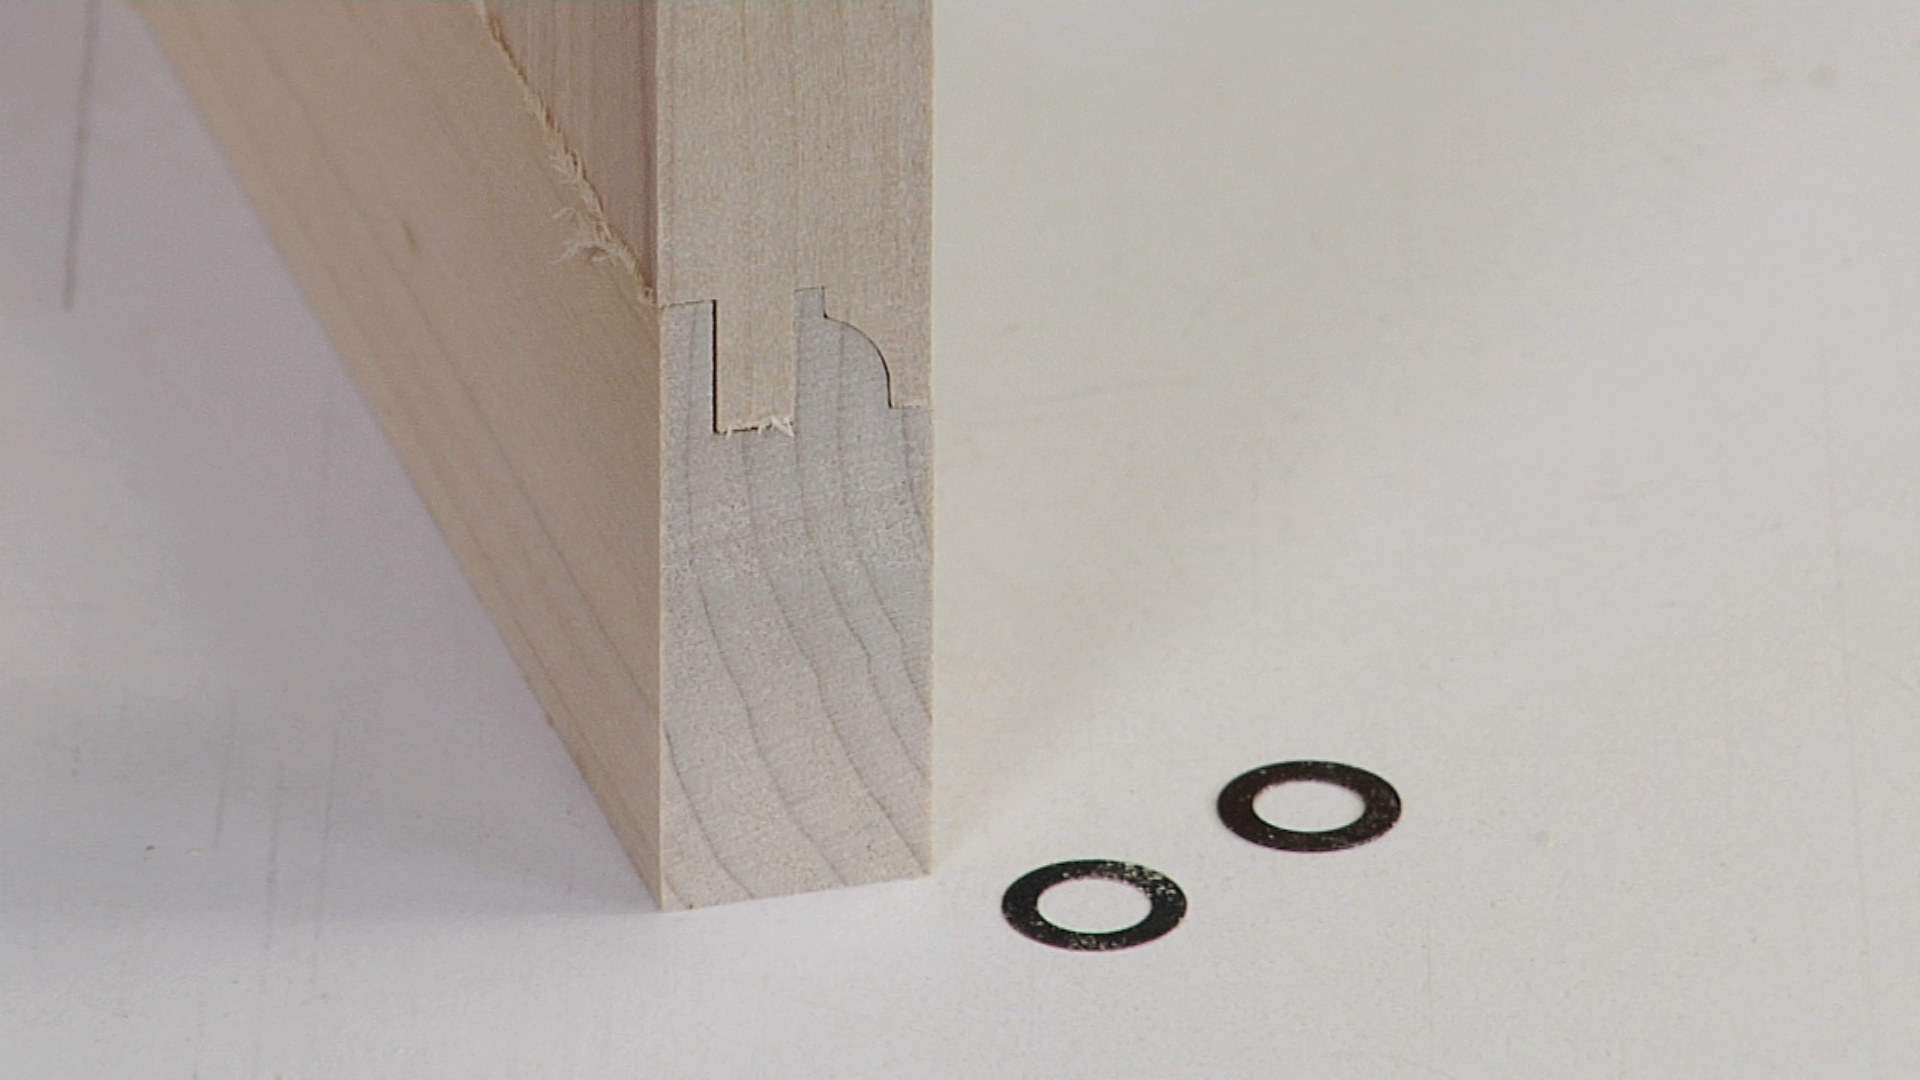
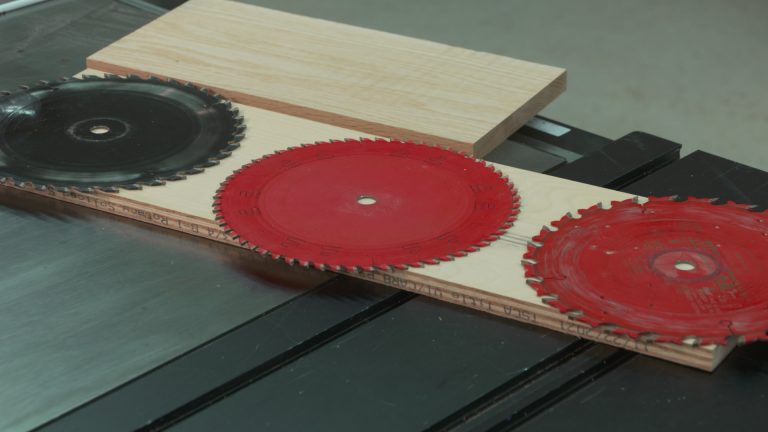
It's a drawer lock bit.
George that is a great idea. I am in the start of building upper kitchen cupboards and was wondering for some of my needed end grain router cuts how I was going to stop the tear out. I've tried backing the piece into the router bit from the wrong side, but while OK I found it very uncomfortable because the possibility for the board to take a fast walk down the table. Will be installing the sacrifice MDF board this weekend. Question though why you did'nt do the same with the sacrifice on the high side of the bit as well?