
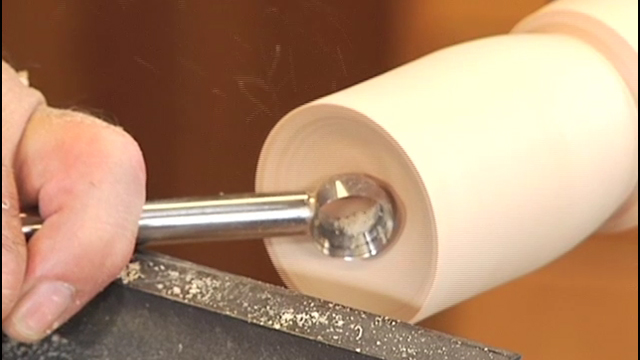
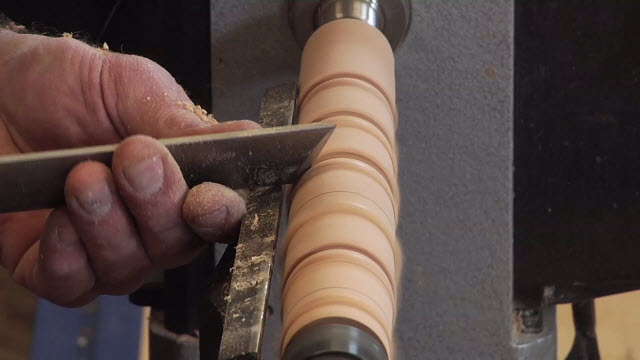
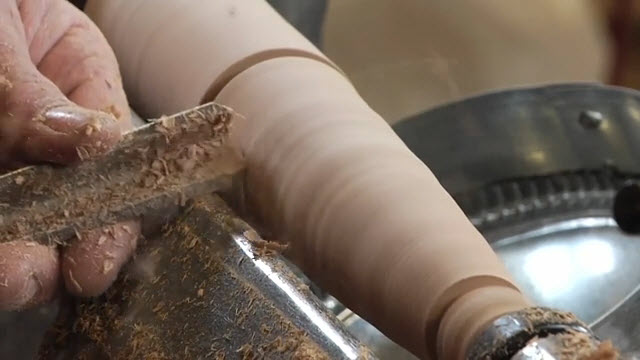
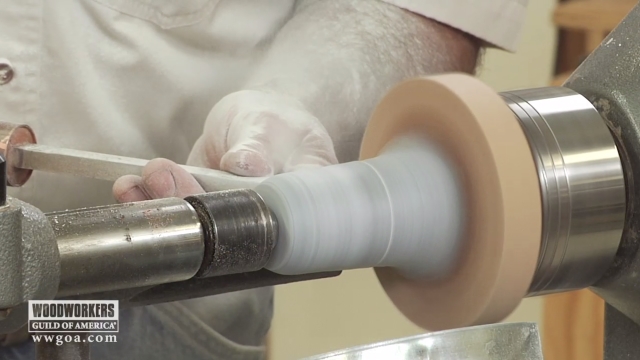
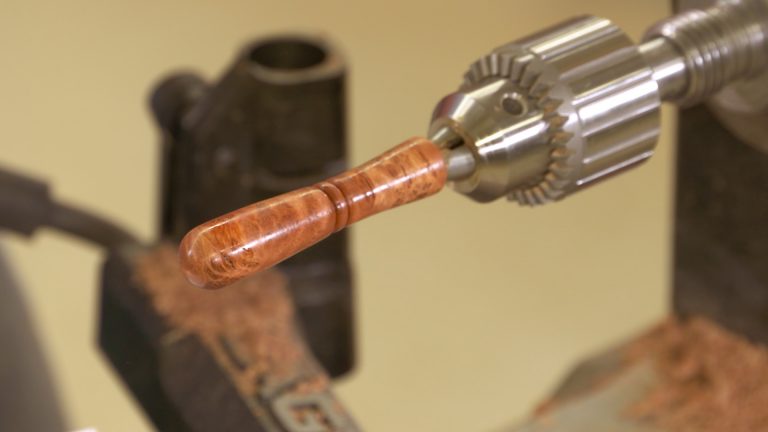
Turning with a Chatter Tool
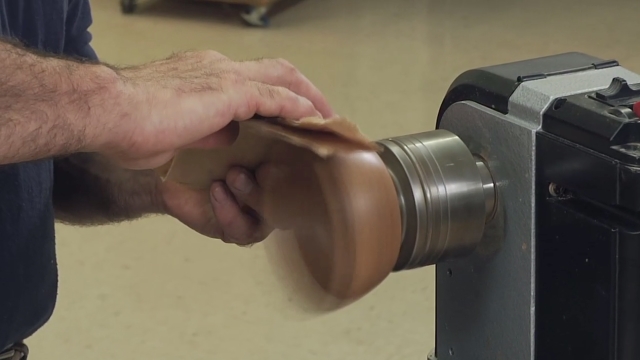
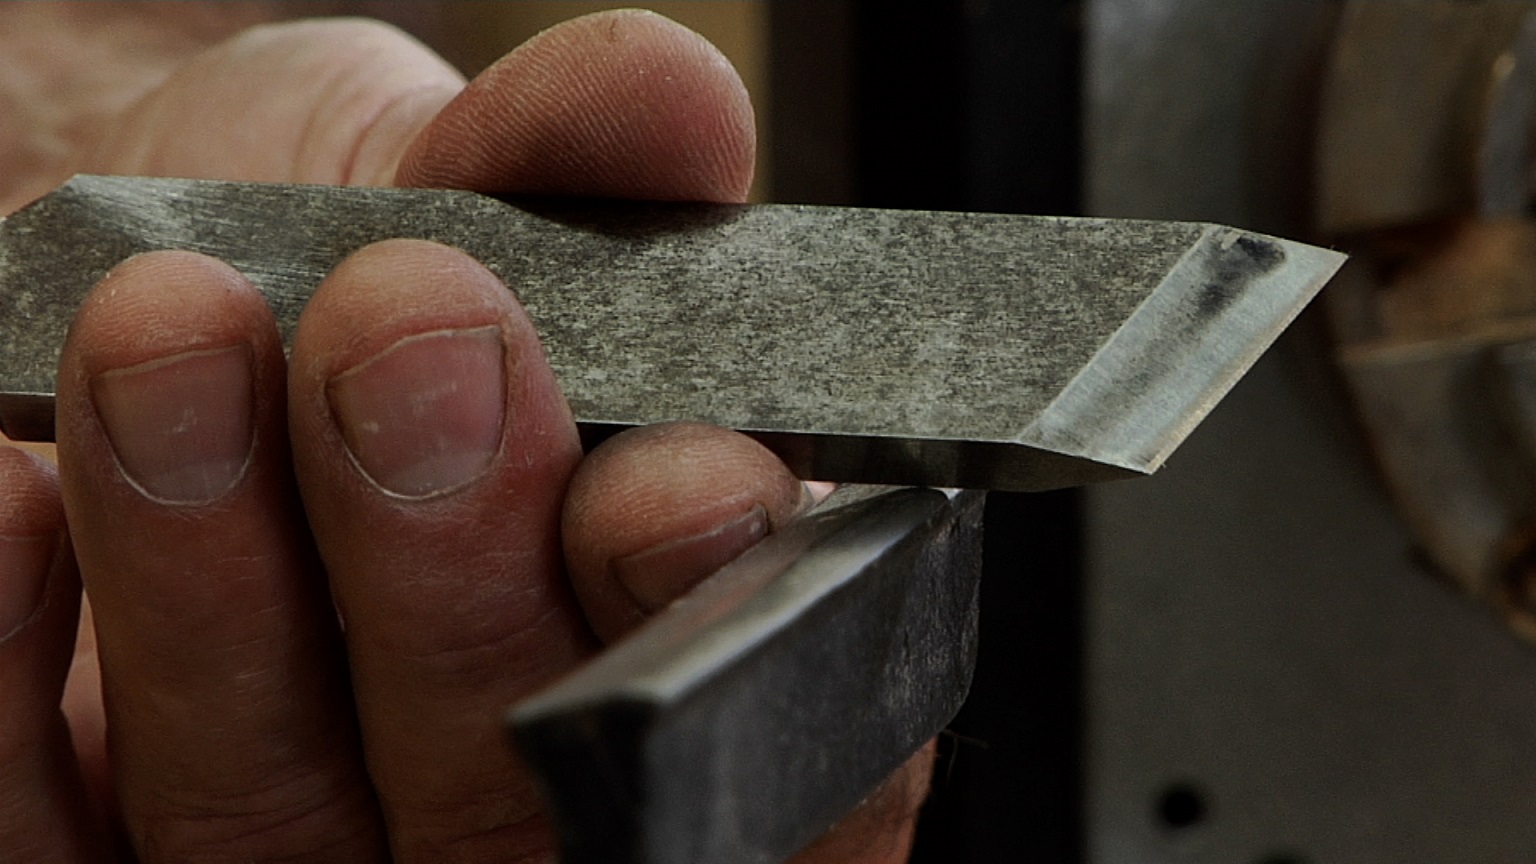
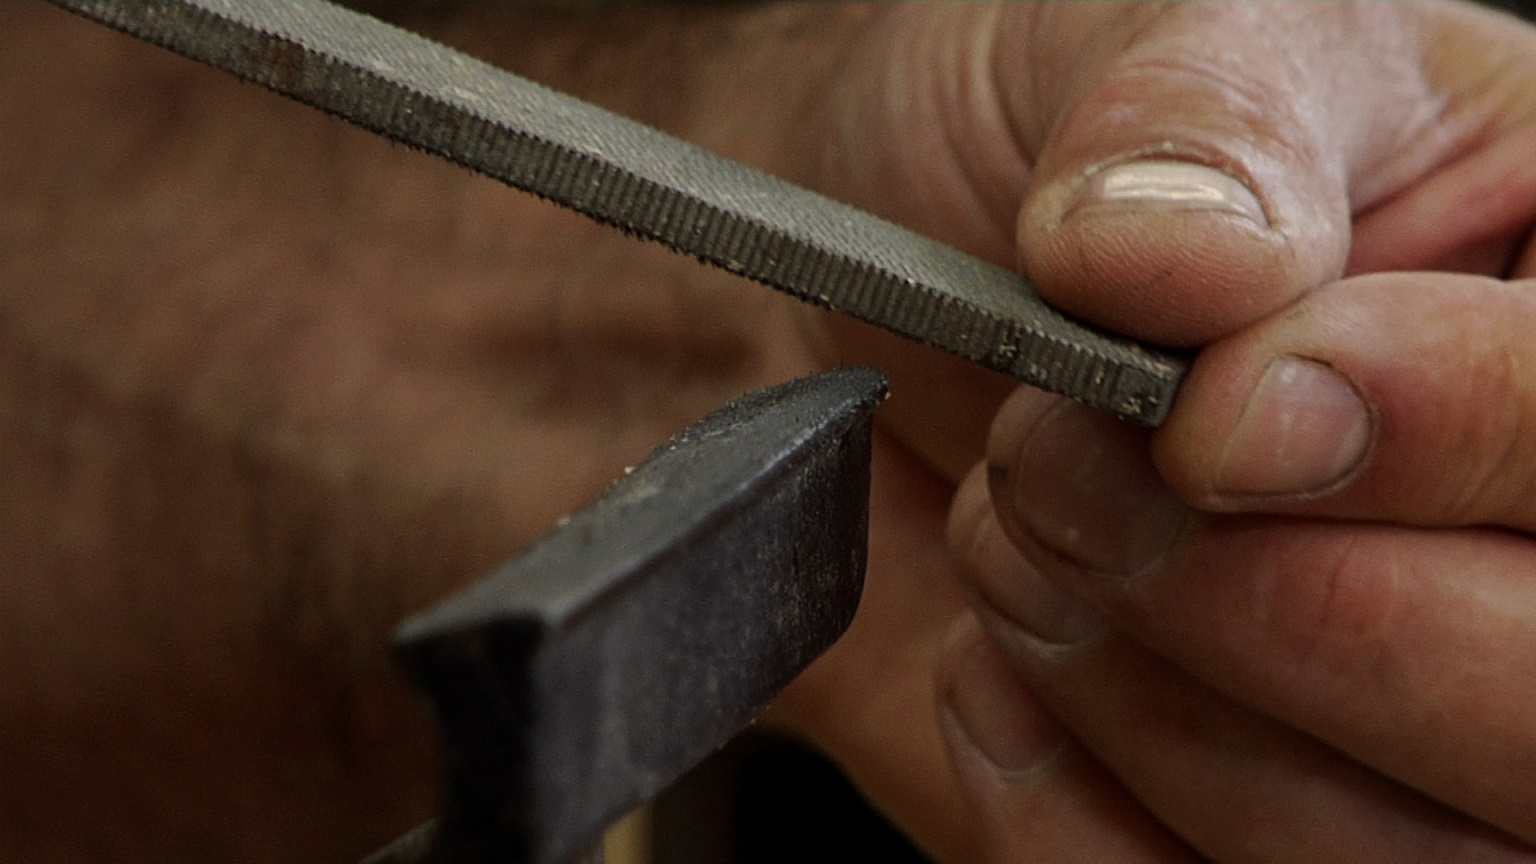
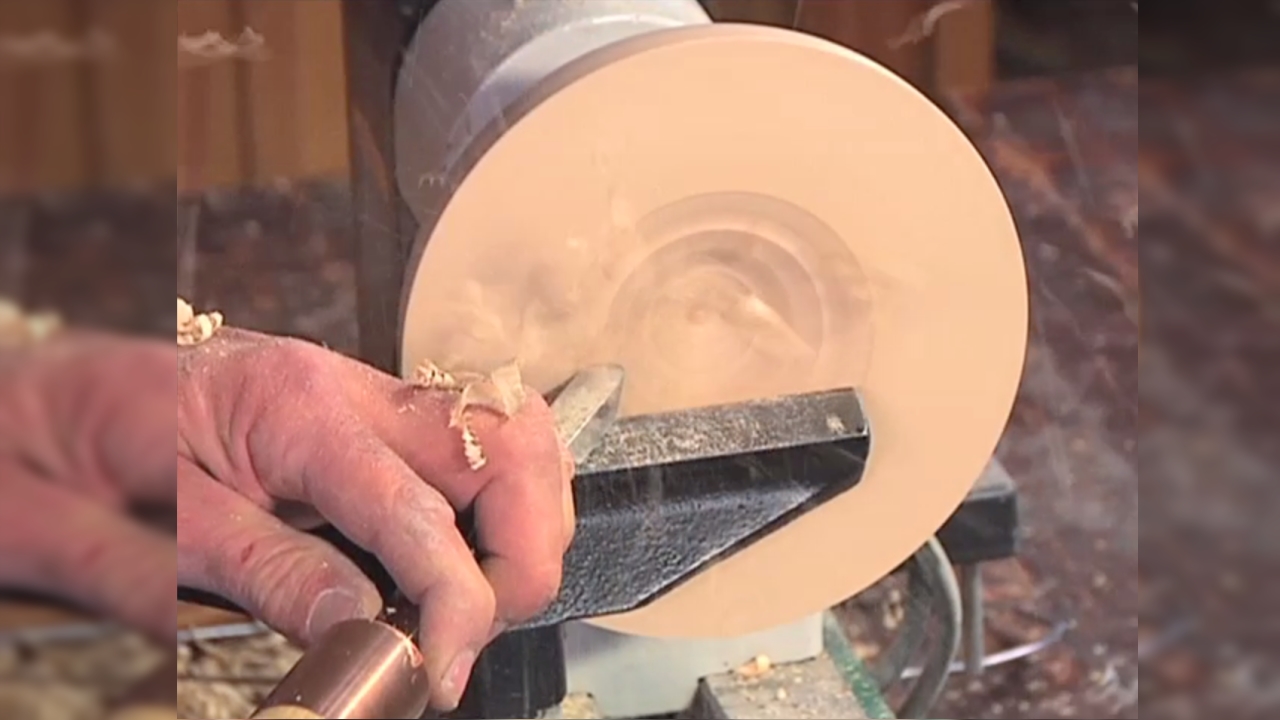
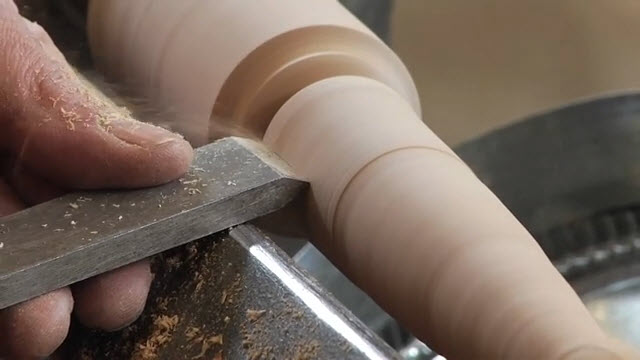
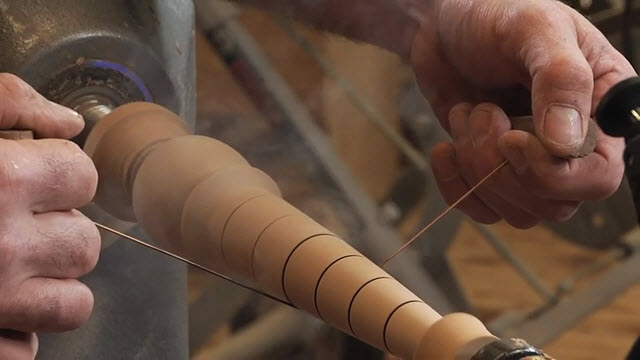
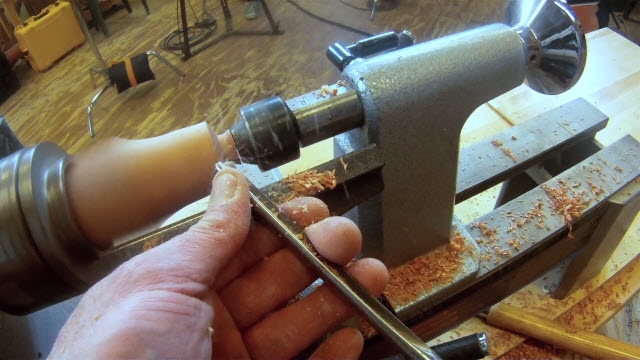
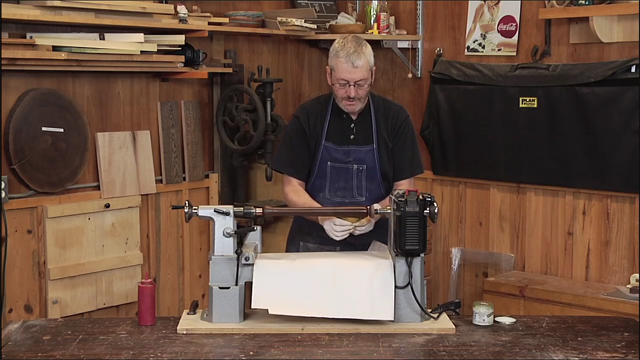
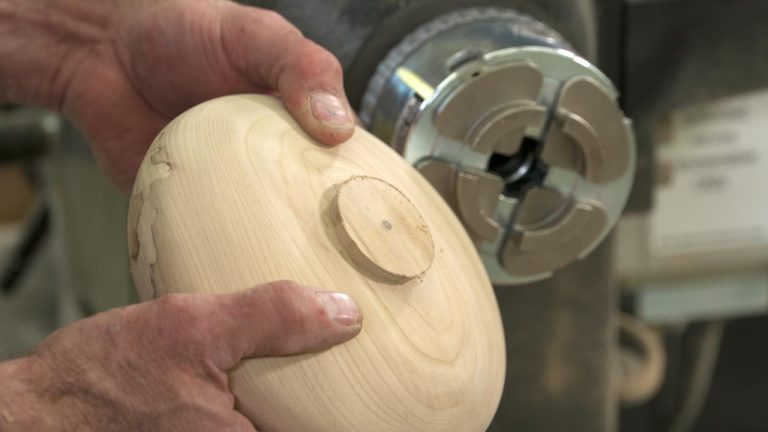
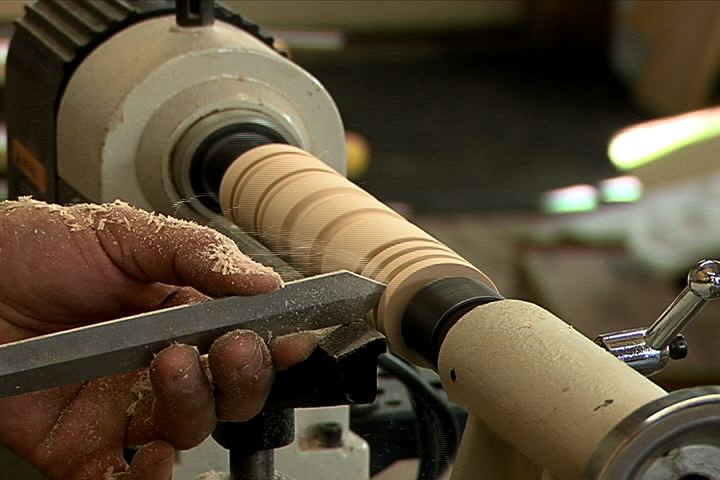
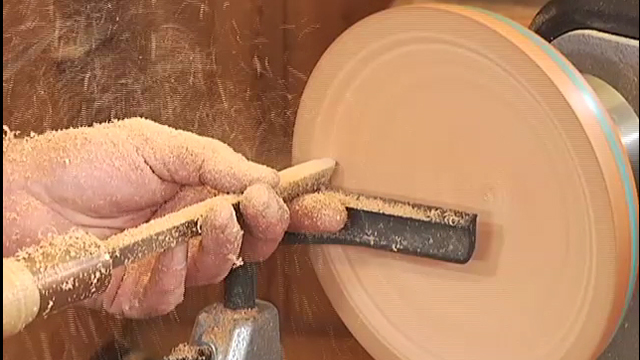
George VondriskaChatter is not a desirable outcome in most turning situations. George Vondriska demonstrates a very decorative use of chatter on your woodworking projects using a special chisel: a chatter tool. A WoodWorkers Guild of America (WWGOA) original video.
Share tips, start a discussion or ask one of our experts or other students a question.
Already a member? Sign in
2 Responses to “Turning with a Chatter Tool”
Explore videos by George Vondriska


You may be interested in
Premium Membership
Unlock exclusive member content from our industry experts.
- 24/7 Access to Premium Woodworking Videos, Projects, and Tips
- Step-by-Step Instructional Demos, Plans, and Tutorials
- 50% Off Video Downloads Purchased in the Woodworkers Guild of America Shop
- 2 Printable Woodworking Plans
Unlock exclusive member content from our industry experts.
- 24/7 Access to Premium Woodworking Videos, Projects, and Tips
- Step-by-Step Instructional Demos, Plans, and Tutorials
- 50% Off Video Downloads Purchased in the Woodworkers Guild of America Shop
- 2 Full-Length Video Downloads to Watch Offline
- 2 Printable Woodworking Plans
Gold Membership
$370 Value
Get everything included in Premium plus exclusive Gold Membership benefits.
- 24/7 Access to Premium Woodworking Videos, Projects, and Tips
- Step-by-Step Instructional Demos, Plans, and Tutorials
- 8 Full-Length Video Downloads to Watch Offline
- 3 Full-Length Woodworking Classes to Keep for Life
- 7 Printable Woodworking Plans
- Discounts on Purchase-to-Own Content in the Woodworkers Guild of America Shop
- Access to Ask the Expert Program
- Exclusive GOLD LIVE Streaming Events
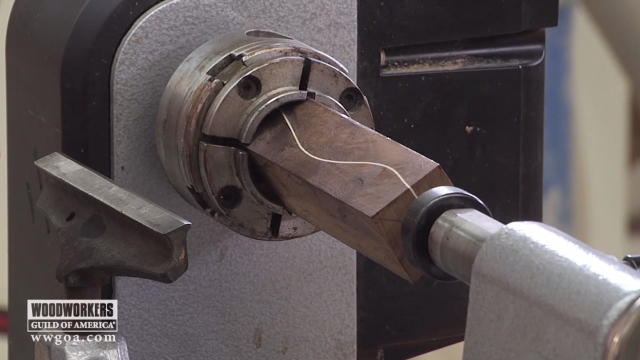
The chatter tool video runs for 3 minutes then stops/ends but the demo is not finished. It shows as a 3 minute video but it's not complete as is.
Showing the result of the demonstration cut in the video would have been nice instead of just cutting the video off.