
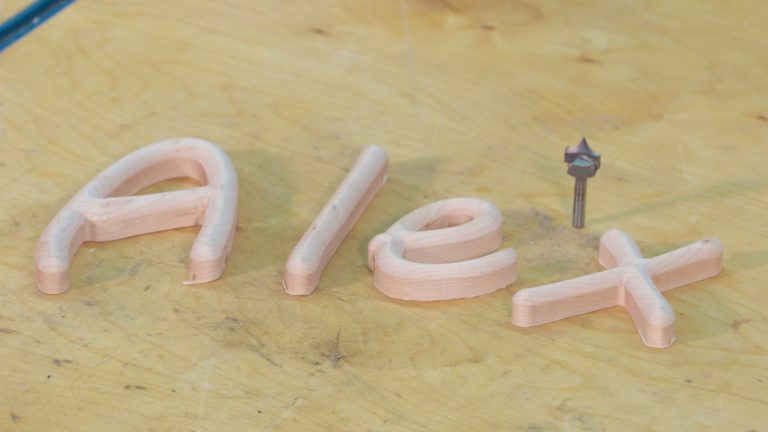
Painting a Sign: Masking for Two Colors
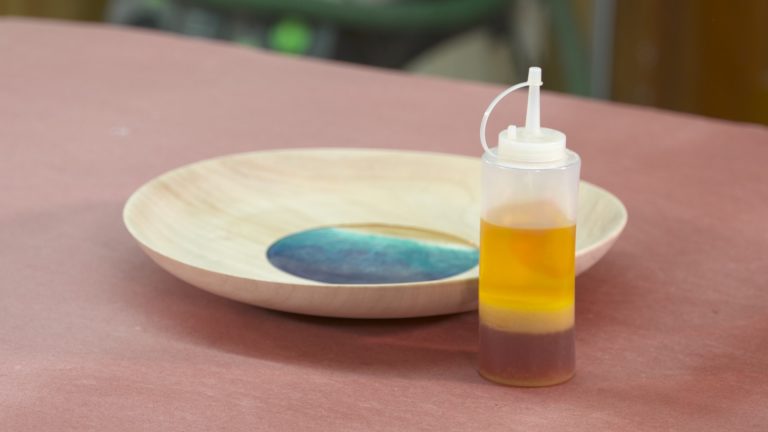
George VondriskaSign making is a great area within woodworking. Most of us have the tools and the fundamental woodworking skills to produce creative custom signs that people love. In order to fully customize the look of your sign, it’s a good idea to apply some color. This can give it the special look that you’re after, and also bring in greater contrast to artwork and lettering that might appear in the sign. If you want to paint a wood sign, there are a few things that make it easier to achieve professional looking results. If you just want one color when you paint a wood sign, that’s pretty easy. Just paint the wood prior to routing the letters or artwork, and then the wood tone provides contrast from the painted top surface.
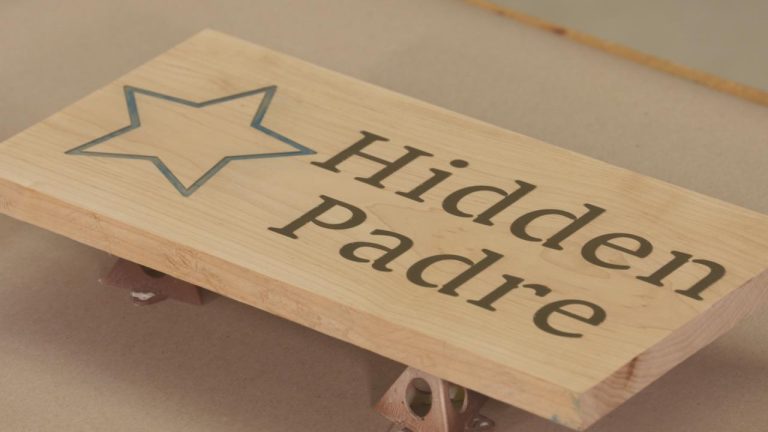
But what if you want to apply two separate colors when you paint a wood sign? One color for the top surface, and the other color that is painted into the letters to create more contrast? If you paint a wood sign with multiple colors, it will be helpful to follow these steps:
Top color first. Apply a coat or two of your primary color across the project blank.
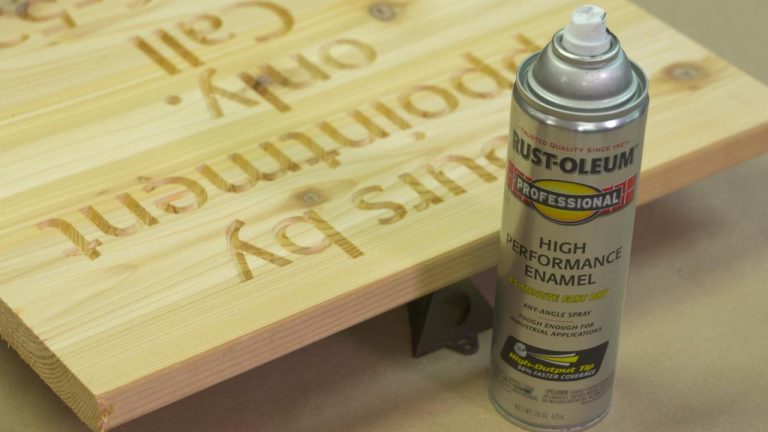
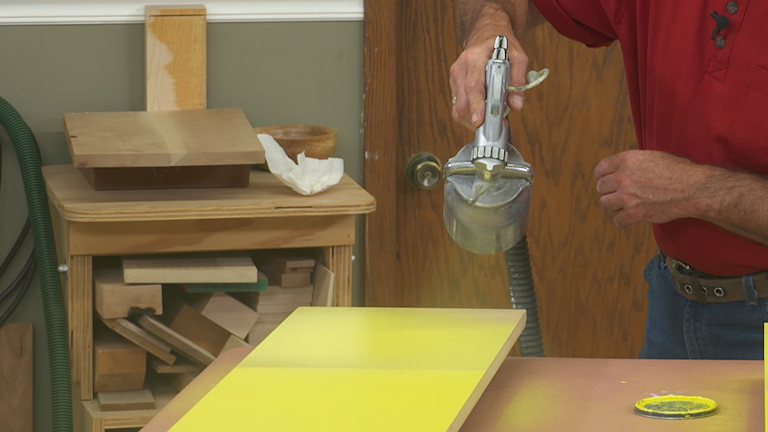
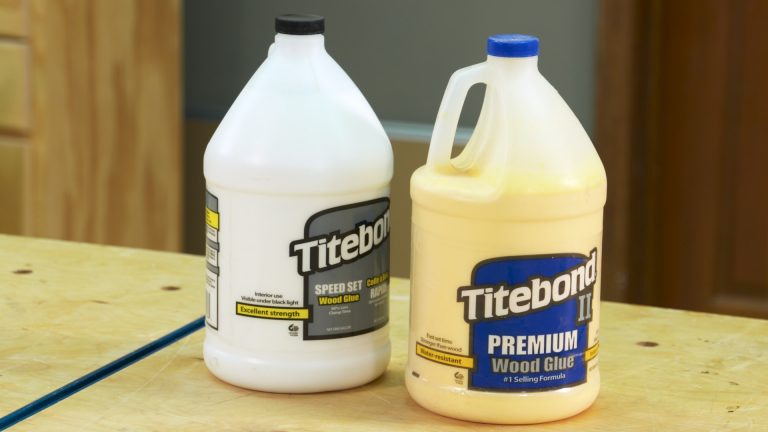
Apply masking. Apply a masking product over the top of the workpiece.
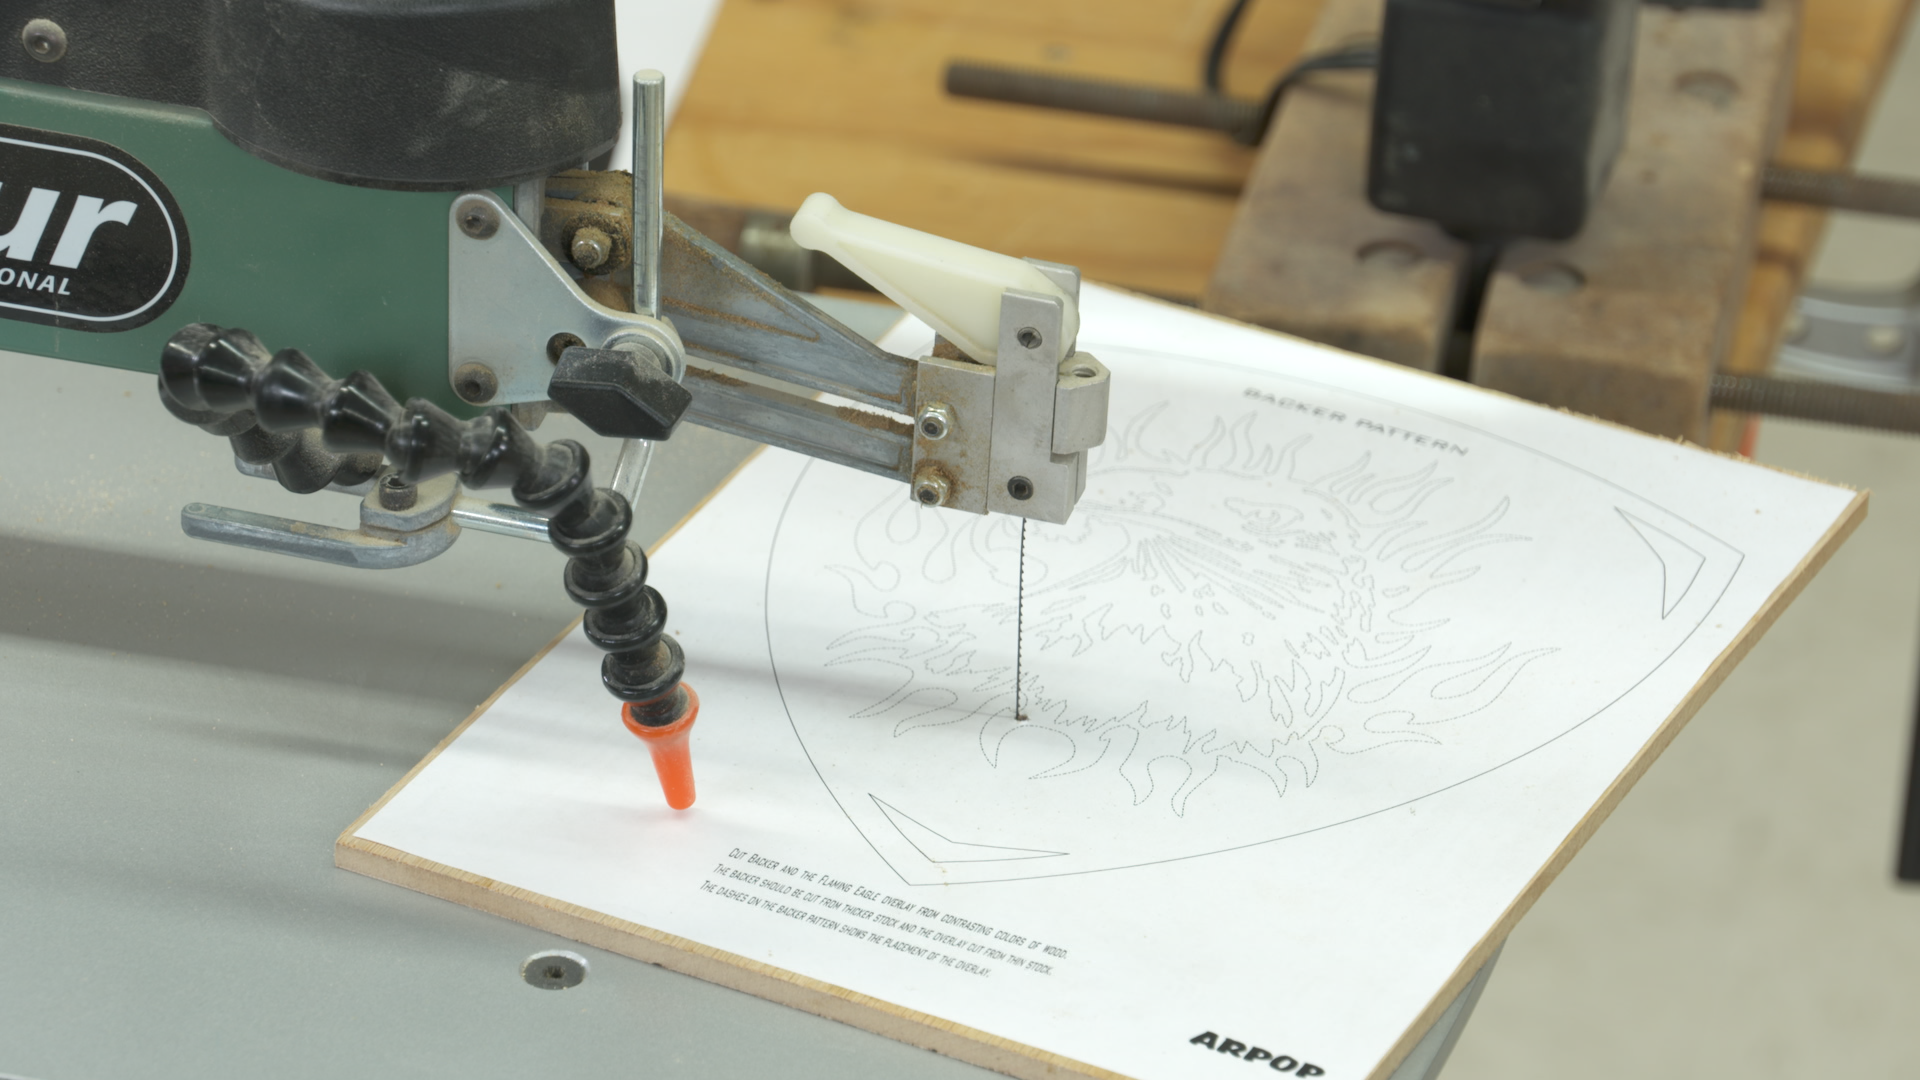
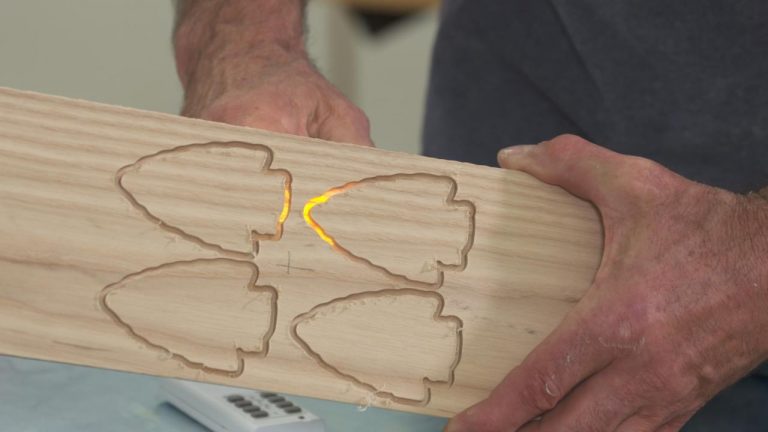
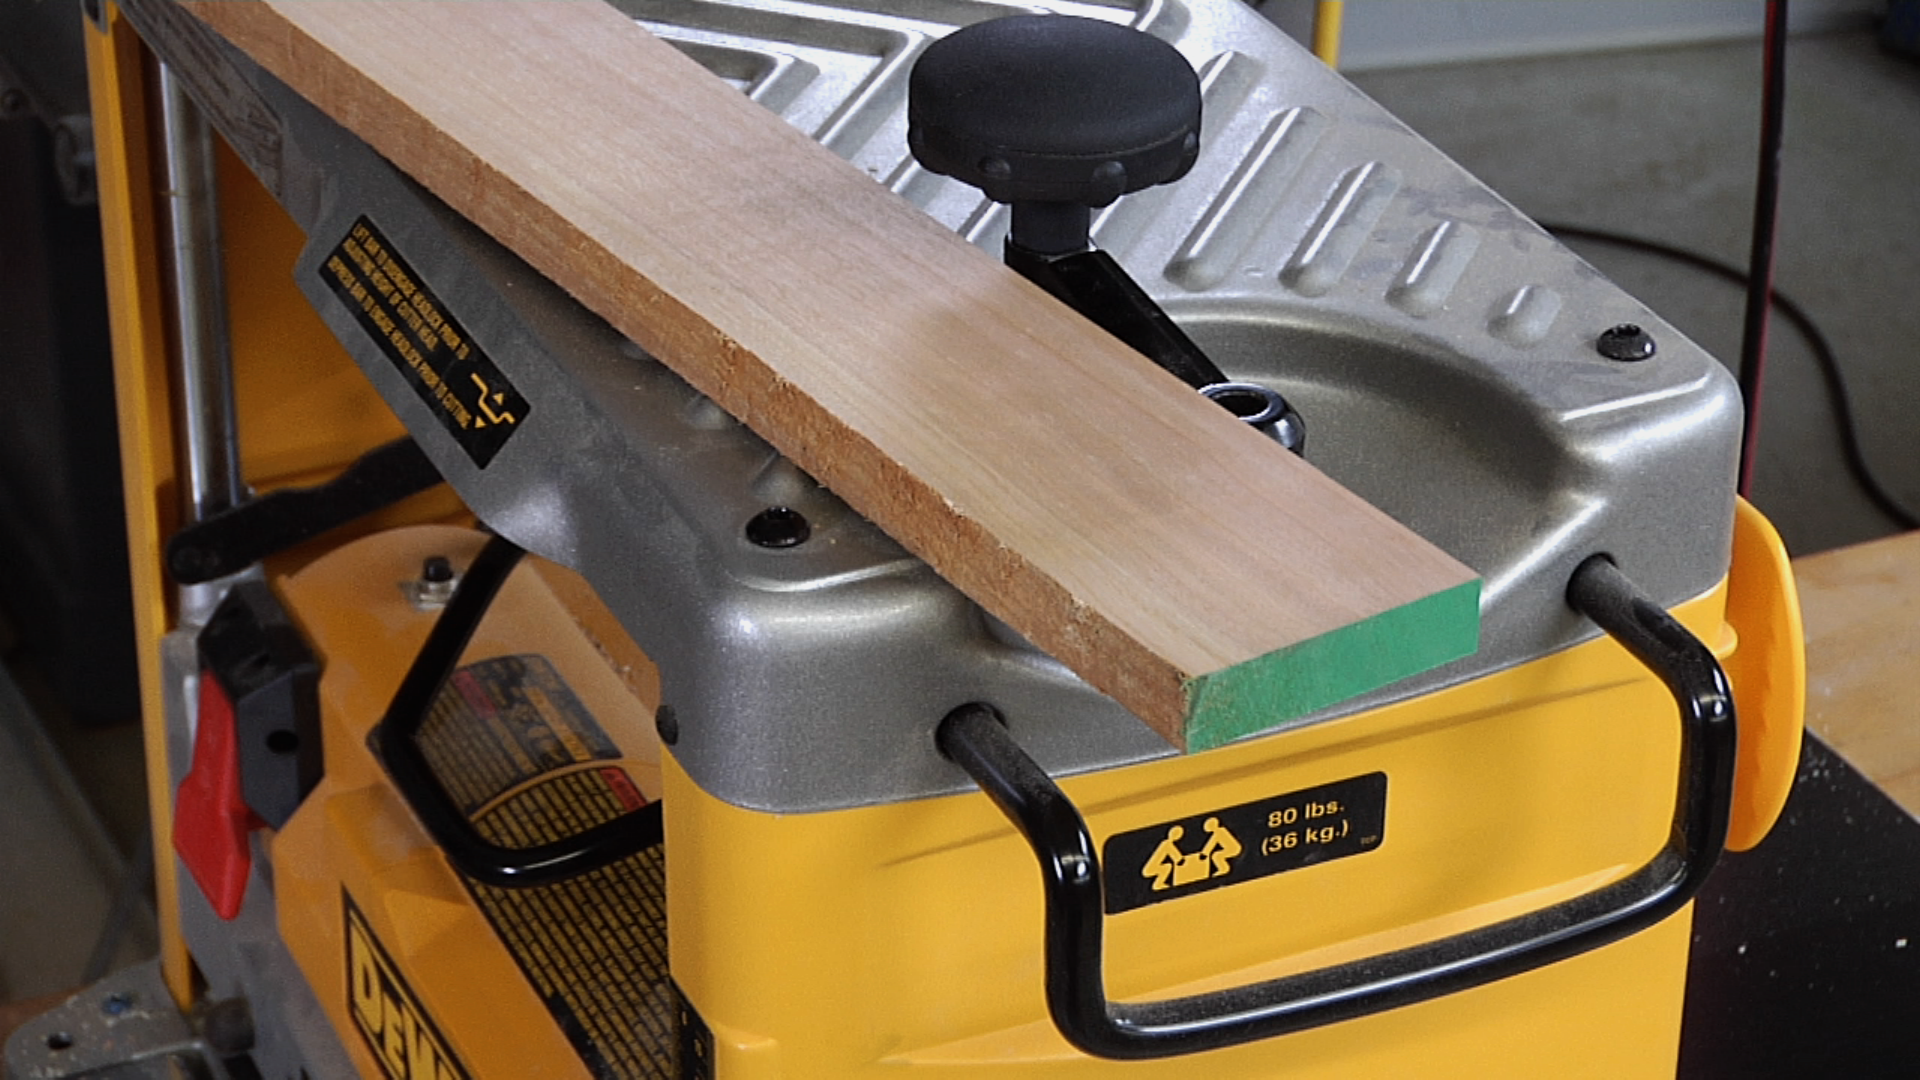
Cut the sign using your router or CNC. No need to do anything special; pretend that the masking film isn’t there.
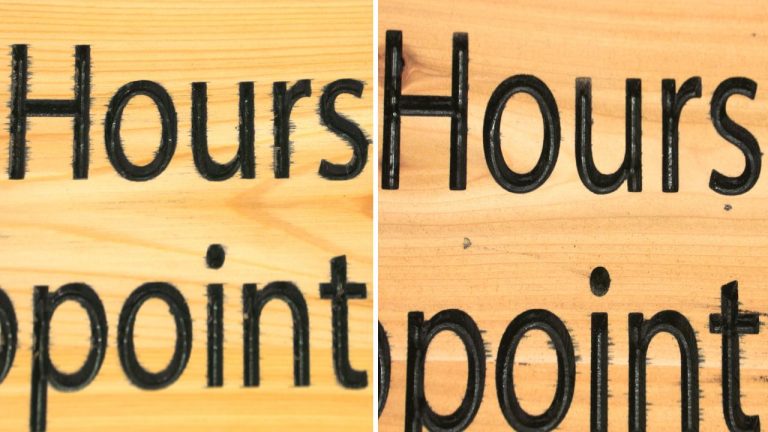
Apply the second color. Before removing the masking, apply a coat of paint across all cut areas.
After the paint has dried, remove the masking to reveal your professional looking sign! If you want to learn some tricks for sign making, check out these benchtop CNC instructional videos. After you’ve completed your sign, you’ll be ready to take on more woodworking projects.
Explore videos by George Vondriska


You may be interested in


Premium Membership
Unlock exclusive member content from our industry experts.
- 24/7 Access to Premium Woodworking Videos, Projects, and Tips
- Step-by-Step Instructional Demos, Plans, and Tutorials
- 50% Off Video Downloads Purchased in the Woodworkers Guild of America Shop
- 2 Printable Woodworking Plans
Unlock exclusive member content from our industry experts.
- 24/7 Access to Premium Woodworking Videos, Projects, and Tips
- Step-by-Step Instructional Demos, Plans, and Tutorials
- 50% Off Video Downloads Purchased in the Woodworkers Guild of America Shop
- 2 Full-Length Video Downloads to Watch Offline
- 2 Printable Woodworking Plans
Gold Membership
$370 Value
Get everything included in Premium plus exclusive Gold Membership benefits.
- 24/7 Access to Premium Woodworking Videos, Projects, and Tips
- Step-by-Step Instructional Demos, Plans, and Tutorials
- 8 Full-Length Video Downloads to Watch Offline
- 3 Full-Length Woodworking Classes to Keep for Life
- 7 Printable Woodworking Plans
- Discounts on Purchase-to-Own Content in the Woodworkers Guild of America Shop
- Access to Ask the Expert Program
- Exclusive GOLD LIVE Streaming Events