
Make an Oval Box and Textured Lid with a CNC
George VondriskaThe oval box project taught in this video is a great CNC project. You’ll learn how to create an oval (which is really easy to do with software). The wall thickness of the box is created with an offset function, and we’ll transfer the oval used for the base of the box to the lid, to make sure they’re a perfect fit.
Making the lid
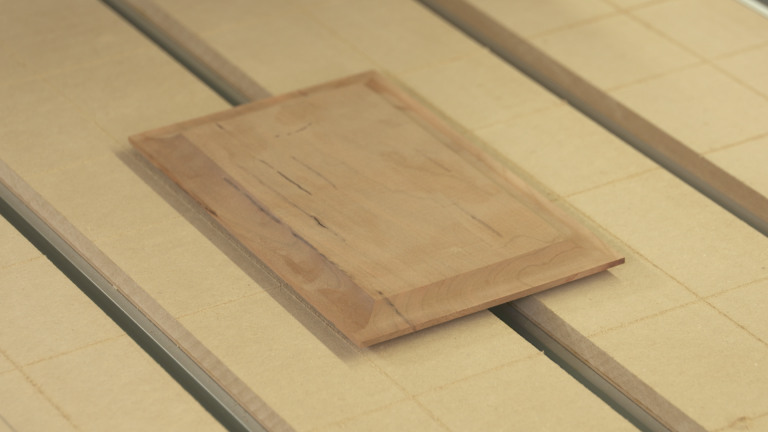
The lid of our oval box has some great features. It’s domed, and it’s textured. You’ll learn how to create the dome and apply the texture to it. You’ll also see how to cut the exterior shape, and use tabs to hold the lid in place.
The box
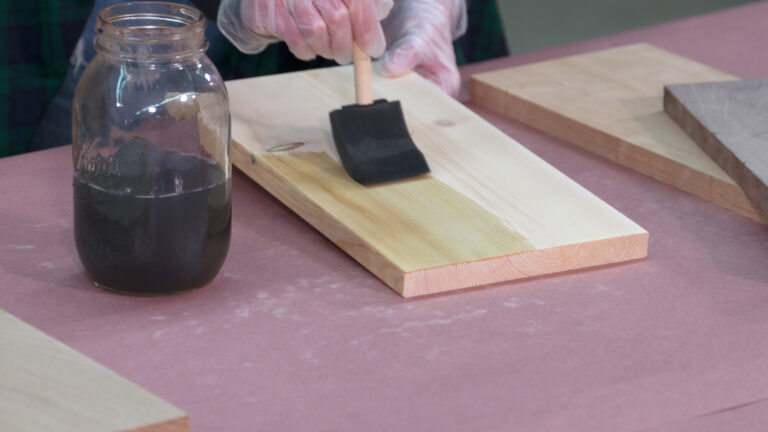
Once the lid is complete we’ll transfer the oval that defines the lid to the base to make sure they’re exactly the same size. We’ll use the offset function again to create the wall thickness of the box, and set up the software to excavate the waste out of the box interior, and through cut the exterior, again using tabs.
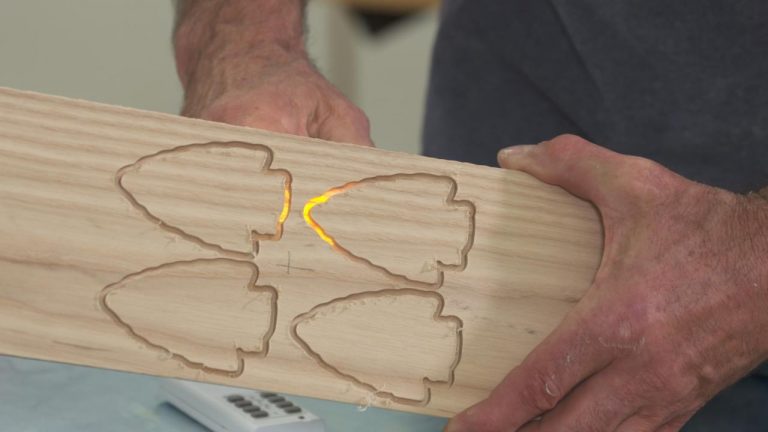
On to the CNC
We use a unique, but very effective, means of securing our material to the CNC spoil board. With the board set in place you’ll learn how to install router bits and zero the X,Y, and Z axes.
More about CNCs
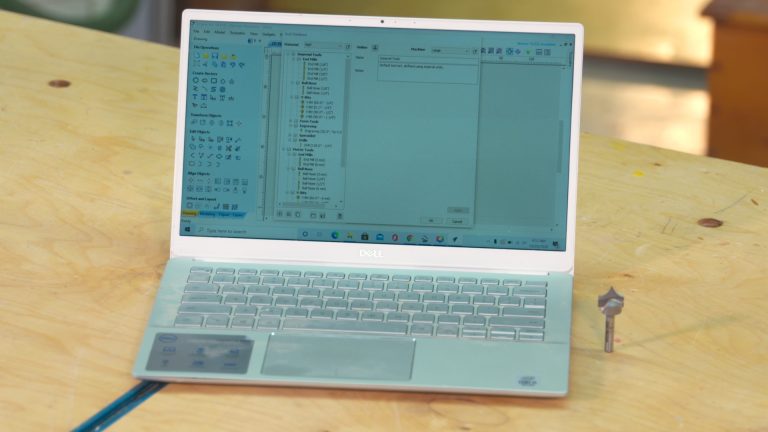
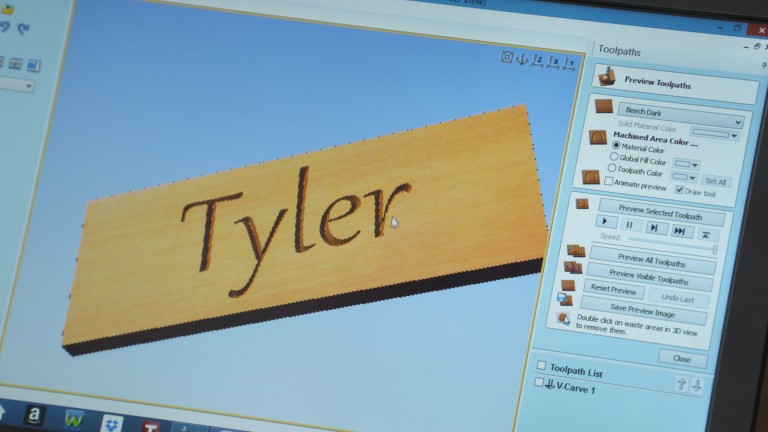
We cover a lot of information in this video, but we’ve got more information if you’re hungry for more about programming a CNC machine. We can also help you out if simply want to learn more about a benchtop CNC.
You may also like
Share tips, start a discussion or ask one of our experts or other students a question.
Already a member? Sign in
One Response to “Make an Oval Box and Textured Lid with a CNC”
Explore videos by George Vondriska


You may be interested in


Premium Membership
Unlock exclusive member content from our industry experts.
- 24/7 Access to Premium Woodworking Videos, Projects, and Tips
- Step-by-Step Instructional Demos, Plans, and Tutorials
- 50% Off Video Downloads Purchased in the Woodworkers Guild of America Shop
- 2 Printable Woodworking Plans
Unlock exclusive member content from our industry experts.
- 24/7 Access to Premium Woodworking Videos, Projects, and Tips
- Step-by-Step Instructional Demos, Plans, and Tutorials
- 50% Off Video Downloads Purchased in the Woodworkers Guild of America Shop
- 2 Full-Length Video Downloads to Watch Offline
- 2 Printable Woodworking Plans
Gold Membership
$370 Value
Get everything included in Premium plus exclusive Gold Membership benefits.
- 24/7 Access to Premium Woodworking Videos, Projects, and Tips
- Step-by-Step Instructional Demos, Plans, and Tutorials
- 8 Full-Length Video Downloads to Watch Offline
- 3 Full-Length Woodworking Classes to Keep for Life
- 7 Printable Woodworking Plans
- Discounts on Purchase-to-Own Content in the Woodworkers Guild of America Shop
- Access to Ask the Expert Program
- Exclusive GOLD LIVE Streaming Events
This is a great video, thank you for explaining it in detail. I am new to CNC and needed soming just like this! You explained V-Carve as well. Thank you!