
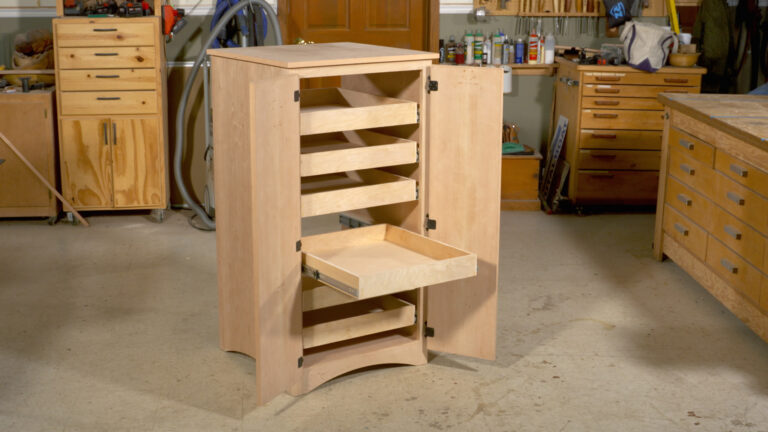
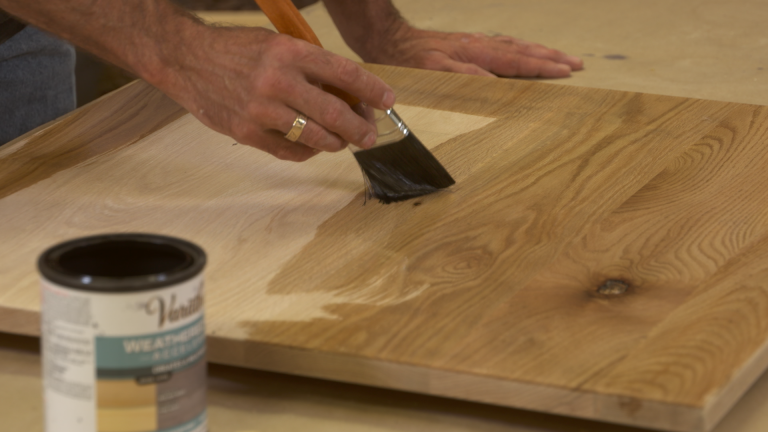
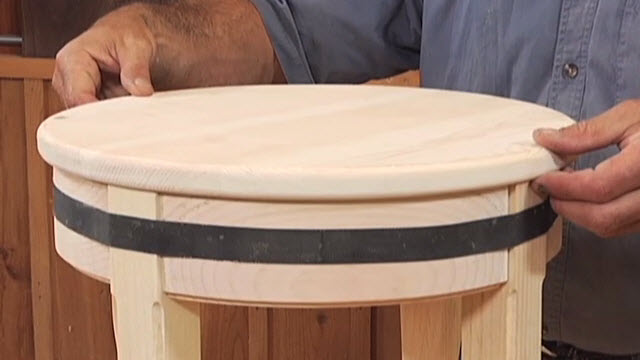
Installing Drawer Slides: Drawer Box Components
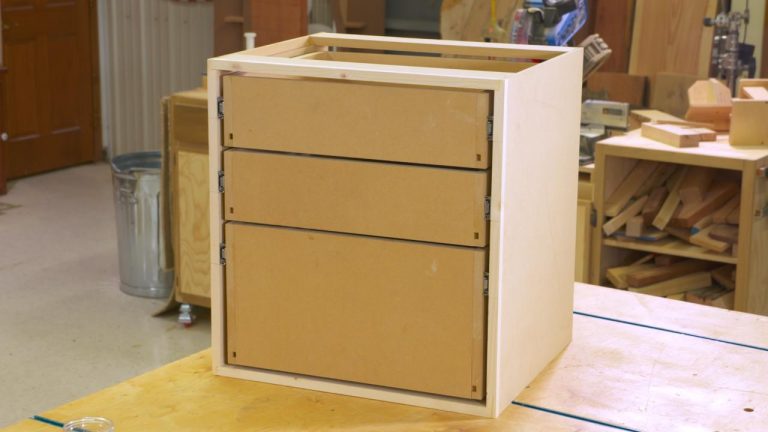
George VondriskaOnce you know how to make cabinet drawers, you will want to understand the process of installing drawer slides. First comes the part of installing drawer slides that involves attaching them to the sides of your cabinet’s carcase, and that is covered in a separate video. The next step, which we cover here, is where you install the part of the drawer slides that gets attached to the side of the drawer.
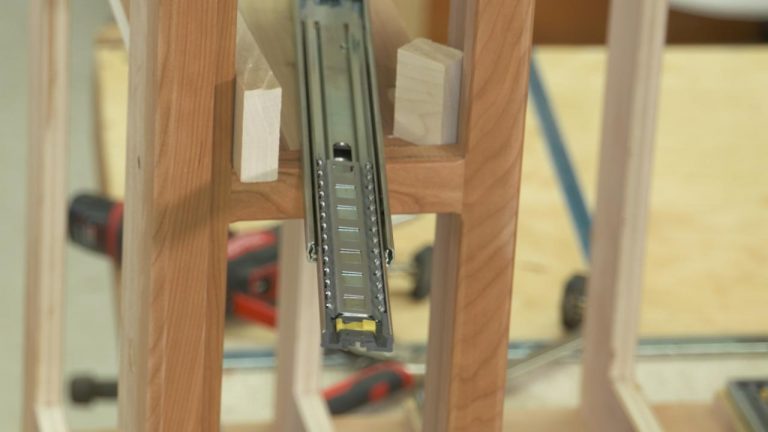
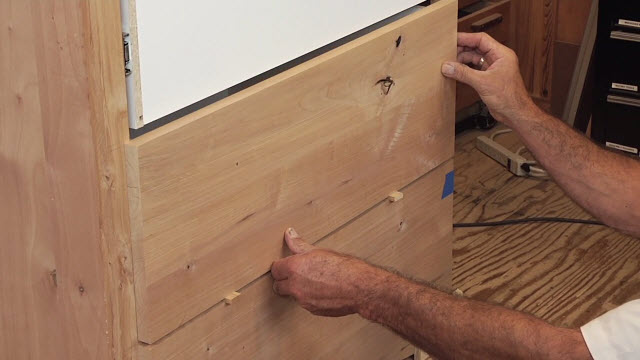
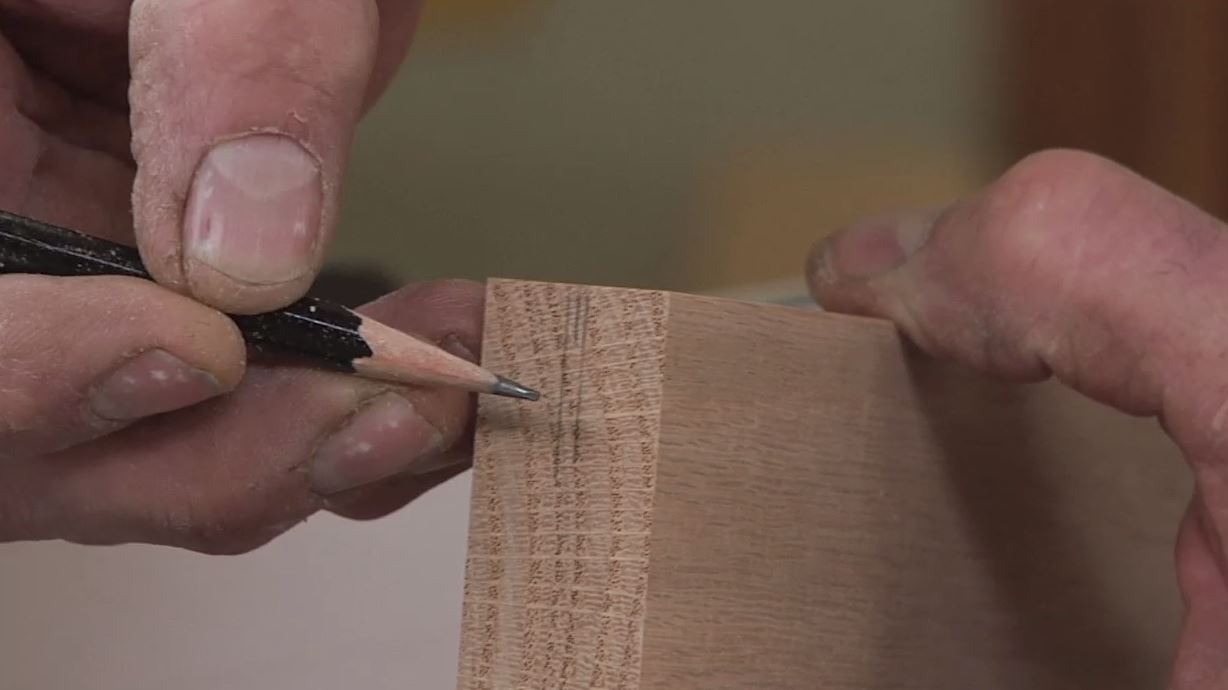
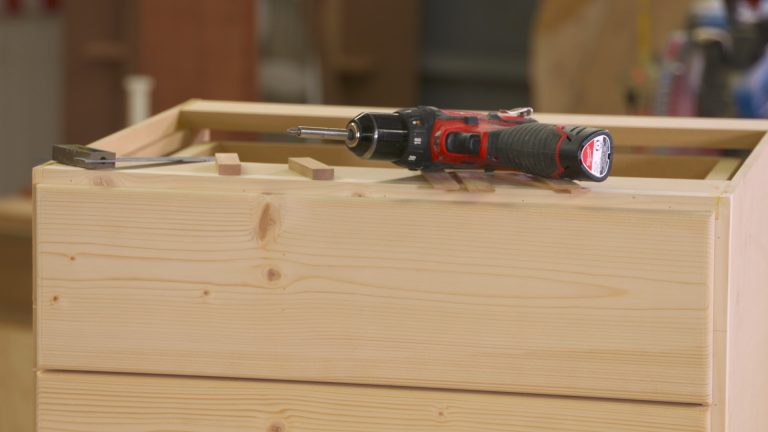
After you have finished installing drawer slides components that go onto the inside of the cabinet, then the next step is to install the other half of the drawer slides onto the drawer sides. The drawer needs to fit properly in three directions; vertically and horizontally as you look at the drawer from the front, and also front to back so that the drawer face is positioned properly. Those are a lot of variables to get right, so it’s a good idea to take advantage of the suggestions that George provides:
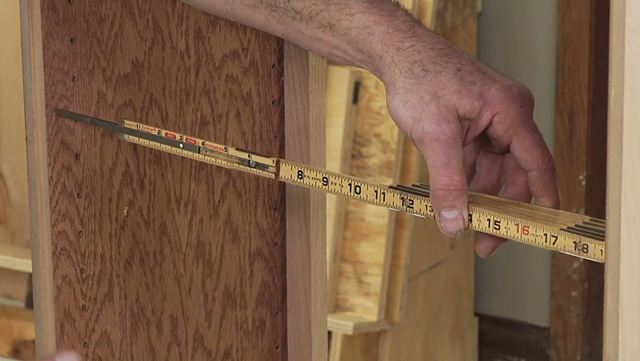
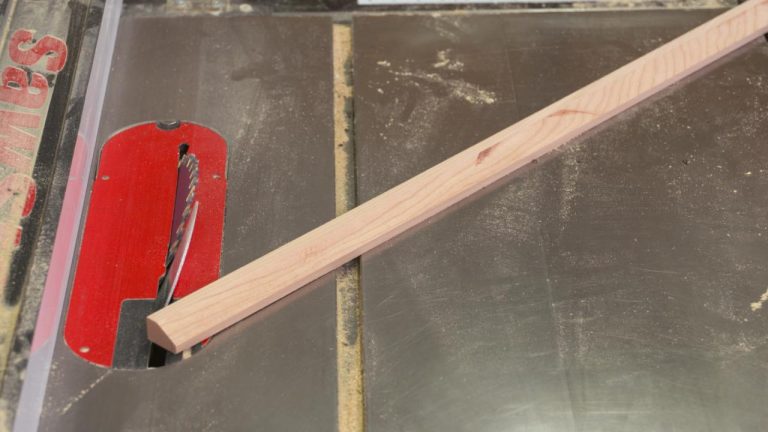
Use spacers. Cut a piece of scrap wood that can serve as a guide to position the drawer slide in the appropriate place vertically. Using the spacer when installing drawer slides will ensure that the slide gets installed at the correct height, and that it will be straight.
Use stop blocks. It is important to have the drawer slide align to the end of the drawer. If it sticks out proud of the drawer, or stops short of the end by any amount, the drawer face will not be aligned to the face frame, and you will not like it.
Insert drawers slowly. Test the fit, but be careful to not force the drawer into the opening if you are feeling too much resistance. If necessary, back the drawer out and restart rather than forcing it in.
Explore videos by George Vondriska


You may be interested in


Premium Membership
Unlock exclusive member content from our industry experts.
- 24/7 Access to Premium Woodworking Videos, Projects, and Tips
- Step-by-Step Instructional Demos, Plans, and Tutorials
- 50% Off Video Downloads Purchased in the Woodworkers Guild of America Shop
- 2 Printable Woodworking Plans
Unlock exclusive member content from our industry experts.
- 24/7 Access to Premium Woodworking Videos, Projects, and Tips
- Step-by-Step Instructional Demos, Plans, and Tutorials
- 50% Off Video Downloads Purchased in the Woodworkers Guild of America Shop
- 2 Full-Length Video Downloads to Watch Offline
- 2 Printable Woodworking Plans
Gold Membership
$370 Value
Get everything included in Premium plus exclusive Gold Membership benefits.
- 24/7 Access to Premium Woodworking Videos, Projects, and Tips
- Step-by-Step Instructional Demos, Plans, and Tutorials
- 8 Full-Length Video Downloads to Watch Offline
- 3 Full-Length Woodworking Classes to Keep for Life
- 7 Printable Woodworking Plans
- Discounts on Purchase-to-Own Content in the Woodworkers Guild of America Shop
- Access to Ask the Expert Program
- Exclusive GOLD LIVE Streaming Events