
How to Use a Trim Router and Bits
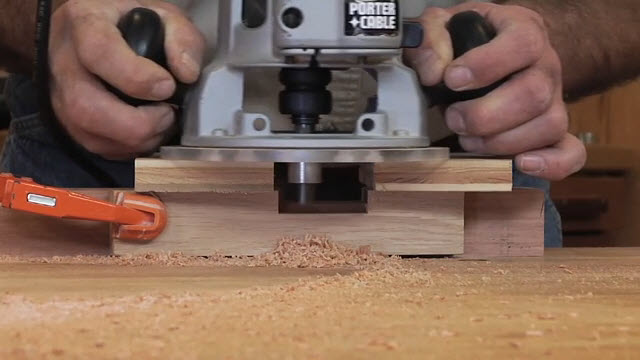
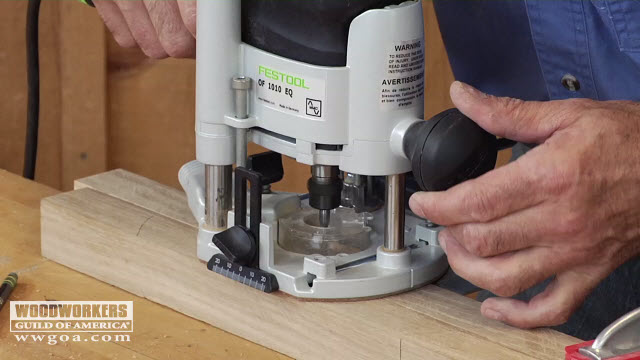
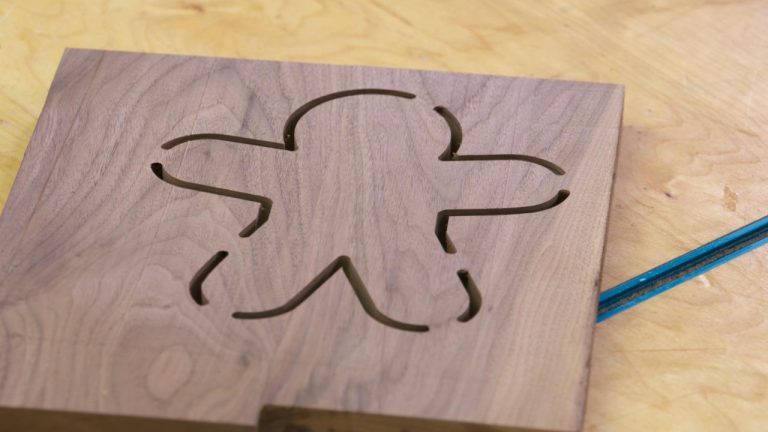
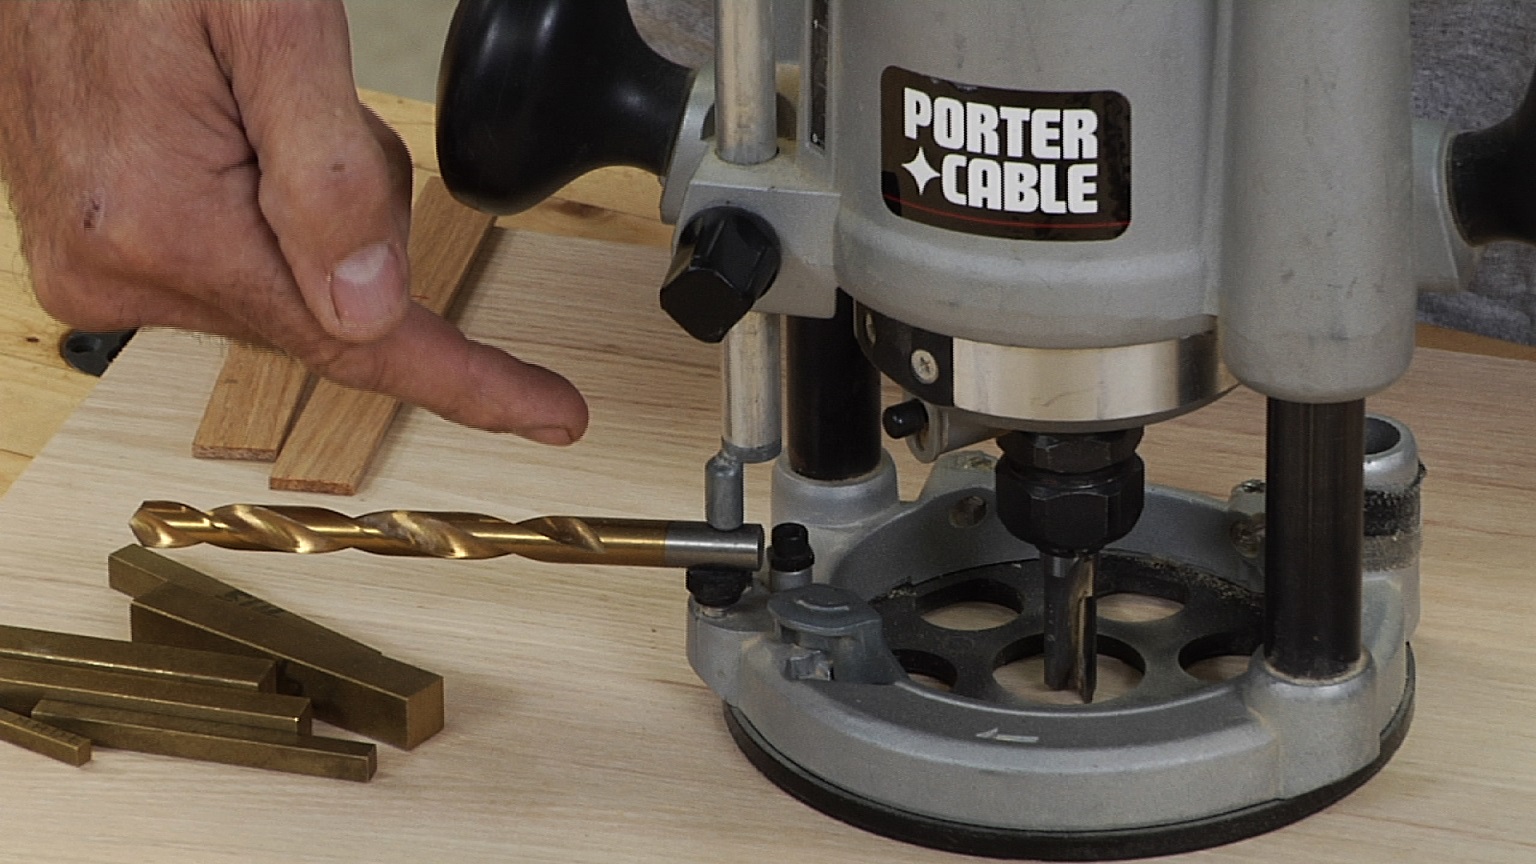
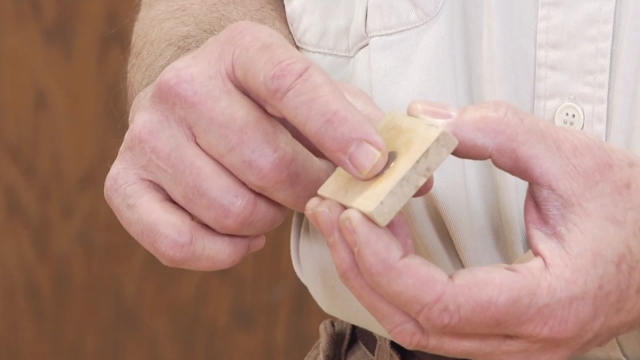
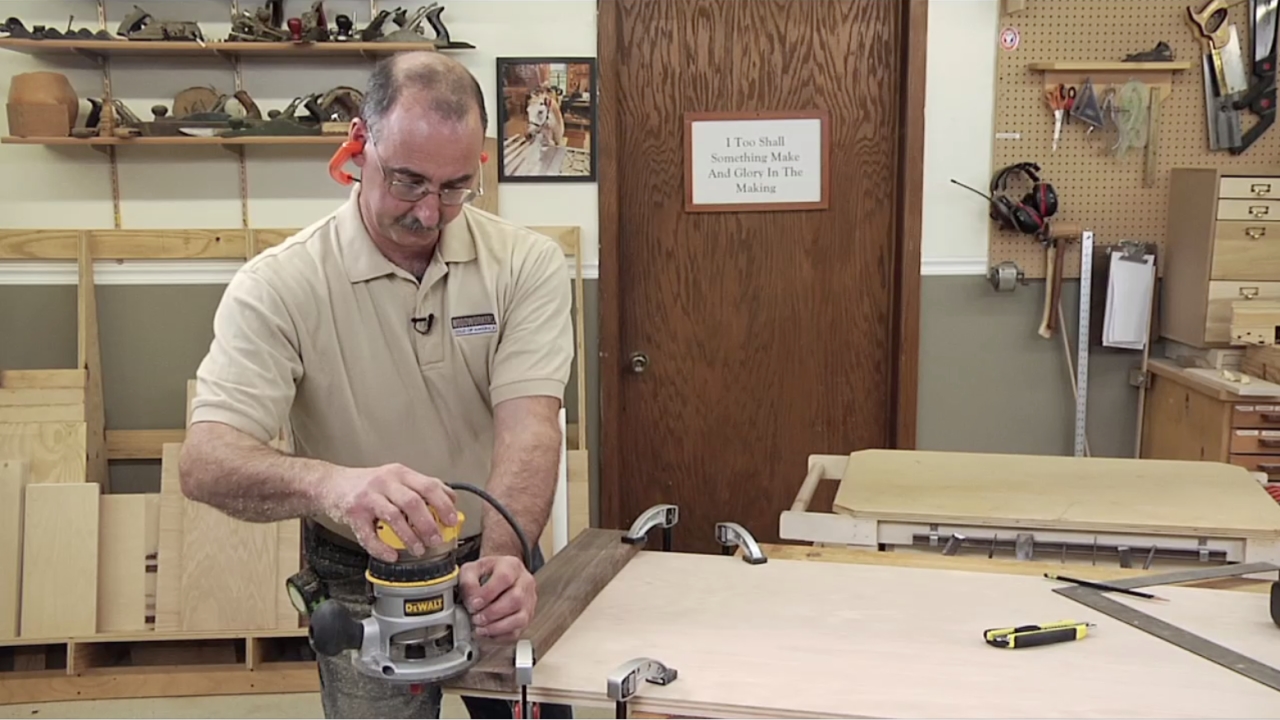
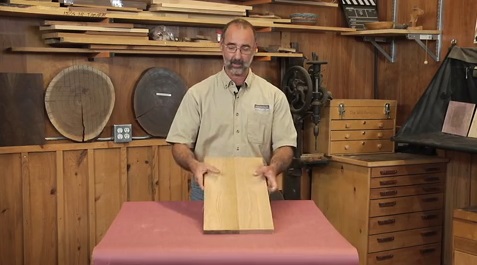
George VondriskaTrim routers are a very handy tool to have in the shop, in part because they’re so easy to handle with one hand. This instructional video teaches you how to use a flush trim router bit, a V-bit for free-hand sign making, and a roman ogee bit. All of these cutters can be easily used in a trim router.

Why a router?
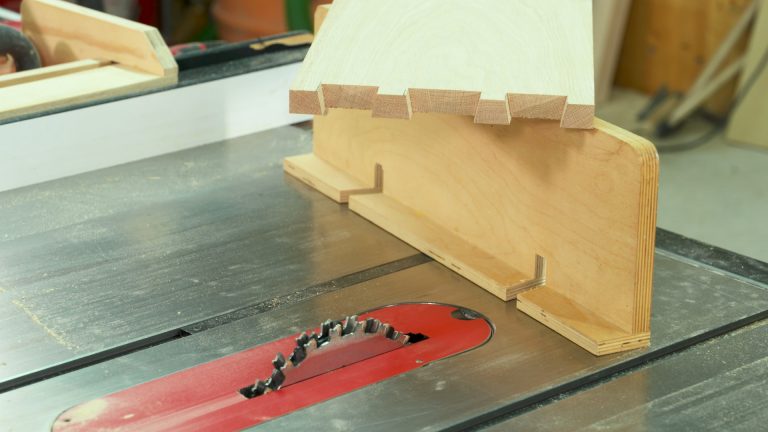
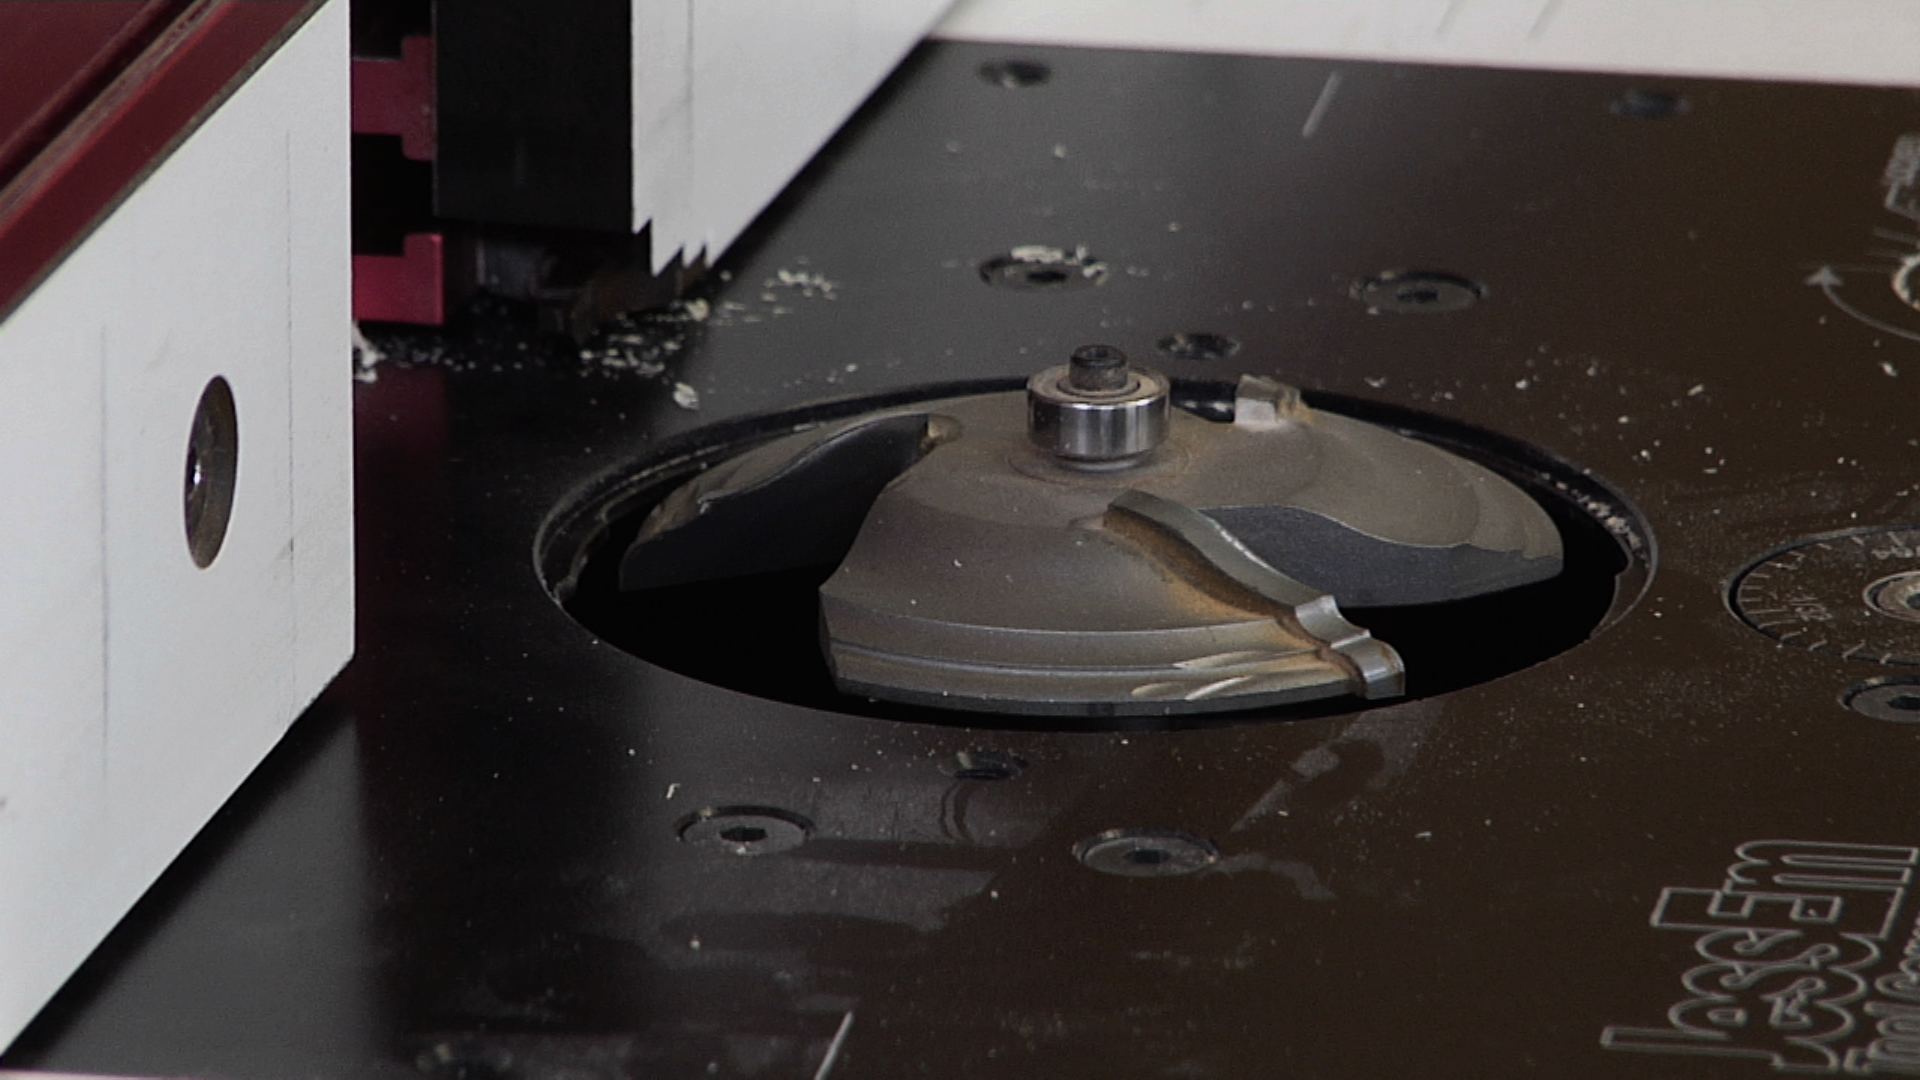
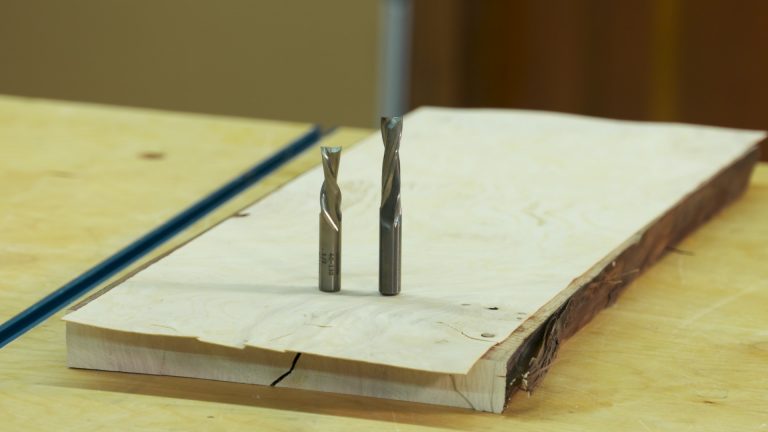
Routers are amazingly versatile tools to have in you shop, available for your woodworking projects. There’s a nearly infinite array of router bit profiles and shapes that can be mounted in a router. And, with their high RPM (revolutions per minute), the surface left behind typically requires very little sanding. Make sure that you’re getting the most out of your router by checking the instruction WoodWorkers Guild of America provides on how to use a router.
The router family
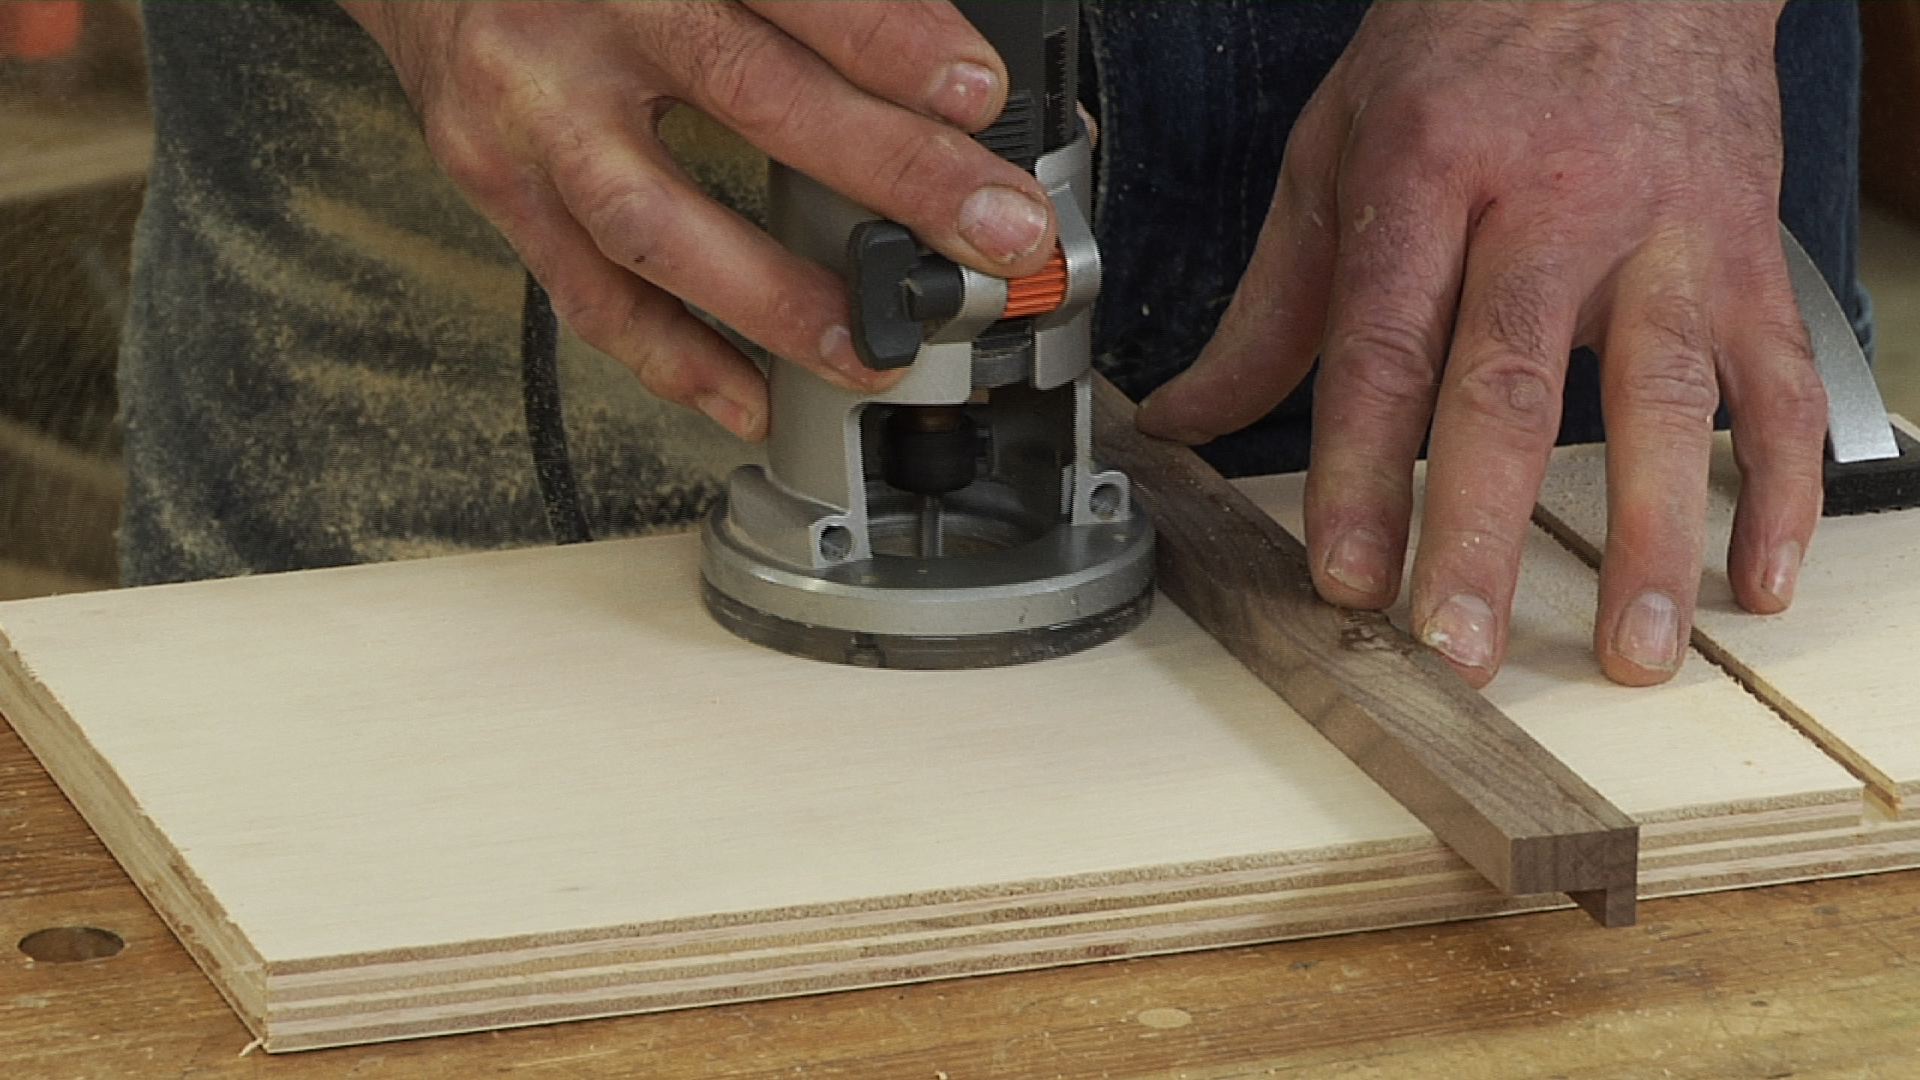
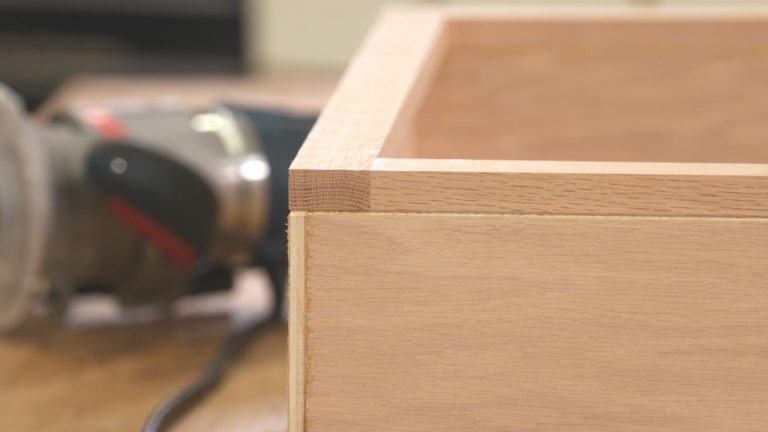
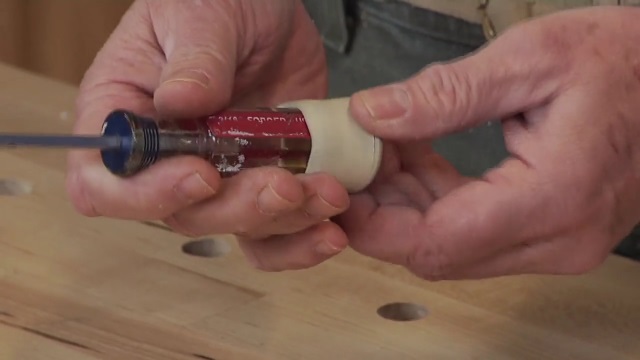
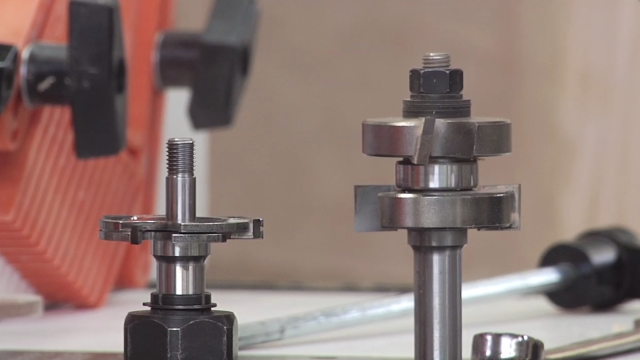
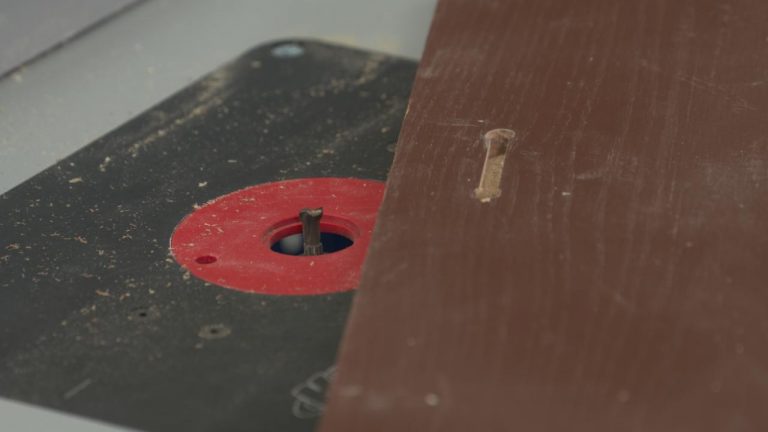
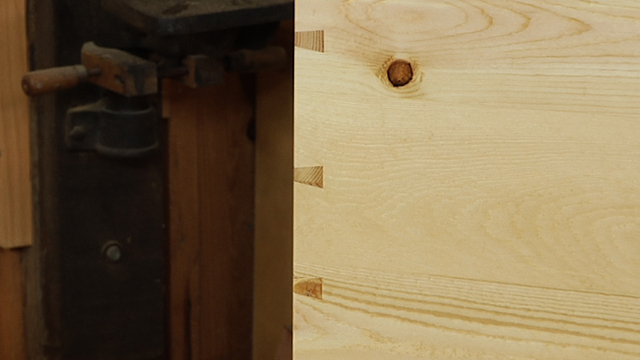
Routers range in size from trim routers, which are easily hand held, to large machines best suited for use in a router table because of their size and weight. Trim routers got their name from being used with flush trim router bits on plastic laminate, and are a great router to use for detail work.
Advance your skills
Want to learn more? You can continue to take your woodworking skills to the next level by having a look at the amazing variety of woodworking videos offered by the WoodWorkers Guild of America.
Flush Trim Router provided by MLCS. For more information, visit www.mlcswoodworking.com.
Share tips, start a discussion or ask one of our experts or other students a question.
Already a member? Sign in
4 Responses to “How to Use a Trim Router and Bits”
Explore videos by George Vondriska


You may be interested in


Premium Membership
Unlock exclusive member content from our industry experts.
- 24/7 Access to Premium Woodworking Videos, Projects, and Tips
- Step-by-Step Instructional Demos, Plans, and Tutorials
- 50% Off Video Downloads Purchased in the Woodworkers Guild of America Shop
- 2 Printable Woodworking Plans
Unlock exclusive member content from our industry experts.
- 24/7 Access to Premium Woodworking Videos, Projects, and Tips
- Step-by-Step Instructional Demos, Plans, and Tutorials
- 50% Off Video Downloads Purchased in the Woodworkers Guild of America Shop
- 2 Full-Length Video Downloads to Watch Offline
- 2 Printable Woodworking Plans
Gold Membership
$370 Value
Get everything included in Premium plus exclusive Gold Membership benefits.
- 24/7 Access to Premium Woodworking Videos, Projects, and Tips
- Step-by-Step Instructional Demos, Plans, and Tutorials
- 8 Full-Length Video Downloads to Watch Offline
- 3 Full-Length Woodworking Classes to Keep for Life
- 7 Printable Woodworking Plans
- Discounts on Purchase-to-Own Content in the Woodworkers Guild of America Shop
- Access to Ask the Expert Program
- Exclusive GOLD LIVE Streaming Events
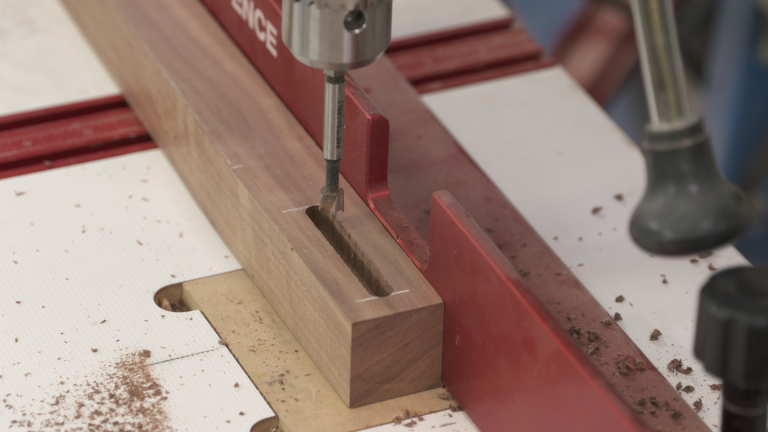
when I moved the bit thru grain direction changes it sometimes "jerks" & the groove is crooked. is this from being too deep? How do I prevent this, as it ruins that attempt. thank you
See the opening picture on the video of the router in middle, bits in box and straight fence on left, spanner clear tube and that little right angle slotted fitting with the roller? I recently bought and 800W trim router and the manual doesn't tell what that little fitting is for or how to fit it. I know it has something to do with either flush trimming or circle cutting. Can you show me how it's used. I have the same straight fence as yours but that little jig with the adjustable roller has me confused.Thanks for your help.
I was hoping to see how to use the bearing guide attachment shown at the beginning. I've got that attachment but don't understand exactly how it works.
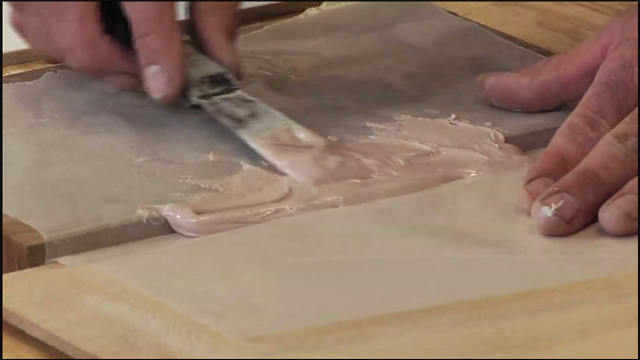
What type of glue did you use for the free hand routing?