
How to Cut Bowl Blanks from Logs
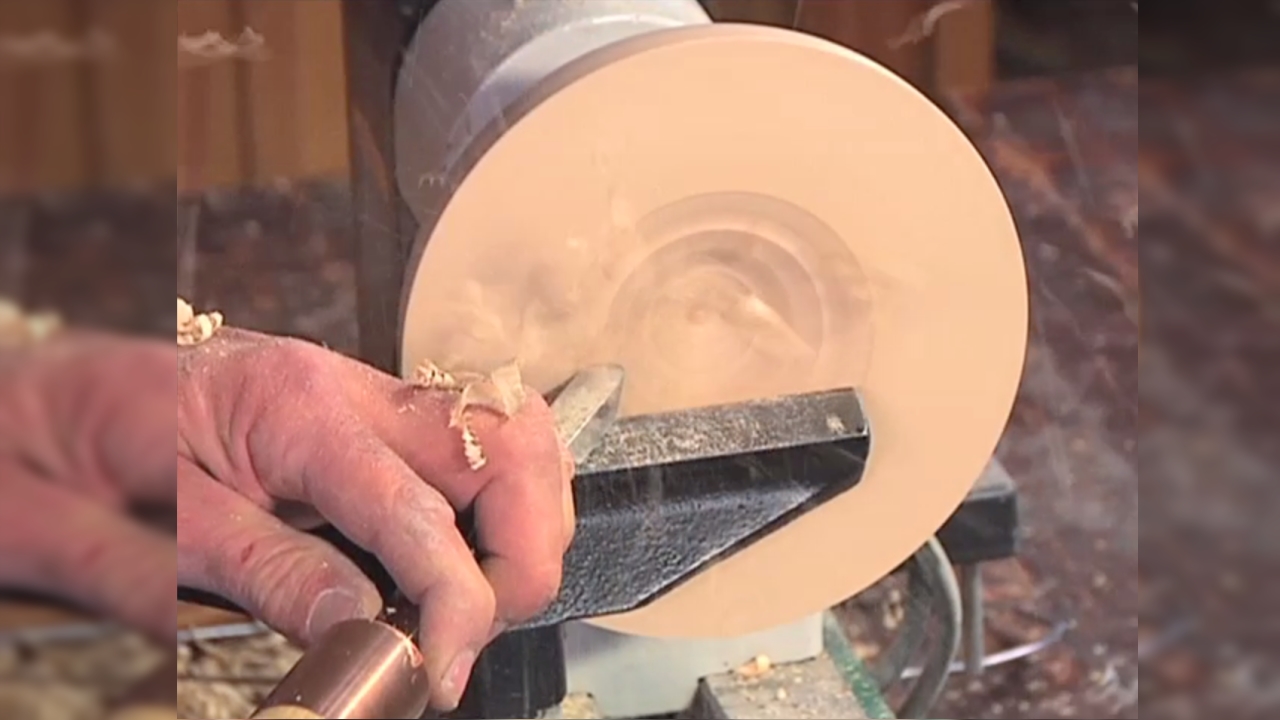
George VondriskaOnce you know how to create bowl blanks from logs, turning bowls from fresh cut timber is one of the most satisfying aspects woodworking. The material is abundant and cheap and every project is inherent unique due to the unpredictability of what treasure lies inside of each log. Even the preparatory process of how to create bowl blanks from logs can be fun and straightforward if you following a few simple steps that George covers in this video. As a prerequisite you will want to have a good understanding of how to use a bandsaw. Also, if you need some information on woodturning, WWGOA has an abundance of woodturning videos.
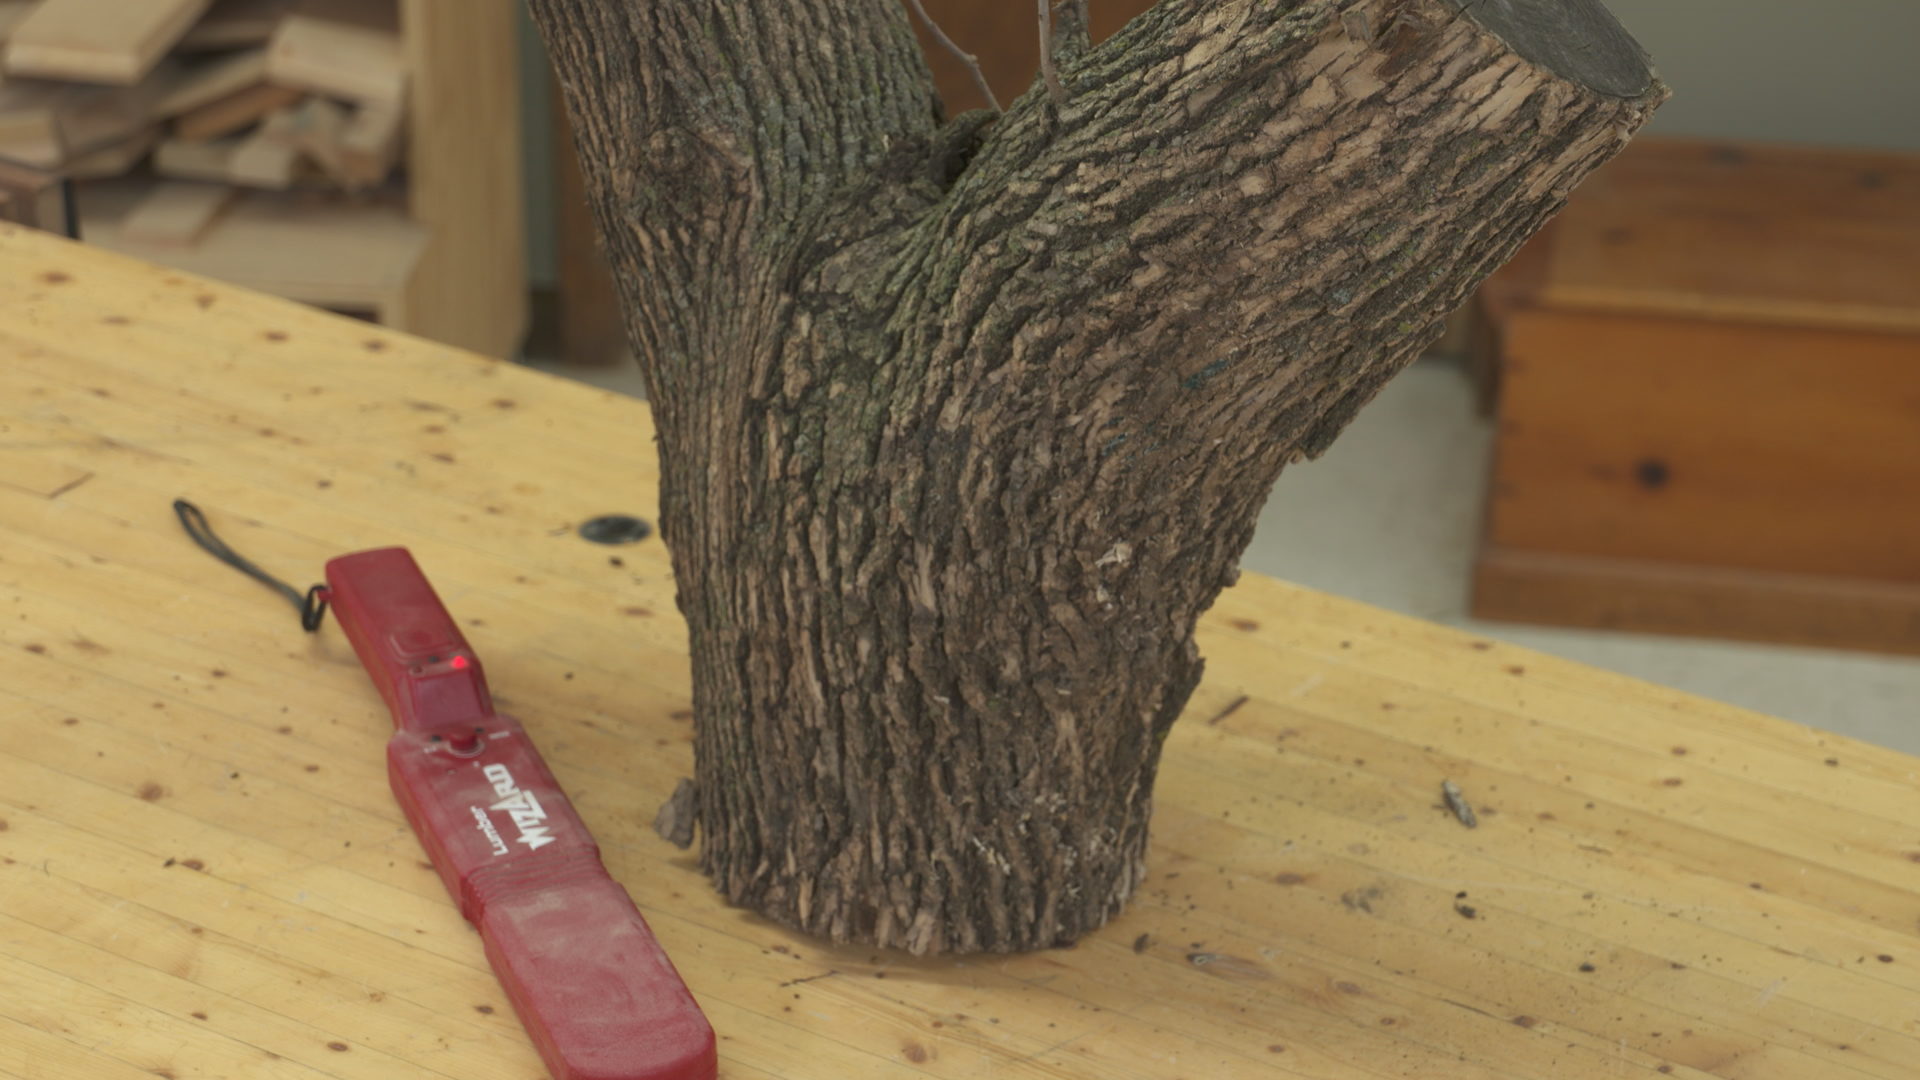
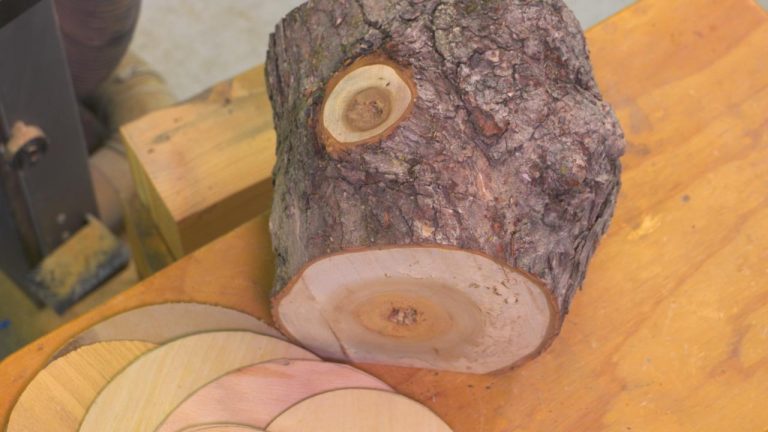
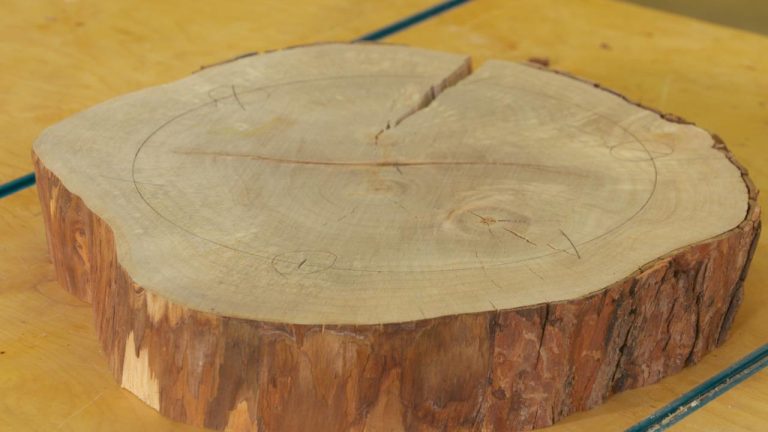
Stock selection
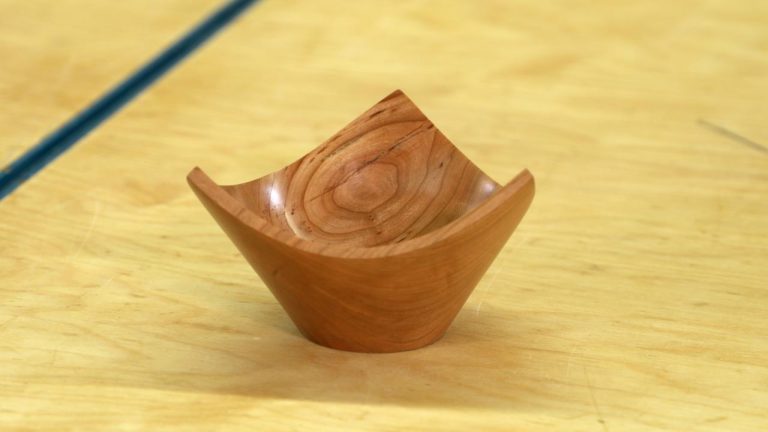
Even before applying your knowledge of how to create bowl blanks from logs, it is important to learn how to identify which parts of a log will produce the most beautiful projects. The difference of which part of the tree select, and how you cut your blank will have a dramatic effect on the grain pattern that is revealed in the piece.
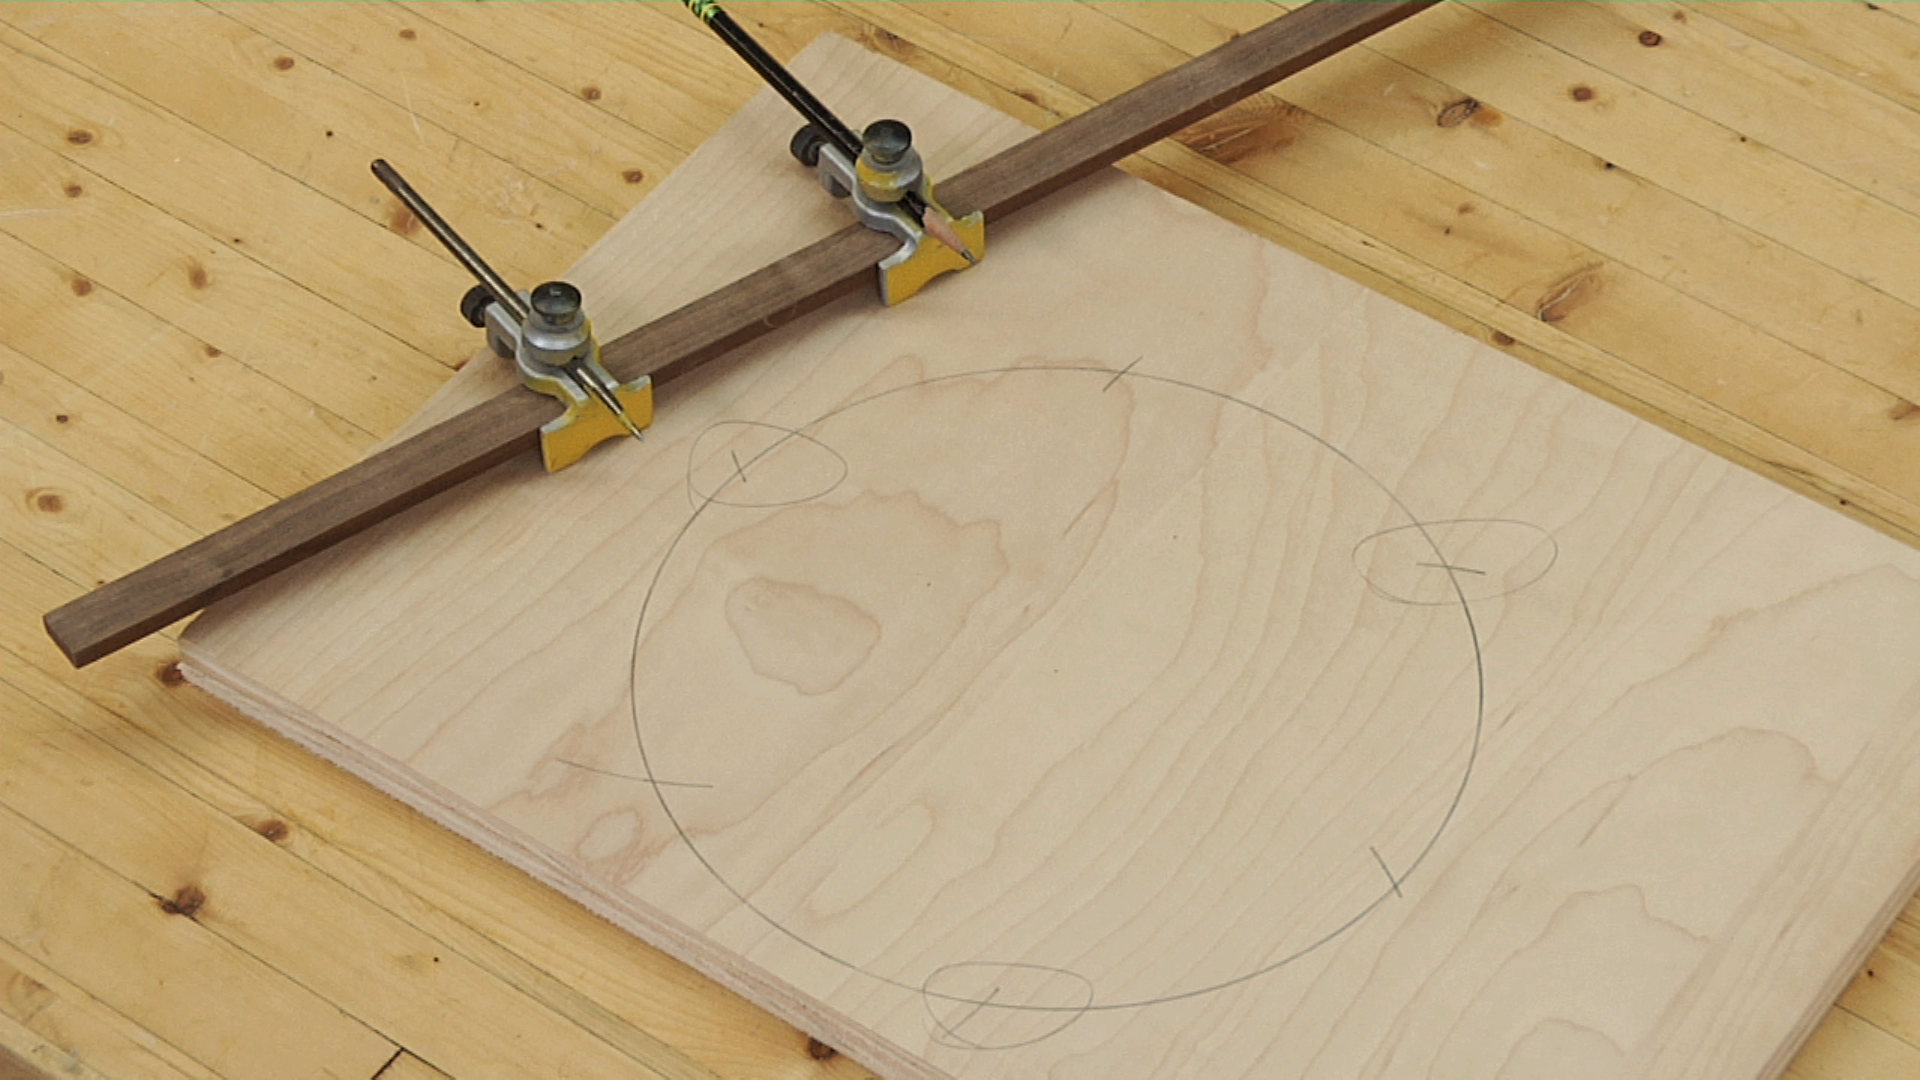
Preparing bowl blank
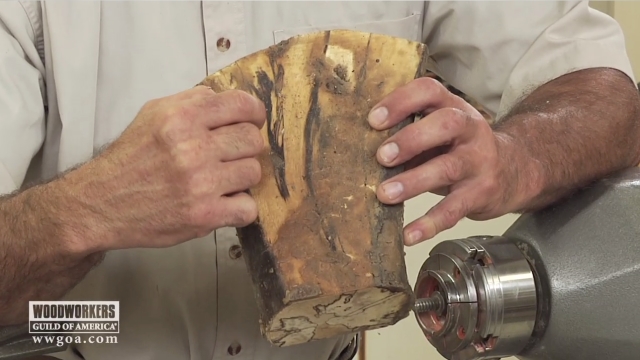
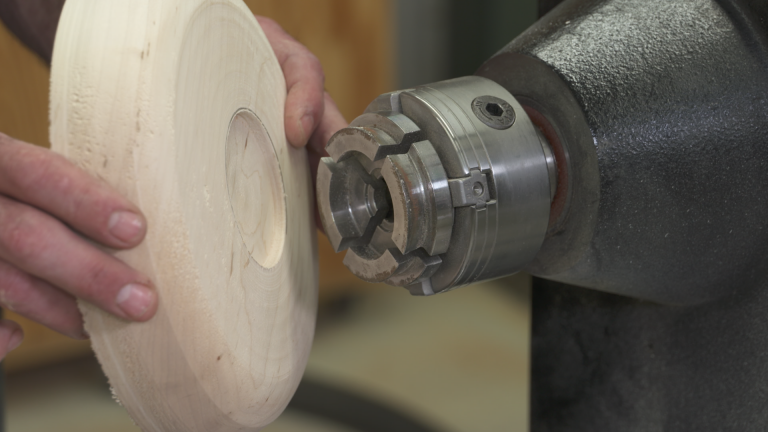
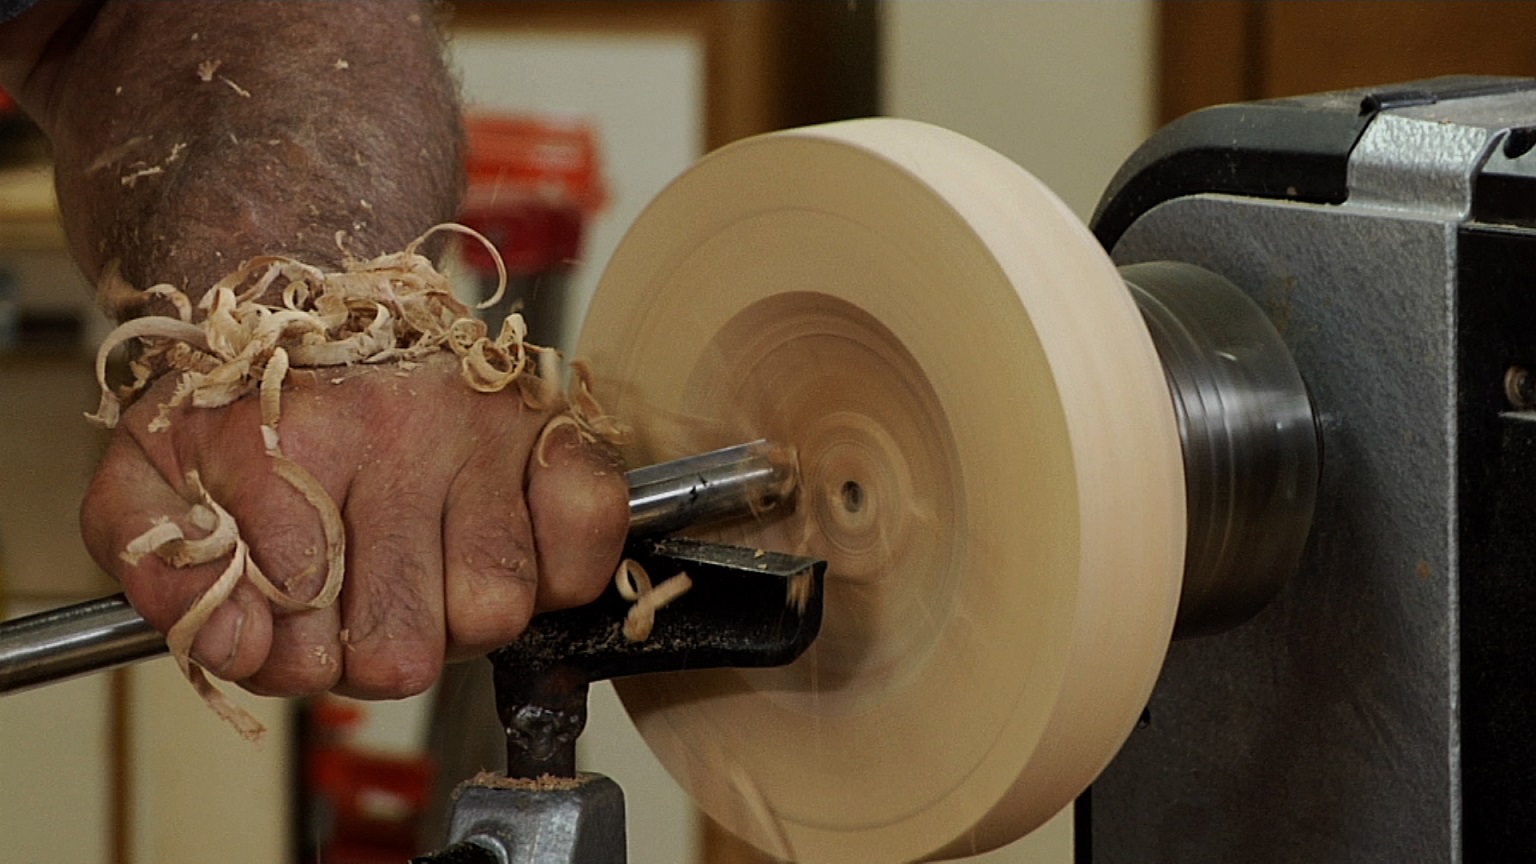
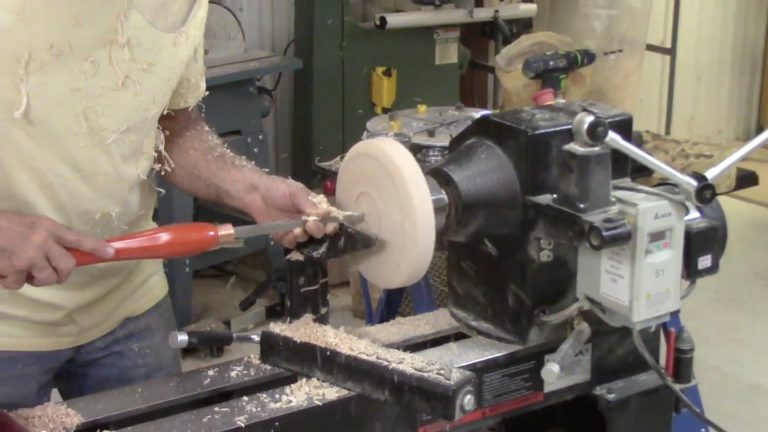
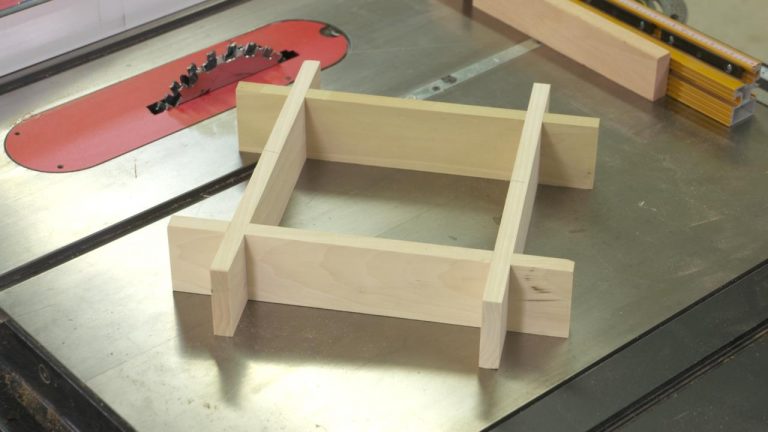
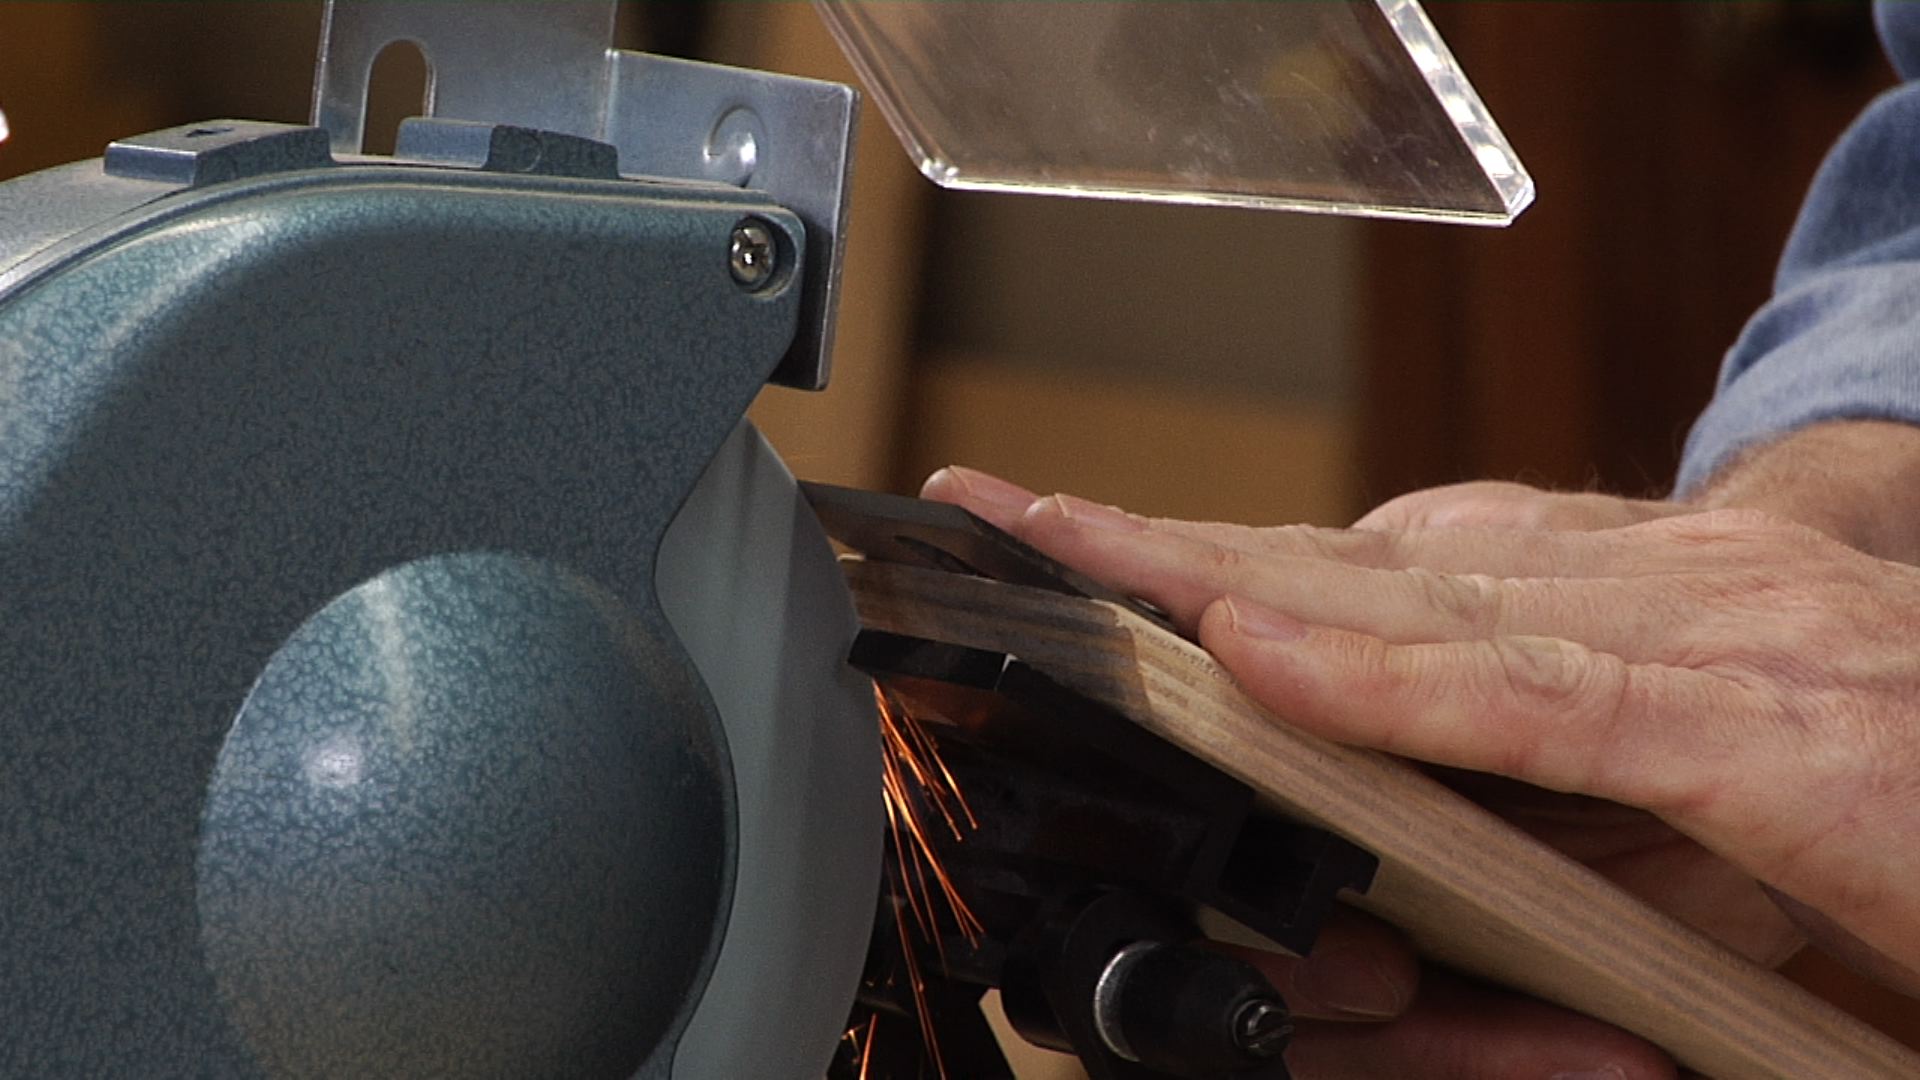
As you learn how to create bowl blanks from logs, you will be utilizing the band saw to process a log into something that can be safely and efficiently mounted on your lathe. Blade selection is critical because you can cause problems on both your bandsaw and your bowl blank by using the wrong blade.
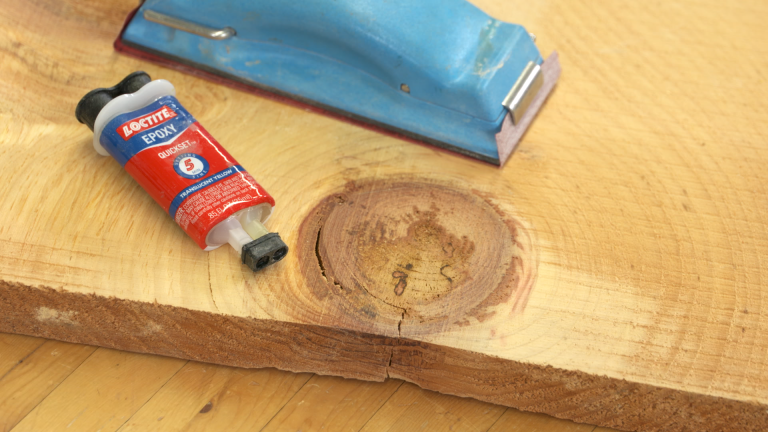
Minimizing checking
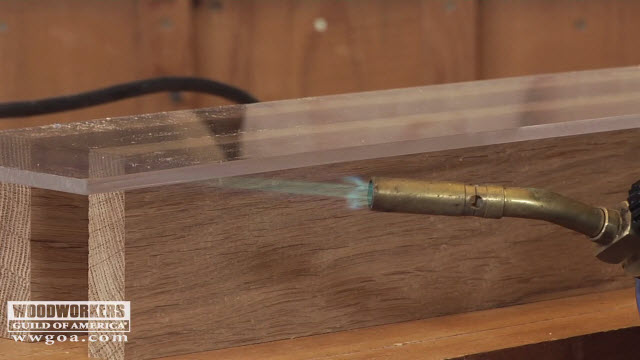
As much you will want to turn that blank right away, you might have to save it for later, but having a stash of bowl blanks waiting for you is like having money in the bank! To store it in a way that minimizes the potential for checking in the wood, it will be important to follow a couple simple steps that George will show you.
Explore videos by George Vondriska


You may be interested in


Premium Membership
Unlock exclusive member content from our industry experts.
- 24/7 Access to Premium Woodworking Videos, Projects, and Tips
- Step-by-Step Instructional Demos, Plans, and Tutorials
- 50% Off Video Downloads Purchased in the Woodworkers Guild of America Shop
- 2 Printable Woodworking Plans
Unlock exclusive member content from our industry experts.
- 24/7 Access to Premium Woodworking Videos, Projects, and Tips
- Step-by-Step Instructional Demos, Plans, and Tutorials
- 50% Off Video Downloads Purchased in the Woodworkers Guild of America Shop
- 2 Full-Length Video Downloads to Watch Offline
- 2 Printable Woodworking Plans
Gold Membership
$370 Value
Get everything included in Premium plus exclusive Gold Membership benefits.
- 24/7 Access to Premium Woodworking Videos, Projects, and Tips
- Step-by-Step Instructional Demos, Plans, and Tutorials
- 8 Full-Length Video Downloads to Watch Offline
- 3 Full-Length Woodworking Classes to Keep for Life
- 7 Printable Woodworking Plans
- Discounts on Purchase-to-Own Content in the Woodworkers Guild of America Shop
- Access to Ask the Expert Program
- Exclusive GOLD LIVE Streaming Events
Share tips, start a discussion or ask one of our experts or other students a question.
Already a member? Sign in
No Responses to “How to Cut Bowl Blanks from Logs”