
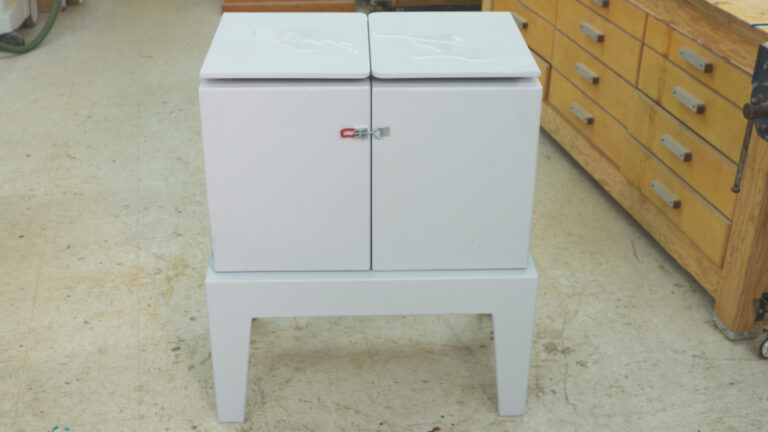
How to Attach a Cabinet Face Frame to a Cabinet
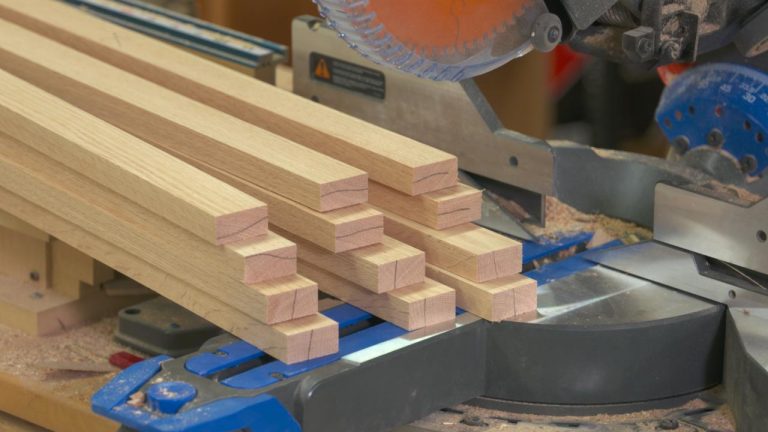
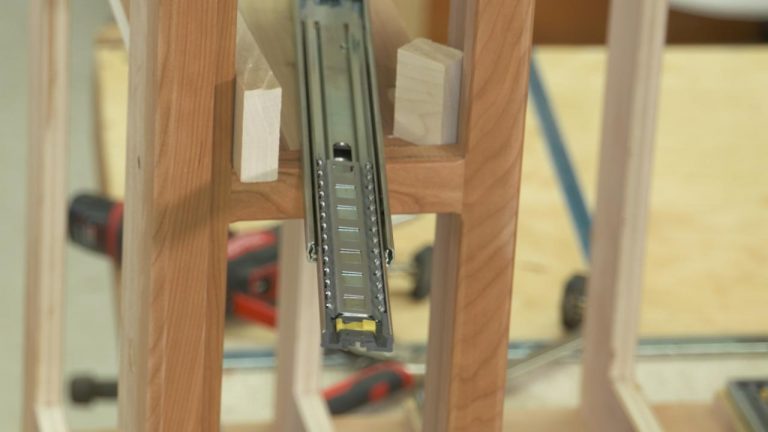
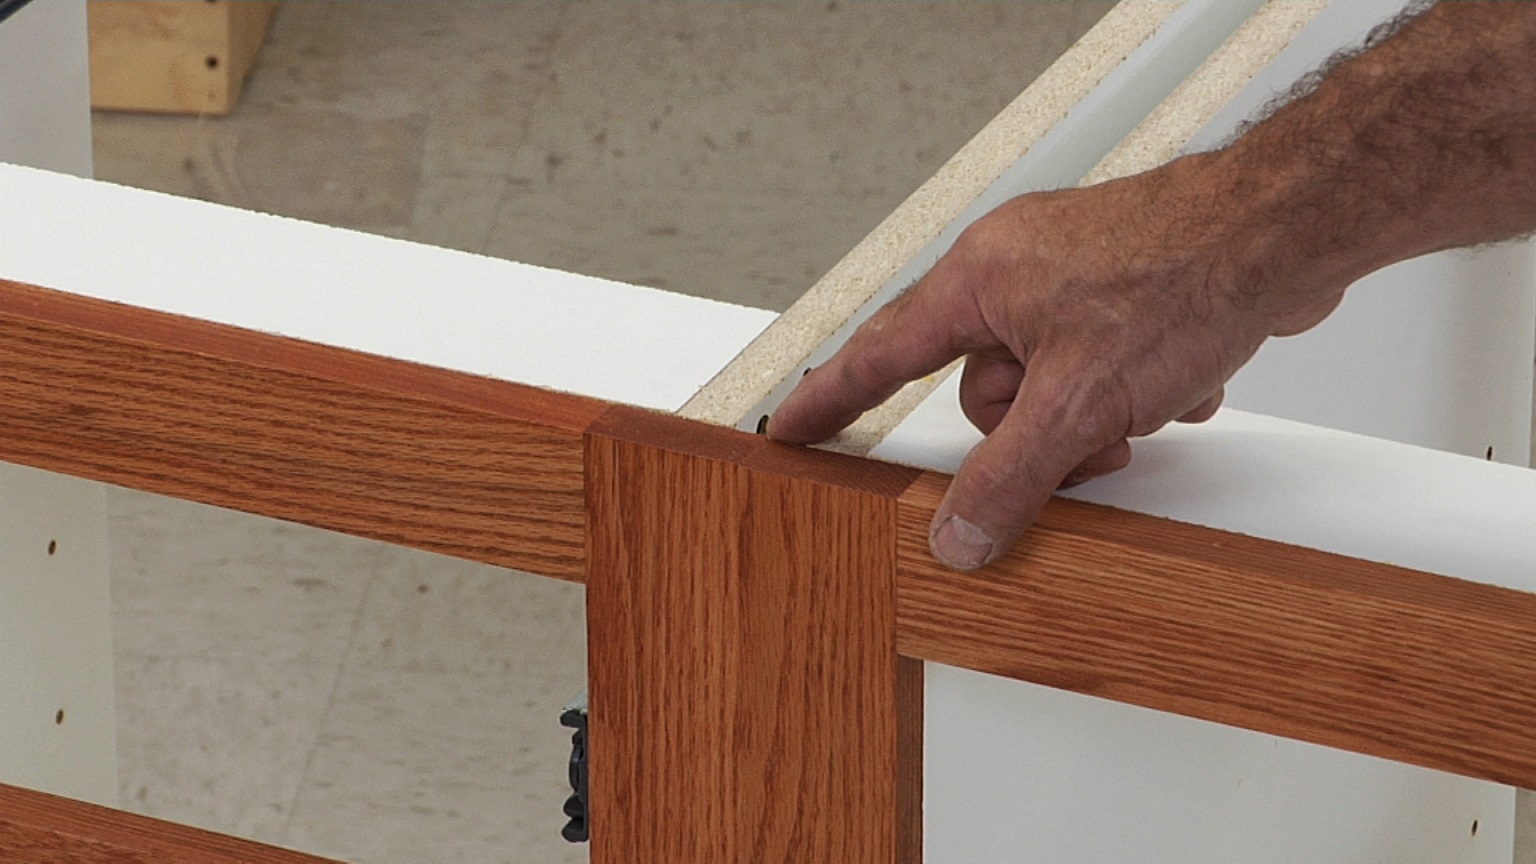
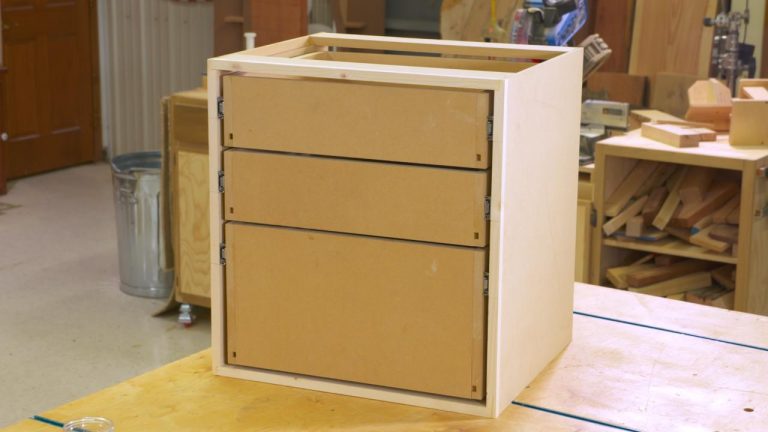
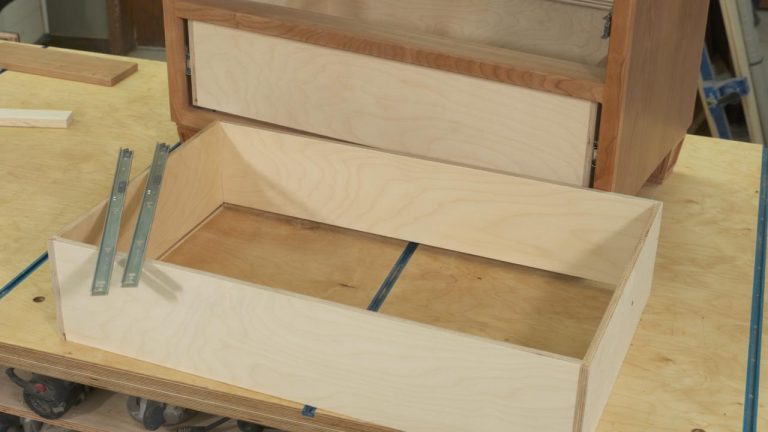
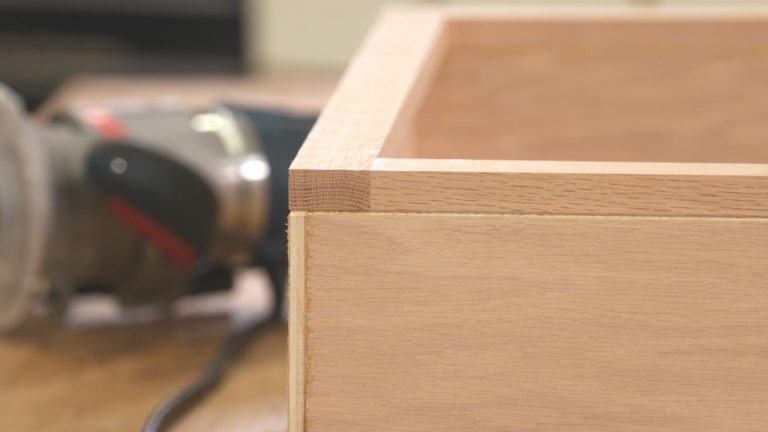
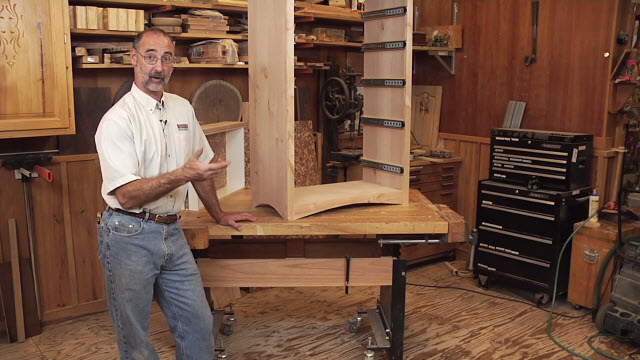
George VondriskaOne challenge woodworkers face as they learn how to build cabinets is gluing the cabinet face frame to the case. A cabinet face frame is the wood fixed to the front of a cabinet case—sometimes called a carcass, which hides the edges of the case and provides the fixing point for doors and other external hardware. Properly attaching the cabinet face frame to the case is crucial to ensure your cabinets are sturdy and endure the wear and tear of repeated use.
Step-by-Step Instructions
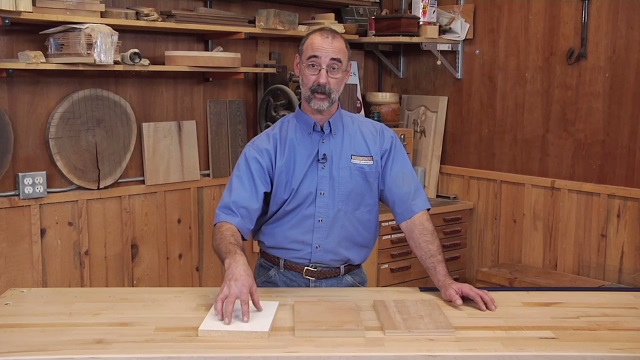
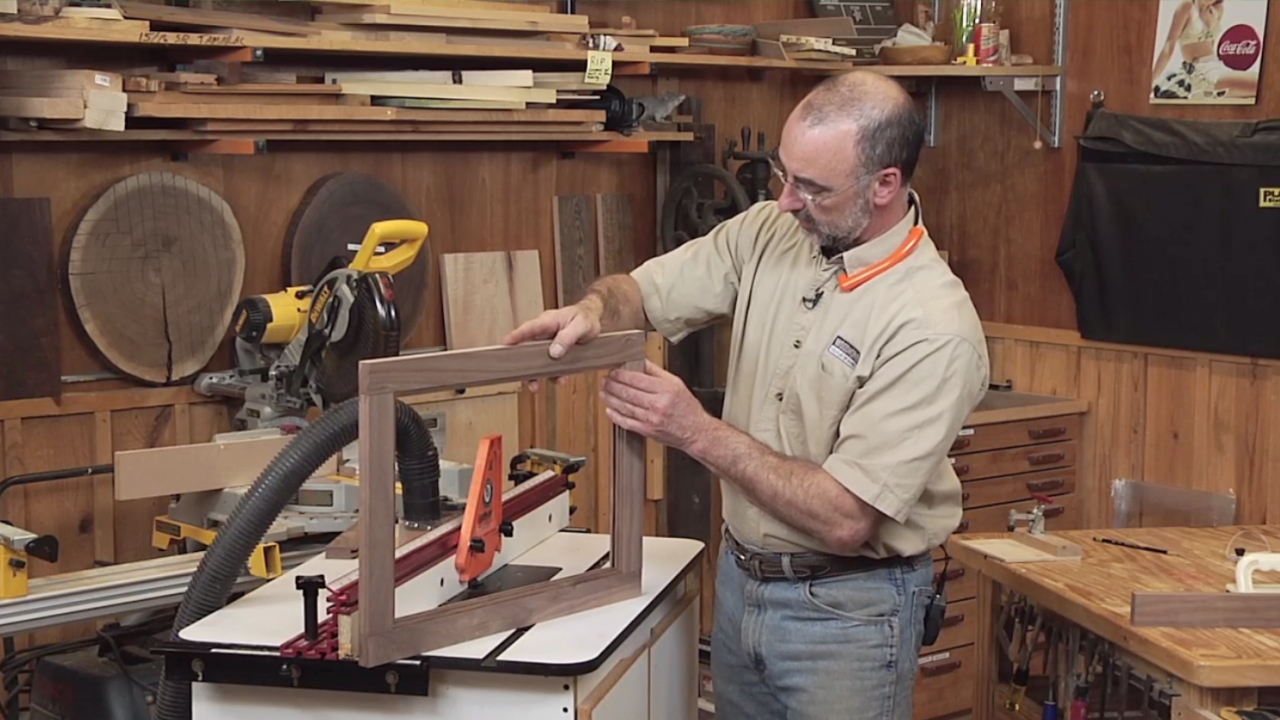
Master Woodworker George Vondriska walks you step by step through the entire cabinet face frame gluing process with simple, easy-to-follow instructions.
In this four-minute video, you’ll learn to properly attach the cabinet face frame, including:
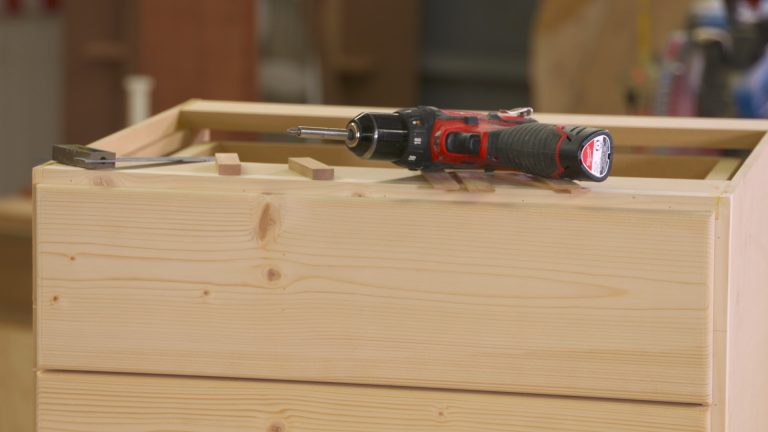
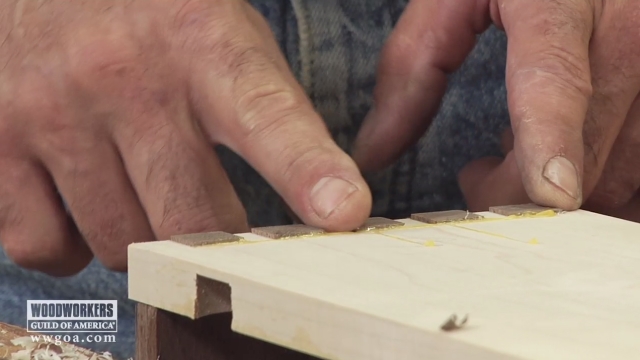
- – How to use brads for preliminary attachment that won’t be visible later
- – The gluing process made easy
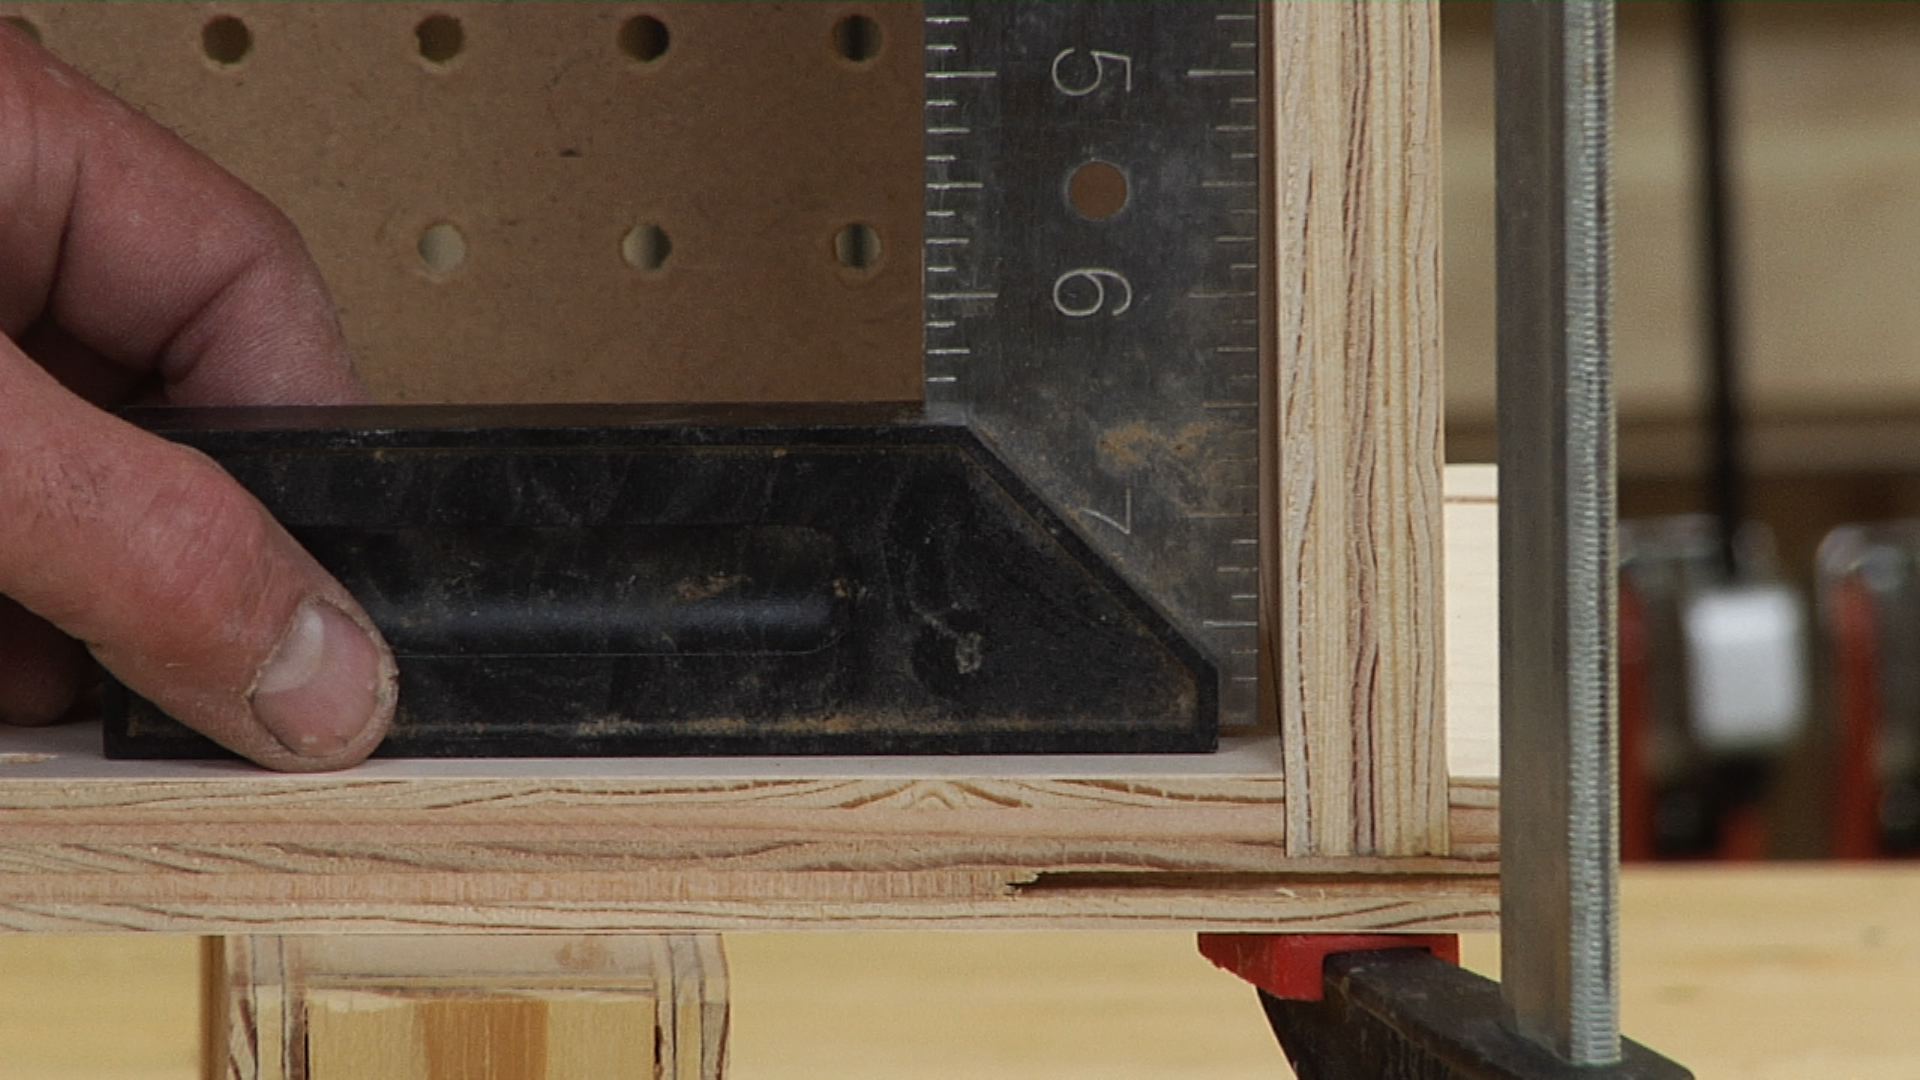
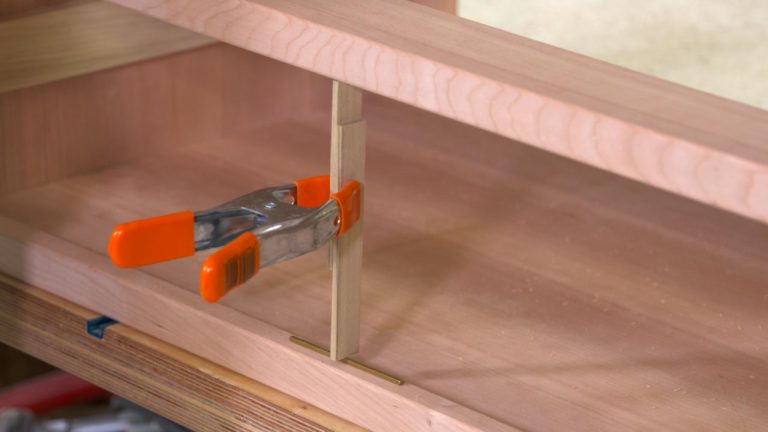
- – How to prevent the face frame from sliding on the case during attachment
- – Clamping methods and carcass manipulation for a cleaner finish and stronger fit
- – Tips for cleaning up the glue after attaching the cabinet face frame
From Beginners to Pros
Everything you need to know is included in this video, and George’s detailed walkthrough ensures you’ll understand each step. This project is accessible to cabinetmakers and woodworkers of all levels. Whether you’re attaching your first face frame or you are a woodworking veteran looking for an easier way to complete the process, Woodworkers Guild of America can help you along the way.
Share tips, start a discussion or ask one of our experts or other students a question.
Already a member? Sign in
8 Responses to “How to Attach a Cabinet Face Frame to a Cabinet”
Explore videos by George Vondriska


You may be interested in
Premium Membership
Unlock exclusive member content from our industry experts.
- 24/7 Access to Premium Woodworking Videos, Projects, and Tips
- Step-by-Step Instructional Demos, Plans, and Tutorials
- 50% Off Video Downloads Purchased in the Woodworkers Guild of America Shop
- 2 Printable Woodworking Plans
Unlock exclusive member content from our industry experts.
- 24/7 Access to Premium Woodworking Videos, Projects, and Tips
- Step-by-Step Instructional Demos, Plans, and Tutorials
- 50% Off Video Downloads Purchased in the Woodworkers Guild of America Shop
- 2 Full-Length Video Downloads to Watch Offline
- 2 Printable Woodworking Plans
Gold Membership
$370 Value
Get everything included in Premium plus exclusive Gold Membership benefits.
- 24/7 Access to Premium Woodworking Videos, Projects, and Tips
- Step-by-Step Instructional Demos, Plans, and Tutorials
- 8 Full-Length Video Downloads to Watch Offline
- 3 Full-Length Woodworking Classes to Keep for Life
- 7 Printable Woodworking Plans
- Discounts on Purchase-to-Own Content in the Woodworkers Guild of America Shop
- Access to Ask the Expert Program
- Exclusive GOLD LIVE Streaming Events
Thanks for the information and the demonstration. Also, finally, someone said not to use a wet rag for glue removal. However, I use an older, heavier bladed putty knife. A little time with a sanding block cleans up the putty knife. Wouldn't want to give my chisels that kind of treatment. Also, the putty knife is less likely to cut into the wood.
I liked everything about this method....except that it was not checked for square... Both frame and carcass could be wracked a bit and still match up. Just saying.............
You can avoid the use of clamps, screws or metal fasteners by using Raptor Nails, brads, or pins. They are sandable, stainable, and sawable. Won't break your tools, bits or sander belts. perfect for temporary hold applications.
Hi George, as usual great information. I wonder if these arrogant woodworkers realize they look so foolish criticizing someone who obviously knows what he is doing and has years of experience? If they have a difference of opinion all they have to do is give an alternative method and keep their arrogance to themselves. Anyway I have a question about doing the same method with melamine. Would gluing a kitchen cabinet's face frame without pocket screws work as well with Melamine as with plywood? Thanks for all your superlative content. Hope you will have some contests Canadians will also be able to participate in soon.
Excellent tip, or actually series of tips, all the way down to scraping the glue drops with a chisel. Thank you!
Thanks George. I hope the comments and questions you get are posted respectfully. I for one appreciate your tips and information. We all know there are many ways to do almost everything in woodworking so we shouldn't criticize when someone shows us their tried and true methods...even if we have questions or concerns. Keep up the good work, I think this is a great tip!
What is a brad nail? Little goofs like this really make me question that if the presenter is really a master.
I'm shocked that a master woodworker would not use a joint of any sort to attach a face frame. Biscuit joint? Half dado? Dowels? Any of those would not only attach the face frame with more strength, but would also help to align the frame to the case. A butt joint? Especially on plywood edges would be especially weak.