
How to Use a Flush Trim Router Bit with V-Groove
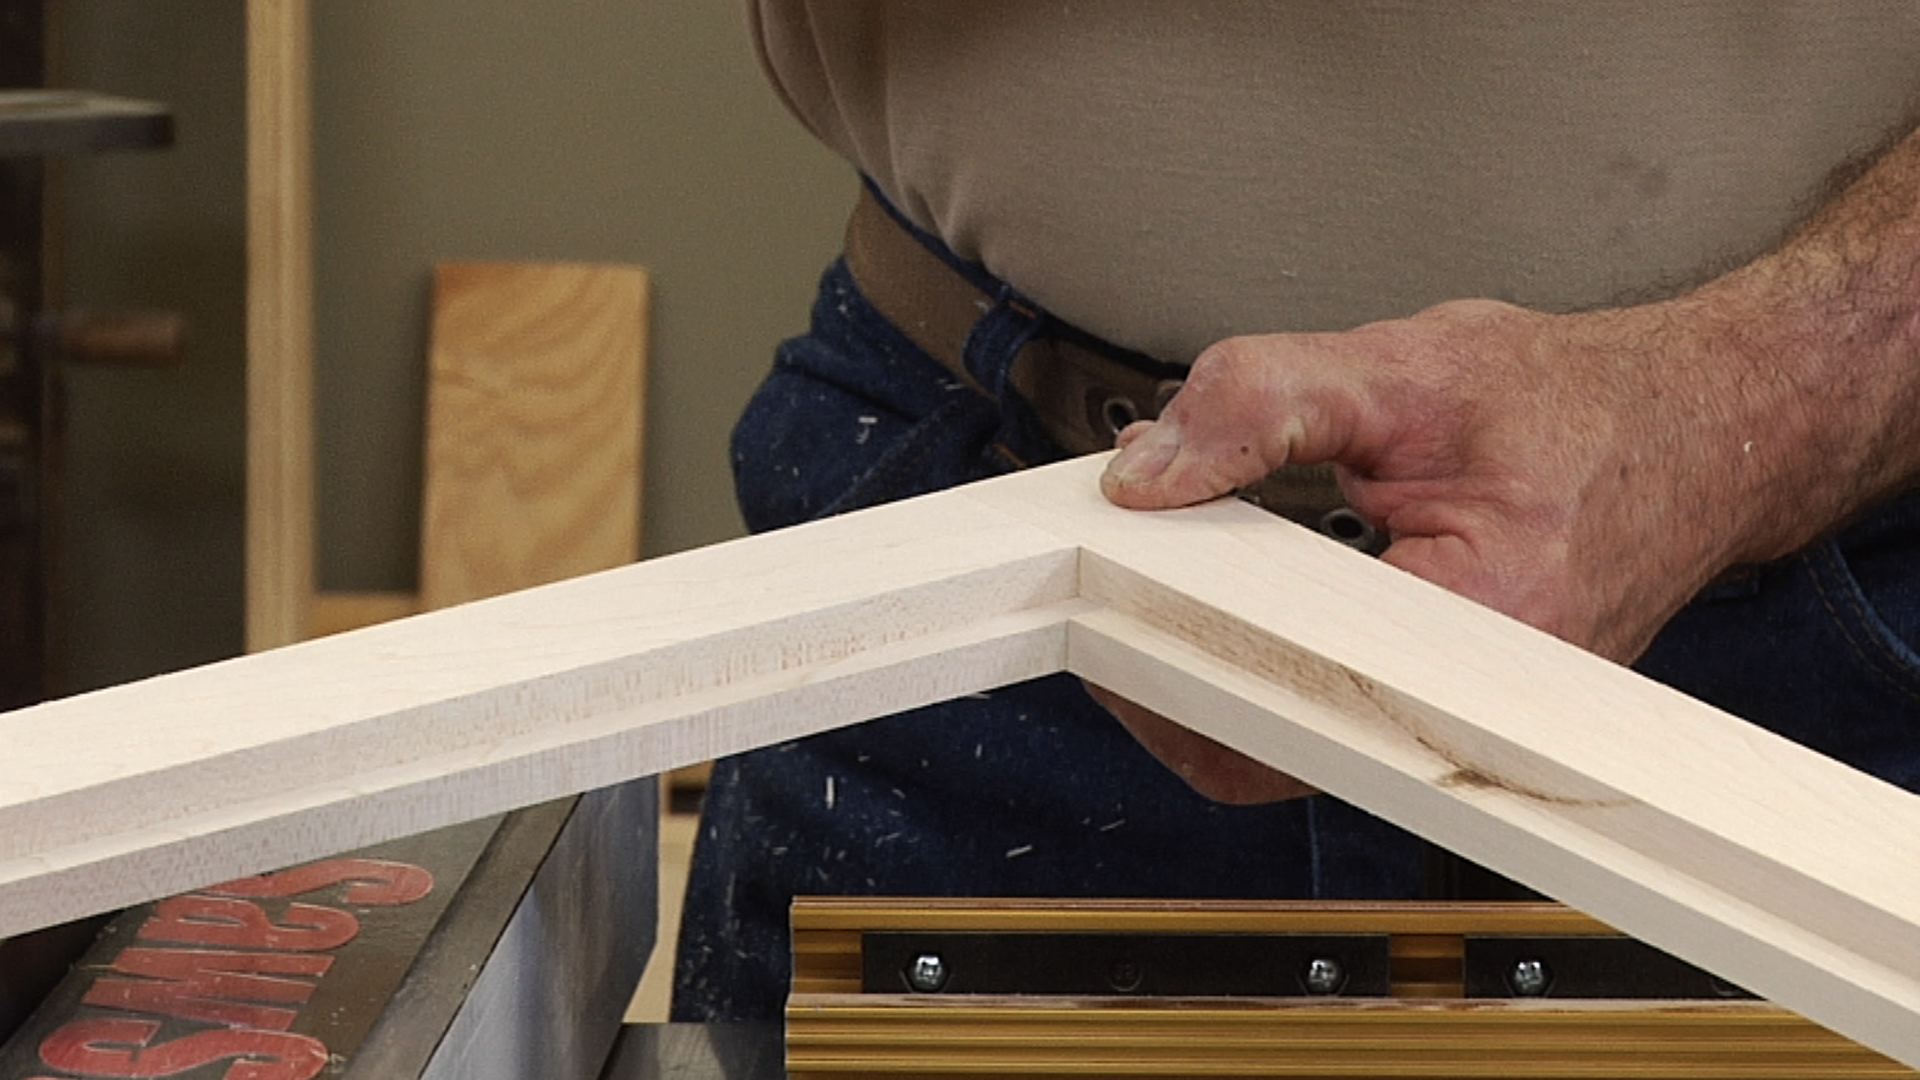
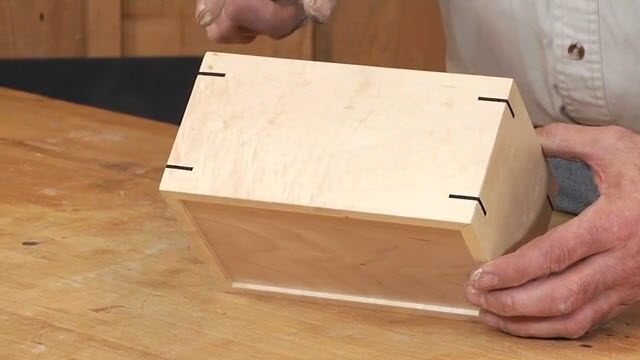
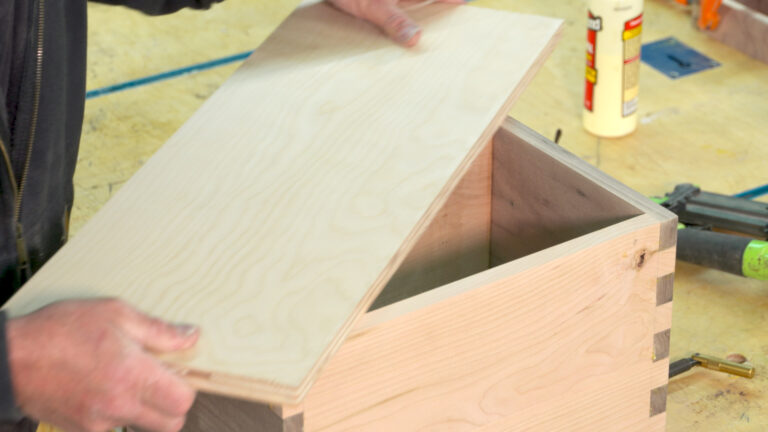
George VondriskaMost of the time when you’re attaching a face frame to a cabinet carcase you want to finish it so that it is perfectly flush with a seamless appearance between the face frame and the carcase. Every once in a while, however, you may want to create a point of interest in that area. Perhaps it is a stylistic element that you want to include, or maybe you had a slight gap that will look bad unless you do something to dress it up a bit.
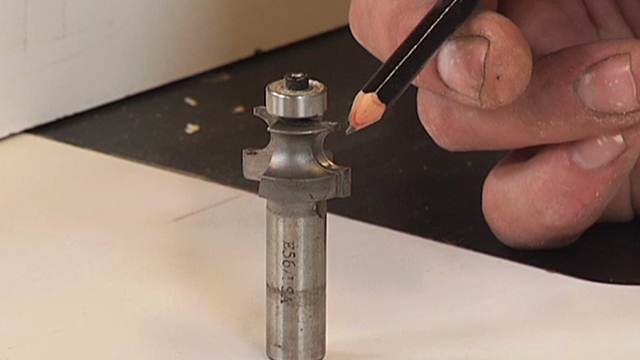
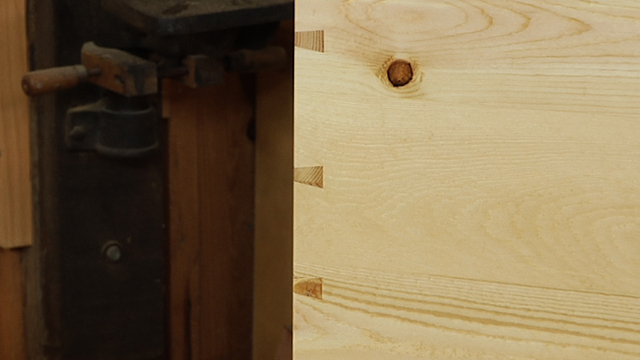
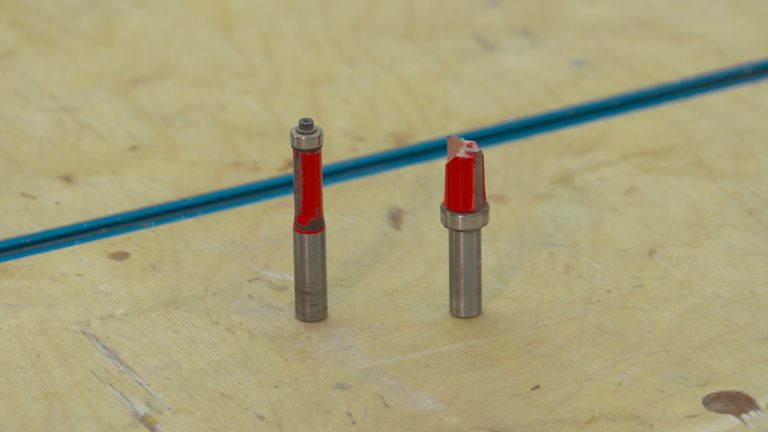
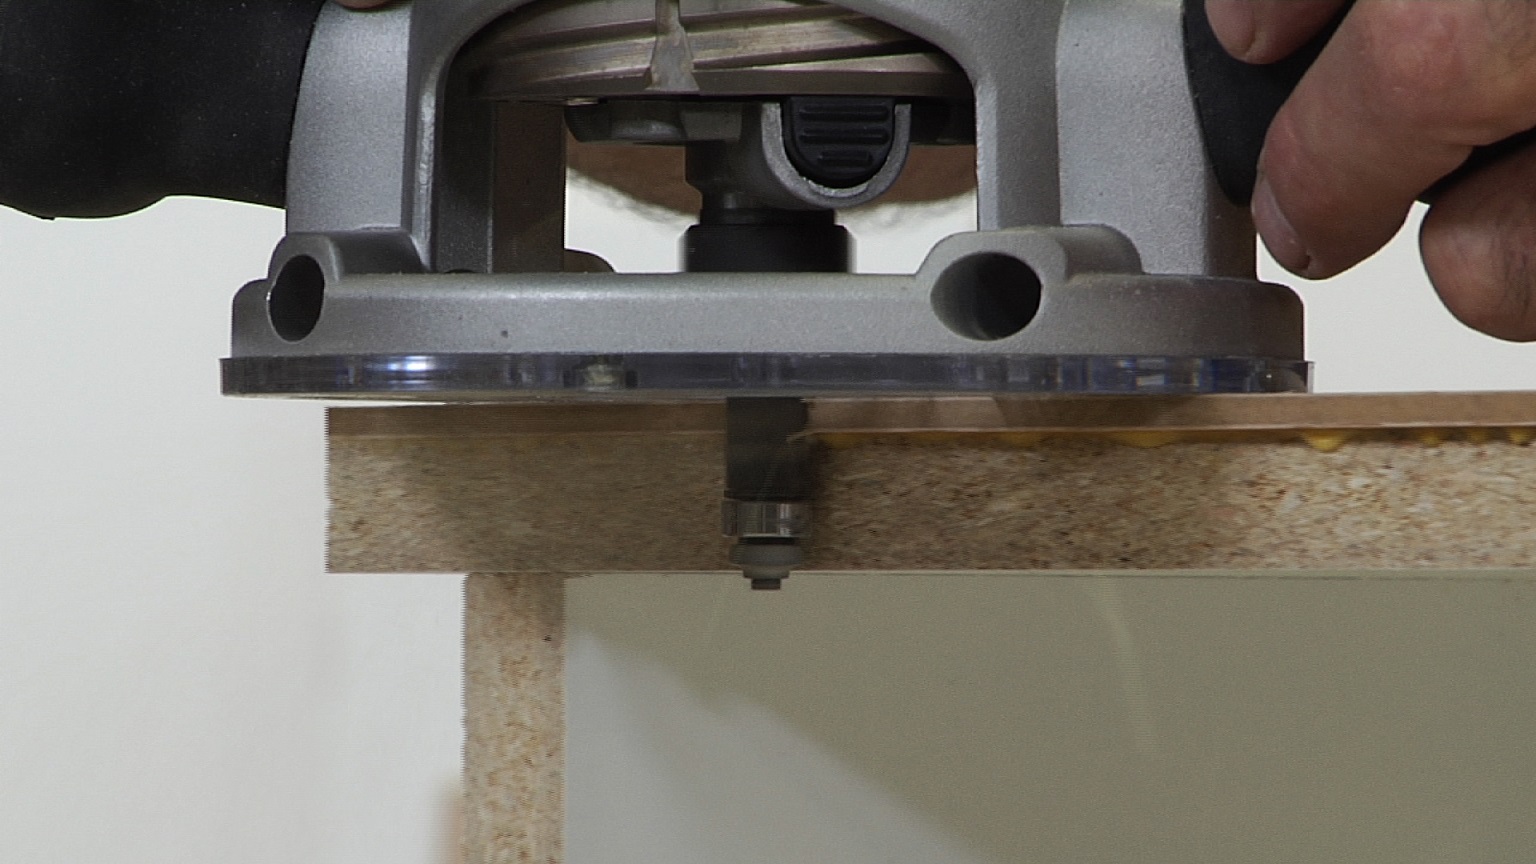
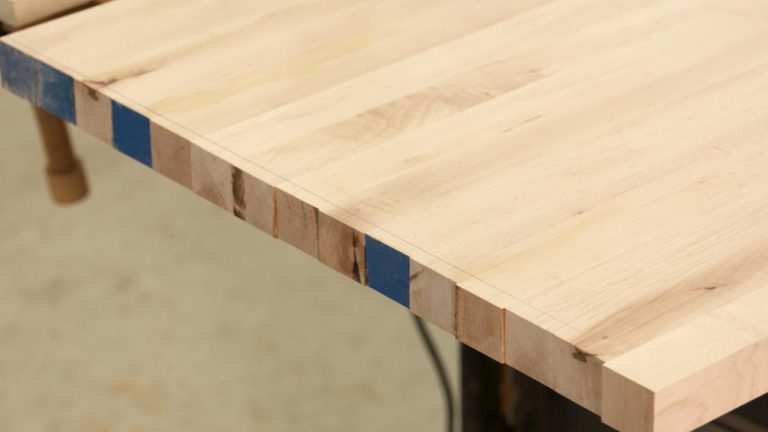
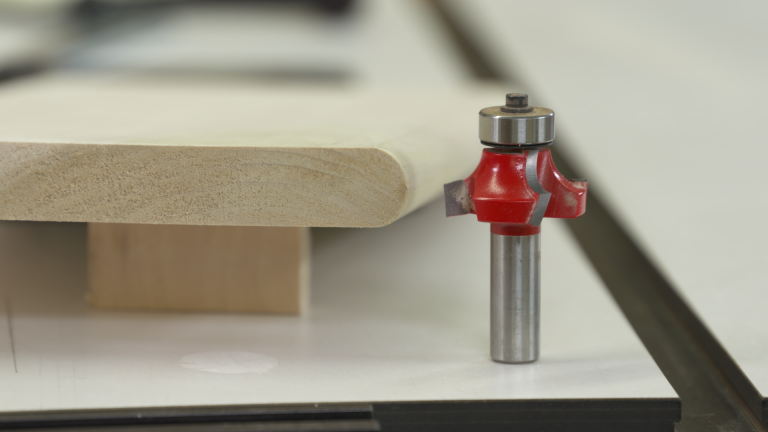
This is where a flush trim bit with “V” groove can help you achieve the look that you are after. When you are using a flush trim router with a traditional flush trim bit, you will leave a surface that is perfectly flat, as you register off of the carcase while flush cutting the face frame. A flush trim bit with “V” groove is similar except it adds a small V groove at the point where you align the protrusion in the bit. To use this type of bit you will first want to know how to use a router, then you will:
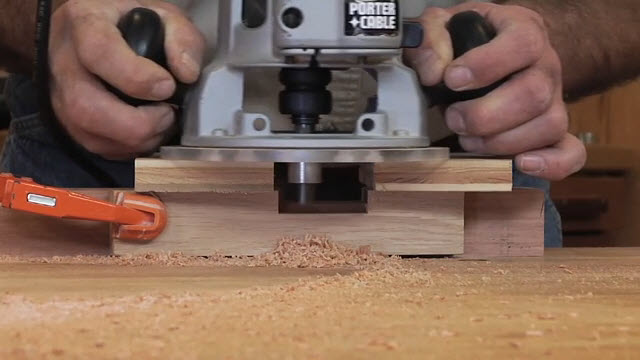
Set up the bit: you will do this as you normally would a standard flush trim bit, except that you will align the V cutter at the point where you want the groove to appear, which is normally the seam between the carcase and face frame.
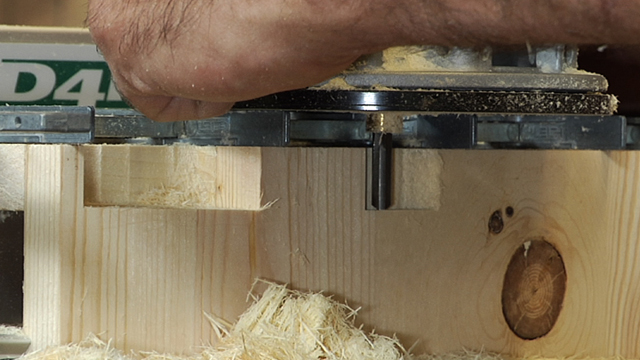
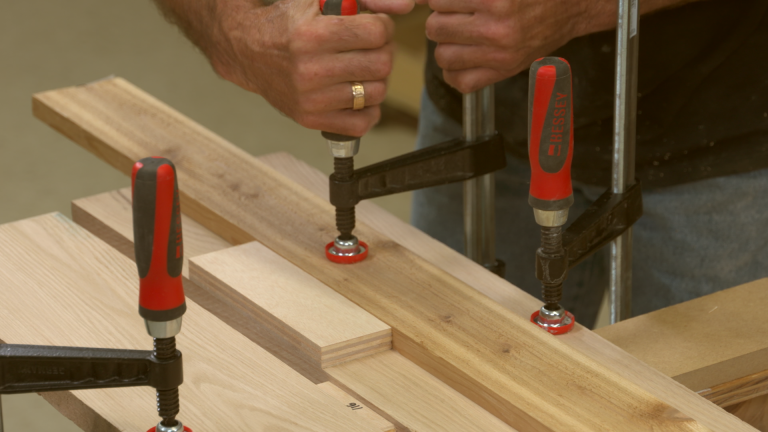
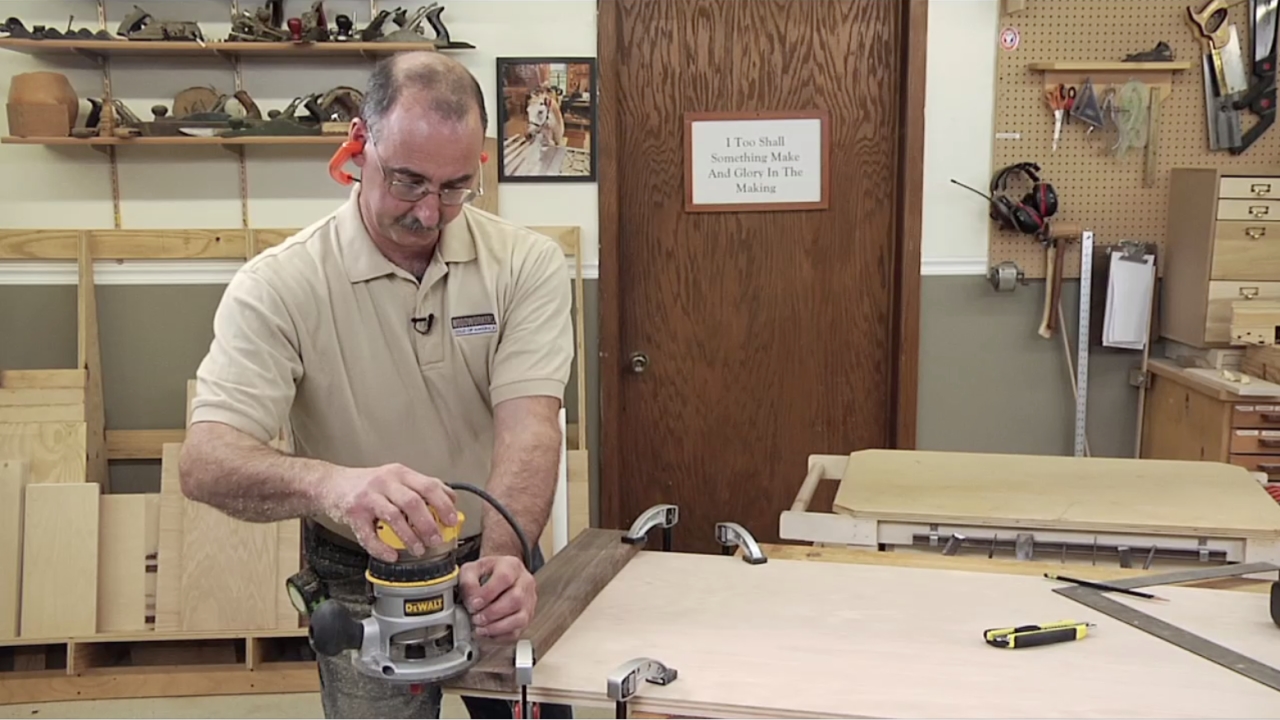
Flush trim as normal. Start the router and carefully set the bearing against the cabinet carcase, moving the router left to right, and moving in one continuous loop around the cabinet.
Light sanding. After you flush trim, you will want to lightly sand the area with a fine abrasive to clean up imperfections as you prepare your cabinet for a stain and topcoat.
Explore videos by George Vondriska


You may be interested in


Premium Membership
Unlock exclusive member content from our industry experts.
- 24/7 Access to Premium Woodworking Videos, Projects, and Tips
- Step-by-Step Instructional Demos, Plans, and Tutorials
- 50% Off Video Downloads Purchased in the Woodworkers Guild of America Shop
- 2 Printable Woodworking Plans
Unlock exclusive member content from our industry experts.
- 24/7 Access to Premium Woodworking Videos, Projects, and Tips
- Step-by-Step Instructional Demos, Plans, and Tutorials
- 50% Off Video Downloads Purchased in the Woodworkers Guild of America Shop
- 2 Full-Length Video Downloads to Watch Offline
- 2 Printable Woodworking Plans
Gold Membership
$370 Value
Get everything included in Premium plus exclusive Gold Membership benefits.
- 24/7 Access to Premium Woodworking Videos, Projects, and Tips
- Step-by-Step Instructional Demos, Plans, and Tutorials
- 8 Full-Length Video Downloads to Watch Offline
- 3 Full-Length Woodworking Classes to Keep for Life
- 7 Printable Woodworking Plans
- Discounts on Purchase-to-Own Content in the Woodworkers Guild of America Shop
- Access to Ask the Expert Program
- Exclusive GOLD LIVE Streaming Events