
How to Do an Easy Miter Glue Up
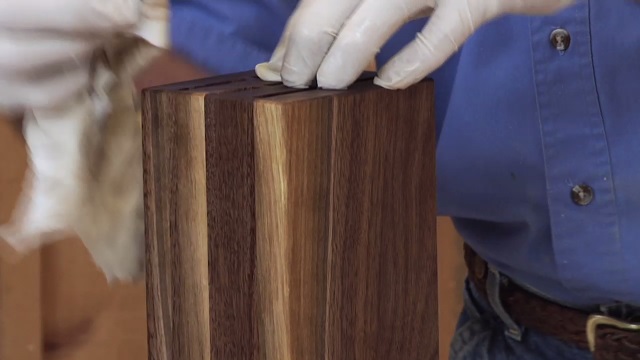
George VondriskaIf you want to know how to make strong mitered corners, it’s partially about cutting technique, but even more about assembly technique. A miter glue up can be a daunting task, even to an expert woodworker. The joints can seem to have a mind of their own when you’re doing a miter glue up, when you get one corner tightened up, another one pops loose. Traditional clamps are worthless, as they just cause the joints to pop out of alignment more forcefully. So, when you’re doing a miter glue up, you need to bring a few new tricks to the table.
The goal when you are doing a miter glue up is to apply enough pressure to pull the corners together, but the pressure needs to be applied consistently around the perimeter of the frame so that none of the corners pops loose. To do that, a few tricks that you can use include:
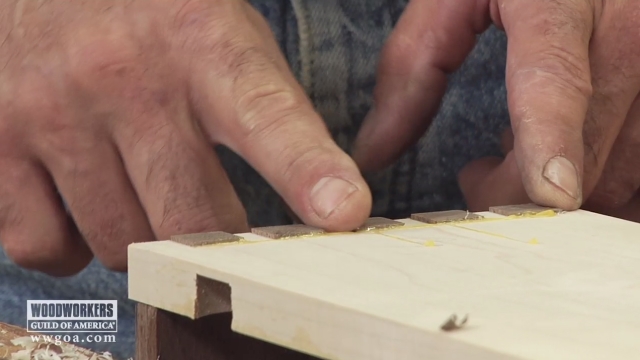
Apply tape. By taping corners from the outside with the project laying flat, a miter glue up can come together very nicely. Apply the tape, then roll the box together.
Add rubber bands. A rubber band is another low-tech inexpensive clamping system that can add some nice reinforcement to a miter joint. The bands pull evenly on all four corners of a miter glue up, taking up any slack that may have been left behind by the tape.
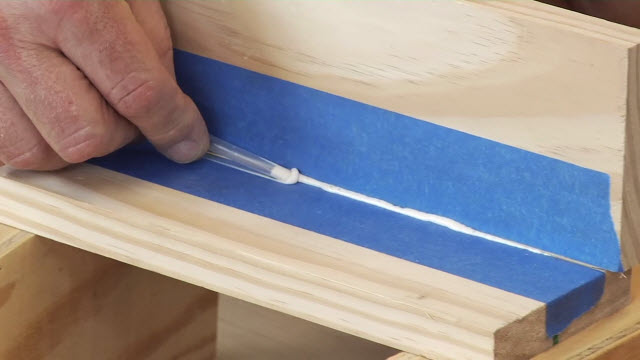
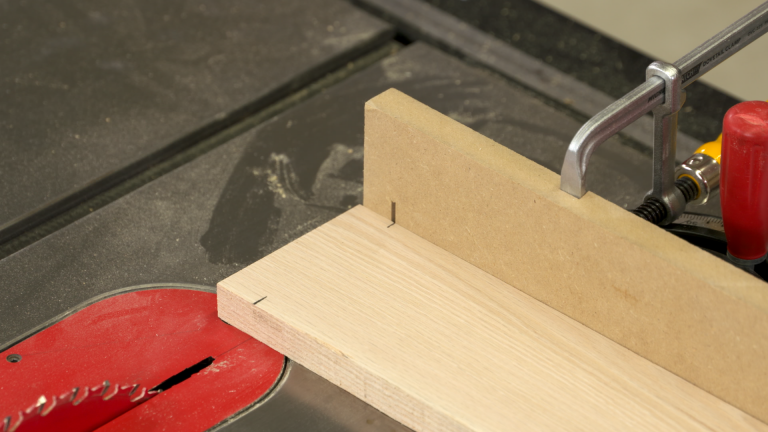
Check your work with a dry fit. Before applying one of the appropriate types of woodworking glue for a miter joint, be sure to do a dry run of your joint assembly with no glue involved, examining the joints closely to be sure that you know it is possible to close all four corners tightly. Without that knowledge, you might be fighting a losing battle without knowing it.
Explore videos by George Vondriska


You may be interested in


Premium Membership
Unlock exclusive member content from our industry experts.
- 24/7 Access to Premium Woodworking Videos, Projects, and Tips
- Step-by-Step Instructional Demos, Plans, and Tutorials
- 50% Off Video Downloads Purchased in the Woodworkers Guild of America Shop
- 2 Printable Woodworking Plans
Unlock exclusive member content from our industry experts.
- 24/7 Access to Premium Woodworking Videos, Projects, and Tips
- Step-by-Step Instructional Demos, Plans, and Tutorials
- 50% Off Video Downloads Purchased in the Woodworkers Guild of America Shop
- 2 Full-Length Video Downloads to Watch Offline
- 2 Printable Woodworking Plans
Gold Membership
$370 Value
Get everything included in Premium plus exclusive Gold Membership benefits.
- 24/7 Access to Premium Woodworking Videos, Projects, and Tips
- Step-by-Step Instructional Demos, Plans, and Tutorials
- 8 Full-Length Video Downloads to Watch Offline
- 3 Full-Length Woodworking Classes to Keep for Life
- 7 Printable Woodworking Plans
- Discounts on Purchase-to-Own Content in the Woodworkers Guild of America Shop
- Access to Ask the Expert Program
- Exclusive GOLD LIVE Streaming Events