
Cutting Mortises On Your CNC
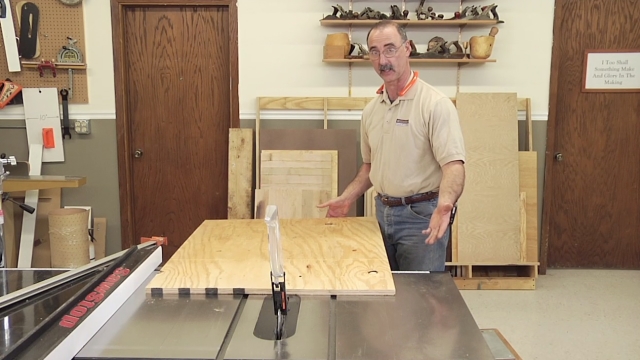
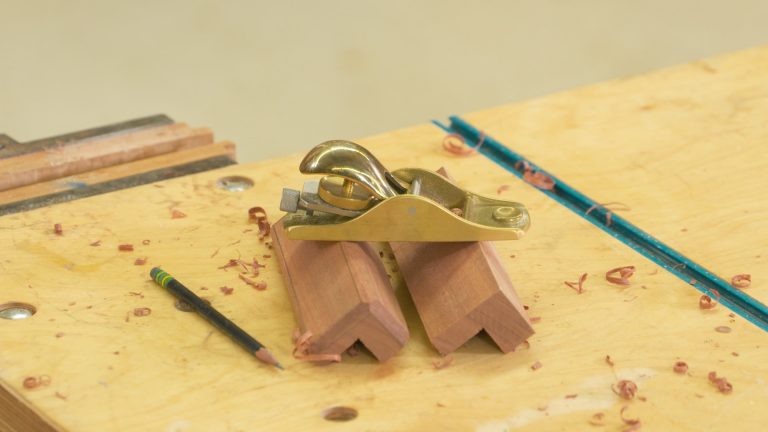
George VondriskaThere are many types of joinery that can be used in woodworking; dovetails, splines, butt joints, miters, finger joints, dados, biscuits, mortise and tenon, and others. Of all the woodworking joints, both historical and modern, mortise and tenon joints have been the workhorse of furniture construction joinery for centuries. Cutting mortises is one of those skills that is essential for a large variety of furniture projects.
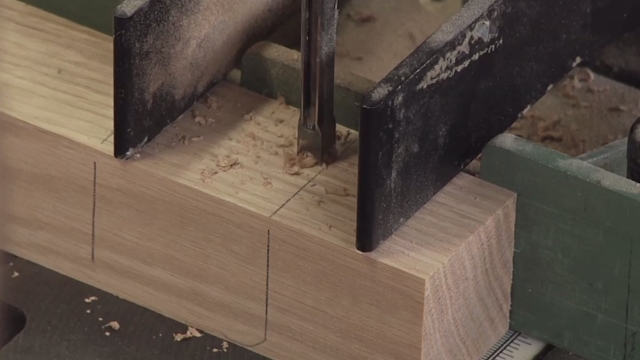
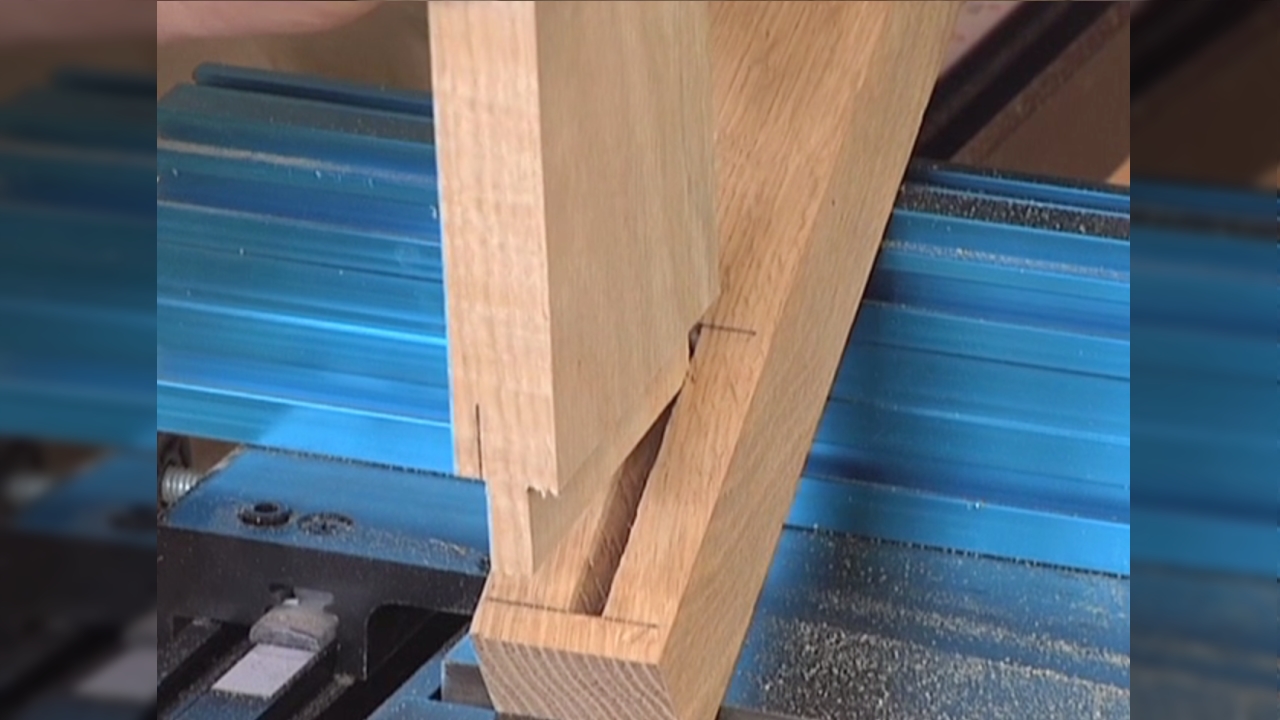
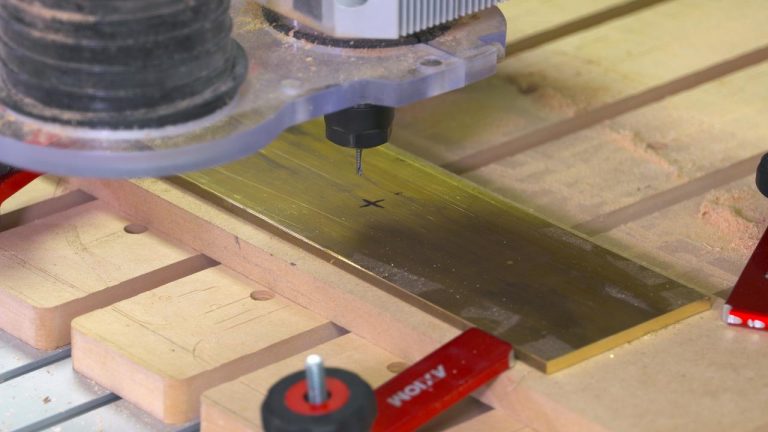
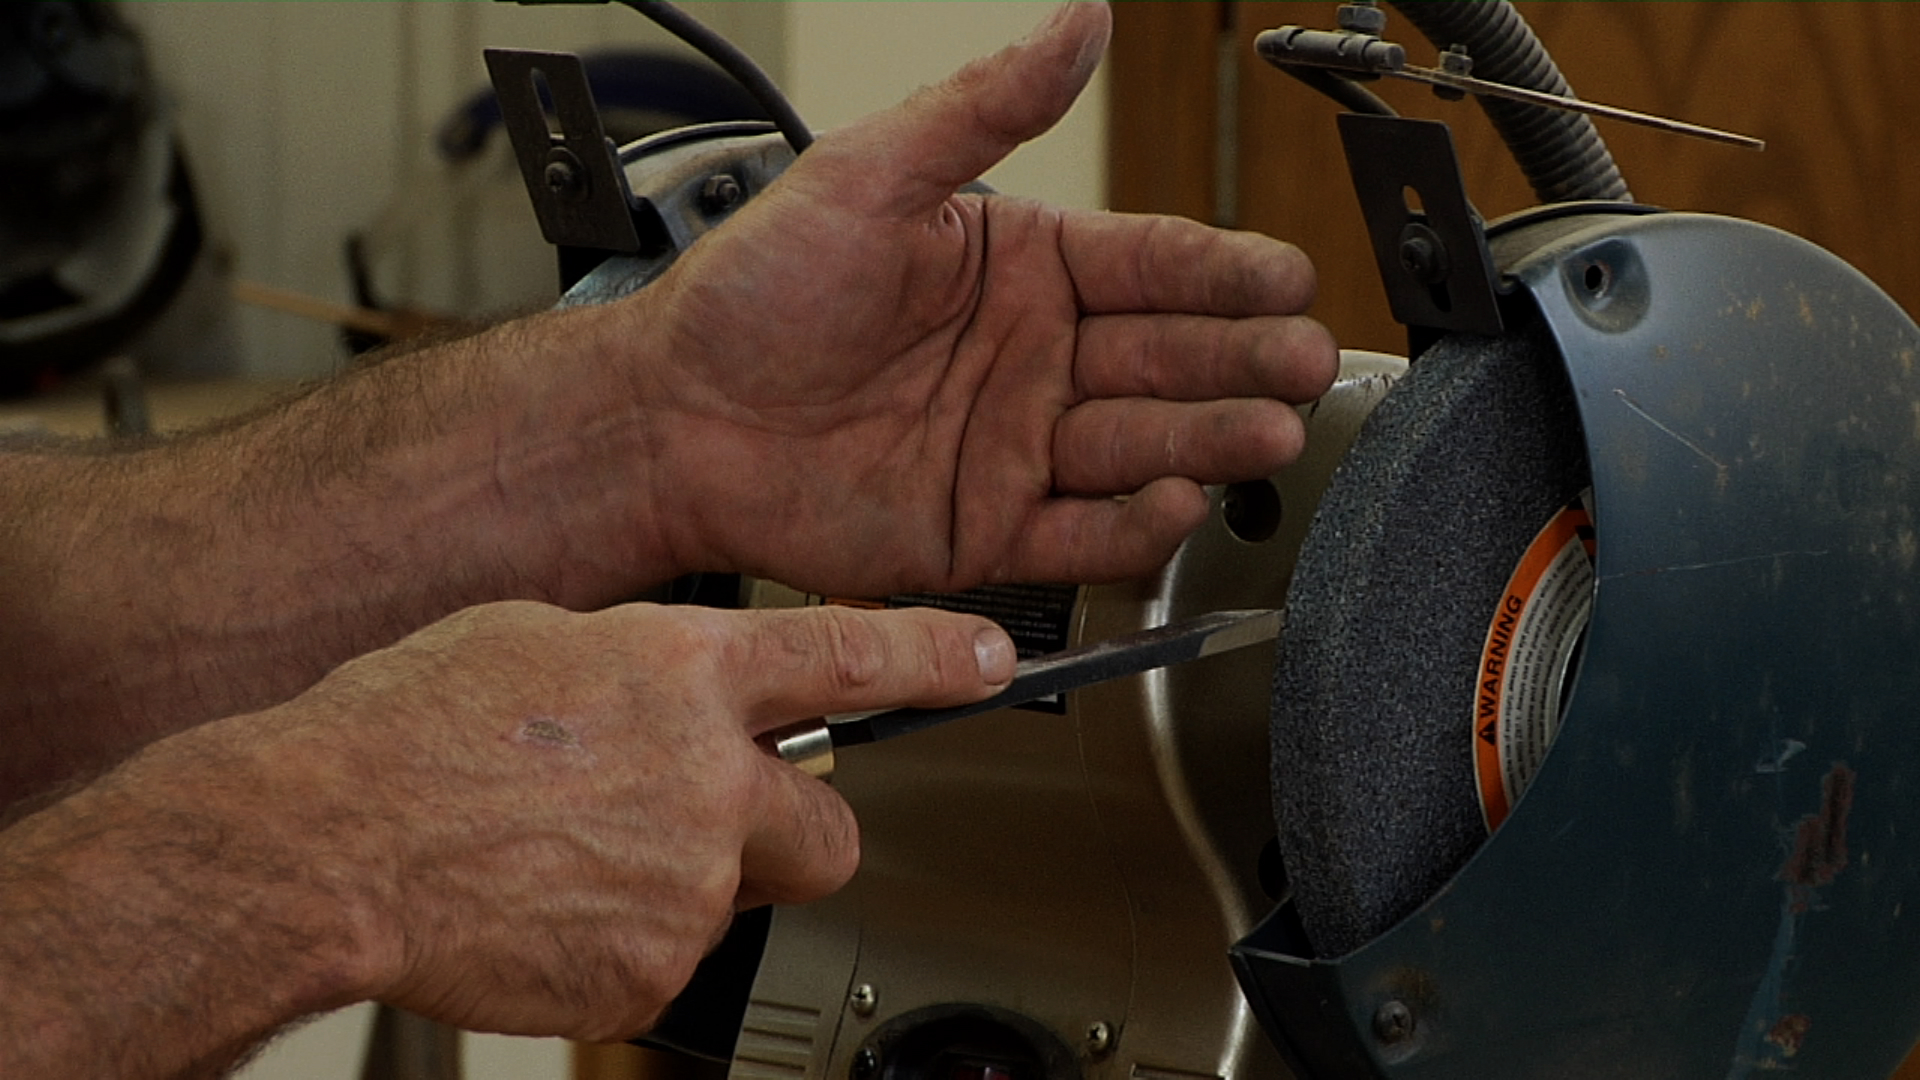
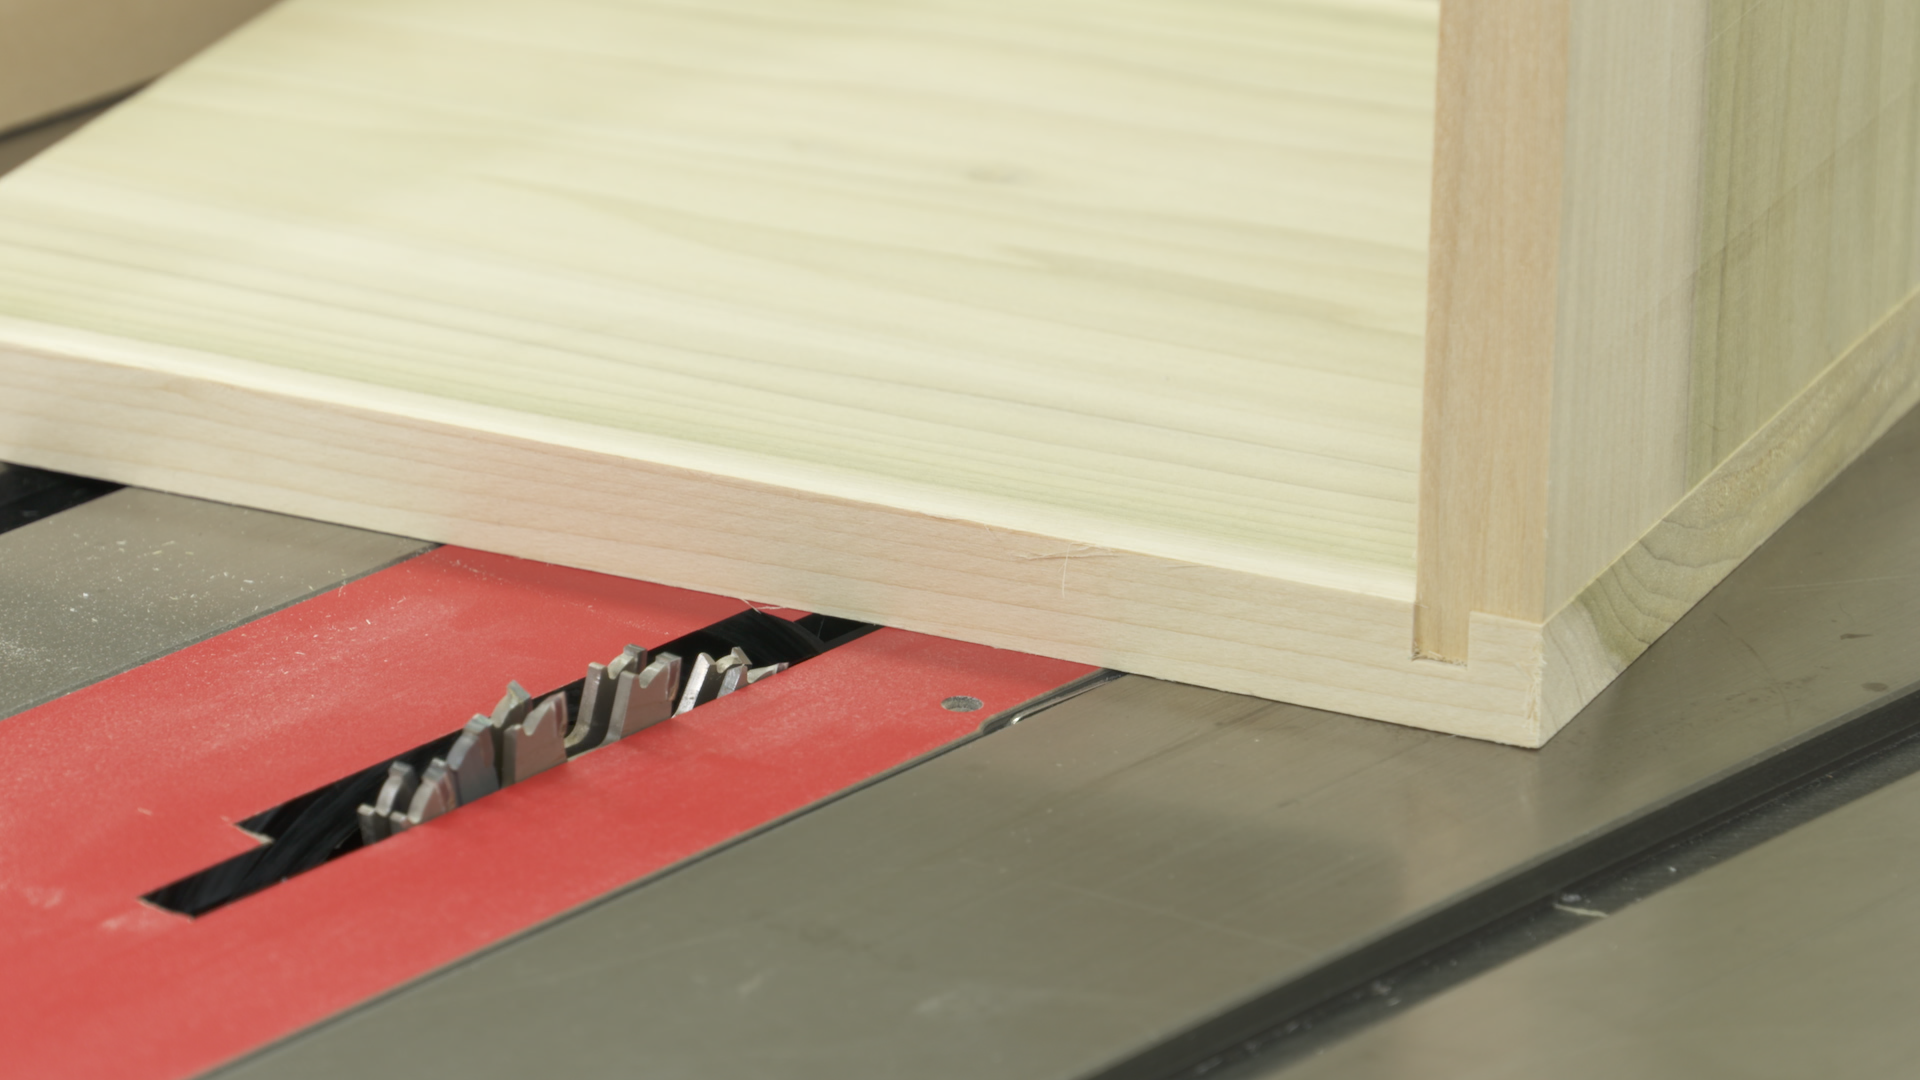
Tenons are easier, and can be done on a table saw, radial arm saw, or using a router. Cutting mortises is a bit trickier because of the plunging that is required. Cutting mortises can be done using a mallet and chisels, a router (with or without a table), a hollow chisel mortiser, table saw, drill press, or a Domino. A more recent method for cutting mortises (and perhaps the most efficient) involves the use of a CNC.
Cutting mortises on a CNC involves the following steps:
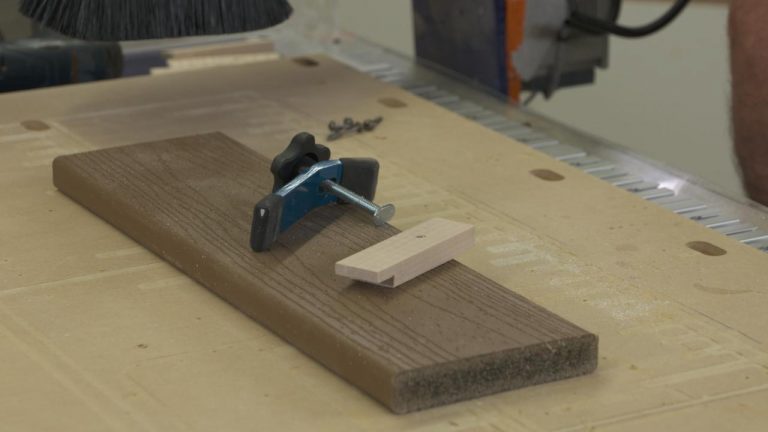
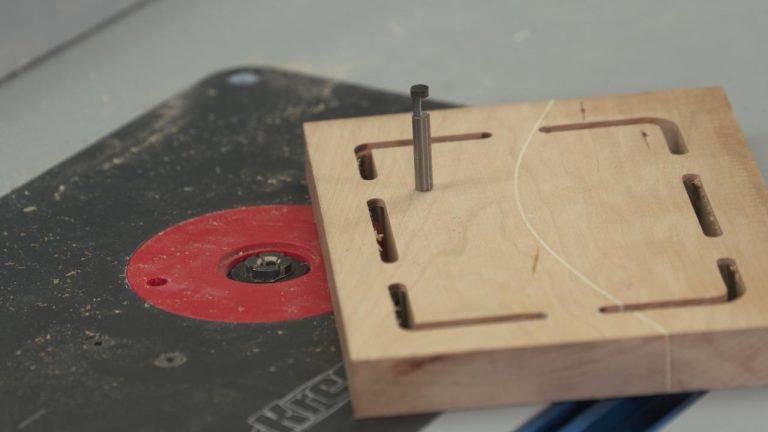
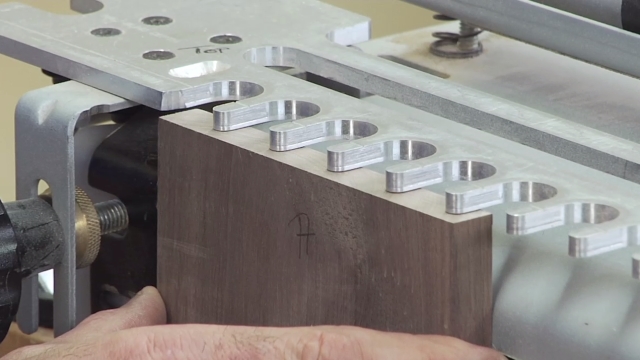
It takes a jig: First you will want to create a jig for positioning your work pieces during production. Fortunately, the jig can also be readily created using your CNC.
Jig design. You’ll lay out the design for your jig using VCarve, ensuring that the fingers on the jig are designed in such a way that the jig will work well on your CNC, and of course, for the project that you are building.
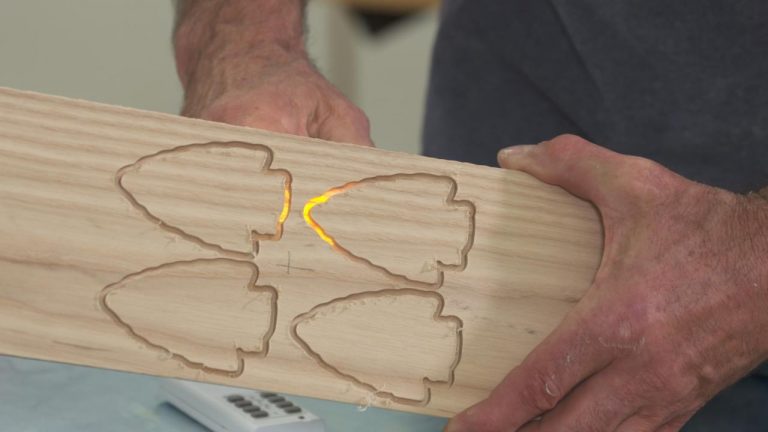
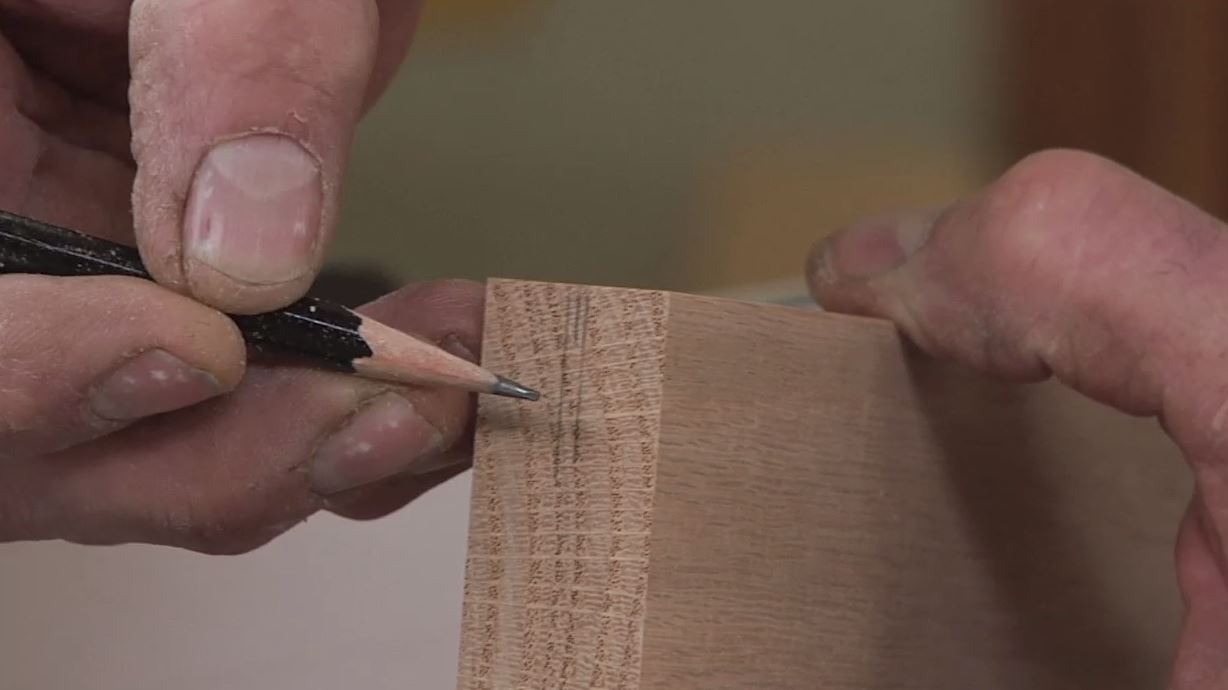
Carefully position the mortises. Use good woodworking practices to determine the ideal position and depth of each mortise, and program accordingly using VCarve.
Test on scrap. You will want to do a test run of your mortises using scrap material to ensure that your depth and positioning are correct.
Once you master the skill of cutting mortises on your CNC, you will be ready to build a wide range of furniture, ranging from traditional to modern design.
Explore videos by George Vondriska


You may be interested in


Premium Membership
Unlock exclusive member content from our industry experts.
- 24/7 Access to Premium Woodworking Videos, Projects, and Tips
- Step-by-Step Instructional Demos, Plans, and Tutorials
- 50% Off Video Downloads Purchased in the Woodworkers Guild of America Shop
- 2 Printable Woodworking Plans
Unlock exclusive member content from our industry experts.
- 24/7 Access to Premium Woodworking Videos, Projects, and Tips
- Step-by-Step Instructional Demos, Plans, and Tutorials
- 50% Off Video Downloads Purchased in the Woodworkers Guild of America Shop
- 2 Full-Length Video Downloads to Watch Offline
- 2 Printable Woodworking Plans
Gold Membership
$370 Value
Get everything included in Premium plus exclusive Gold Membership benefits.
- 24/7 Access to Premium Woodworking Videos, Projects, and Tips
- Step-by-Step Instructional Demos, Plans, and Tutorials
- 8 Full-Length Video Downloads to Watch Offline
- 3 Full-Length Woodworking Classes to Keep for Life
- 7 Printable Woodworking Plans
- Discounts on Purchase-to-Own Content in the Woodworkers Guild of America Shop
- Access to Ask the Expert Program
- Exclusive GOLD LIVE Streaming Events