George Vondriska

Table Saw Essentials Session #4: Dadoes, Rabbets and Grooves

George Vondriska
Duration:   14  mins

Description

Stackable dado heads are a must-have if you plan on doing joinery on your table saw. This session shows you how to stack the dado head so you don’t chip a tooth, a great trick for setting the height of the dado head, and how to safely cut dadoes.

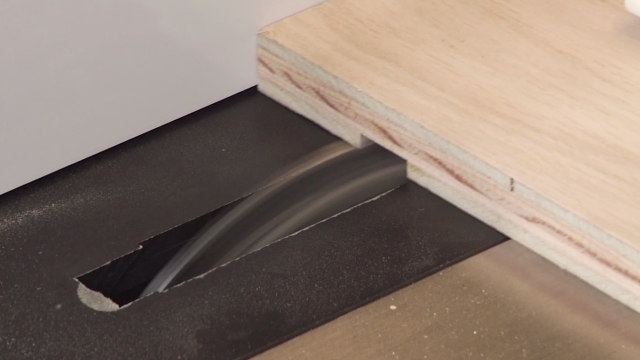
Making a wide cut doesn’t always mean using a dado head. With proper set up, you can use a standard rip blade to cut custom-sized grooves and rabbets.

Share tips, start a discussion or ask other students a question. If you have a question for the instructor, please click here.

Make a comment:
characters remaining

No Responses to “Table Saw Essentials Session #4: Dadoes, Rabbets and Grooves”

No Comments
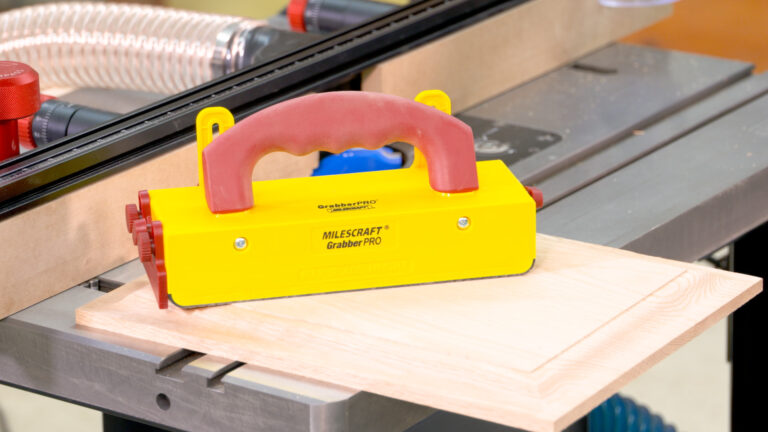
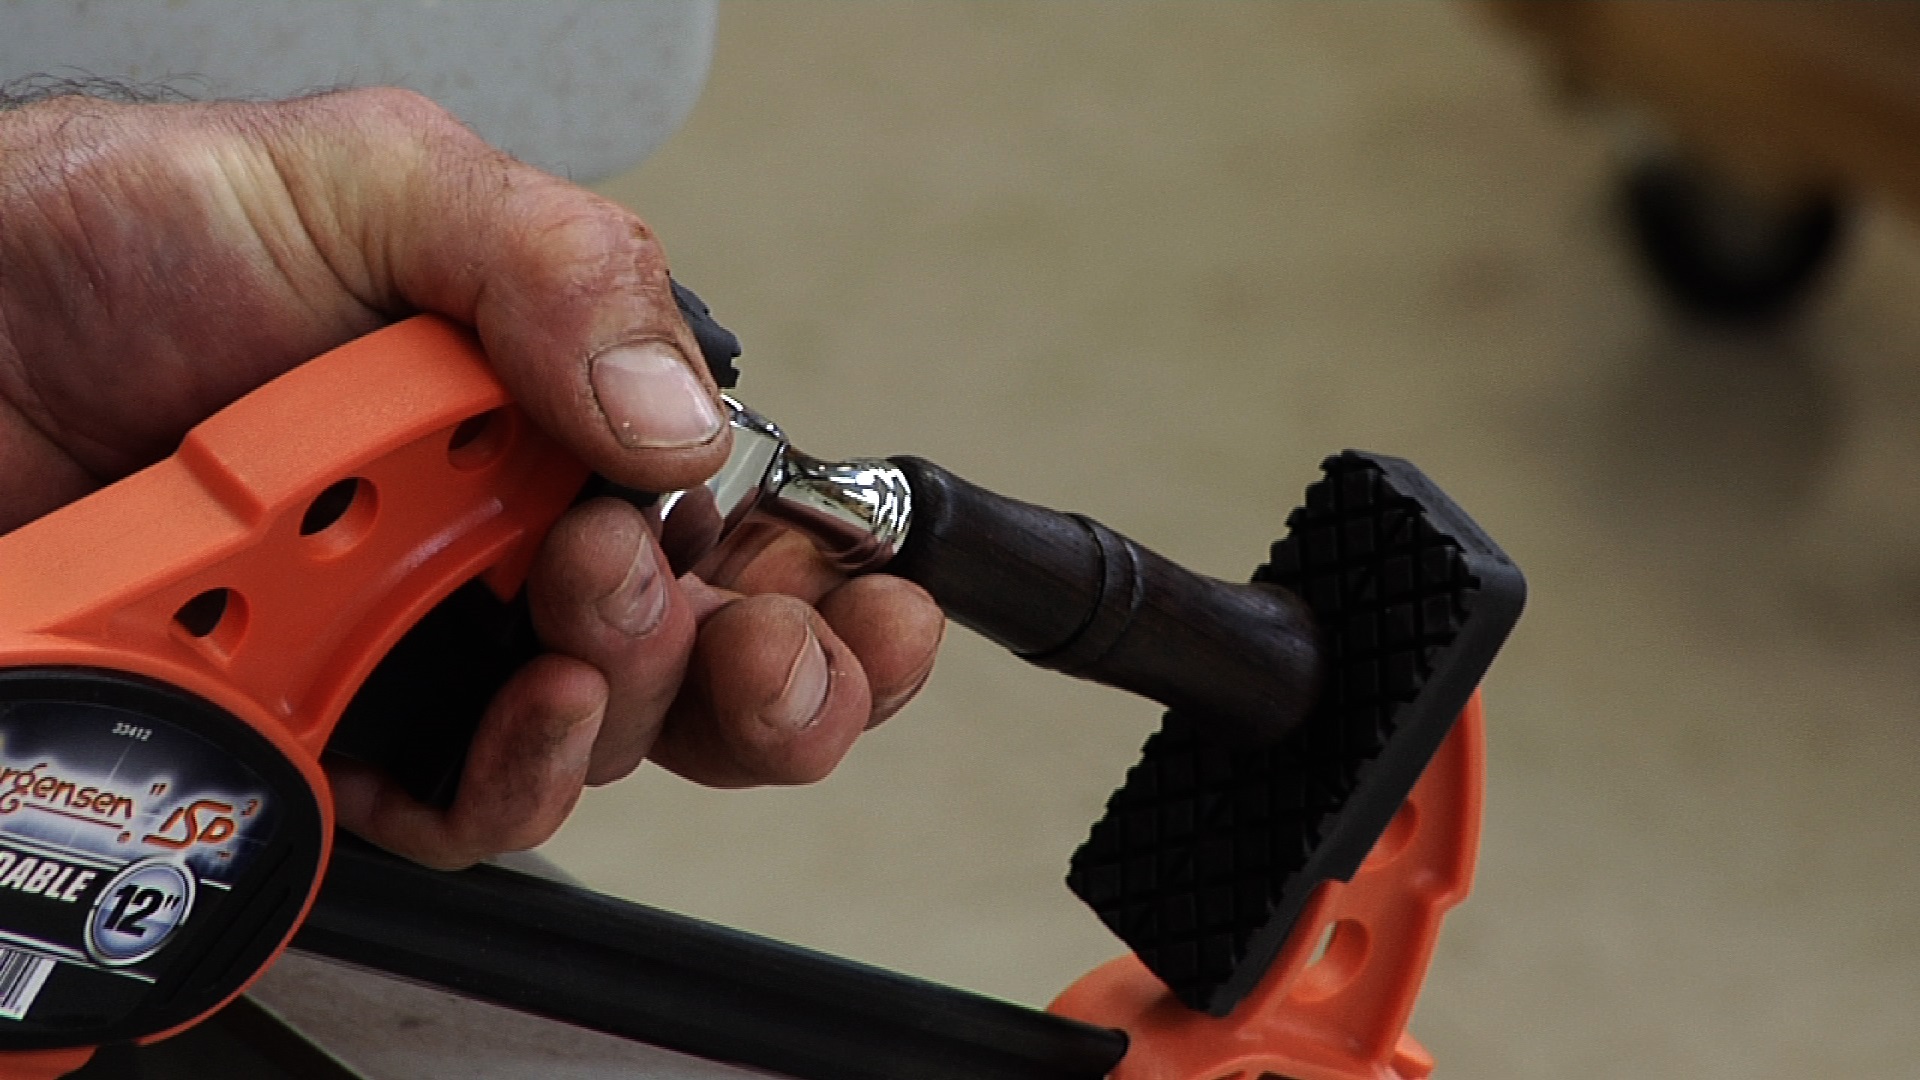
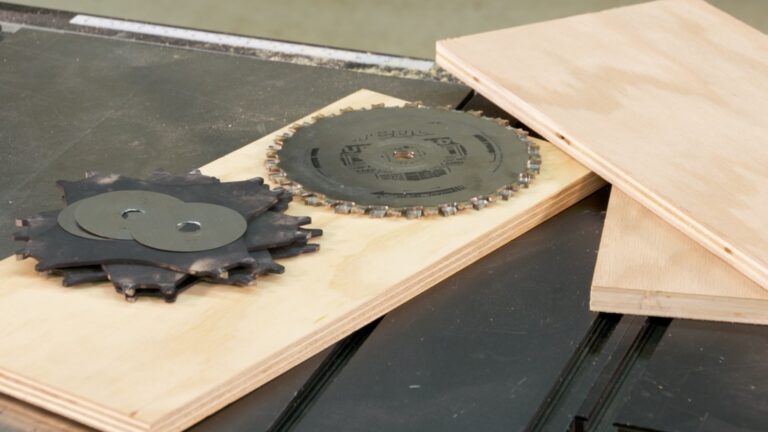
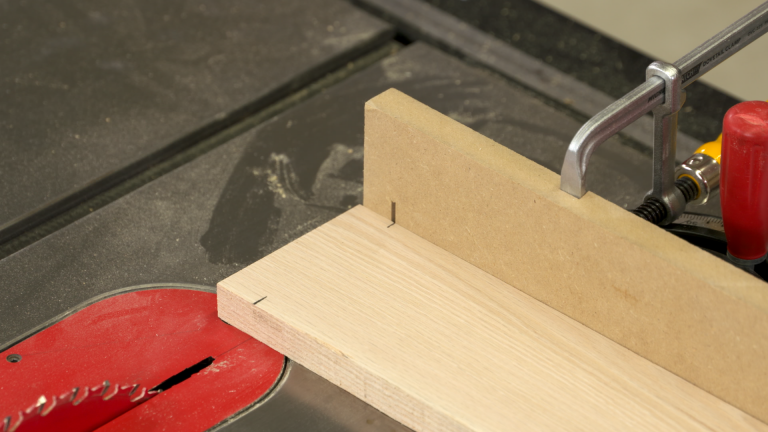
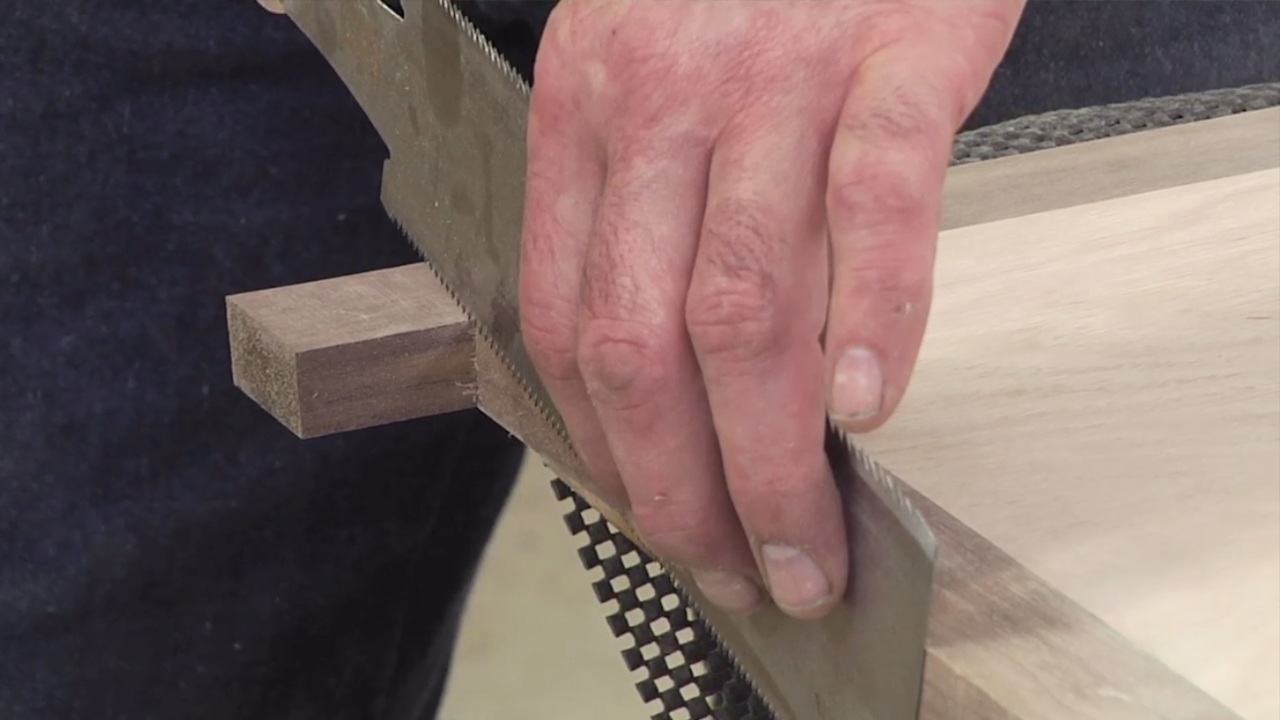
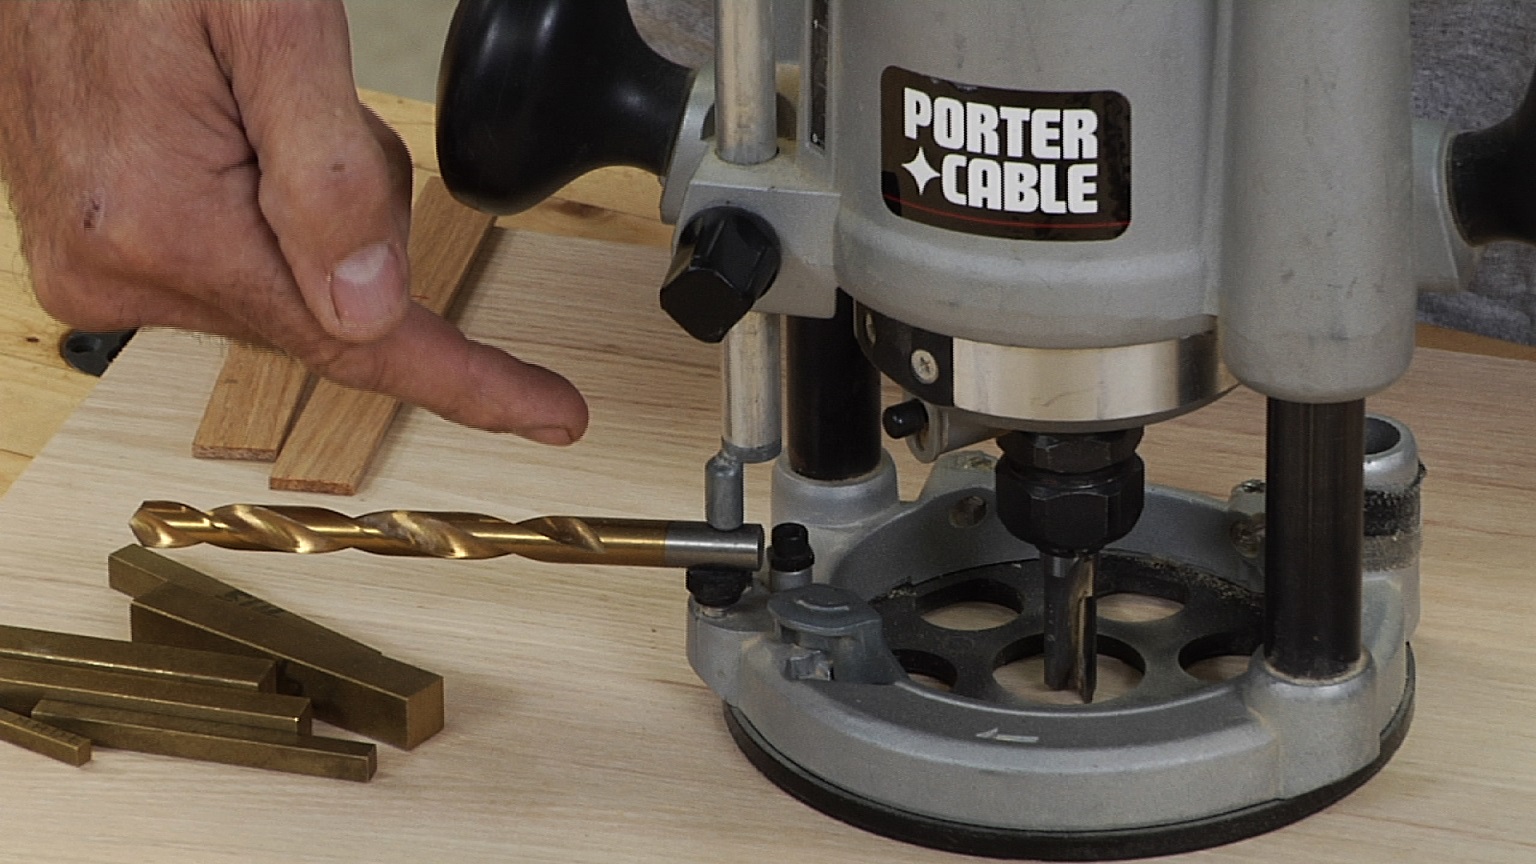
Time to talk about a dado, daddy-O. Dado heads are a way that we can cut really, really wide dadoes or grooves here on the table saw. Specifically I'm gonna set up what's called a stackable dado head. That means we're gonna have two rim blades and then chippers that go in between. Now with the saw unplugged, what we wanna do is build up the stack that we want. You'll always use the two rim blades. Generally if we use the two rims only, that's gonna be a quarter-inch wide. The chippers we can add as needed to build this up to a different width. So for instance if we wanna hit 3/4 of an inch, then we would do the two rim blades. That's a quarter. And then four chippers 'cause that would be 4/8 which is another half inch. So for a total, we'd have six eighth inch-thick layers making up our stack. Here's the thing I really want you to watch for here is the relationship of all of these teeth. So let's get to where we have a chipper immediately next to our rim blade right there. The chipper tooth is inside the gullet of the rim blade. Then we have another chipper. It's not touching the adjacent chipper or the other chipper. If I can say chipper one more time here. Then we have another chipper living inside the gullet of this rim blade. The big lesson out of this is none of those are touching steel, none of those are touching carbide. If they are and I tighten that up, we're gonna pop off a carbide tooth. Gonna put the arbor nut on just finger tight. Now you might notice there's something still laying on the table saw which is the arbor washer. If I put this thick arbor washer on, the arbor down in the saw is gonna look about like this, about that much thread sticking out. That's not enough for me to fully thread the arbor nut. That's the case with your saw, leave that arbor nut or arbor washer off and only put the arbor nut on. It's only hand tight right now. Let's look at that orientation one more time. That looks good, good, good, good. Now we can give this some snuggicity with our arbor wrench. Good to go. Because we're using the dado head, we have to change inserts. We have to use a dado insert which has a wider cut in it than our conventional insert. Now I'll give you a great trick here. When it comes to setting the height of a dado blade instead of measuring, consider using gauge blocks. These come in a variety of forms. This set is sourced for you on the PDF that comes with your class. Each of these is a different size as indicated by the number on the block. Instead of trying to measure this if I wanna be 3/8 of an inch high, I can take a quarter and an eighth. Get them next to the blade. Feel across the top until they're even. And we're good to go. It's so much easier than using a ruler. These gauge blocks are a wonderful thing to have in your arsenal. They make setup so much easier. Here's the board that we're gonna dado. Good rule of thumb to keep in mind is never pass your hand over a cutting tool. However, we do wanna keep down pressure on this board. We're gonna do that with a push pad. Now if you look closely at this particular push pad, you might notice unusual looking push pad. It's actually a grout float from a home center. These are wonderful push pads. Real good cushion on here. They're sticky so they do a good job of sticking to the wood. Nice big pad, easy to hold onto the handle. Really, really good addition to the shop. We are ready to go. Let me just plug my saw in so we have some power, and we'll have a look at making a dado. There's the benefit of having that dado head in here. We can cut that nice wide dado. That can then receive a shelf or another case component. So remember when you're setting up the dado head, build it up to the right width. Make sure teeth aren't touching teeth or steel. Use a set of gauge blocks in order to set the height of the blade, makes it really easy. Use a push pad to provide down pressure. And dadoes are very easy to cut here on the table saw. Frame and panel construction often calls for cutting a groove in a piece that then thinner material like this quarter-inch MDF can slip into. Here's the problem, when we call this quarter-inch MDF or quarter-inch plywood, it probably isn't quarter inch. So if I set up a quarter-inch dado head, if I use a quarter-inch slot cutter on a router table, I'm gonna have a sloppy fit between the material and the groove or slot that I'm cutting. We can do this here on the table saw and make it just perfect by doing a two-pass operation. Here's what I've got. My 40-tooth alternate top bevel blade is in the saw. Height of the blade is already correctly set for what I wanna do. On my material using the same procedure I showed you earlier, I've already marked the board so I know approximately where the center is. It doesn't have to be perfect. Now I'm gonna use those marks to get my fence in position. And what I'm gonna try to do for my first pass is just get the blade approximately centered on the thickness of the board. Here's what's really, really, really important about this. The board that you're doing your test cuts in has to be the same thickness as the board that you'll be doing your real work in. Now we've already looked at feather boards. Gonna bring that into play. Plug the saw in, and we'll try a test cut. The key to this working is rotating. And when we rotate the board and make that second pass, that's where we're shooting for that piece fitting in this groove. Let's see how I did. Just a little too tight. How do we fix that? What we need to do is move the fence a little bit to the left. Now there's gonna be a pretty subtle change here because that is almost going in, but that's tighter than it can be. Let's say we think that cut is off by a sixteenth of an inch, what do we do to the fence? We move it by half that amount. So looking at the cursor here, I'm gonna move the fence to my left a smidge and repeat the process. And then we have what we want. We have a perfect fit between that material and that groove that we cut. Just a little bit of wiggle room. Now the problem can be when I go to my real project if that material's not the same thickness, that changes where the fence is gonna have to be positioned. So I can't say this enough. Material for test cuts has to be the exact same thickness as the material for the real deal. Now here's what I want you to do. Look very, very carefully at the bottom of the groove right there. And keep in mind what blade I told you I had in the saw which was an alternate top bevel blade. Remember that on an alternate top bevel, tooth to the left, tooth to the right. Stand up, sit down, fight, fight, fight. What that means in the bottom of our groove is that it's not flat-bottomed. We have these tiny over cuts where the tips of the teeth have penetrated beyond the bottom of the groove. This may or may not be a big deal depending on what you're doing. For me, if that groove is gonna show, I don't want that to not be flat-bottomed. So I wanna show you a blade type we haven't talked about yet, and it's absolutely perfect for making these types of cuts when they're gonna show so that we end up with a flat-bottomed groove. Changed blades, got groovy. Let's get a little side-by-side action going here. Here's the difference, the one that I just cut is perfectly flat-bottomed. It's about blade selection. The blade that's in the saw right now is one we haven't talked about yet. It's called a flat top grind. So we've done alternate top bevel. We've done triple chip. Both of those blades would leave an irregular bottom in our groove. Flat top grind cuts it nice and flat, so dose of reality. Do I need a flat top grind blade for my general woodworking purposes, not necessarily. If I'm gonna do this, if we're gonna cut any grooves for splines. Anytime the curve or groove that we're cutting is gonna show then we really want a flat top grind blade in the saw so that we have a flat-bottom groove when we're done. So great technique to know in order to make perfect grooves so they're a perfect fit for your material regardless of its thickness. The other byproduct we get out of this is that because we did this in two passes, the groove we're cutting is perfectly centered on the material. There are a lot of ways that you can cut rabbits. You can do them on the router table. You can do them on the table saw. We could set up a dado head and do rabbiting with that. But if you only have a rabbit or two to cut, this technique can be a whole lot faster than taking out your regular blade and putting in a dado head. Here's the way this works. I'm gonna use bar stock to set the height of the blade and the fence position. Different set than you saw before. Premise is the same. I'm gonna take my 3/8 bar And with the saw unplugged, I'm gonna used that to set the height of my saw blade. And feeling across the top for the point where the top of the teeth are flush with the top of the bar. Then we're gonna use the same bar to set the fence position. Now it doesn't have to be the same. In this case, I wanna produce a rabbit that's 3/8 by 3/8. So I would use the same bar, and what you really have to pay attention to is that I'm measuring from the face of the fence to my left side of the saw blade. Not in between like we normally would but to the outside of the saw blade. Feeling it instead of trying to see it. Right there looks good. Here's the way this happens. First pass, we'll feed the board on edge. Then it's gonna get flipped, cut again, and that's gonna relieve the rabbit out of there. What you have to watch out for is that the small off cut is between the blade and the fence. So there's a pretty good chance that it's gonna come out on the side. You'll wanna make sure that you're not in that line of cut so that if it comes back, it doesn't hit you. Let's get plugged in and ready to go. Now we rotate and flip. Watch your body position. A really fast way, simple setup that you can produce rabbits on the edge of a piece like I just did to this one.
Get exclusive premium content! Sign up for a membership now!