
How to Remove CNC Tabs
George VondriskaWhen you want to automate production and bring some precision to a project, nothing beats CNC technology. The world of CNC is exploding these days in a very positive way to bring a spectrum of innovative and economical solutions to production shops as well as hobbyists.
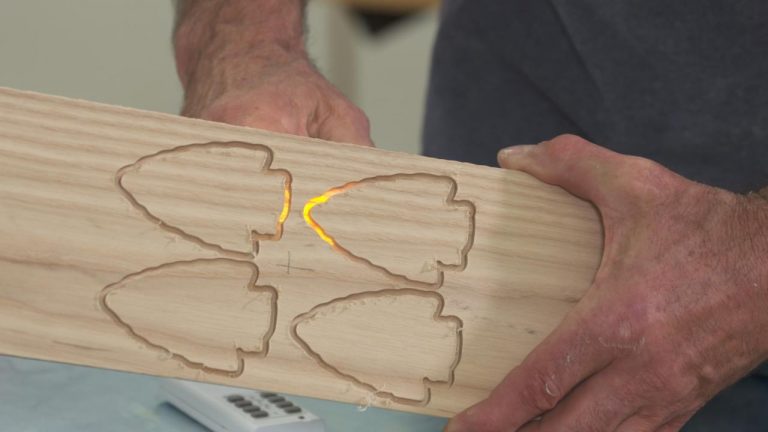
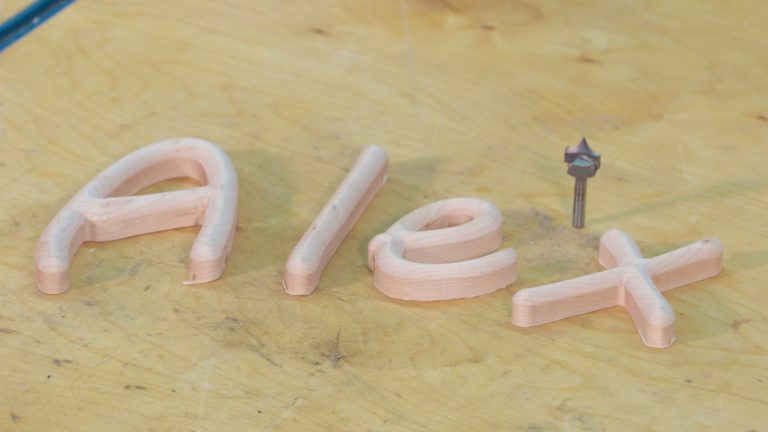
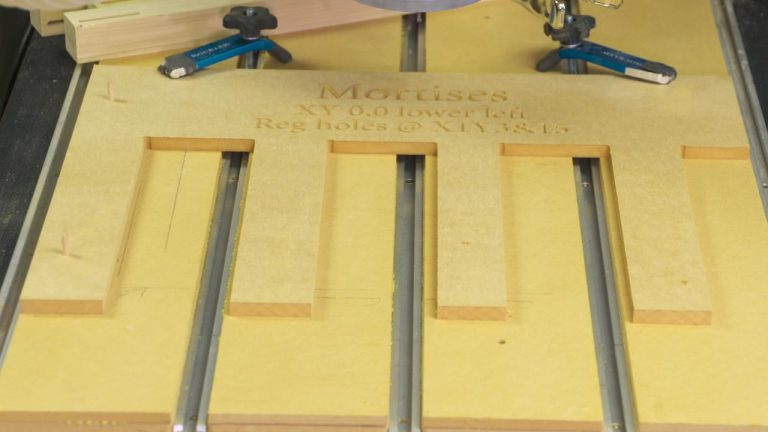
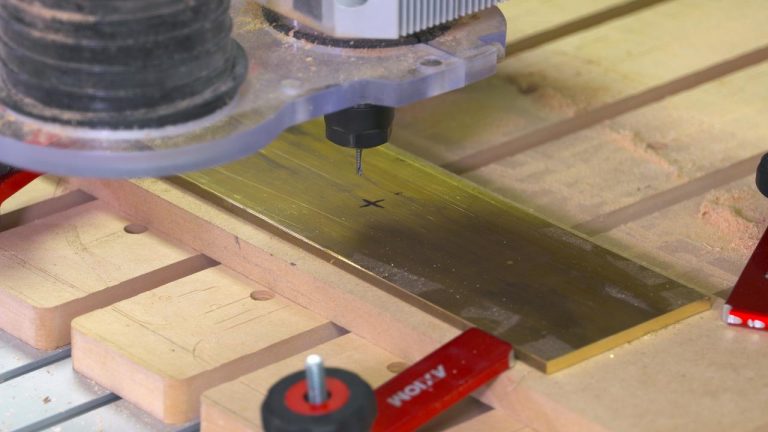
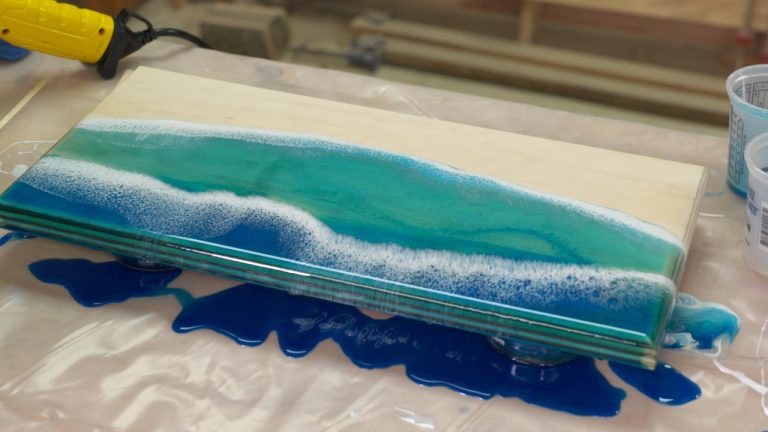
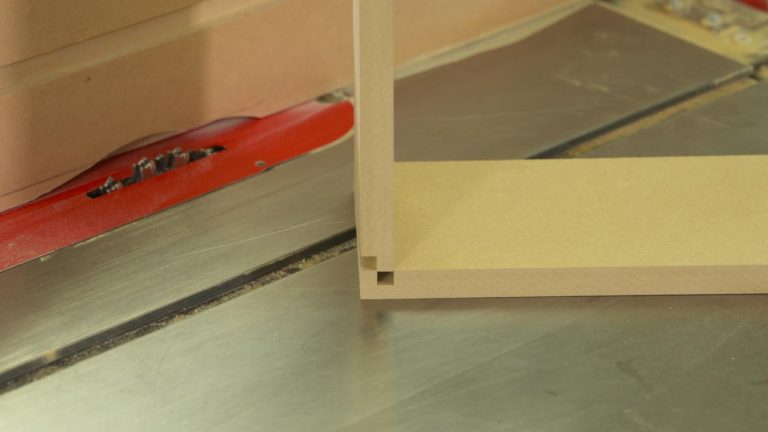
While CNC routers can automate many of the tasks associated with building a project, not every aspect of a CNC project can be fully automated. One example is when you cut small pieces out from a larger workpiece, there will be a loss of control if the small piece is cut completely free. If that happens while you’re cutting it can be dangerous, and the workpiece could potentially be damaged.
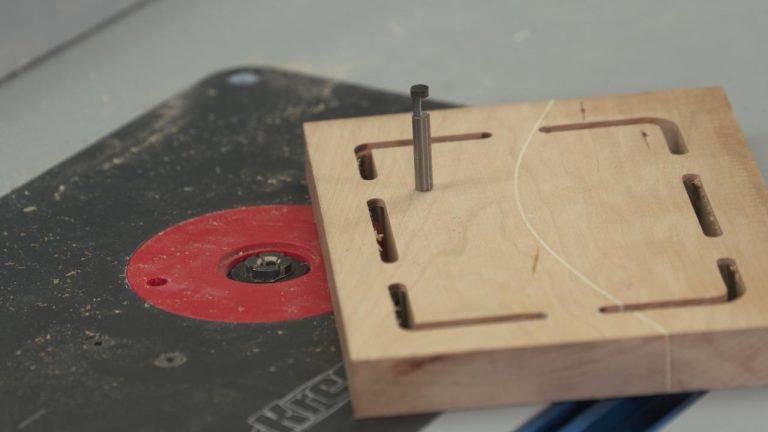
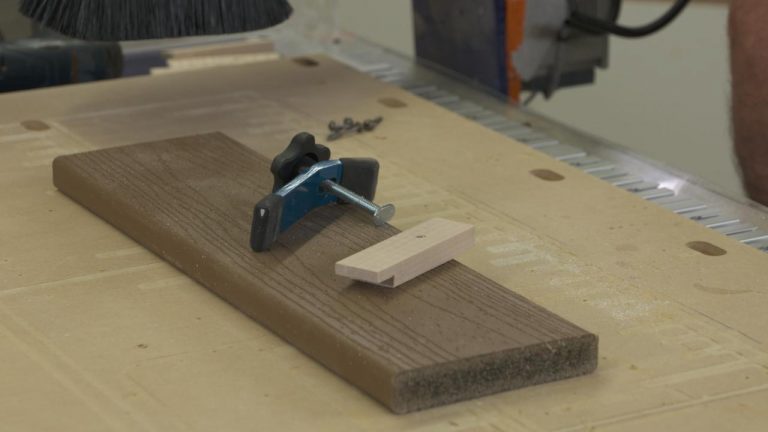
One simple approach that can address this tricky situation is to leave tabs behind that provide a connection or bridge to the larger piece. By removing most of the material, and leaving only a small amount behind, the cleanup effort is minimal. There are a couple ways that these can be removed. One approach for removing CNC tabs is cutting tabs with a router table. Another way to work with tabs is to use a handheld router as follows:
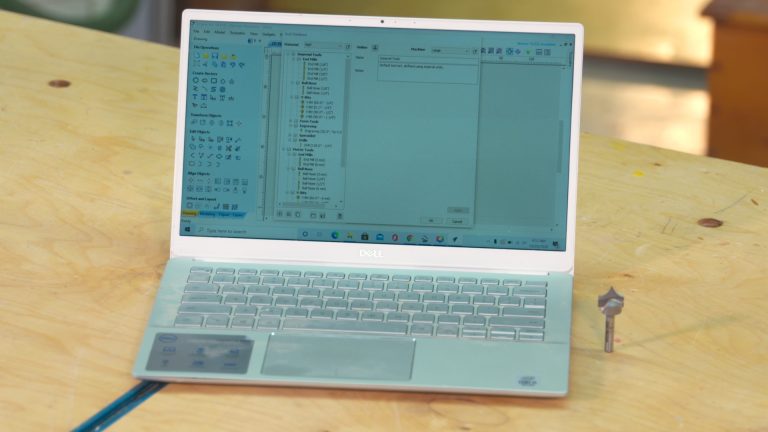
Create tabs. This is set up using the CNC software, specifying the number and thickness of tabs that you want.
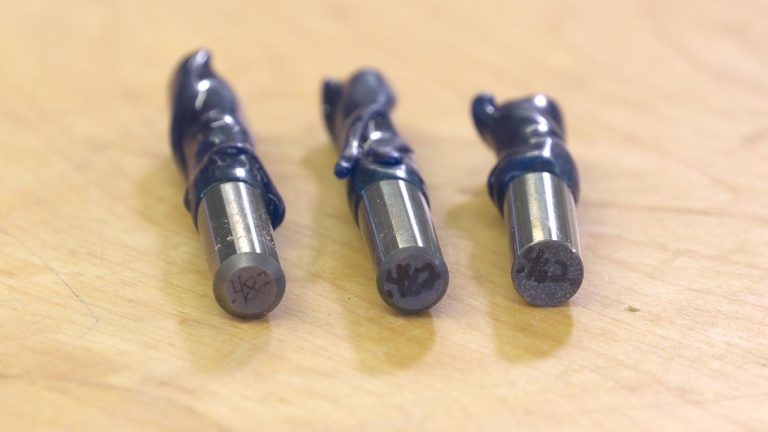
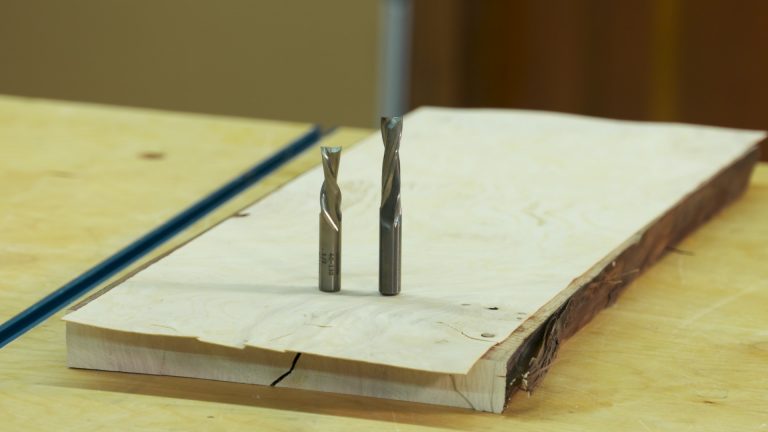
Remove using a handheld router and a panel pilot router bit. Following the cutout path, simply use the bit to remove the tabs, freeing up the final project.
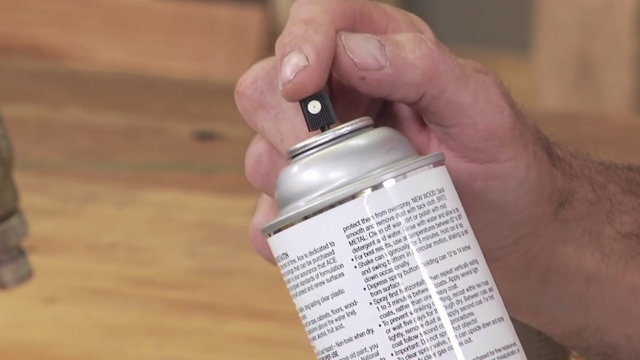
Sand any remaining bumps. The router bit might leave behind some small bumps on the surface of your project that can easily be removed with a light sanding.
If you are interested in CNC technology, but working on a budget or space constraints (who isn’t?), then perhaps you might be interested in an introduction to benchtop CNC.
Explore videos by George Vondriska


You may be interested in


Premium Membership
Unlock exclusive member content from our industry experts.
- 24/7 Access to Premium Woodworking Videos, Projects, and Tips
- Step-by-Step Instructional Demos, Plans, and Tutorials
- 50% Off Video Downloads Purchased in the Woodworkers Guild of America Shop
- 2 Printable Woodworking Plans
Unlock exclusive member content from our industry experts.
- 24/7 Access to Premium Woodworking Videos, Projects, and Tips
- Step-by-Step Instructional Demos, Plans, and Tutorials
- 50% Off Video Downloads Purchased in the Woodworkers Guild of America Shop
- 2 Full-Length Video Downloads to Watch Offline
- 2 Printable Woodworking Plans
Gold Membership
$370 Value
Get everything included in Premium plus exclusive Gold Membership benefits.
- 24/7 Access to Premium Woodworking Videos, Projects, and Tips
- Step-by-Step Instructional Demos, Plans, and Tutorials
- 8 Full-Length Video Downloads to Watch Offline
- 3 Full-Length Woodworking Classes to Keep for Life
- 7 Printable Woodworking Plans
- Discounts on Purchase-to-Own Content in the Woodworkers Guild of America Shop
- Access to Ask the Expert Program
- Exclusive GOLD LIVE Streaming Events