
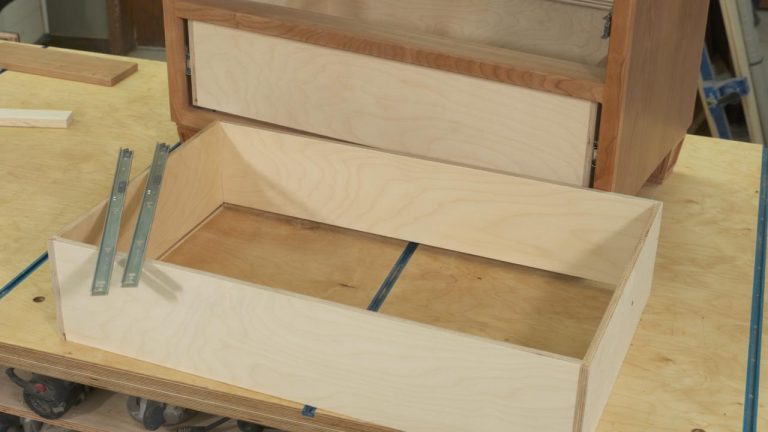
Installing Drawer Fronts
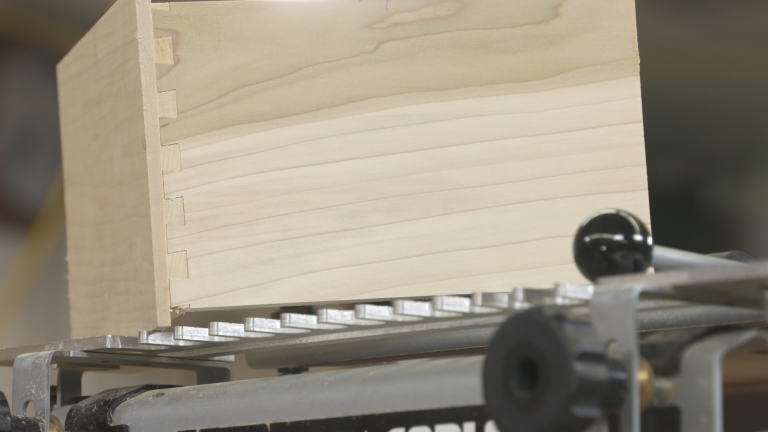
George VondriskaWe’ve all seen it: a stack of drawer fronts that are installed with uneven spacing, or perhaps with an annoying tilt. It’s disturbing, and once you see it, that’s all you will see every time you look at that cabinet. You can build the world’s great cabinet carcase, cut perfectly fitting dovetails on your drawers, incorporate beautiful grain matching and joinery into your doors, but if you are installing drawer fronts with the slightest bit of imperfection, people will think you are a hack.
Installing drawer fronts correctly doesn’t have to be difficult; it just requires that you follow a few critical steps that will ensure a successful outcome. To achieve the perfect drawer front installation, you will want to follow these steps:
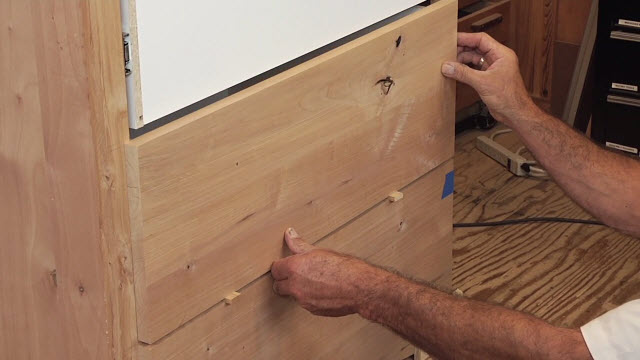
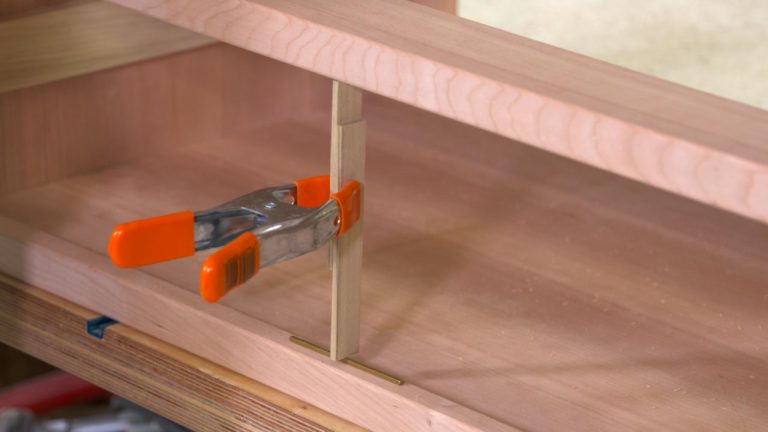
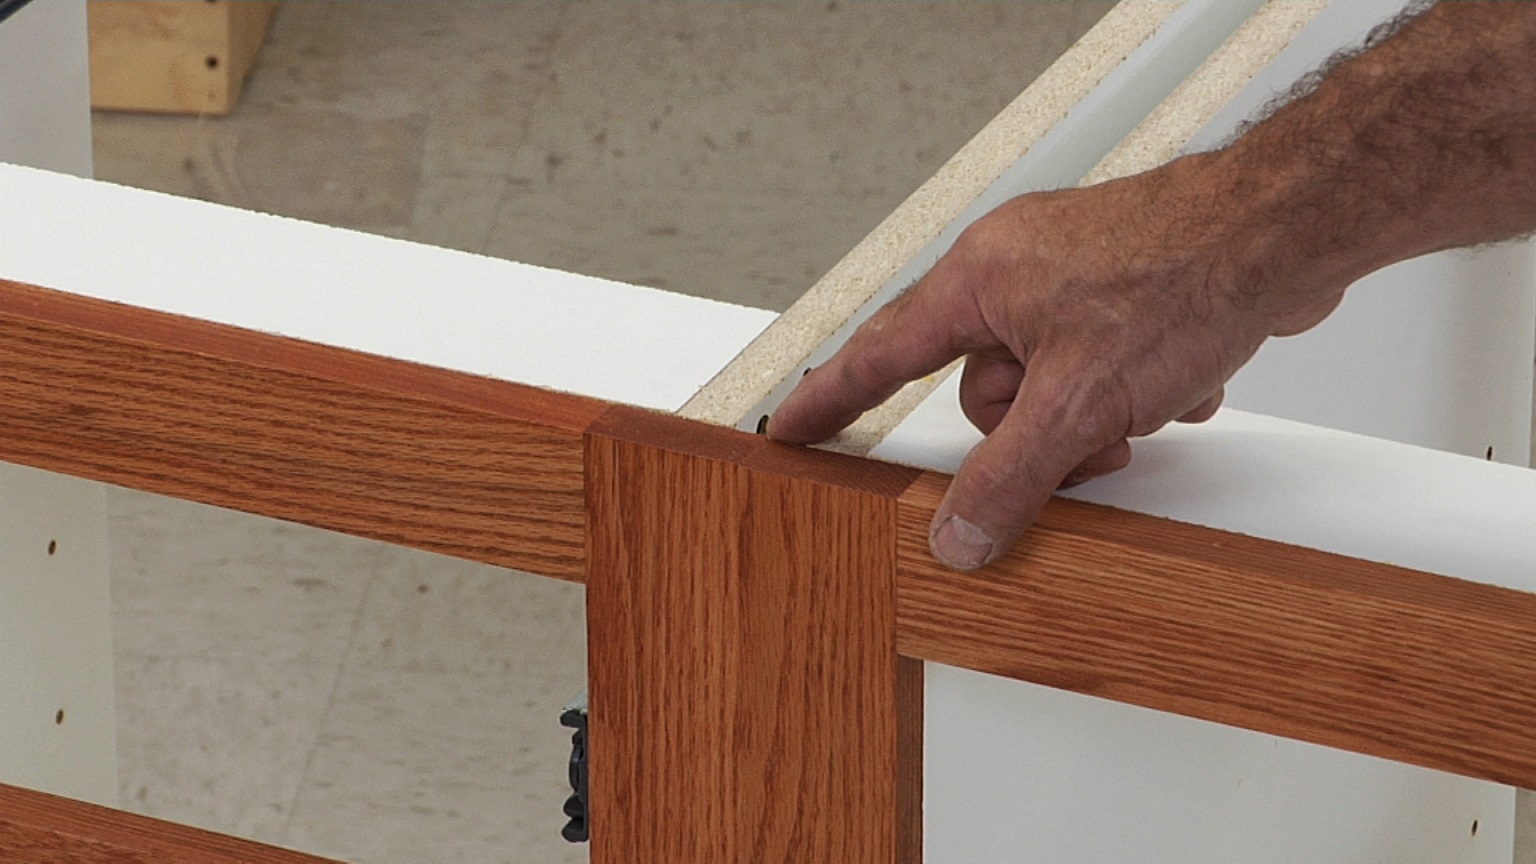
Use spacers. The most important part of the process is to use a thing, rather than a ruler, to establish spacing when you are installing drawer fronts. A ruler requires human interpretation, which is subject to the viewing angle, and ultimately invites error into the process. Installing drawer fronts using spacers, however, adds consistency and precision.
Clamp the drawer face. Once you have used spacers to establish the perfect location for the drawer face, use clamps to secure it in place before using fasteners to secure the drawer face.
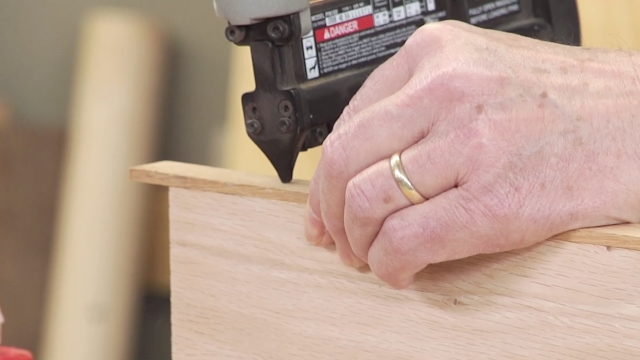
Install screws. With the drawer face secure, add screws from the inside of the drawer box. Be sure to fully secure the drawer face before removing the clamps. The slightest bit of movement at this point will not only throw off the spacing of that drawer, but will have a ripping effect as you move up through the drawer stack.
Installing drawer faces this way will give your cabinets a professional look, and the process can also be applied to inset drawer fronts which are a bit trickier.
Explore videos by George Vondriska


You may be interested in


Premium Membership
Unlock exclusive member content from our industry experts.
- 24/7 Access to Premium Woodworking Videos, Projects, and Tips
- Step-by-Step Instructional Demos, Plans, and Tutorials
- 50% Off Video Downloads Purchased in the Woodworkers Guild of America Shop
- 2 Printable Woodworking Plans
Unlock exclusive member content from our industry experts.
- 24/7 Access to Premium Woodworking Videos, Projects, and Tips
- Step-by-Step Instructional Demos, Plans, and Tutorials
- 50% Off Video Downloads Purchased in the Woodworkers Guild of America Shop
- 2 Full-Length Video Downloads to Watch Offline
- 2 Printable Woodworking Plans
Gold Membership
$370 Value
Get everything included in Premium plus exclusive Gold Membership benefits.
- 24/7 Access to Premium Woodworking Videos, Projects, and Tips
- Step-by-Step Instructional Demos, Plans, and Tutorials
- 8 Full-Length Video Downloads to Watch Offline
- 3 Full-Length Woodworking Classes to Keep for Life
- 7 Printable Woodworking Plans
- Discounts on Purchase-to-Own Content in the Woodworkers Guild of America Shop
- Access to Ask the Expert Program
- Exclusive GOLD LIVE Streaming Events