
How to Stretch Mitered Pieces
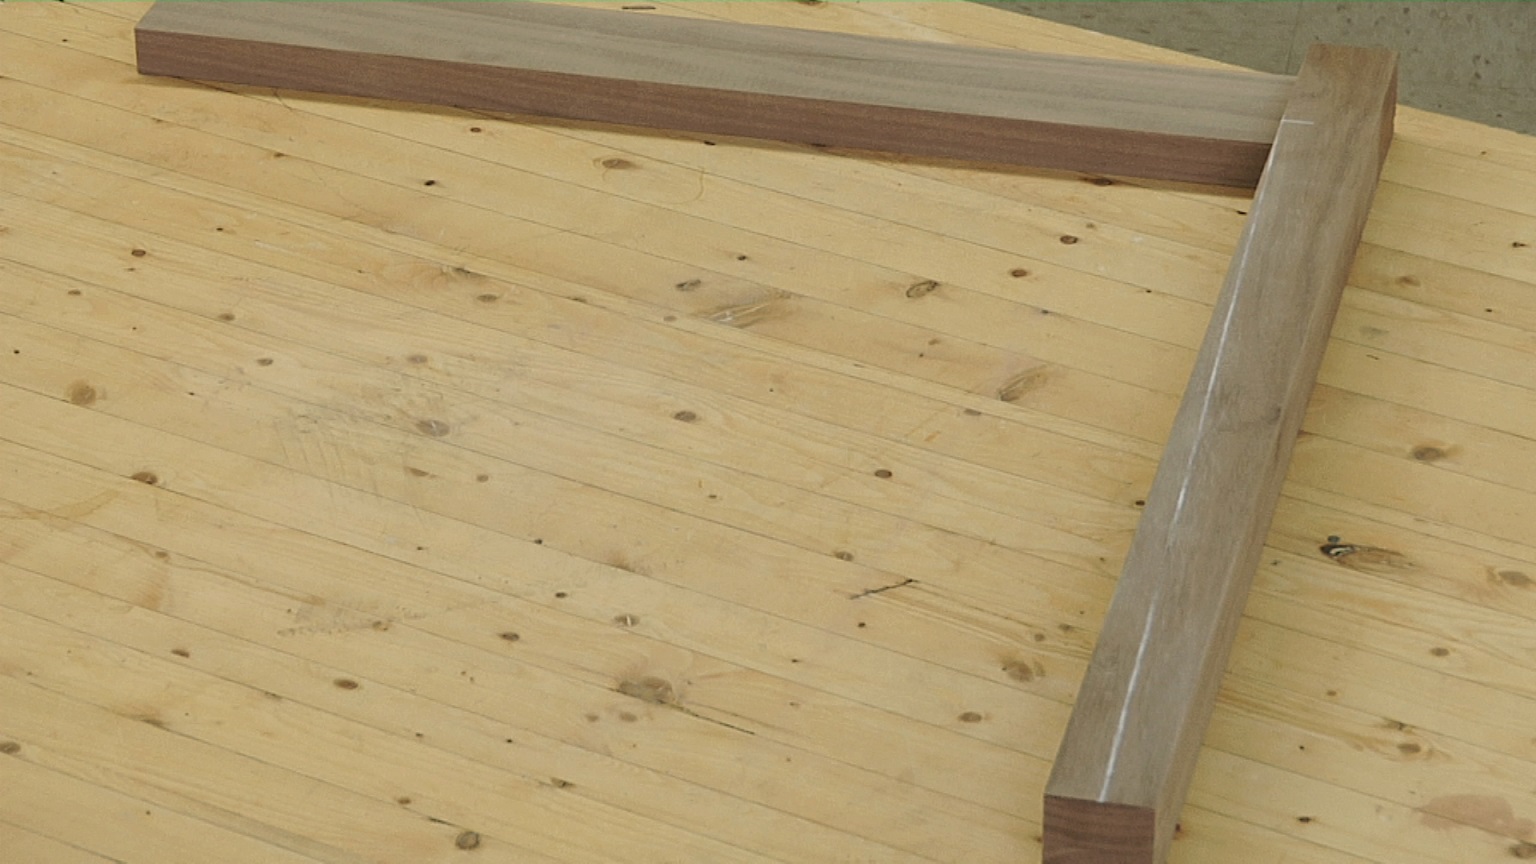
George VondriskaHave you ever cut a mitered frame and ended up with a piece that was just a tiny bit too short, leaving a gap in your frame? If you haven’t, and all your mitered frames have just fit perfectly right out of the gate, congratulations because you might just be the only one!
For the rest of us, this can be a perplexing process. There is a temptation to use wood filler to hide the gap, and finish over the top of it. You can do that, but chances are you’ll be able to see the filler from 20 paces, and your heart will be filled with regret every time it catches your eye. Your next thought might be that you have to cut another piece, and if you have money to burn, that approach can work for you.
Another fix is simpler and cheaper than either of these approaches, and utilizes the mythical and legendary concept of a board stretcher. In this situation, there actually IS such a creature! This approach consists of two simple steps;
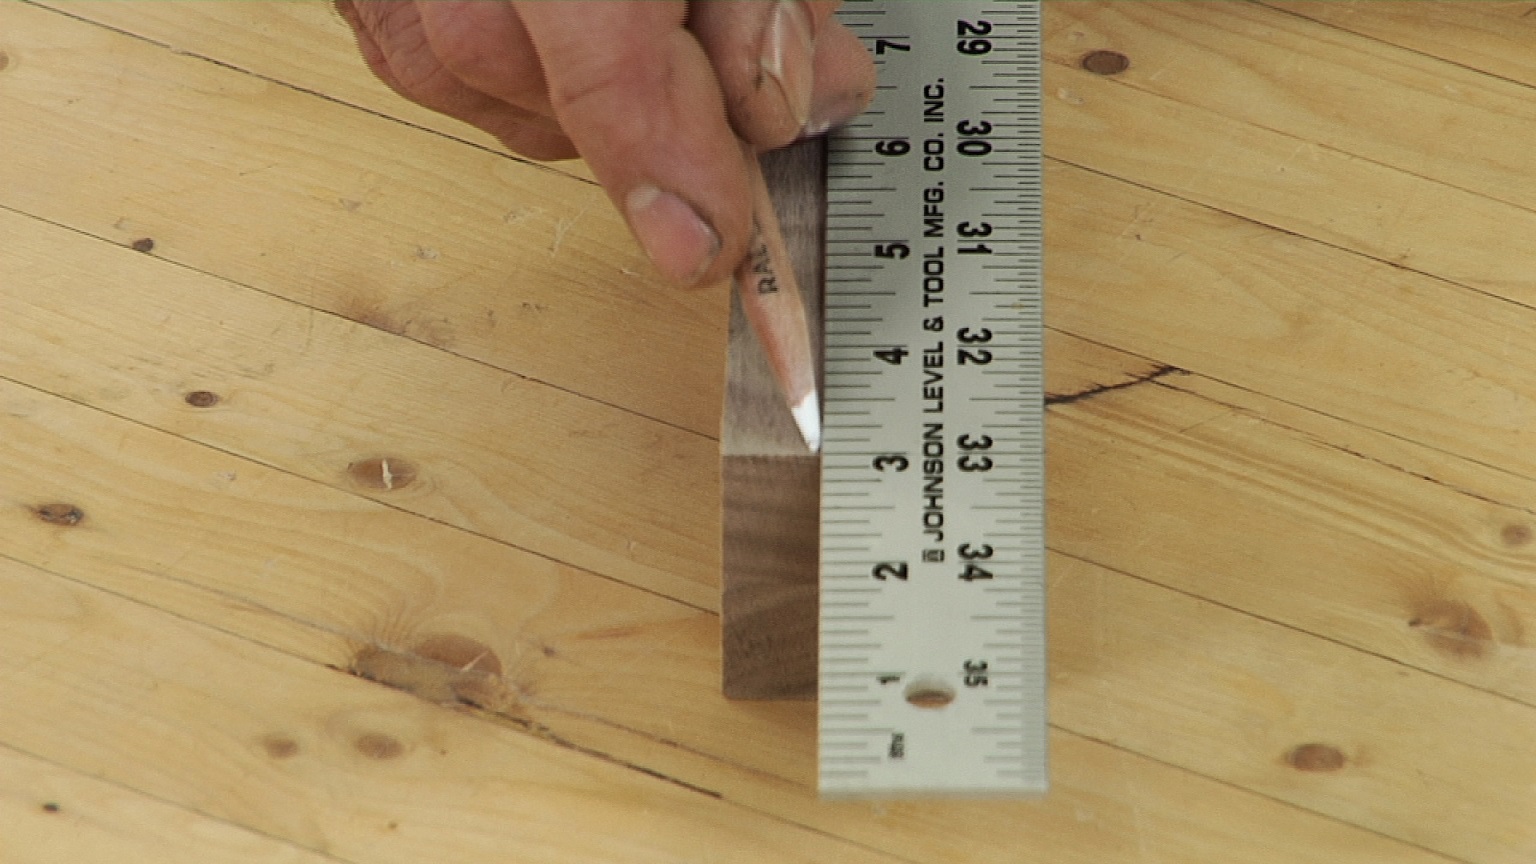
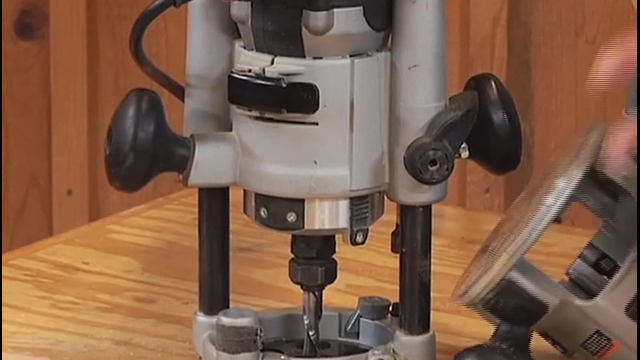
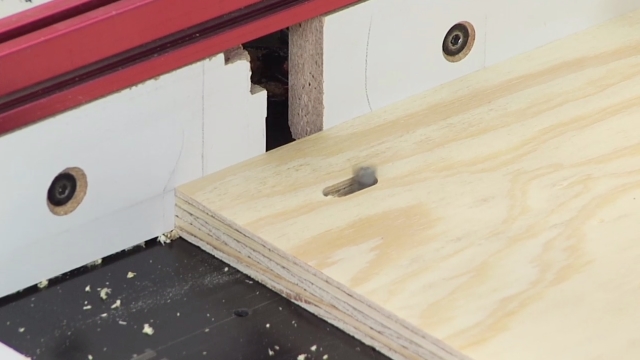
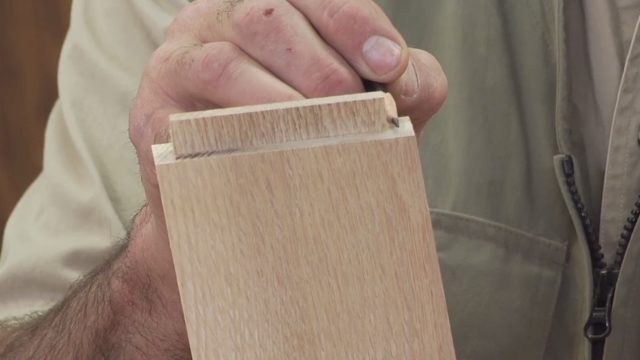
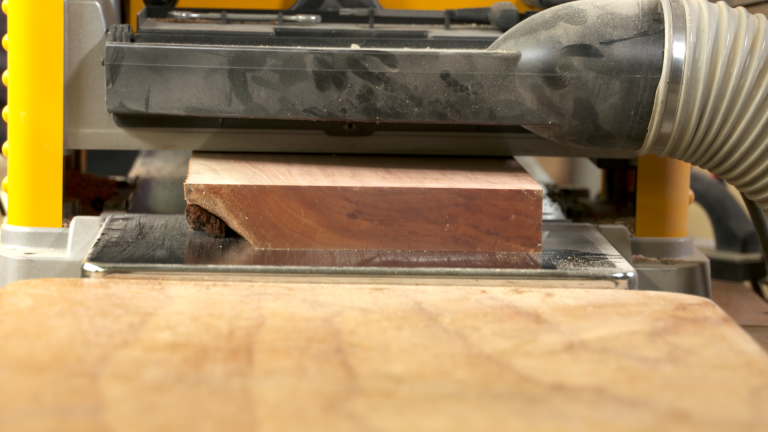
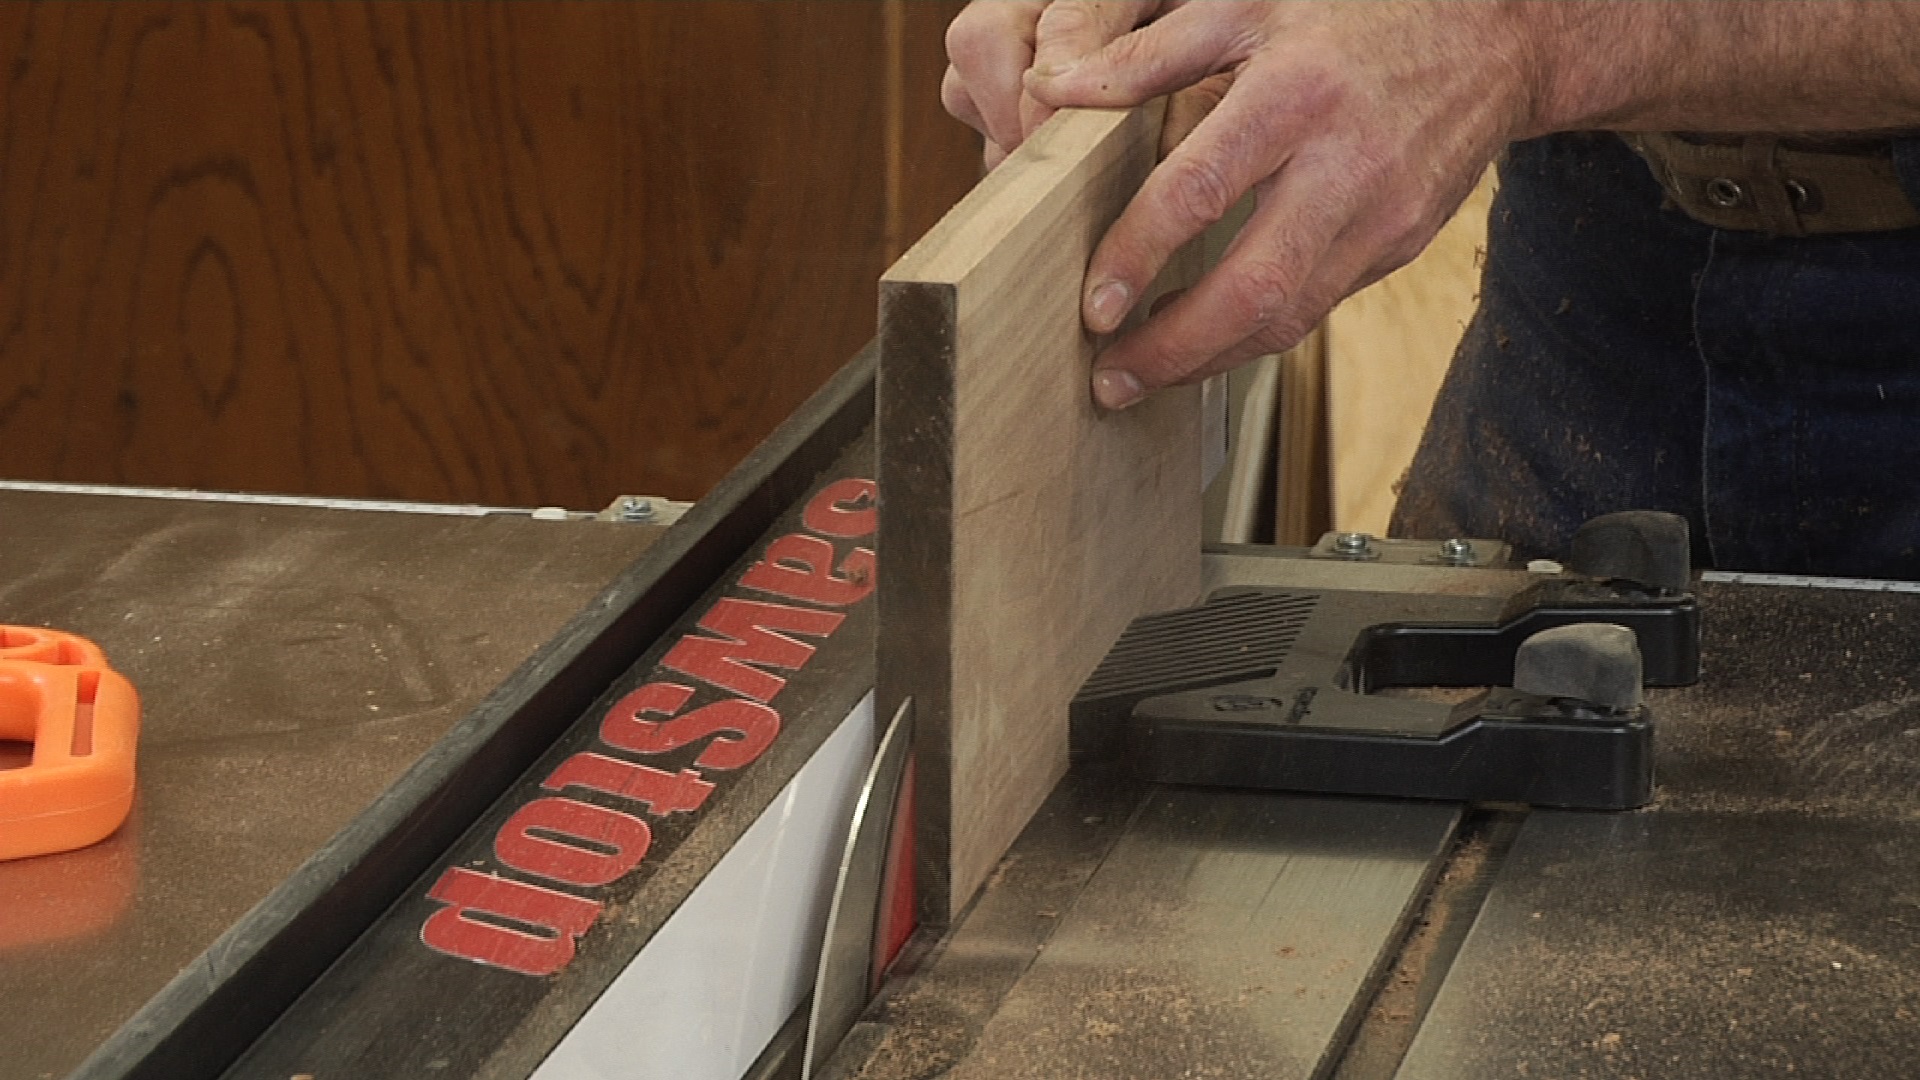
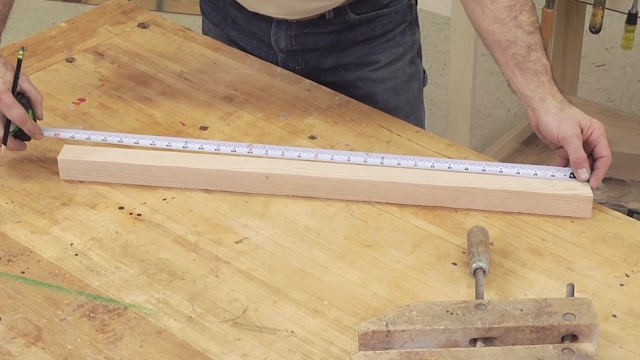
Stretch the board. This is actually done by making the board narrower rather than longer, which extends the distance between the points on the short end, effectively making the board longer and filling in the gap. The trick is simple, effective and takes virtually no time.
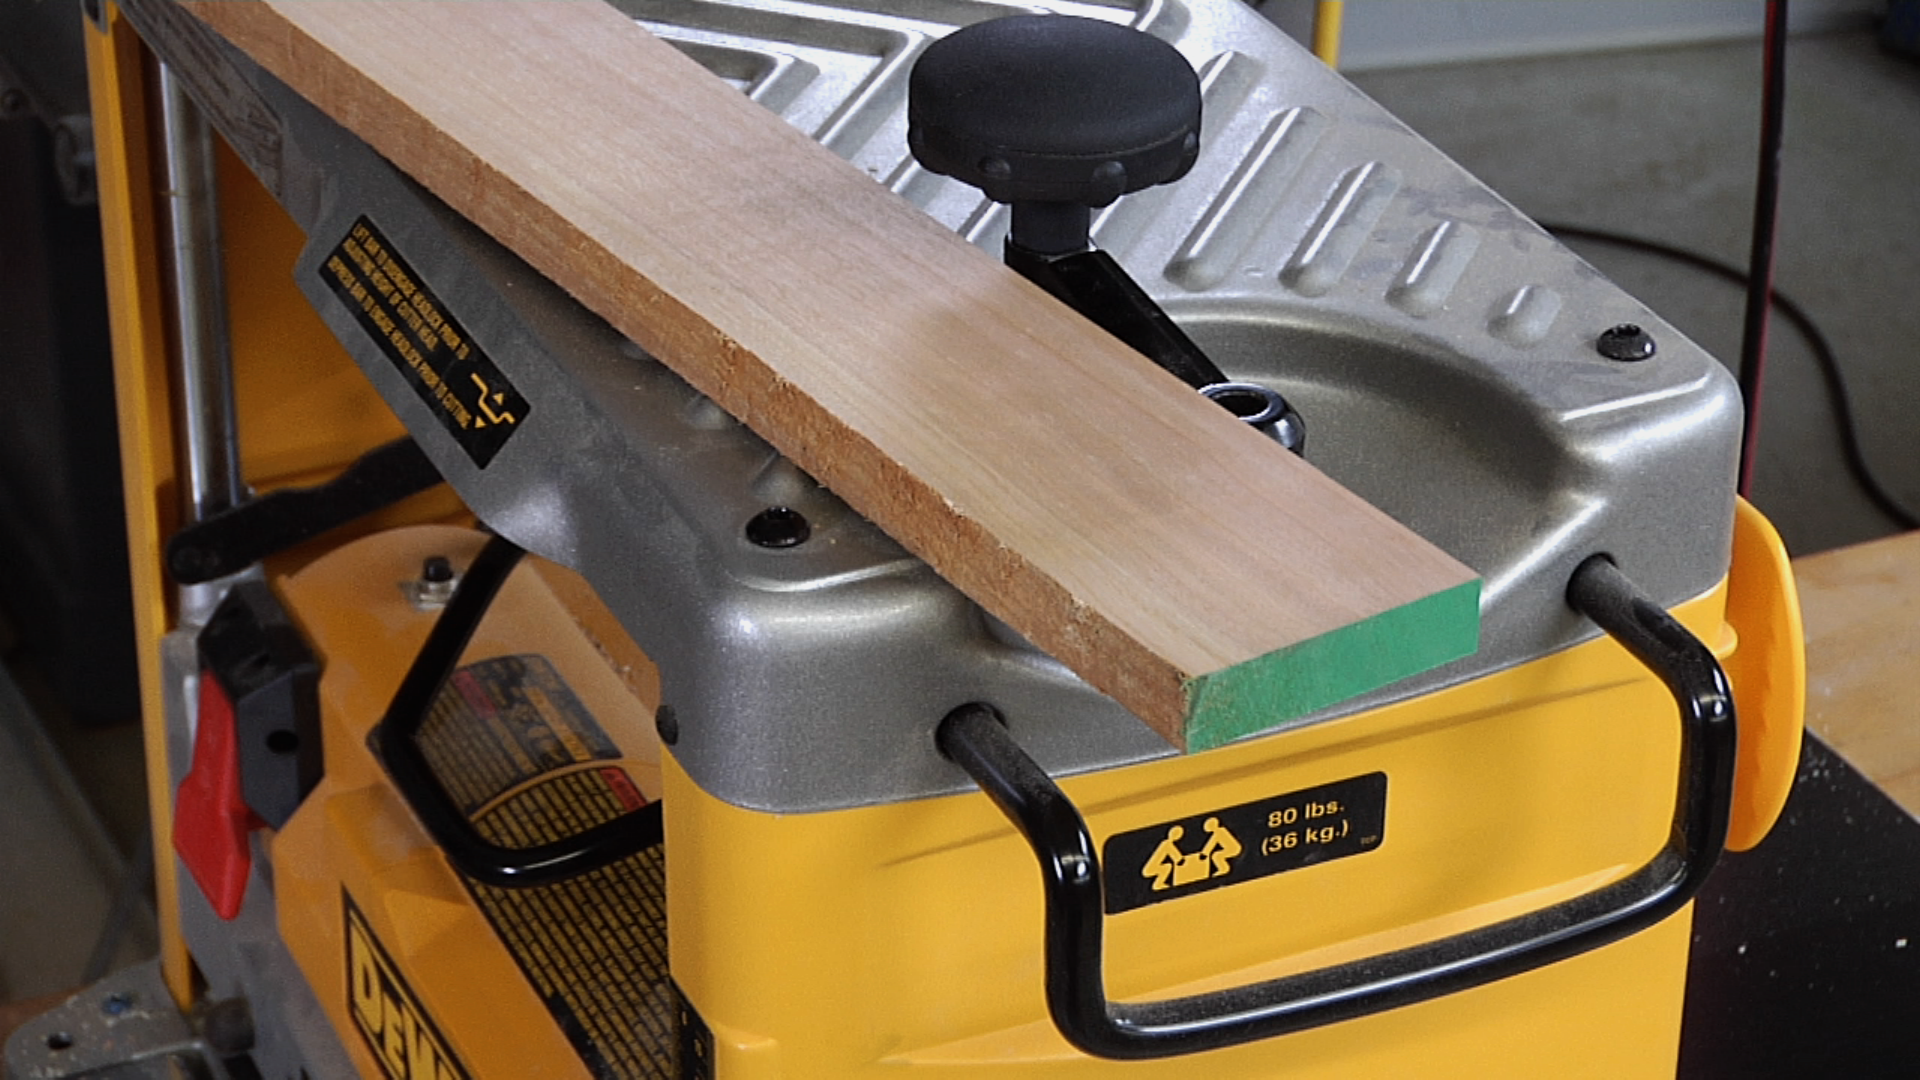
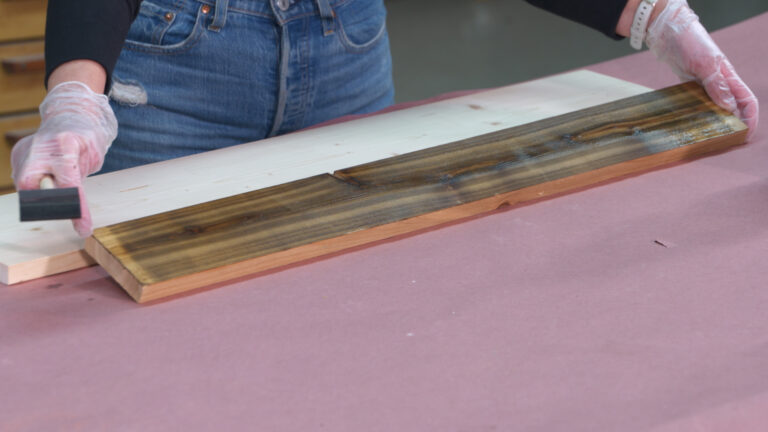
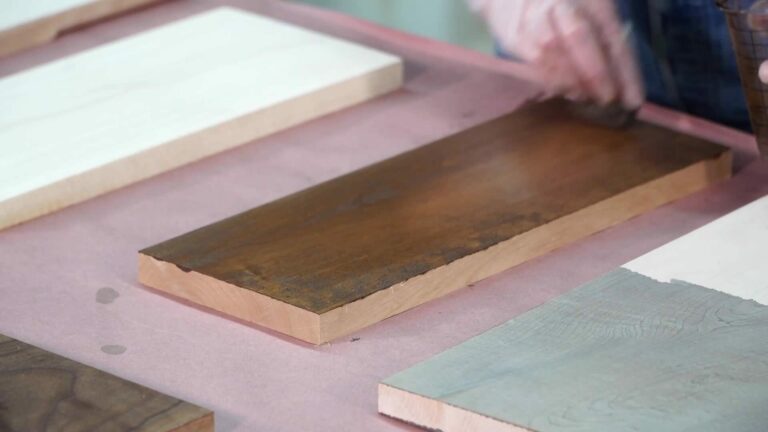
Cover your tracks. The affected board will now be narrower than the other components in the frame, so those pieces will need to be sanded flush with the board that you have modified.
There are several tips for making perfect miter cuts, and it’s great when perfection can happen, but for the odd situation where a gap is created it’s nice to know that there is a quick fix that can be applied and nobody will know.
Share tips, start a discussion or ask one of our experts or other students a question.
Already a member? Sign in
One Response to “How to Stretch Mitered Pieces”
Explore videos by George Vondriska


You may be interested in

Premium Membership
Unlock exclusive member content from our industry experts.
- 24/7 Access to Premium Woodworking Videos, Projects, and Tips
- Step-by-Step Instructional Demos, Plans, and Tutorials
- 50% Off Video Downloads Purchased in the Woodworkers Guild of America Shop
- 2 Printable Woodworking Plans
Unlock exclusive member content from our industry experts.
- 24/7 Access to Premium Woodworking Videos, Projects, and Tips
- Step-by-Step Instructional Demos, Plans, and Tutorials
- 50% Off Video Downloads Purchased in the Woodworkers Guild of America Shop
- 2 Full-Length Video Downloads to Watch Offline
- 2 Printable Woodworking Plans
Gold Membership
$370 Value
Get everything included in Premium plus exclusive Gold Membership benefits.
- 24/7 Access to Premium Woodworking Videos, Projects, and Tips
- Step-by-Step Instructional Demos, Plans, and Tutorials
- 8 Full-Length Video Downloads to Watch Offline
- 3 Full-Length Woodworking Classes to Keep for Life
- 7 Printable Woodworking Plans
- Discounts on Purchase-to-Own Content in the Woodworkers Guild of America Shop
- Access to Ask the Expert Program
- Exclusive GOLD LIVE Streaming Events
I am finish carpenter job