
How to Make a Planter Box
George VondriskaHere’s a great way to green up your patio, backyard, deck or any other outdoor space. Build a couple of these planter boxes, and a potted plant, and you can place the box anywhere you want. Here’s a warning; plan on making a bunch of these. When people see them, EVERYONE will want one. This is a simple project, but it will teach you a lot of great woodworking tips.
Material
Since these will be living outside (they are planter boxes after all) you should choose a material can readily live outside. We use cedar for the planter boxes made in the video, but here are some alternative choices: white oak, ipe, mahogany. You can use other materials if you’re careful about sealing the wood to protect them from the weather.
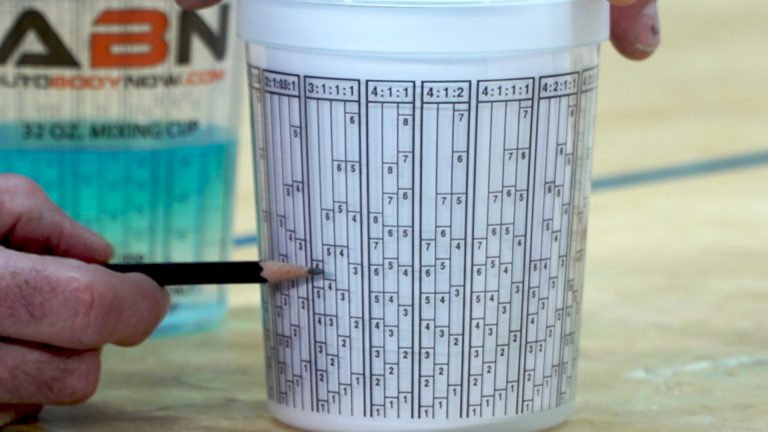
Glue
Since the planter box will be outside it’s important to choose the right glue. One choice would be Titebond II, and another would be Titebond III. Either choice will give you the protection you need to insure the bonds you create stand up.
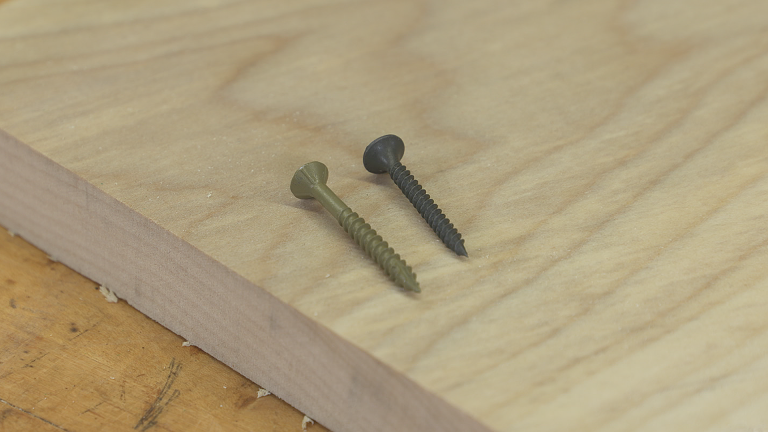
Fasteners
We have a theme going. This project will live outside, so be careful about choosing your fasteners. Anything that can be used on a deck can be used on this project. It’s important that the fasteners are coated so they don’t start to rust and stain the material. Even if you’re painting the complete project, you need to use coated fasteners.
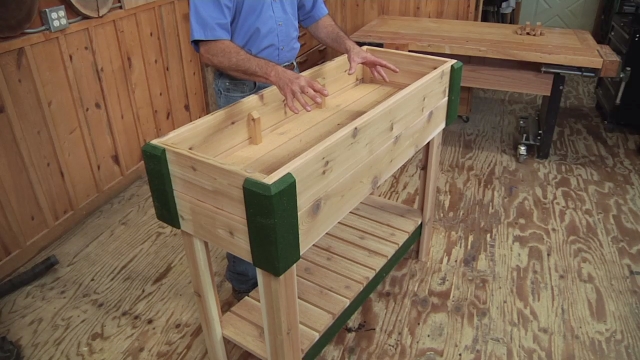
Another planter
Here’s a project we’ve designed that’s very popular; a standing planter box. This works great for flowers, vegetables, and more. The planter is about waist high, so there’s no bending to do your gardening.
And…
Not every project needs to be an outdoor project. We’ve got more woodworking projects for you to choose from.
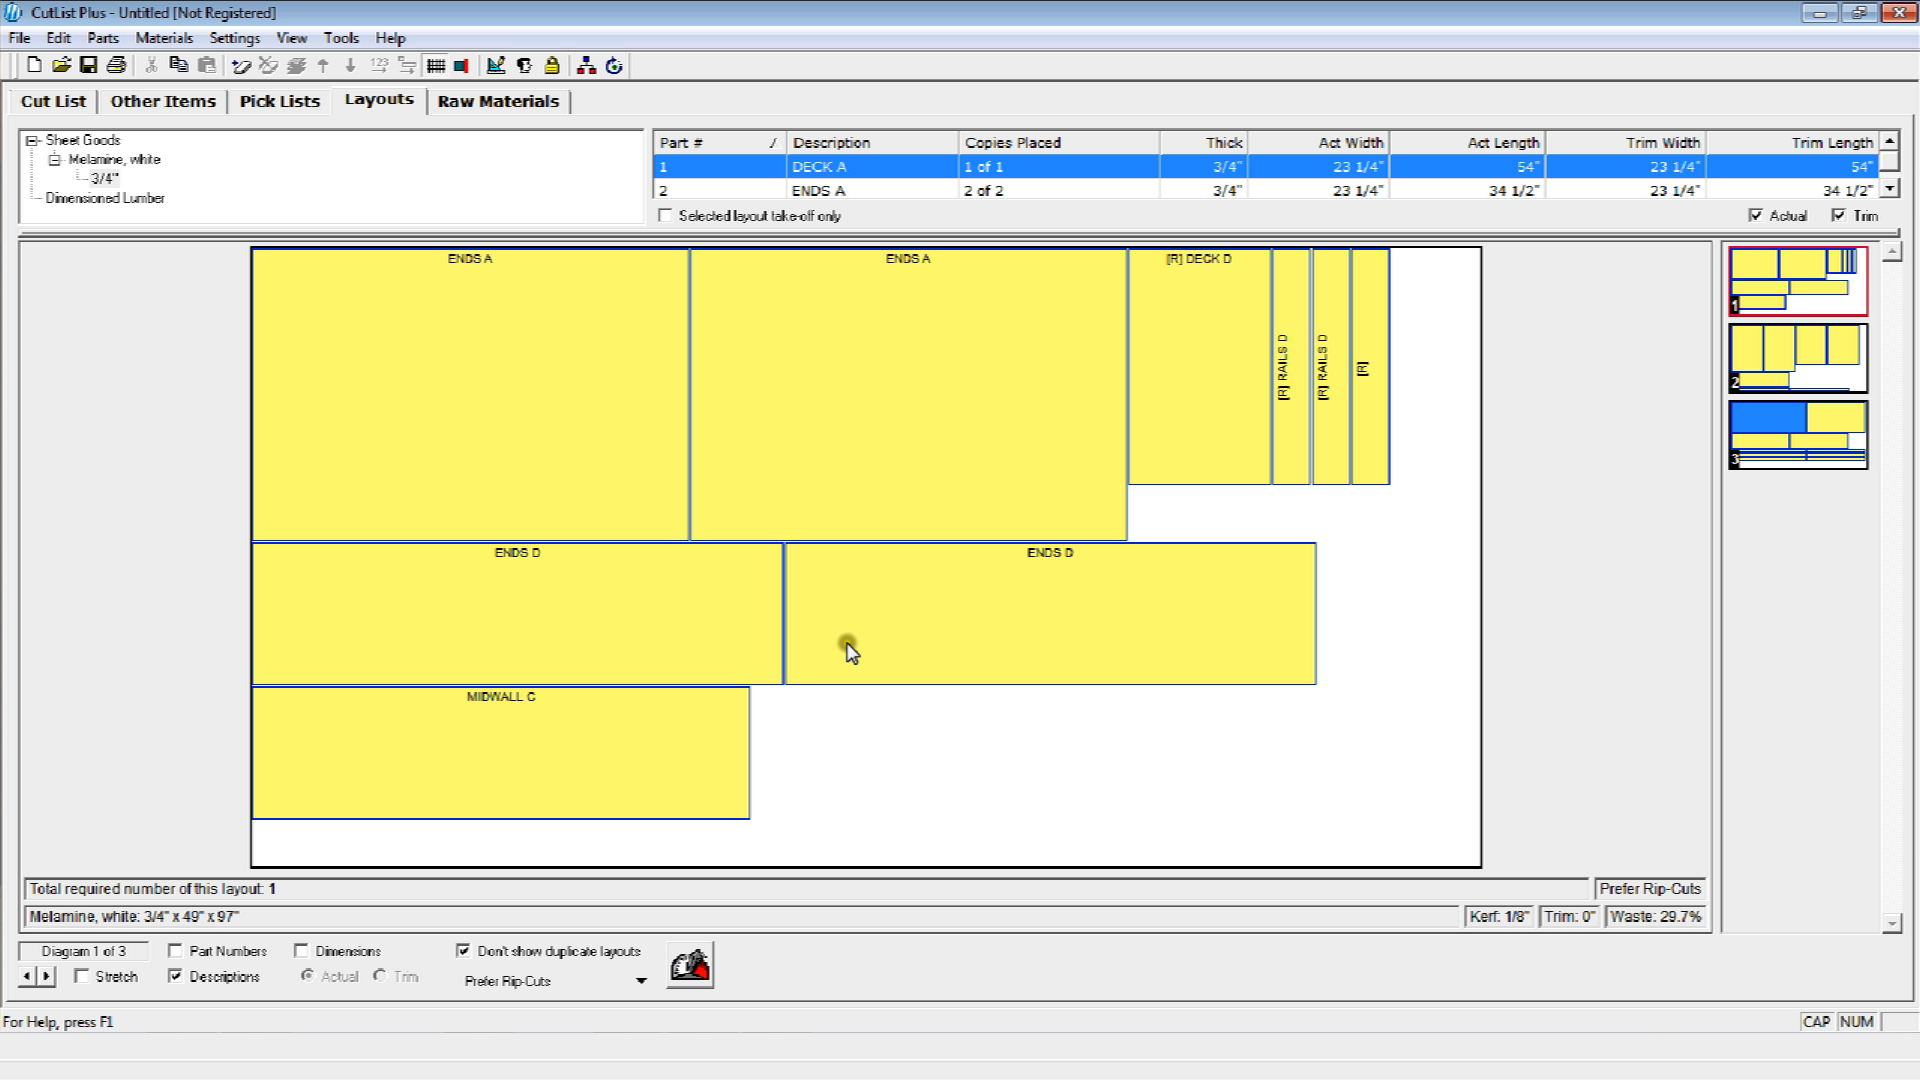
Download the cut list here
Share tips, start a discussion or ask one of our experts or other students a question.
Already a member? Sign in
12 Responses to “How to Make a Planter Box”
Explore videos by George Vondriska


You may be interested in


Premium Membership
Unlock exclusive member content from our industry experts.
- 24/7 Access to Premium Woodworking Videos, Projects, and Tips
- Step-by-Step Instructional Demos, Plans, and Tutorials
- 50% Off Video Downloads Purchased in the Woodworkers Guild of America Shop
- 2 Printable Woodworking Plans
Unlock exclusive member content from our industry experts.
- 24/7 Access to Premium Woodworking Videos, Projects, and Tips
- Step-by-Step Instructional Demos, Plans, and Tutorials
- 50% Off Video Downloads Purchased in the Woodworkers Guild of America Shop
- 2 Full-Length Video Downloads to Watch Offline
- 2 Printable Woodworking Plans
Gold Membership
$370 Value
Get everything included in Premium plus exclusive Gold Membership benefits.
- 24/7 Access to Premium Woodworking Videos, Projects, and Tips
- Step-by-Step Instructional Demos, Plans, and Tutorials
- 8 Full-Length Video Downloads to Watch Offline
- 3 Full-Length Woodworking Classes to Keep for Life
- 7 Printable Woodworking Plans
- Discounts on Purchase-to-Own Content in the Woodworkers Guild of America Shop
- Access to Ask the Expert Program
- Exclusive GOLD LIVE Streaming Events
what is the difference between the two drills? and what basic tools do I need to get started?
Thanks for a great project. I am sure many variations are possible. To use a 12" pot so there needed to be some size adjustments. Make the frames and sides 13 1/4" long. The each side can be identical with no need for the wider side piece. Start with one side piece aligned with each corner on all four sides. Then add the next side pieces aligned with the edge of the first four side pieces. The remaining space on each side will fit two side pieces with the intended gaps. Then adjust the trim and top as needed to match the new dimensions.
I've got to ask the sign behind u how do u read it lol is it a verse out the Bible?? How is it read because it make no sense I'f u read it
The dimensions given do not make mathematical sense. The length of the individual frame pieces must be at least equal to 4 times the width of the smaller side piece plus 3 times the desired gap less the the thickness of the material, i.e. if the side piece is 3 1/2", the desired gap 1/2" and the material thickness 3/4", then the length of the frame would be 14 3/4" and not the 12 1/2" shown. Similarly if the desired gap is 1/4" then the frame length would equal 14". You have given the frame dimension as less than 4 times the side width: which is impossible.
Ok, I'm a little lost here. The cut list for the Frames makes each frame piece 12 1/2 inches long so each side then would be 12 1/2 PLUS the thickness of the adjoining side which is 3/4 inches for a total side length of 13 1/4. If I lay 4 1X4's edge to edge along the side I have 14 inches in width. If I move the two end boards out 3/4 of an inch to overlap the edges of the next side I end up with 12 1/2 inches of edge t edge boards along a side that is 13 1/4 inches long. So I have room for 1/4 inch of spacing between those boards. I the video it appears that George has about twice that much of a gap. Am I mis-reading something here? Or have the dimensions been changed since the video?
If you put a 4 ft whip hose on your stapler, it would be a lot easier to get into tight spots like that box.
What is the bit you used to pre-drill also size? Please and thank you
The cut list shows 20 - 3 1/2” sides. Shouldn’t there be 24?
On the download, what is the second cut list for? Single planter? I bought enough material for the second cut list set the intention of only building one planter. Do I have the correct cut list?
Hi .. I downloaded the cut list, but where are the plans? thank you