George Vondriska

Gluing Up a Hollow Column

George Vondriska
Duration:   9  mins

Description

Gluing up a column, or any multi-sided object, can be a challenge. Getting uniform clamping pressure isn’t easy, unless you use just the right clamp. The key to good (and easy) clamping on multi-sided objects is using a strap clamp. Strap clamps allow you to completely wrap the object, getting perfectly uniform pressure from every direction.

Sequence matters

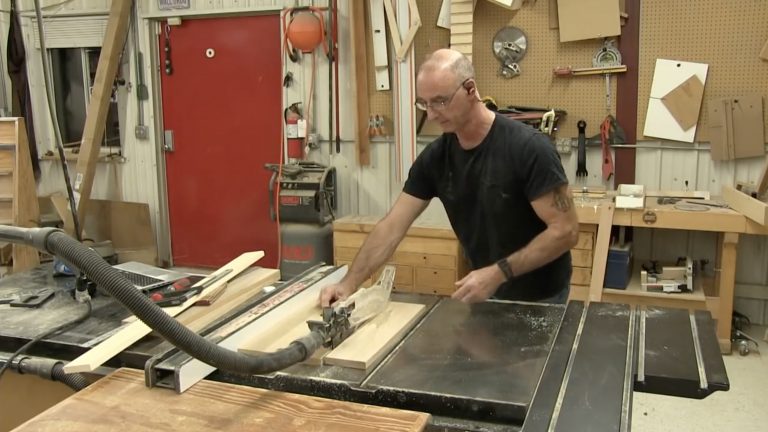
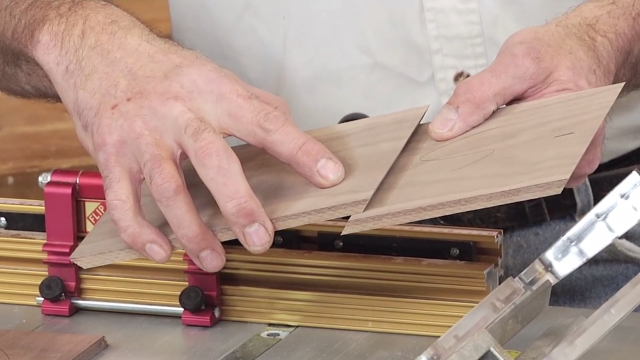
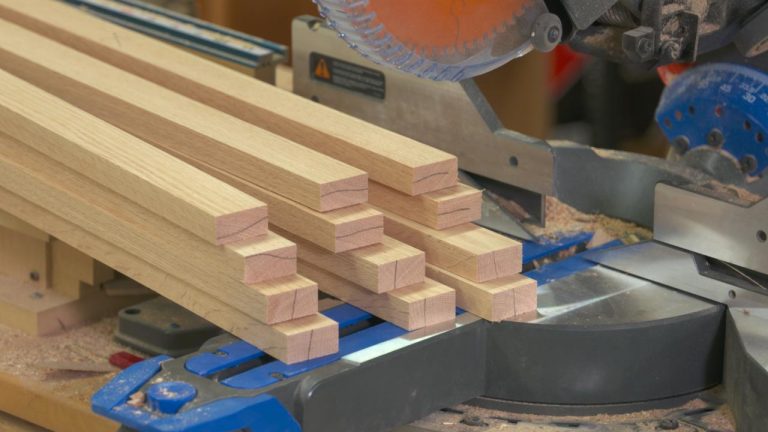
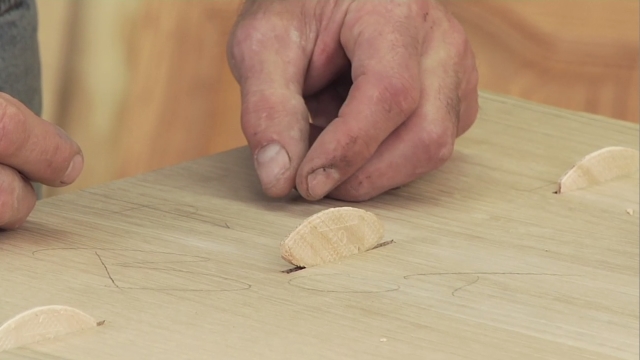
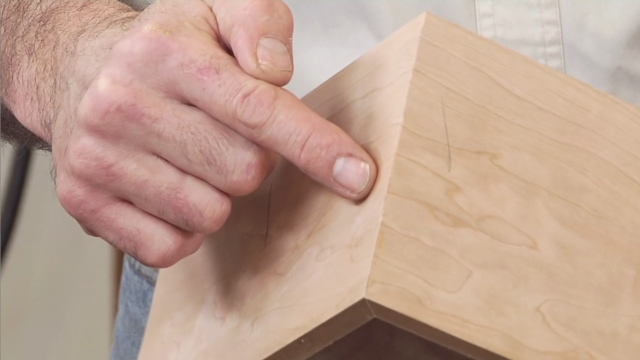
When you make a column the order of operations is really important. Don’t try to assemble the entire column at one time. Put each half of the column together and, after the glue is dry, flatten the remaining faces. This guarantees that the two faces will line up, even if you missed slightly when cutting the angles on all those parts. Think about it; if you miss each angle you cut by only a tiny bit, there’s no way the column will go together. Following the procedure we’ve outlined for you here, and using the right clamps, will make assembly a lot easier.

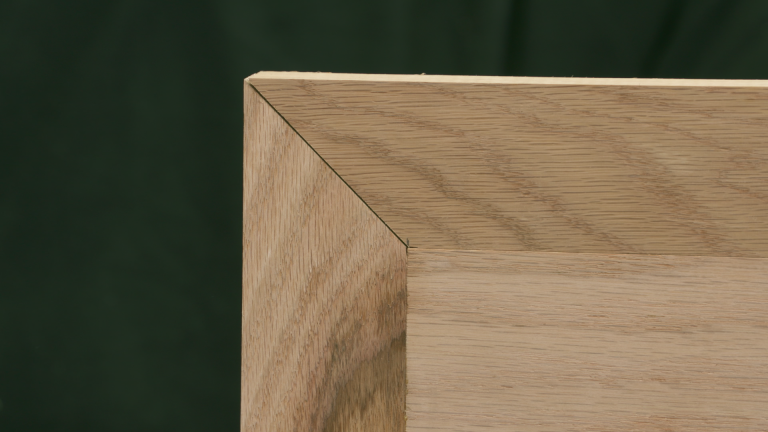
Strap clamps are great for putting mitered frames together, too. We can apply the same idea of uniform pressure to picture frames. The best way to pull the miters together is to pull on all four of them at the same time. Strap clamps excel at this.

General assembly tips

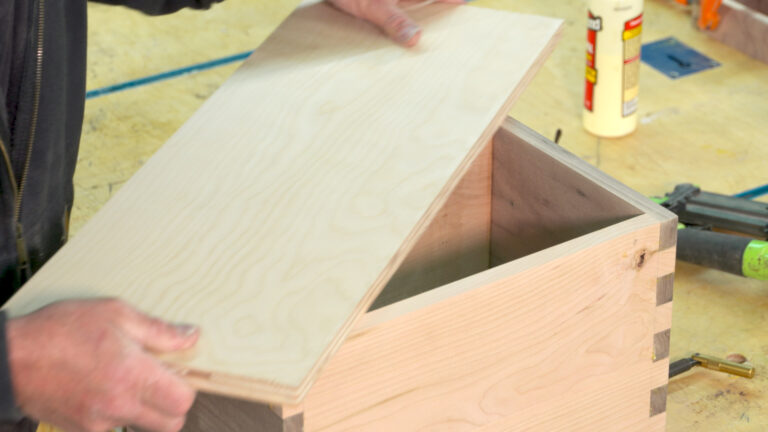
There aren’t many projects that go together without gluing and clamping. Whether you’re assembling a cabinet carcase, cutting board, table, or doing a panel glue-up, WWGOA has lots of tips and tricks to make it go better.

More info

For more information on Bessey’s Strap Clamps, visit their website.

Share tips, start a discussion or ask other students a question. If you have a question for the instructor, please click here.

Make a comment:
characters remaining

5 Responses to “Gluing Up a Hollow Column”

  1. Laura Fairweather

    If you were to use this wood column outdoors, is outdoor glue enough to keep it held it together? If not, what would you suggest to fasten the sides? I'd prefer it is not visible. Thanks!

  2. Jim

    Where do you purchase the adhesive sandpaper roll used in this video?

  3. Paul Samarin

    You're a great explainer, generally, but I think you might want to edit in a graphic advising to sand *both* halves flat. It should be obvious, of course, but some might not get it. Thanks for all the vids.

  4. CHRIS

    Strap clamps... 2nd least favorite tool in the shop. Evil necessity. :D Cheers, Chris.

  5. Bart Steven Goldberg

    I would question the use of tape for "clamping" the two half sections, then using the band clamps at the end. You won't get the needed clamping pressure from just the tape. I would consider using either splines or dominos on those joints to ensure they are strong.

If you're making something like a plant stand a great way to make a column for a piece of furniture like that is not from one solid piece, but by gluing up a hallow column. In this case, this is a hexagon made out of cedar. We're gonna make one out of oak. And what I want to talk about here is some tricks to making this go a little bit easier. There are a few things going on.

One, we're gonna talk about a very specific style of clamp that makes putting this together really, really, really simple. We're also gonna look at a specific procedure of events, order of operations here that makes this a lot easier. So first step, I've already got the blade on my table saw set to the right spot, right angle. And what I'm gonna do is just start ripping the six pieces I need for this project, and then we'll look at assembly. Let's head over to the gluing table and I'll give you some tricks to make this a whole lot easier to put together.

Order of operations, so that's about doing stuff in the right sequence to make your life easier, and make this come out well. Here's the thing to think about: just made a lot of cuts on the table saw, and in order for this to be a hexagon those cuts need to be at 30 degrees. Lets say every cut is at 29.9 or 30.1. Tiny, tiny, tiny bit of variation. If that's the case, when I close this, it's not gonna close.

The joints won't be right. So this is what's important: we need to do this in halfsies, and when we get ready to close everything, strap clamps are what's gonna really make this work because they're a great way to get uniform pressure on everything at one time. First step, we're gonna lay these out, knife edge to knife edge, and use masking tape simply as a hinge so that we can flip them over and make it easy to put this stuff together. Same thing is gonna happen to these three but let's go through this first half. Carefully flip this - there, cool.

Now, no glue on the outside boards. And get some tape ready. 'Cause now what we'll do is we'll just close this half and bridge that. So here's what's happening: because of the way that we've hinged this on the other side with the masking tape, and the way that we're pulling it together now, these two seams are going to close. Even if the angles are off a little bit, the seams are gonna close.

Because we're not making a complete hexagon at this stage. Then, I'm gonna show you the trick that makes uber sure this half fits perfectly with the other half. And that's gonna be a machining step and then a clamping step to make sure everything comes together okay. Once this is done, once you have these bridges in place, these pieces of masking tape, you can then flip. And just double check your seams, see if we need to do any additional taping, like there.

Just to make sure everything's pulled tight. And then, watch glue dry. I'm gonna do the same thing to the other half. Once the glue is dry, we'll come back and look at how we end up with a perfect hexagonal column. This is part of the secret to making this work.

Let the glue dry, take the masking tape off. Now think about what we've got here. If each of those angles was off just a tiny bit, then when we go to put this half to that half they're not gonna close. So, on a nice flat surface, this bench is dead flat, my table saw is dead flat. Or, using face jointing on a jointer, what we want to do is get that bottom, these two edges, in plane with each other, we want to get those dead flat across that way.

And and easy way to do that is self-adhesive sand paper on that dead flat surface. And what we're doing is we're truing that. We're making it flat until you get to a point where we do this, and we do this. And it closes like that. Now, let me get this out of the way.

And it's got barely used, I can roll it back up and use it again. For gluing, this is where the strap clamps are really gonna earn their keep. And again, with this kind of project, what I like is getting uniform pressure wrapped all the way around the object and that's what the strap clamps are good at. Now the way this works is, with this handle I can take up most of the slack. And then, finish it with this handle.

Very cool. Now since we're talking about, these kind of clamps and uniform pressure and the benefits of that on, not round stuff, but when we want to grab all the way around something, let me show you - When I'm making frames, similar concept. Basically I find the easiest way to put this kind of thing together, just like our column, is by wrapping it. There we go. So same idea, we want to close all four miters at one time, just like we want to close that all at one time and the strap clamp is a great way to get that uniform pressure from every side.

So this came out cool. And this is gonna end up being, for me, a column on a plant stand. And easy way to do it, is to do it in sub-steps like that and then close everything off with our strap clamps.

Get exclusive premium content! Sign up for a membership now!