
Cutting a Log on a Bandsaw
George VondriskaExplore videos by George Vondriska
You may be interested in
Premium Membership
Unlock exclusive member content from our industry experts.
- 24/7 Access to Premium Woodworking Videos, Projects, and Tips
- Step-by-Step Instructional Demos, Plans, and Tutorials
- 50% Off Video Downloads Purchased in the Woodworkers Guild of America Shop
- 2 Printable Woodworking Plans
Unlock exclusive member content from our industry experts.
- 24/7 Access to Premium Woodworking Videos, Projects, and Tips
- Step-by-Step Instructional Demos, Plans, and Tutorials
- 50% Off Video Downloads Purchased in the Woodworkers Guild of America Shop
- 2 Full-Length Video Downloads to Watch Offline
- 2 Printable Woodworking Plans
Gold Membership
$370 Value
Get everything included in Premium plus exclusive Gold Membership benefits.
- 24/7 Access to Premium Woodworking Videos, Projects, and Tips
- Step-by-Step Instructional Demos, Plans, and Tutorials
- 8 Full-Length Video Downloads to Watch Offline
- 3 Full-Length Woodworking Classes to Keep for Life
- 7 Printable Woodworking Plans
- Discounts on Purchase-to-Own Content in the Woodworkers Guild of America Shop
- Access to Ask the Expert Program
- Exclusive GOLD LIVE Streaming Events
Get exclusive premium content! Sign up for a membership now!

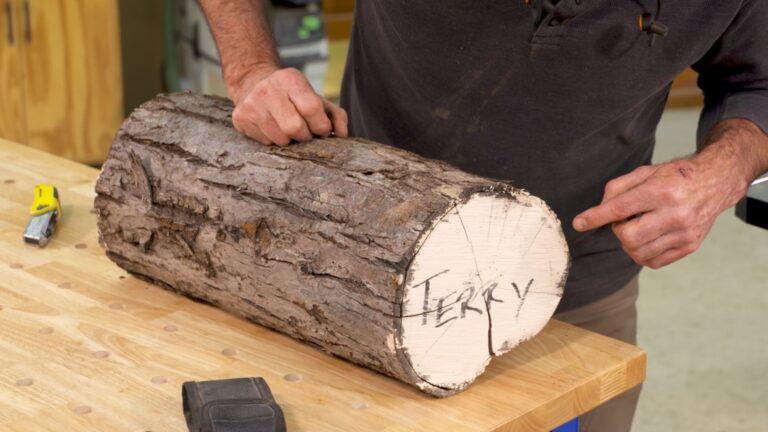


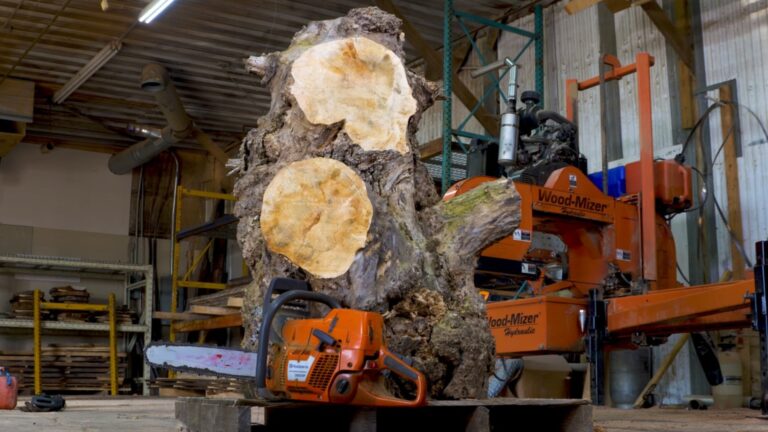




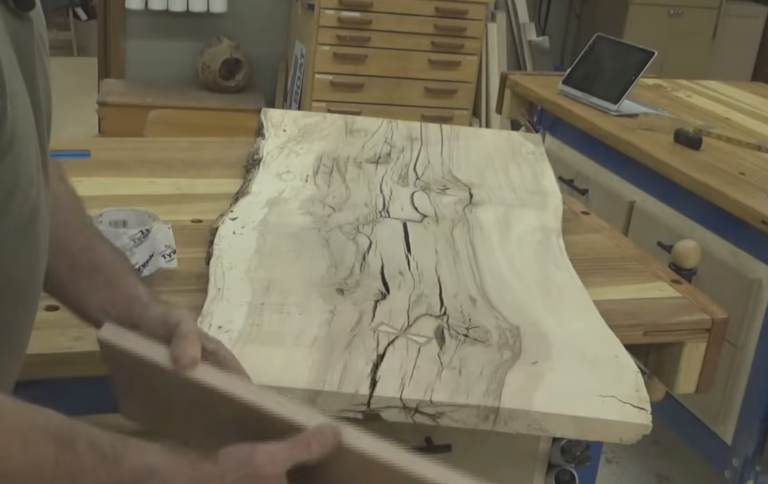



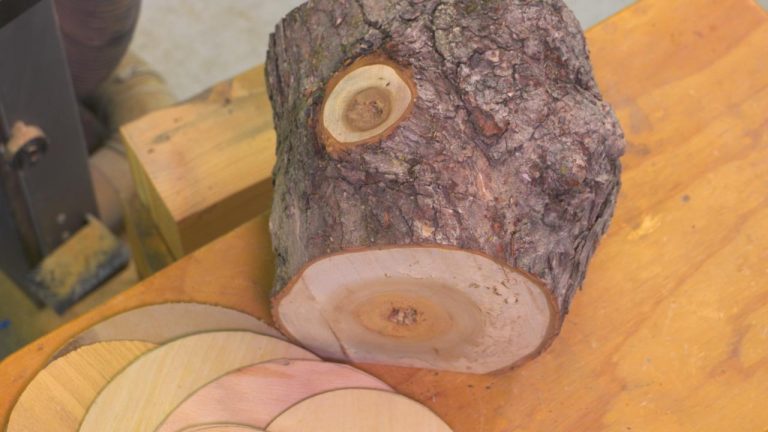
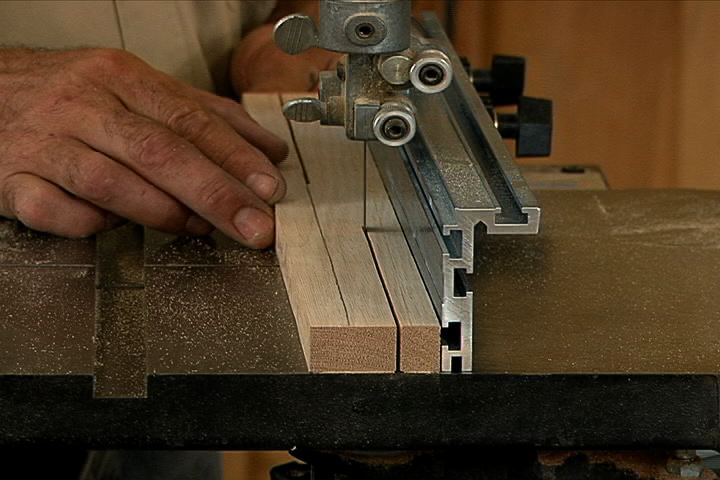

How much trouble is it going to be if the logs have been drying for a year or two? I've got some quartered mulberry trunk sections that I've been meaning to convert into usable lumber, but the "insulate the workshop area" project took longer than expected so they've been drying for about two years now...
What tooth spacing did you use?
one thing you failed to mention. before running lumber through the bandsaw, it would be wise to run a metal detector over it. nails suck.
Cutting log on bandsaw: what size blade is best to use?
How long would you let it dry before you attempted to build with it?
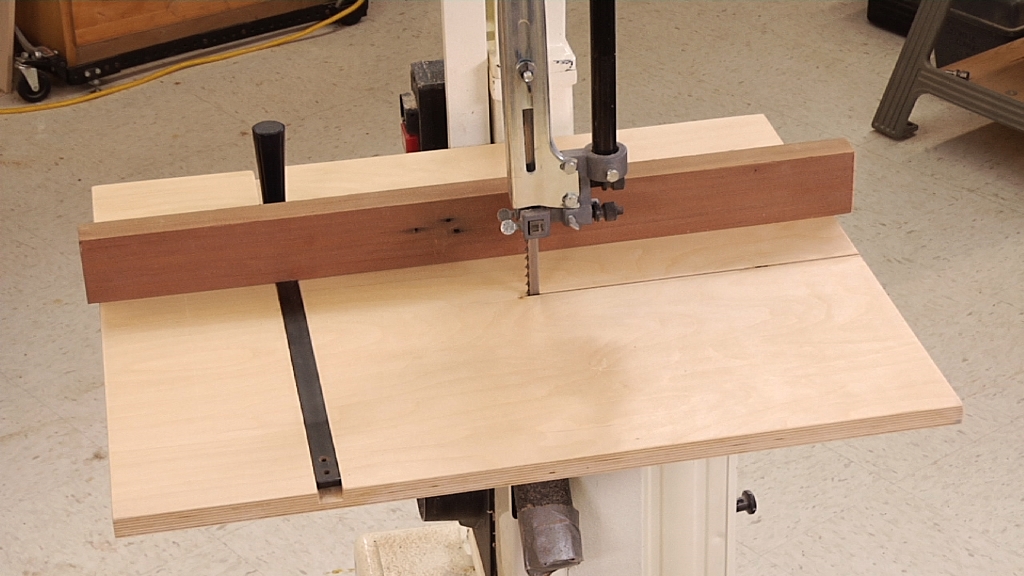
Turners need to use the bandsaw to make the initial cut you showed. The weakness in this set up is the need to follow a line by eye, which is not likely to produce a truly flat cut. The jig I made solves this problem. The base of the jig is a piece of 1/4" plywood about the size of the bandsaw table. I added a piece of hardwood on the bottom to fit into the slot on the bandsaw table so it would run dead straight. This was done so the plywood just reached the throat of the bandsaw. I then ran the plywood through the bandsaw about half way. I then made some upright pieces perpendicular to the bandsaw cut, 2-3 at most, to each side of the plywood. I then cut a few (equal to the number of uprights) pieces with an angle (say 45 degrees) at one end. To use this, I pull the plywood jig almost out past the blade, place the log up against the blade and passing through the pith, and add the front two loose pieces so the angle cradles the front of the log in place. Then I go to the back of the log draw a line perpendicular to the table up through the pith on that end, and place the back two angle pieces to cradle the back end of the log. Now as I run this through the bandsaw, it will be just where I want it down the pith, and dead flat (provided the blade doesn't have much drift). When I store this jig, I place a small piece of wood with a groove equal to the thickness of the plywood, over the opening cut in the plywood, so it says flat. (Very hard to describe this only in words -- sorry) Gordon