
Cove Cut on the Table Saw
George VondriskaLet’s say you’re working on a project that requires some cove molding, and your lumber yard doesn’t carry the size that you need. Or maybe you are using an unusual species such as honey locust that you cut down from your neighbor’s yard one evening, and there’s no way that you will find cove molding available that was milled from that species. Right at that point you will be wishing that you had a molding machine, but you don’t want to spend $3,000 just to produce a few sticks of cove molding. What can you do?
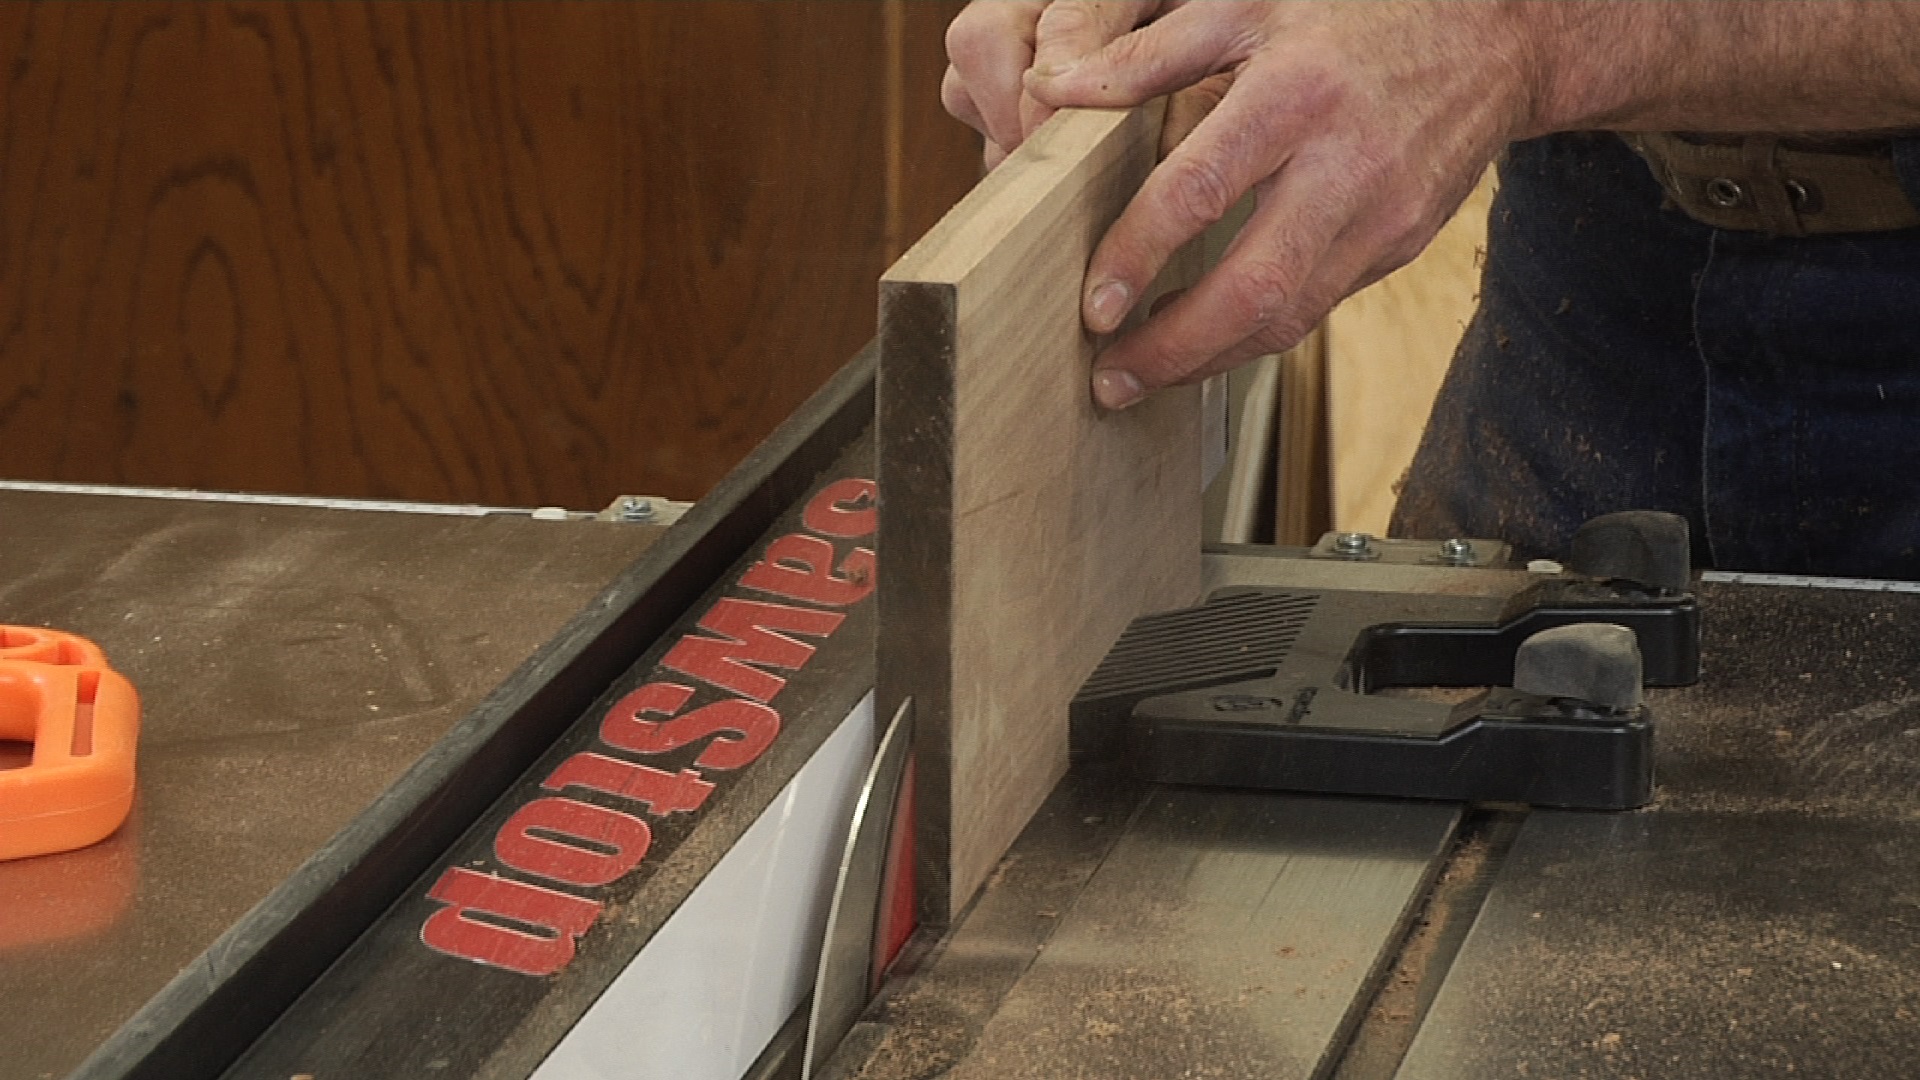
You can actually cut cove molding right on your table saw, and it’s not as difficult as it might sound. To mill your own cove molding on a table saw, you will:
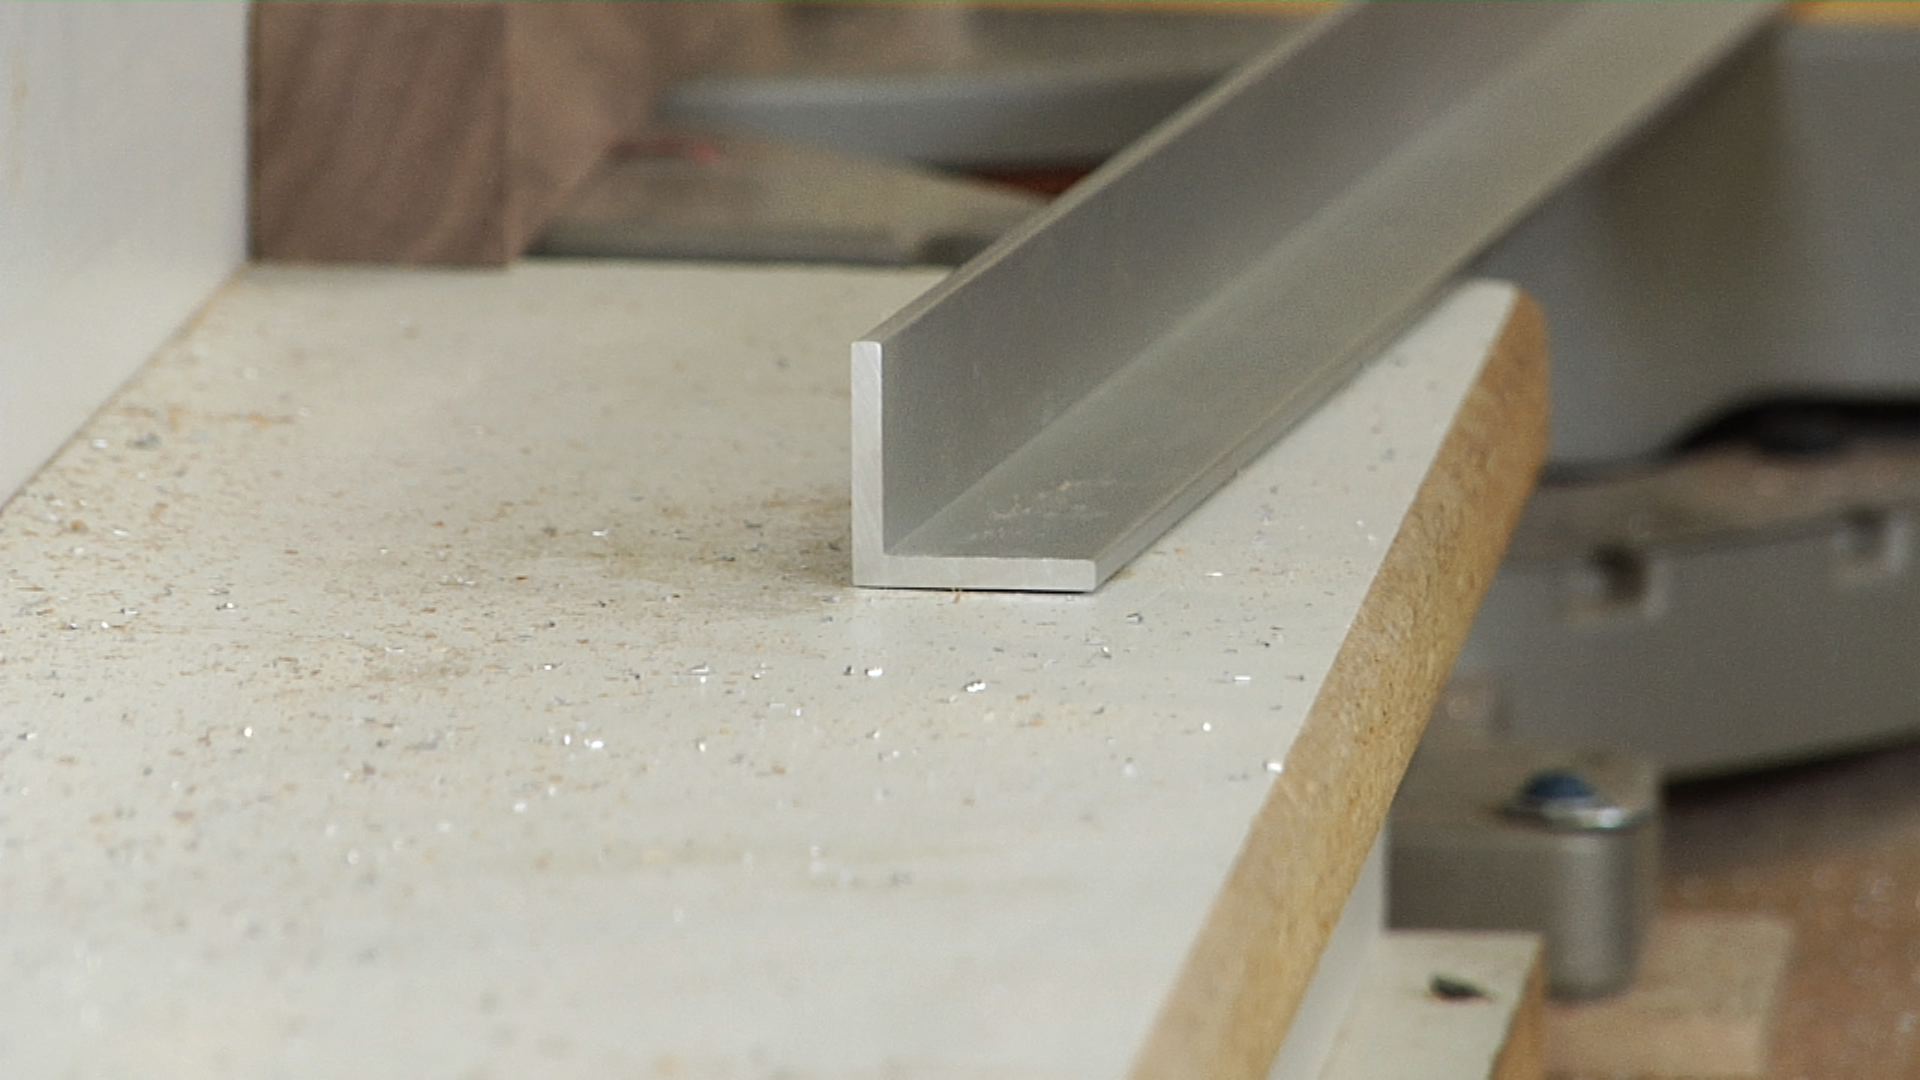
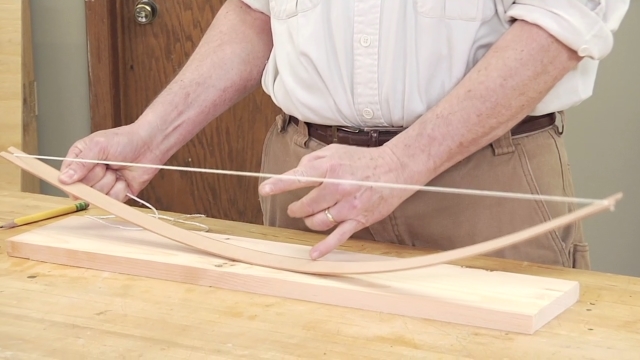
Make a special fence. Following the guidelines that George shares in the video, make a special fence for your table saw that will be used to make cove molding.
Determine the specifications of your molding. You’ll need to establish the width of the molding as well as the depth of the cove before proceeding.
Configure the fence and saw for your molding. Using the size that you determined, install the fence securely and determine the starting height for the blade.
Make gradual passes. Feeding the blank at a slow, steady pace, make your cuts. Raise the saw blade gradually as you proceed through the cuts. If you rush, you will degrade the cut quality and create more sanding for yourself later, so take your time here.
This is an advanced table saw technique, and caution is advised. As a starting point you will want to be very familiar with safe operating procedures for a table saw, and have a good comfort level with the tool before taking on this technique.
Explore videos by George Vondriska


You may be interested in


Premium Membership
Unlock exclusive member content from our industry experts.
- 24/7 Access to Premium Woodworking Videos, Projects, and Tips
- Step-by-Step Instructional Demos, Plans, and Tutorials
- 50% Off Video Downloads Purchased in the Woodworkers Guild of America Shop
- 2 Printable Woodworking Plans
Unlock exclusive member content from our industry experts.
- 24/7 Access to Premium Woodworking Videos, Projects, and Tips
- Step-by-Step Instructional Demos, Plans, and Tutorials
- 50% Off Video Downloads Purchased in the Woodworkers Guild of America Shop
- 2 Full-Length Video Downloads to Watch Offline
- 2 Printable Woodworking Plans
Gold Membership
$370 Value
Get everything included in Premium plus exclusive Gold Membership benefits.
- 24/7 Access to Premium Woodworking Videos, Projects, and Tips
- Step-by-Step Instructional Demos, Plans, and Tutorials
- 8 Full-Length Video Downloads to Watch Offline
- 3 Full-Length Woodworking Classes to Keep for Life
- 7 Printable Woodworking Plans
- Discounts on Purchase-to-Own Content in the Woodworkers Guild of America Shop
- Access to Ask the Expert Program
- Exclusive GOLD LIVE Streaming Events