
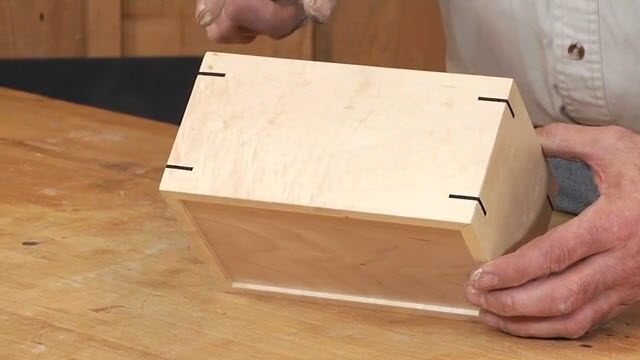
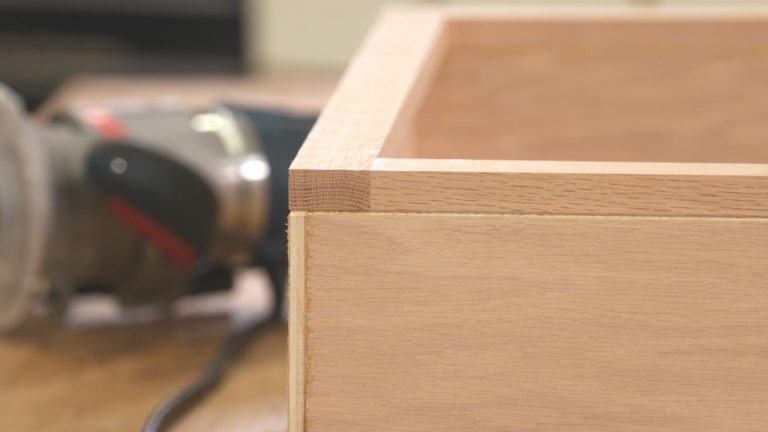
Creating a Waterfall Miter Joint
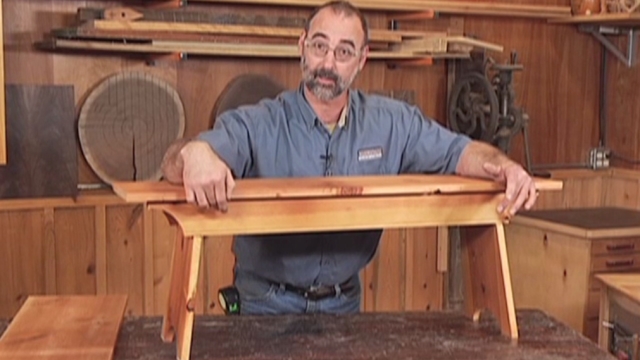
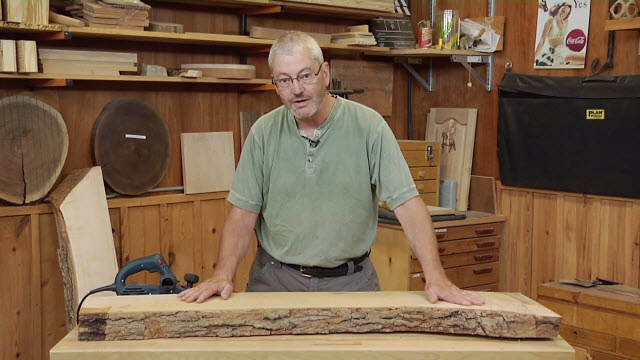
George VondriskaSlab tables are all the rage these days, and everyone wants to build one for themselves. And once you have one of your own, you’ll be getting lots of request to build more. From a woodworking perspective waterfall tables are a pretty straightforward project, but they do require that you execute a tight waterfall miter joint. A waterfall miter joint is a joint on a slab table that allows the grain to flow right through the joint, giving the appearance of a seamless waterfall. Creating a nice tight waterfall miter joint can be tricky, so you’ll want to put the effort into learning how to do this well.
Building and assembling a waterfall table miter joint can be done by following a few simple steps:
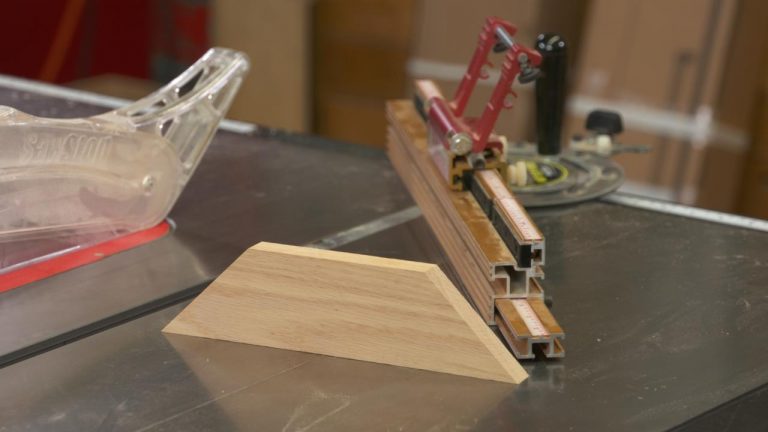
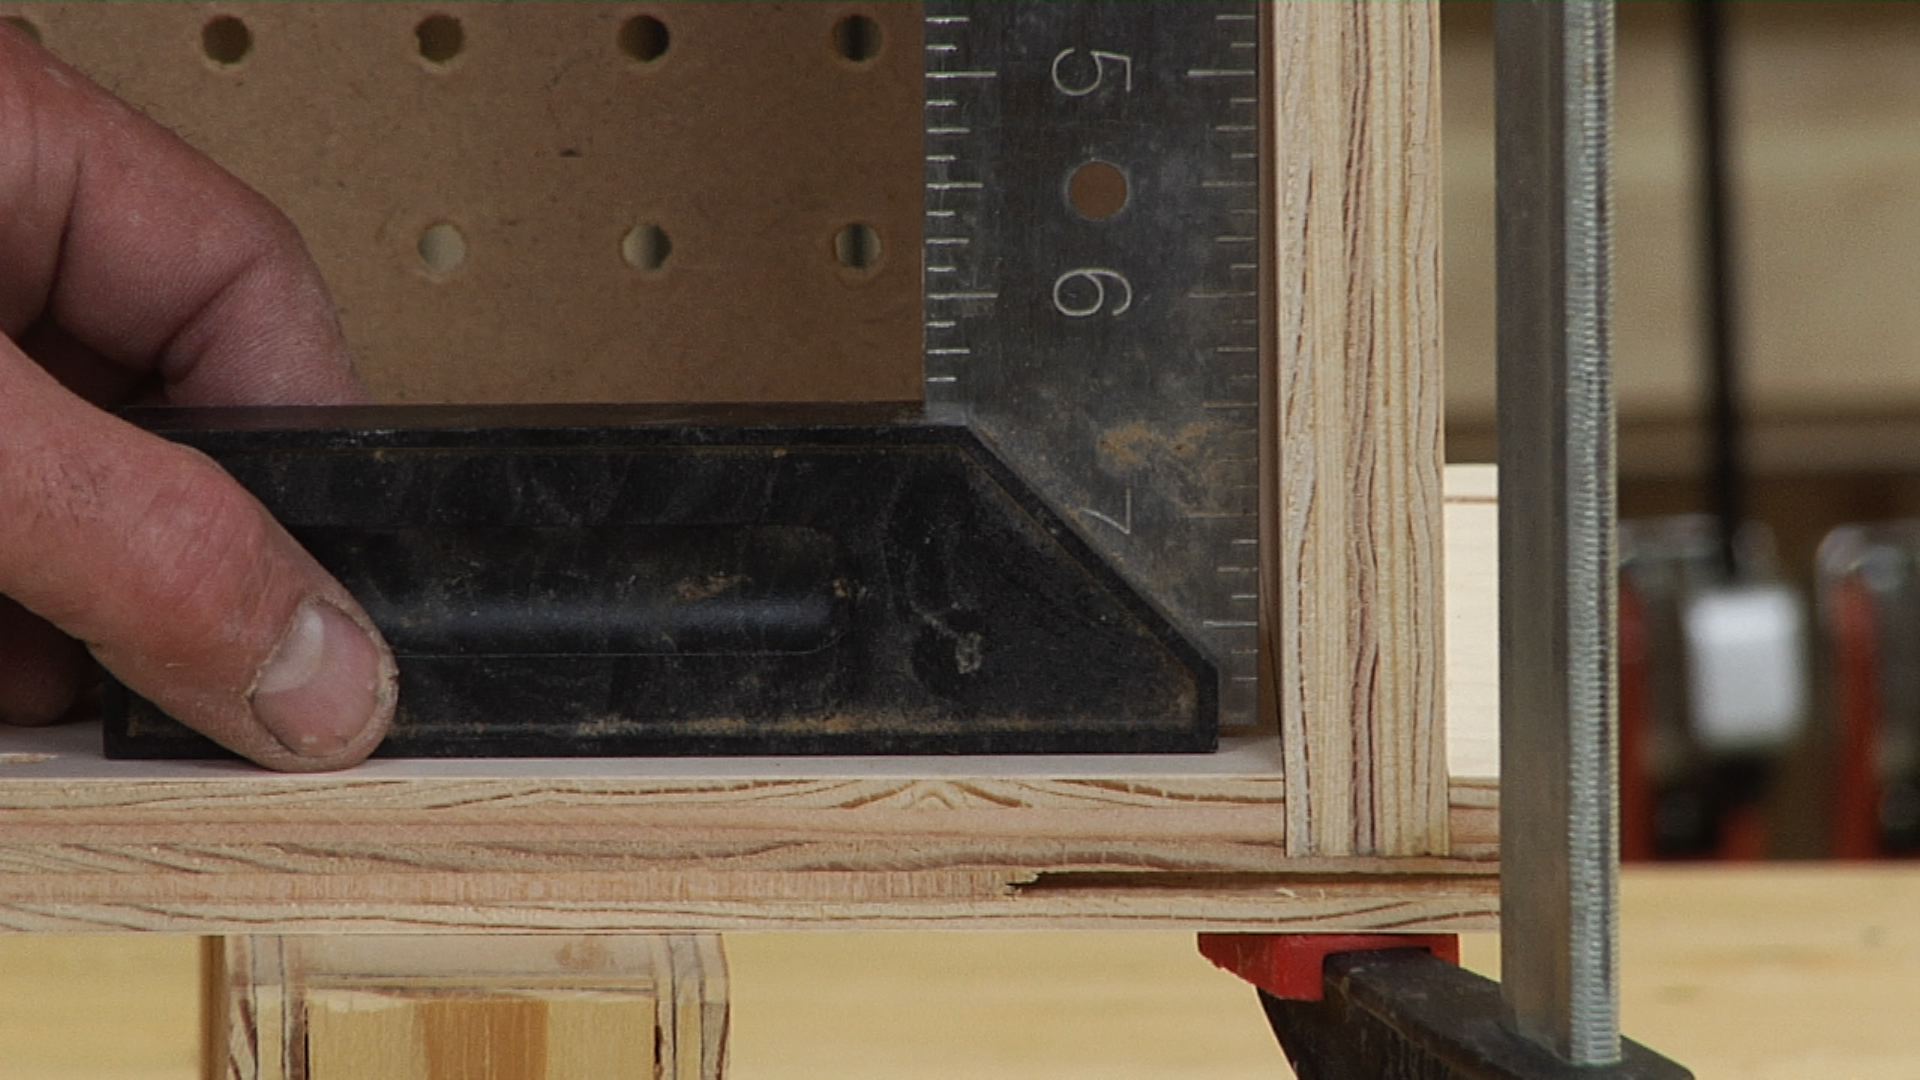
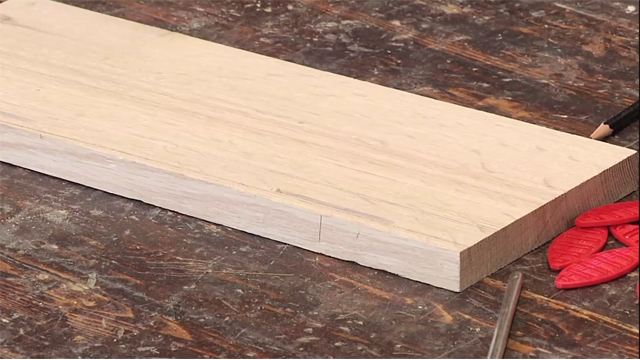
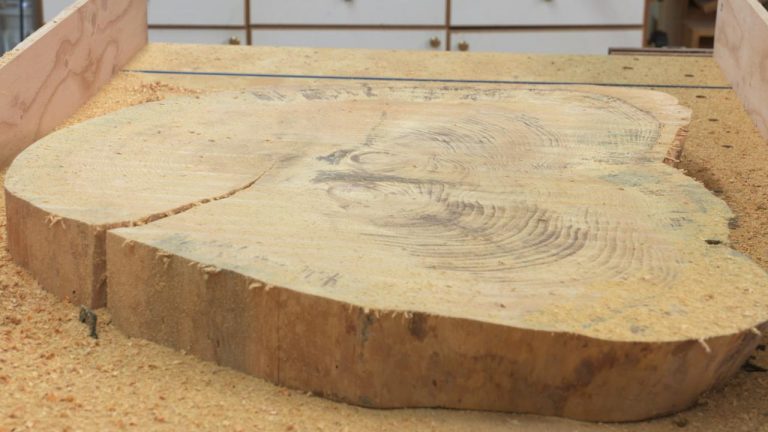
Determine your center line. It can be tricky to make parallel cuts on a slab that has two live edges, so it is important to establish a straight line that will become your center line. From there you can use a square to draw parallel end cut lines.
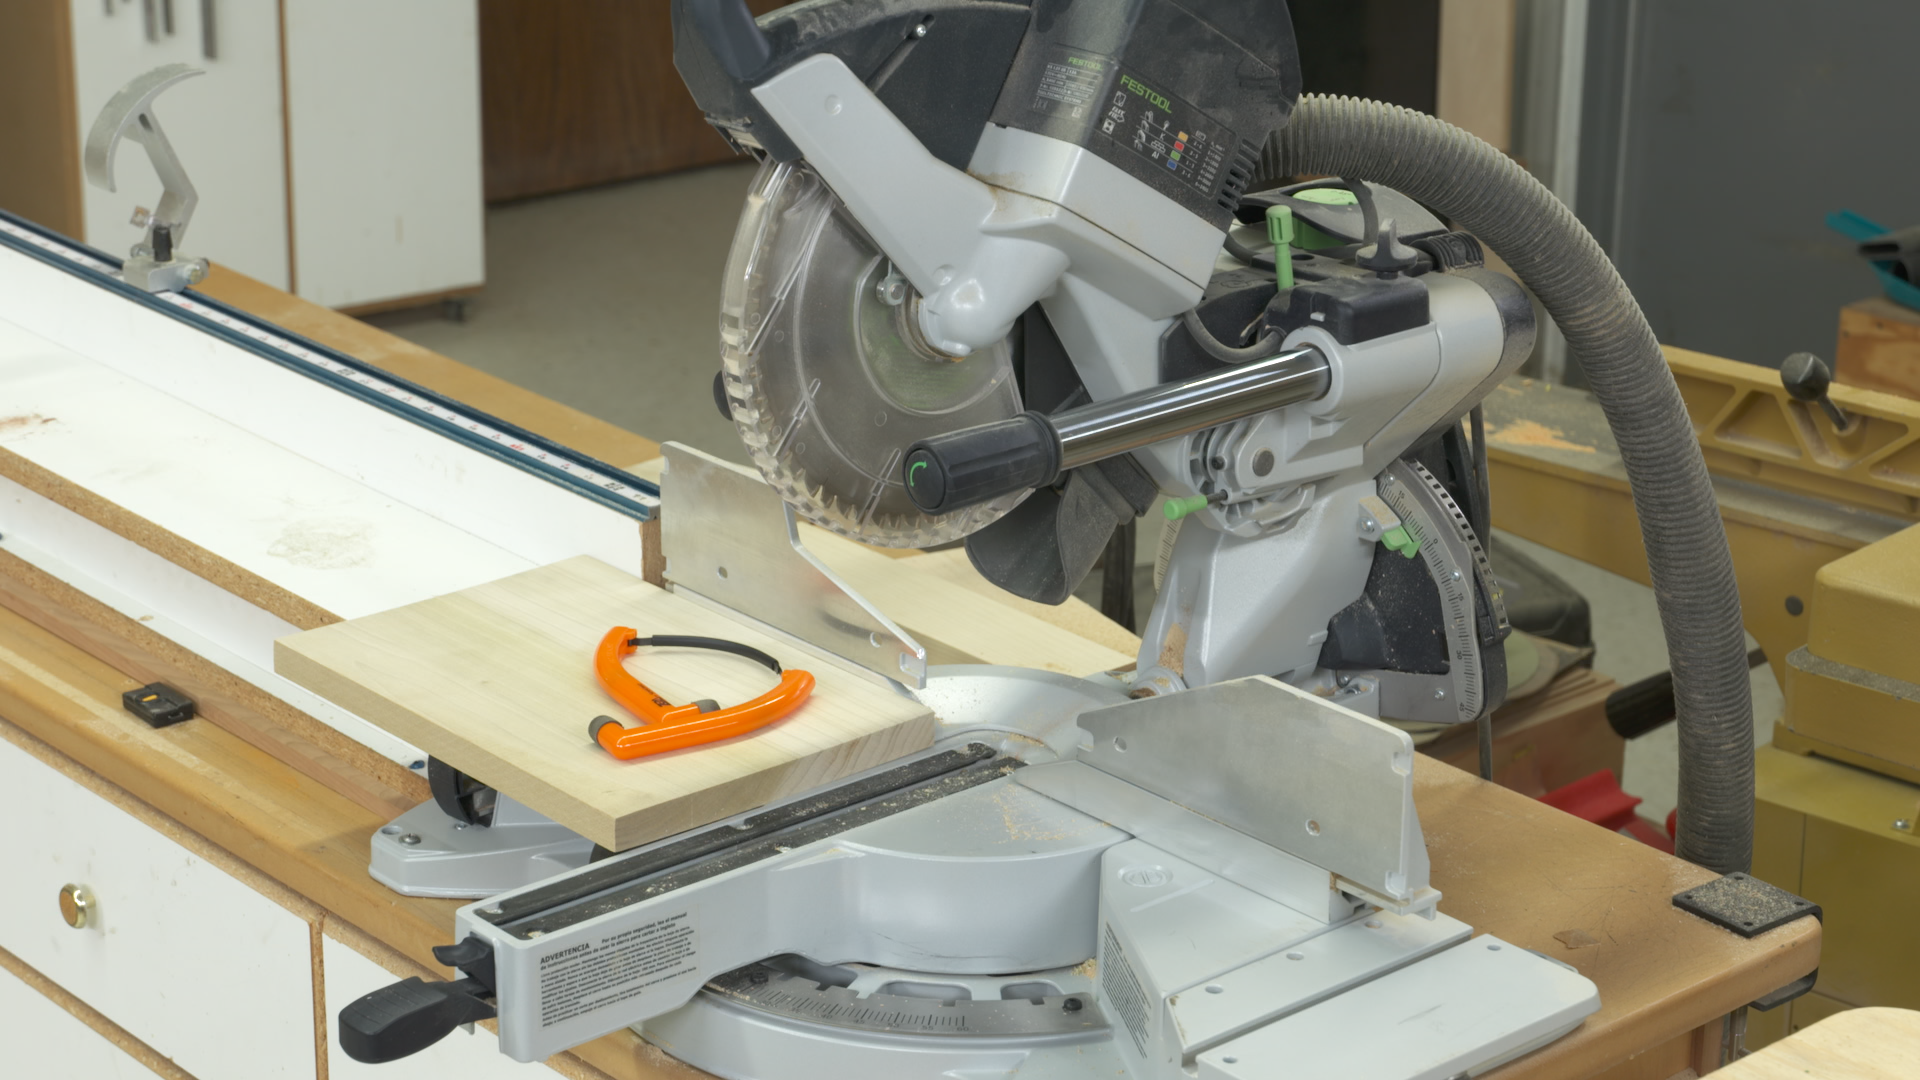
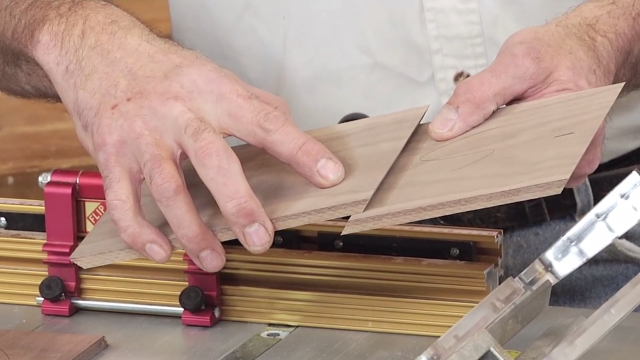
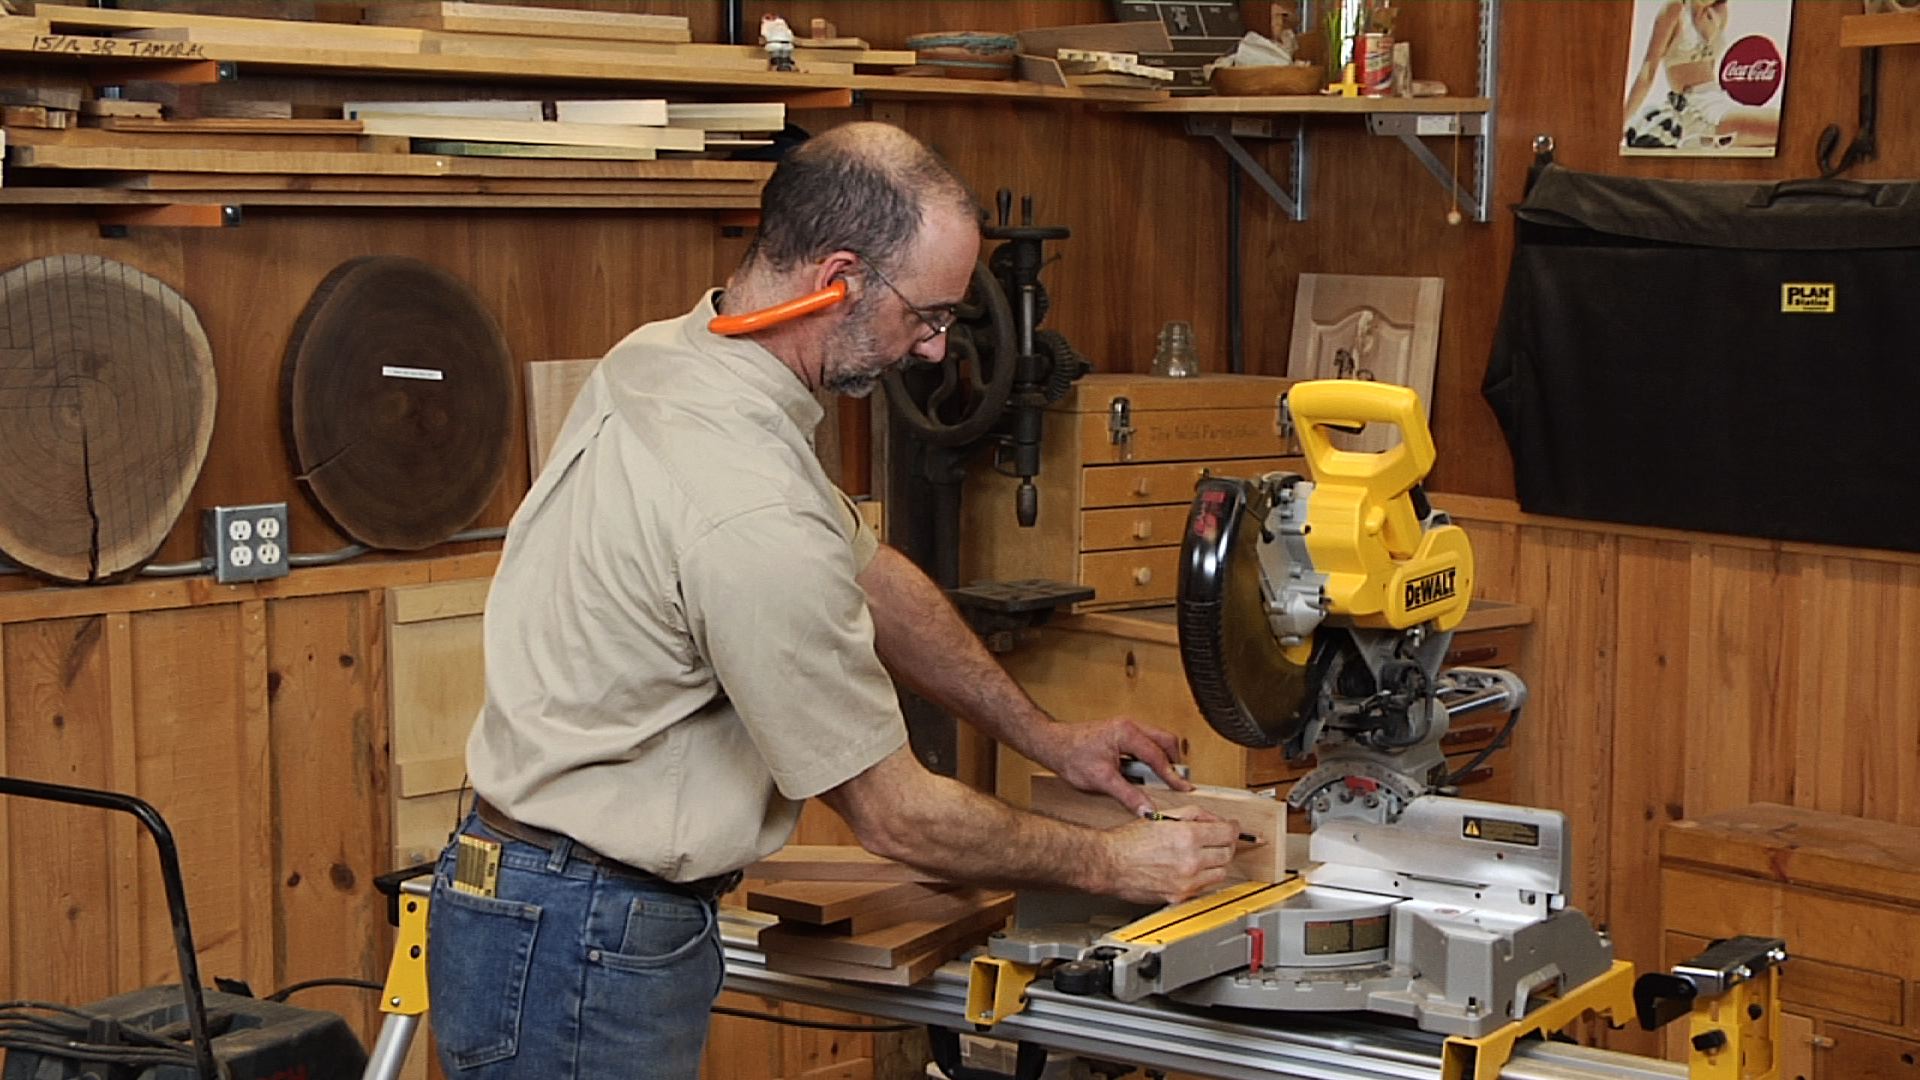
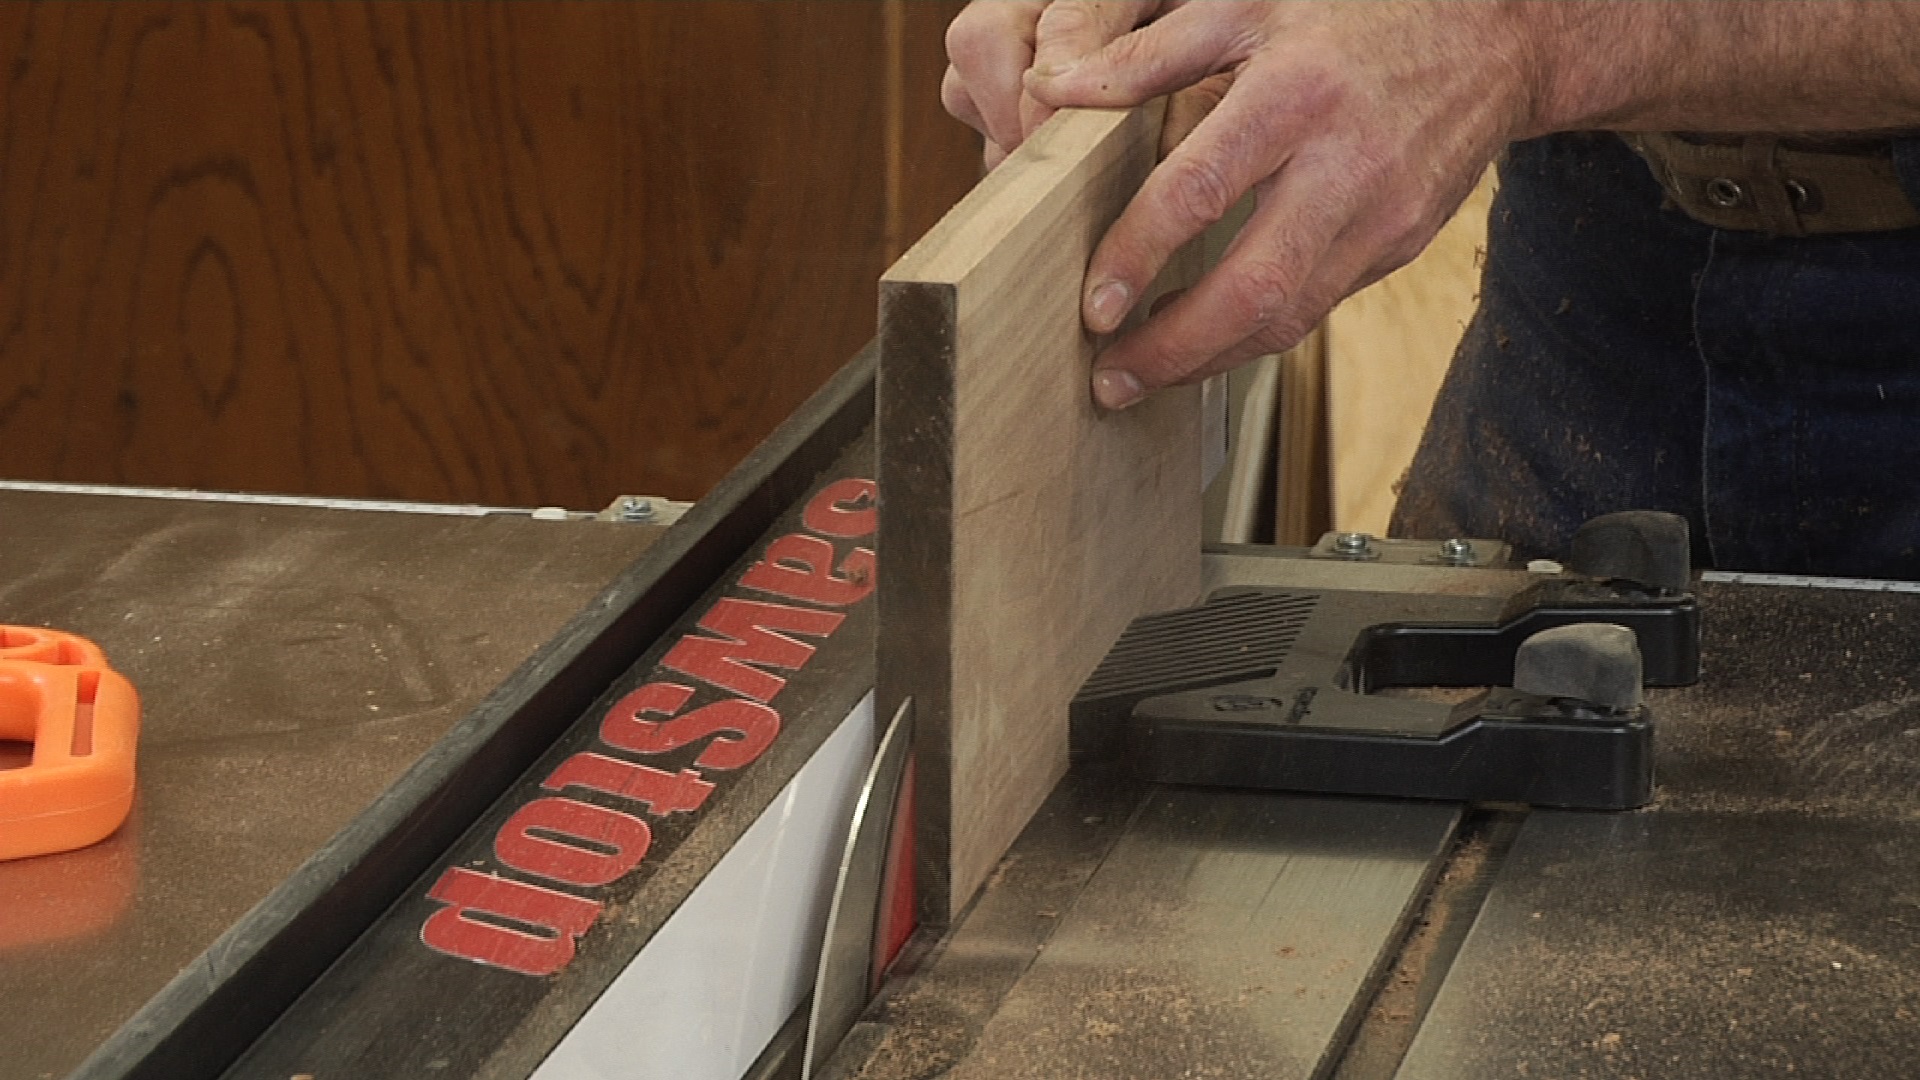
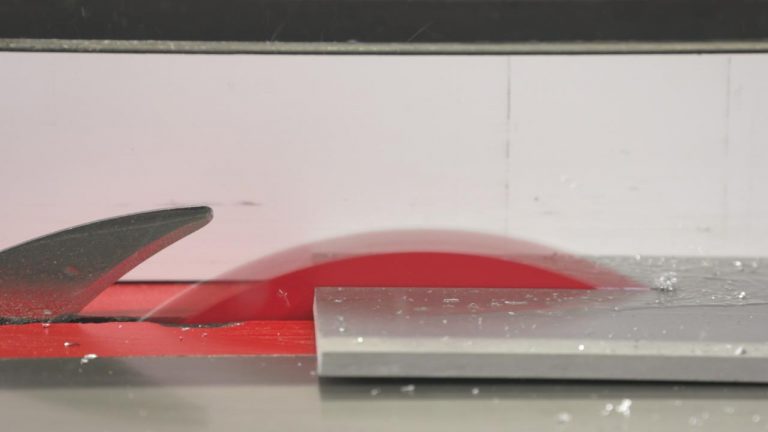
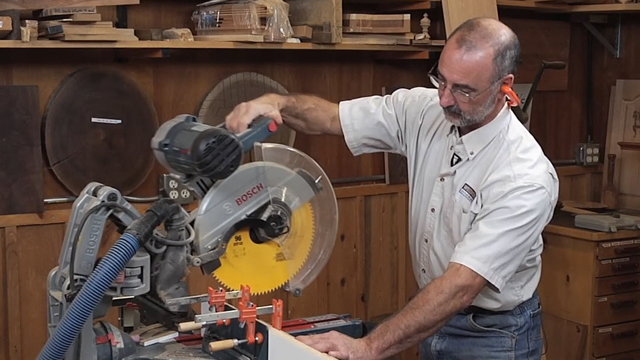
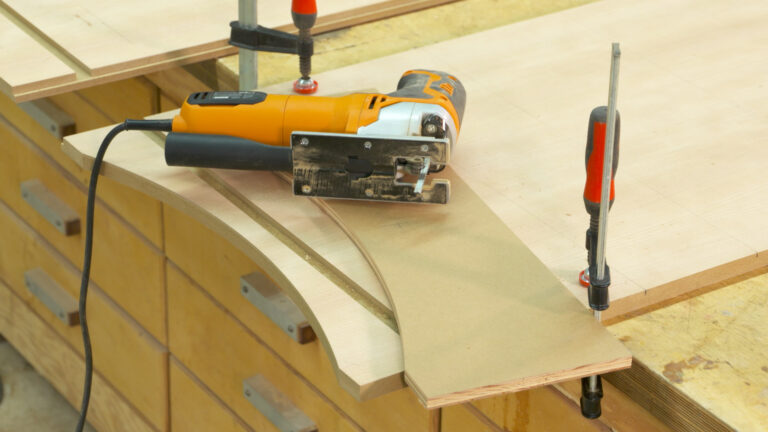
Make your angled cuts. Use a good track saw to form a miter joint in each location that you determined in your previous step, following the instructions that George demonstrates in the video. A traditional circular saw can be used as well, but a track saw will make it easier to get a crisp joint every time.
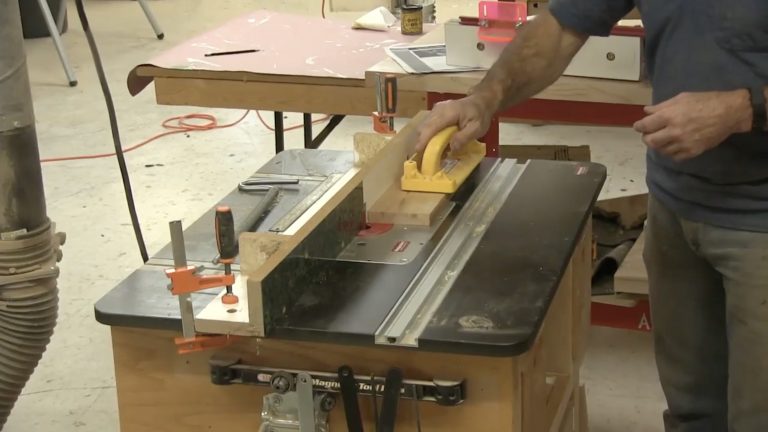
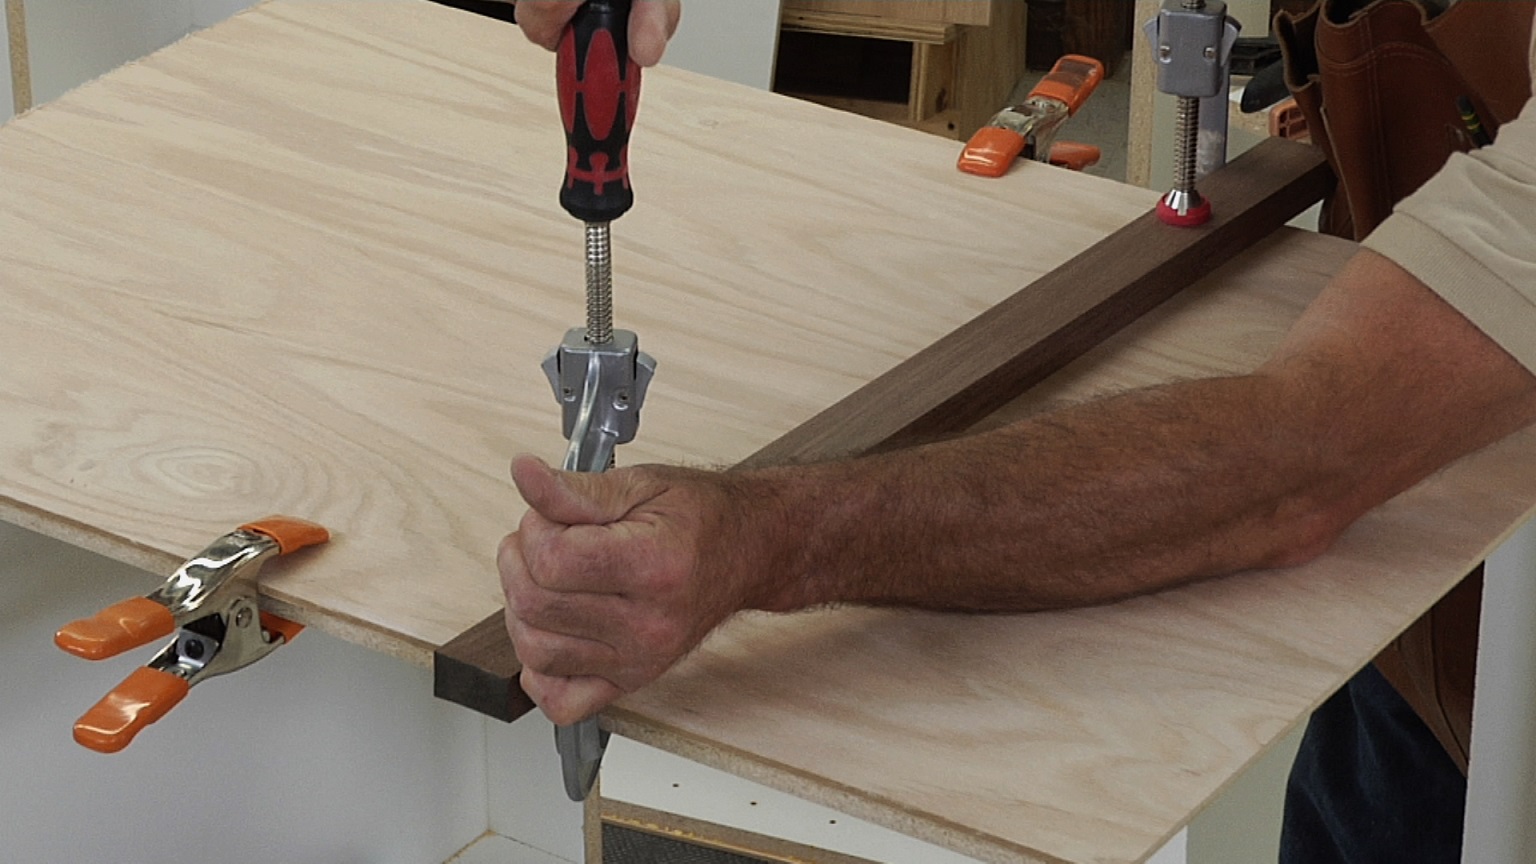
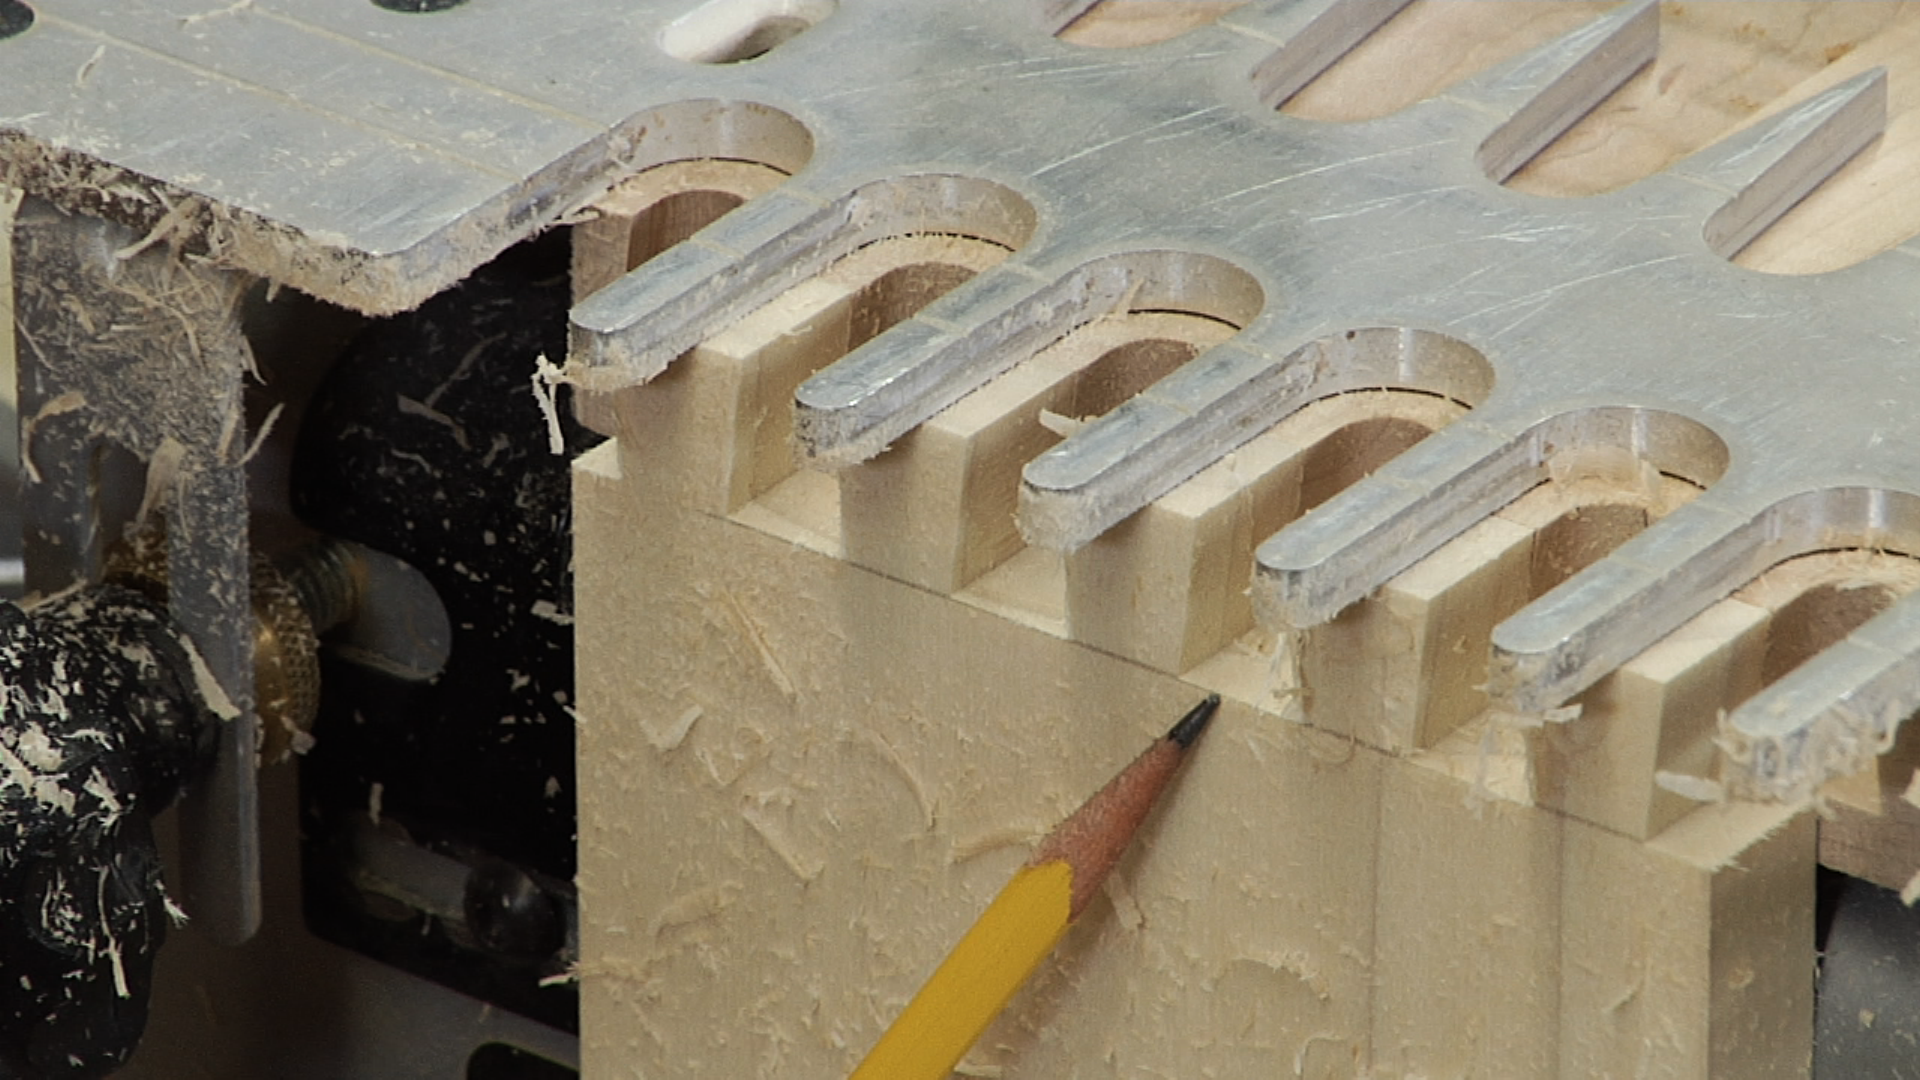
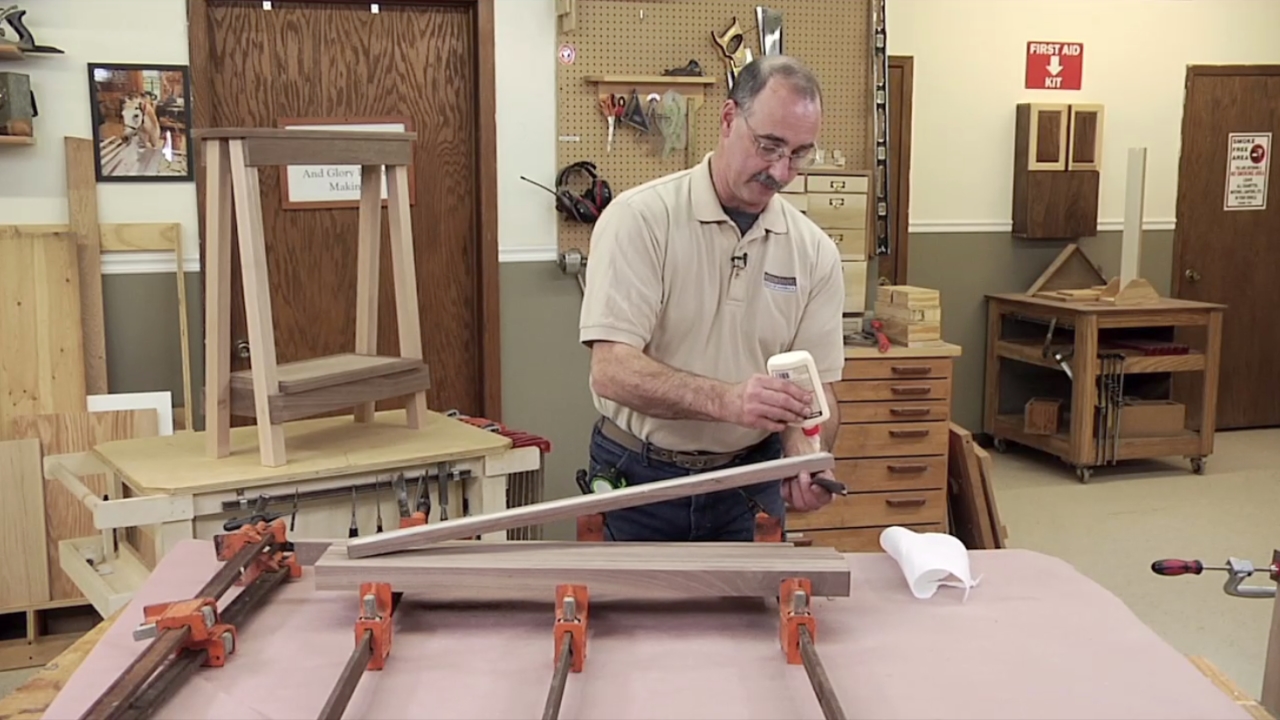
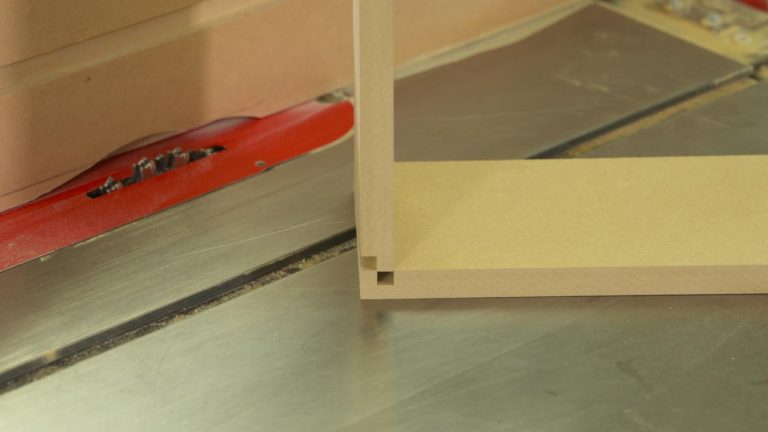
Reinforce the joint. Using floating tenons of some sort (biscuits, Dominos, etc.) reinforce the joint with a good number of tenons. This will also help to maintain alignment at assembly time.
By following these steps you can achieve a crisp waterfall miter joint that will have your friends asking you how you were able to do it. If this has your woodworking juices flowing, check out more videos on furniture making.
Explore videos by George Vondriska


You may be interested in
Premium Membership
Unlock exclusive member content from our industry experts.
- 24/7 Access to Premium Woodworking Videos, Projects, and Tips
- Step-by-Step Instructional Demos, Plans, and Tutorials
- 50% Off Video Downloads Purchased in the Woodworkers Guild of America Shop
- 2 Printable Woodworking Plans
Unlock exclusive member content from our industry experts.
- 24/7 Access to Premium Woodworking Videos, Projects, and Tips
- Step-by-Step Instructional Demos, Plans, and Tutorials
- 50% Off Video Downloads Purchased in the Woodworkers Guild of America Shop
- 2 Full-Length Video Downloads to Watch Offline
- 2 Printable Woodworking Plans
Gold Membership
$370 Value
Get everything included in Premium plus exclusive Gold Membership benefits.
- 24/7 Access to Premium Woodworking Videos, Projects, and Tips
- Step-by-Step Instructional Demos, Plans, and Tutorials
- 8 Full-Length Video Downloads to Watch Offline
- 3 Full-Length Woodworking Classes to Keep for Life
- 7 Printable Woodworking Plans
- Discounts on Purchase-to-Own Content in the Woodworkers Guild of America Shop
- Access to Ask the Expert Program
- Exclusive GOLD LIVE Streaming Events