George Vondriska

Router Table Session 5: Mortise and Tenon

George Vondriska
Duration:   25  mins

Description

A staple of furniture work, you need to know how to create this joint if you want to build tables or chairs. The key to the strength of this joint is a good fit between the mortise and tenon. In addition to teaching you how to achieve that fit, we’ll provide you with the proportions between the tenon and rail that give this joint the proper structure.

Share tips, start a discussion or ask other students a question. If you have a question for the instructor, please click here.

Make a comment:
characters remaining

No Responses to “Router Table Session 5: Mortise and Tenon”

No Comments
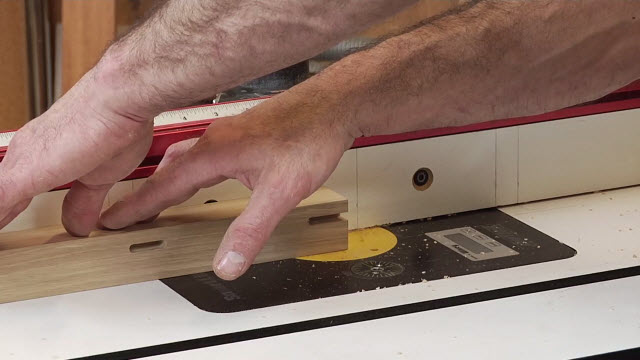
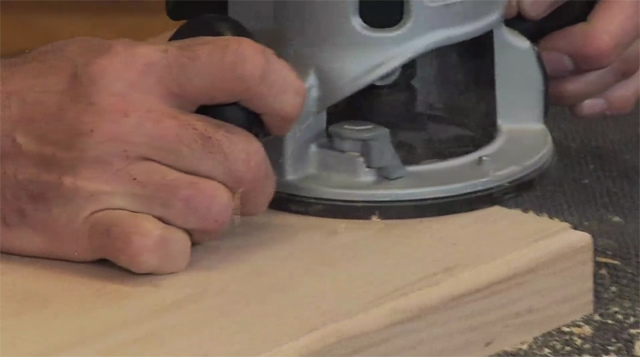
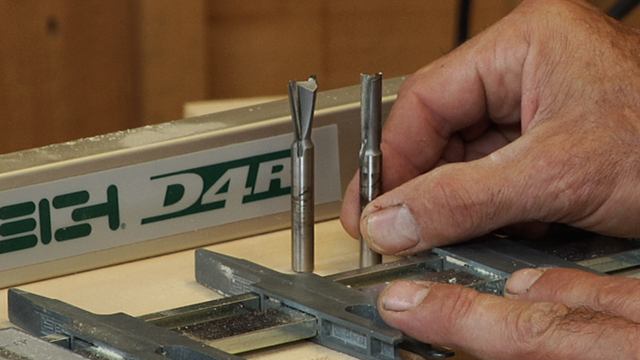
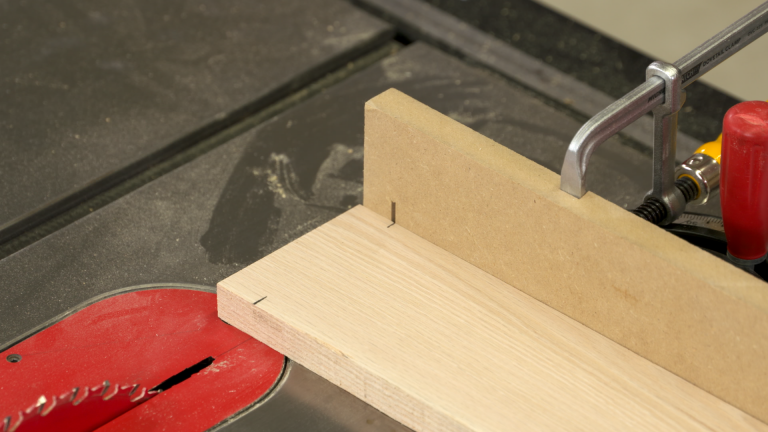
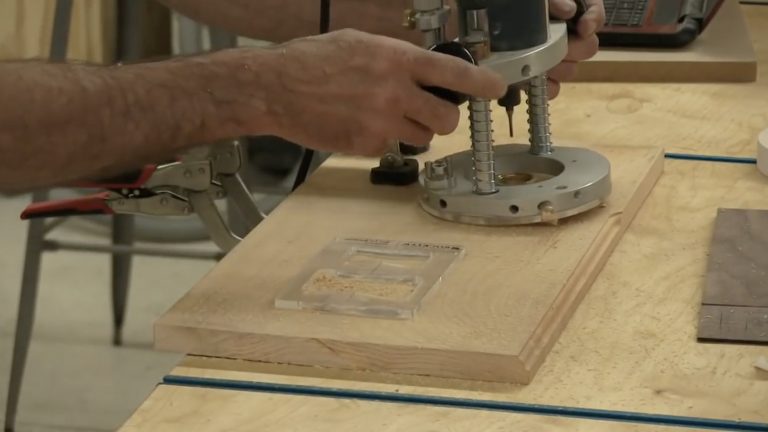
Let's have a look at mortise and tenon joinery on the router table. We're gonna do two kinds of mortises. One that's punched right in from the end grain of a leg, and the other that's internal on the leg, requires plunge cutting. One of the things I need to do here is put an auxiliary fence on my router table fence. That's gonna make our mortise work a lot easier. It has to do with the layout. And I'll show you that in a bit. Easy way to do this. I've got a piece of melamine. It's actually my sacrificial fence for my table saw. And double-faced tape. Always a challenge for me to get started 'cause I have zero fingernails. And that'll allow that to just fasten on, and that part's set. Let's do some rules of the road for mortise and tenon joinery. We cut the mortise first, but we base the size of the mortise on the size of the tenon. The tenon is sized based on our material. As general rule, tenons are one third the thickness of the material that you're workin' with. We have 3/4-inch stock. What that then means is that the tenon that we cut Will be a 1/4-inch thick when we're done. Now, let's be smart about this. We wanna round that to the nearest practical number. If our material is 13/16 of an inch thick, don't divide by three and make your tenon that big because we don't have a cutter that size to make the mortise. So 1/3 the thickness, round it to the size of the nearest cutter we can use for the mortise. That gives us this dimension, the thickness of our tenon. In order to do the mortise, we also need to know the length of our tenon. Good rule of thumb there is to make the tenon twice as long as it is thick. 1/4-inch this way, 1/2-inch this way. What that tells us is that we'll be doing our cuts with a 1/4-inch cutter. We always make the mortise, the negative part of the joint, first. And then go back and make the positive, the tenon, in order to fit it. The reason that we do that is that we'll make the hole, we'll make the mortise with this cutter. If we make the tenon first and we make it a 1/4-inch, maybe our cutter is exactly that size, maybe it's not. Sometimes cutters are a little undersized. Sometimes they're a little oversized. So if we do the negative profile first, we can make the positive, the tenon, to be a perfect fit. We're not ready for that to go in the router table just yet. We're actually gonna start with a V-Bit, see if that cooperates and wants to stand there for us. And what I found laying out joinery and teaching students to do joinery layout is that it's often quite a bit easier to measure to the center of a joint than the edge of a joint. The benefit we get to that V-Bit is that it comes to a very distinct point, that's the V part. That's gonna make it very easy for us to take measurements to that. Router's unplugged, we can slip that in the collet. And I don't even need to wrench-tighten this, hand-tight is fine. The leg I'm workin' with is an inch and a half thick. Then as a result, if we want our mortise to be perfectly centered on the leg, it should be 5/8 of an inch from the fence to the center. Just seein' if you're awake. It should be 3/4 of an inch from the face of the fence to the center. And it's really easy to do that measurement on that V-Bit compared to measuring to the center of a cutter that looks like this, or trying to measure to the edge of a cutter that looks like this. 3/4 of an inch to the center, right there. Now, in order to wrap this up, I've gotta get the right cutter in there. I've gotta get the insert in the table. I've gotta move the fence. Couple ways that we can duplicate the setting when we come back, here's one that's really low tech. See the lines I already have on the table? This is what that's from. Usin' my pencil, I'm simply gonna trace this fence location onto the table, and if those lines drive you nuts over time, a little bit of lacquer thinner or denatured alcohol, you can wipe that right off of there and start over again. Some router tables will have a mechanism. If we look at the end of this router table, mechanisms like this, there's a ruler here. I can get that to correspond to the face of the fence with that zero point, lock that in place, and that'll give me the same repeatability. So if that's built into your router table, that's cool. If not, lines on the table will give you the same effect. 1/4-inch bit for our 1/4-inch mortise. Now, remember, the length of our tenon is gonna be 1/2-inch. One of the easiest ways to get setups to happen here on the router table or table saw is not to measure, but to use setup gauges. We've got the source for ya in a PDF that comes with the class. This is a 1/2-inch bar stock. I want my mortise to be a little bit deeper than the length of the tenon. That's so that there's room in the bottom of the mortise for glue. And this is another case where it's easier to feel this than it is to see it. I'm feeling this for the top of the bit to be just slightly above the top of the bar stock, in real numbers, about a 32nd to a 16th of an inch. Come back to our reference point. Now, what do we know so far? Well, we know that when we come here with our leg, we're gonna be centered on the thickness of the leg. But what we don't know is where do we start and where do we stop? And that's our next step, is to get that established. What I'm gonna do with this cutter is I'm gonna turn it by hand so the flutes of the cutter are parallel to the fence. And what that allows me to do then, is use a piece like my leg stock against the fence, come forward and just kiss against that carbide tip. Don't push on it. Line on the fence. Then I'm gonna do the same thing from the other side. I'm bringin' the leg over, kiss the flute, line on the fence. What that shows me, these two lines indicate the leading edge and the trailing edge of my cutter. That's why it's a 1/4-inch between the two, is because that's the diameter of my bit. I need to project those lines up so I can see 'em better, like that. Same thing to this one, giving me lines that come all the way up the fence. And this is why the auxiliary fence is on there. Because with my standard fence, I've got a hole in the center here that surrounds the router bit. It's just easier to do this if you have a continuous fence. Now, what does that tell us? Well, let's look at our leg. We'll do this top mortise first, this is the easier of the two. We're gonna come in from the end grain, simply plunging into the end. And we wanna cut until we get to this layout line. Well, that layout line, when it's down on the table is blind. We can't see where to stop. What I've done is I took that layout line and transferred to the side, and then transferred again to the top. Where that helps us now is it can come up against the fence, start making my cut. I stop when the leading edge pencil line is even with the layout line that I've transferred to the top of my material, looking something like this. This is why we take the time to get those lines on the fence. Now, let's take this a step further. Our next mortise is internal on the leg. It's here in the center. So we don't have the benefit of being able to simply plunge in from the end. We're gonna use our lines again. And in this case, the far line, the top of the mortise, gets aligned with the outboard side of my cutter, like that. Plunge, move forward until I hit alignment with line number two, then I can come off my bit, those lines telling me exactly where the starting and stopping points are for my cut. Now, when we check our work, we can look and see our mortise ends at the layout line, and our next one, our mortise starts and stops at our layout line. Again, controlled by the lines that we put on the fence. So that's a really simple way to make sure that we're getting our mortises in the right spot. Notice that, like always with a router table, I'm feeding from right to left. If you feed in the wrong direction, then this is gonna have a tendency to pull off of the fence. That's gonna ruin your mortise for you. So we always wanna go right to left. That helps hold the stock tight to the fence. What that could mean is that, let's say I wanna put a mortise on an adjacent face. Probably do 'cause we're probably gonna mortise and mortise. What it means for the other side is flipping the leg, starting on the pencil line, pulling through the end grain. So in some cases, depending on where your layout lines are, the bulk of the leg will be to the right of the bit. And in another cases, the bulk of the leg will be to the left of the bit. Now that we've got our mortises done, next thing we can do is change cutters, change our setup, and we'll look at what we need to do to get perfect tenons to fit inside those mortises. Mortises done, let's go ahead and make some tenons to fit our mortises. What I've done now is put a 3/4-inch bit in the router table. And let's think about the, I don't know, geometry of what's goin' on here. What we wanna do is pass our material over the cutter, flip it, pass it again, resulting in a tenon in the center that fits into our mortise. As a result, if we have 3/4-inch stock, we're looking to remove about a 1/4-inch and a 1/4-inch. I'm gonna fall back on my bar stock again, to get an initial setup here. And what I wanna do is take off too little on this first pass. I wanna leave a tenon that's too big because we can always take more wood off, but I haven't yet figured out how to put it back on. What I'm feelin' for in this case is the top of the cutter being below the bar stock. That should leave us a tenon that's too thick. Length of tenon is a 1/2-inch. Take advantage of our bar stock for that. By rotating the cutter so that the cutter itself is pointing at top dead center, as far from the fence as it can be. Fence comes forward, 1/2-inch bar stock on the fence. And then manipulate the fence until that cutter is even with the bar stock. And hopefully, you can agree with me on this, that this sure beats pokin' a ruler in there and tryin' to measure. We cannot simply feed this piece, it's too narrow. It's probably gonna walk, also as we exit, it's gonna chip. Very simple solution is to just use a piece of scrap, just like that, feed 'em together. Let's see what we've got and I'm pretty darn sure things are not gonna come together for us. Tenon is quite a bit too big, just what we thought, much too big. Well, I'm gonna say we're over an 1/8-inch too thick still on that tenon. You gotta be real careful with your changes here because we make two passes. So if I'm an 1/8-inch over, I would only raise the cutter a 1/16 of an inch, taking a 1/16 off each face. I will say, this is where a router table lift is not a must-have, but boy, is it nice to have when we get to this kind of change because it's very easy to just subtly change the height of our router bit. One full turn is a 1/16 of an inch. I'm gonna do less than that. Same thing, I just wanna sneak up on final pass here and try to not overcut. Trial and error. This is an important thing right here. It's goin' in there, sorta. And if I pushed on it harder, it would go in. I don't wanna have to push on it harder. I should be able to insert this with hand pressure. Shouldn't have to drive it in with a mallet. On the other end of that spectrum, once it's in there, they should stay stuck together with their own friction. That's what I'm lookin' for on the fit. Gotta be especially careful on these end mortises. If I push hard enough, especially out here toward the end, I can wedge that open and get the tenon in there, but probably at the risk of cracking the leg. This is just a tiny bit too tight. Don't cheat yourself or trick yourself here, which would be make an adjustment, and then only do a pass on one face and have a good fit and think you're okay. We always have to do double passes because when we do our real rails, when we cut our real tenons, we have to do a double pass here. So make sure that you're achieving the fit in the test process by double cutting every time. It's a race that goes to the slow and steady, not the swift. Take your time, be patient until we get that fit just right. Once we have the fit right, what we know now is that the height of the cutter is correct. Now, to completely cut a tenon, what we need to do are two passes in this direction. And then, if it's the top rail in that open mortise, we're gonna do a pass in this direction. And if it's the center rail in the captured mortise, we're gonna do this and this. And there's something wrong with this picture. If I do this right now, it's gonna fall into the fence. So we're gonna zero clearance our fence. Very simple process. What I'm gonna do is start the router with the in-feed fence only, loose. I'm gonna push the in-feed fence right over the top of the cutter, close that gap between the two bits. Before we go on to complete a tenon, let's talk about a really important thing. Based on how we did these test cuts, what's really critical about our test pieces relative to our project pieces, they gotta be exactly the same thickness. This process is thickness-specific. So if this is thinner or thicker than your project, it's all bets are off on the tenon. Let's look at now, a complete tenon cut on the opposite end of this piece. On that top mortise, we would only have to make one of these shoulder cuts. We'd leave the other shoulder intact 'cause that would end up even with the top of the leg. On the center mortise, we do both shoulder cuts. Now, what you might notice is that there's somethin' wrong with this picture because the router bit leaves round ends on our mortise. The process here leaves square shoulders on our tenon. So even though we have the right fit, it's not gonna go in there. It's a very simple fix using a utility knife or a pocket knife. It's much easier to round the positive profile than to square the negative profile. All we need to do is skin corners off of this. And we are not compromising the quality or effectiveness of our fit because that comes from the way the sides of the tenon meet the sides of the mortise. That's where the glue strength is. So even if I accidentally cut this way and make my tenon and just a tiny bit too short, we're still gonna be okay. See if I got us close enough yet. And there we are. So that little bit of handwork is all it takes. Another alternative for that is clamping the work in a vice, and then you can use a bench chisel as well to round those corners off, pretty simple. Remember that I said the fit I'm lookin' for is, insert it with hand pressure, like that. When I grab that, they should stay stuck together with their own friction. If they do that, we've got a great fit between those two. Some glue in there and you're really gonna be in good shape. If you find that, when we put 'em together, the shoulder here, the face doesn't close, it's possible you didn't make your mortise deep enough. And the tenon is bottoming out inside the mortise. you're gonna have to do a rework on that. That takes care of our mortise and tenon work on the router table. Make sure you get those marks very carefully made when you do the layout for the first router bit, so that you know where to start and stop on your mortises. Careful, careful approach on getting that tenon the right thickness and the right size, and you're gonna have great fitting mortise and tenon joints for your projects.
Get exclusive premium content! Sign up for a membership now!