
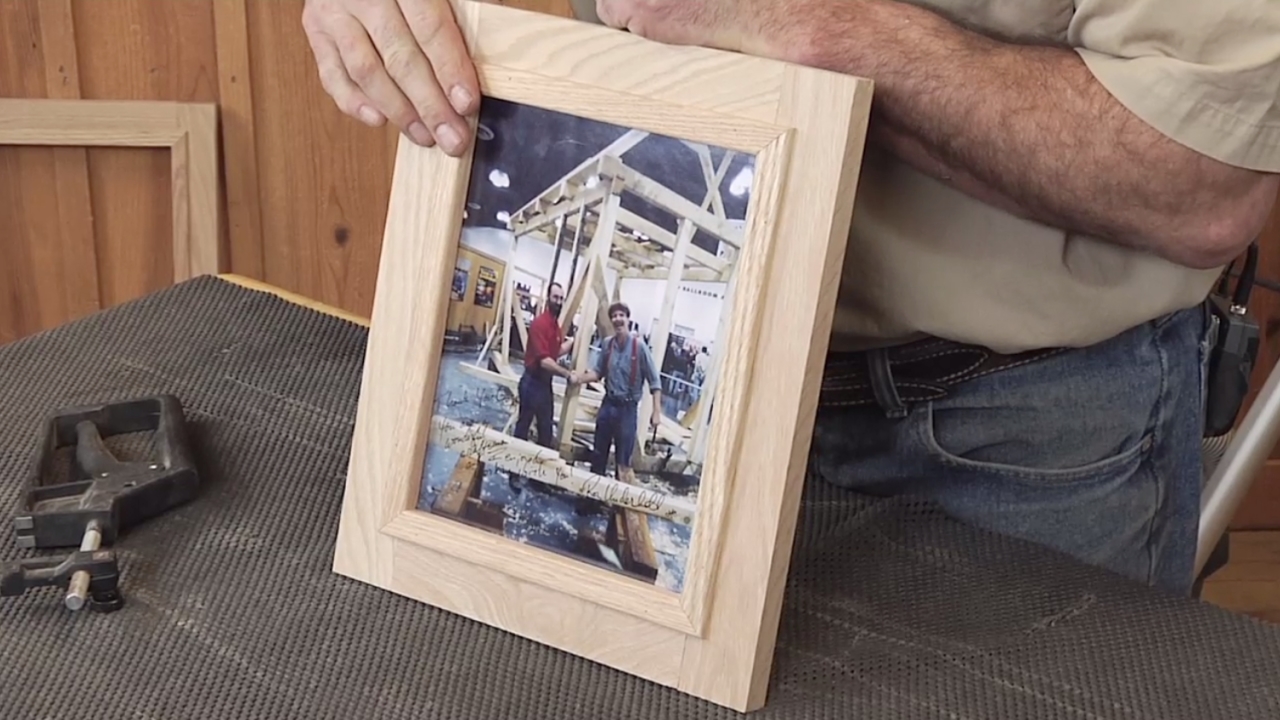
Making Picture Frames Without Using Miters
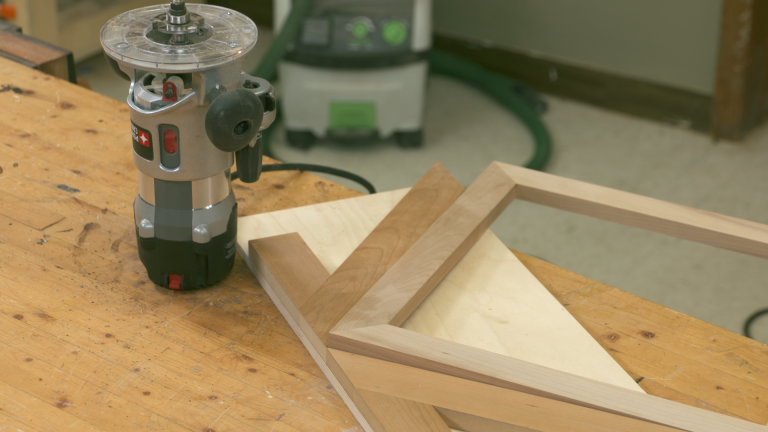
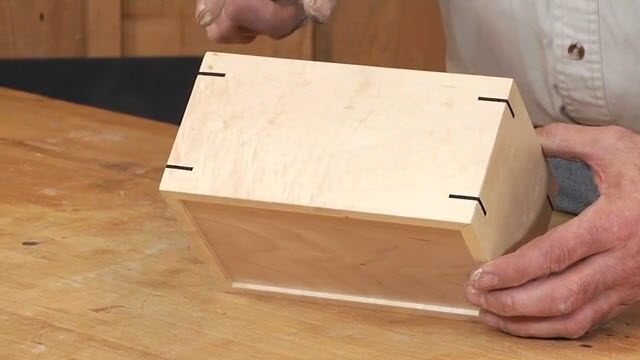
George VondriskaMaking picture frames is a great way to take advantage of your woodworking skills and, as you make them and give them away, your friends will love you for it. They’re a great gift. If you’ve struggled with making picture frames (or haven’t even tried it) because the prospect of cutting miters makes smoke come out of your ears, we’re here to help. This picture frame is miter-less, and very easy to make.
Tools required
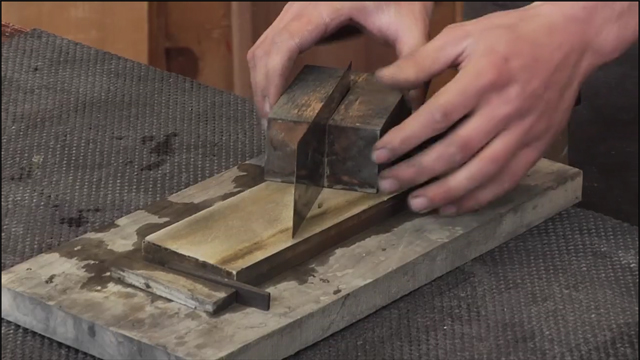
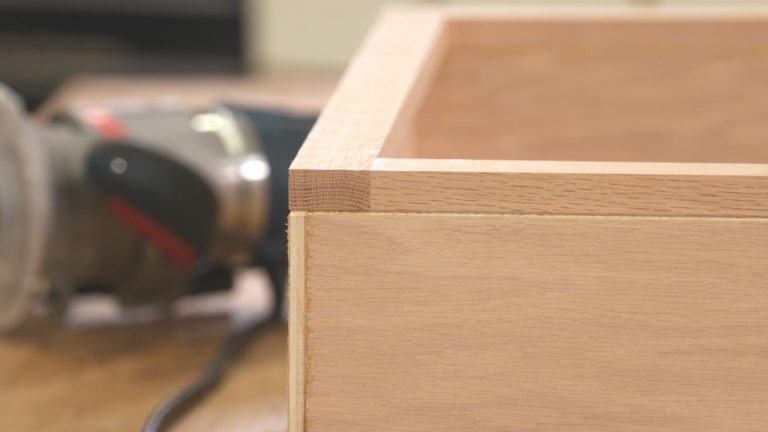
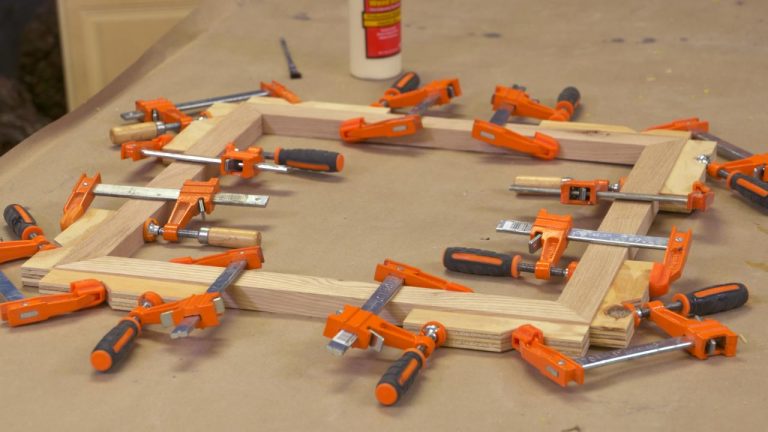
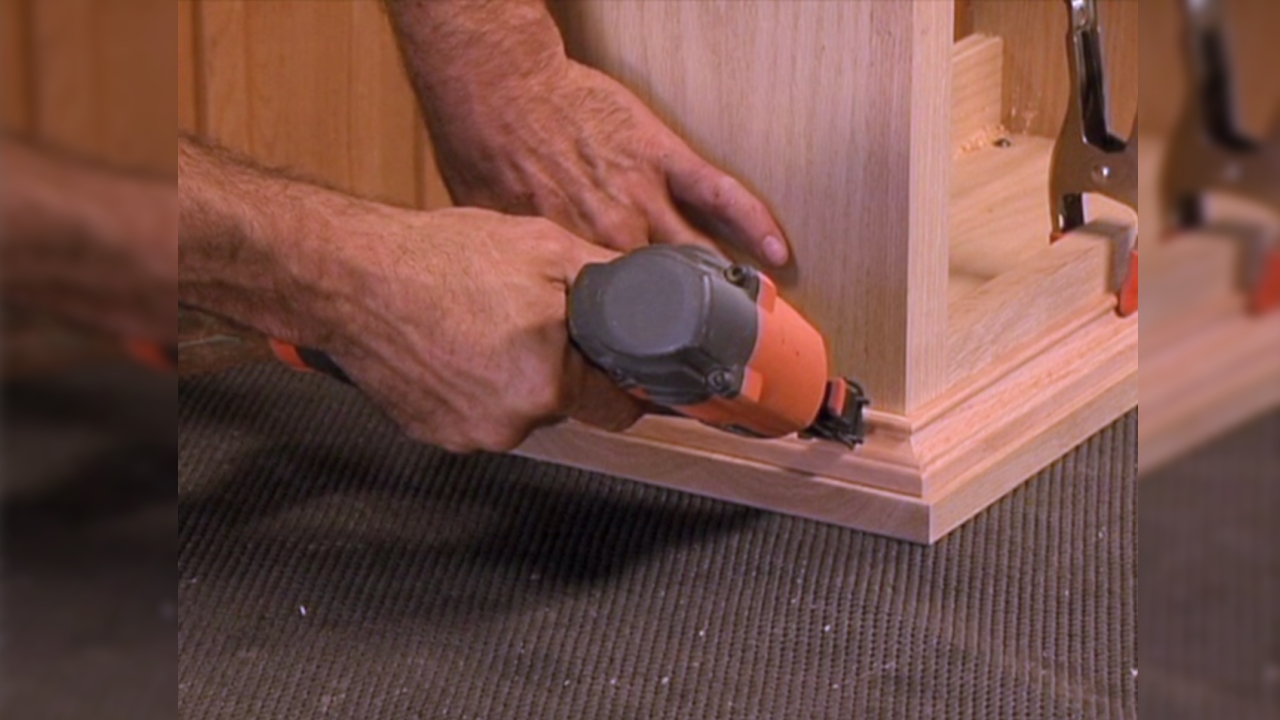
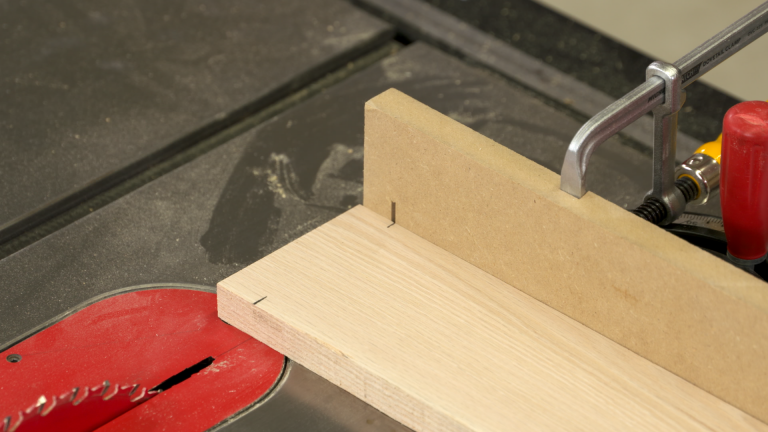
We’ll do the lion’s share of the work using a table saw and router table, including jointing the edges of our frame pieces using the router table. Since butt joints wouldn’t suffice for strength, we’ll be using pocket hole joinery to hold the corners together. You can learn more about pocket hole joinery in this video on screw pockets.
More easy projects
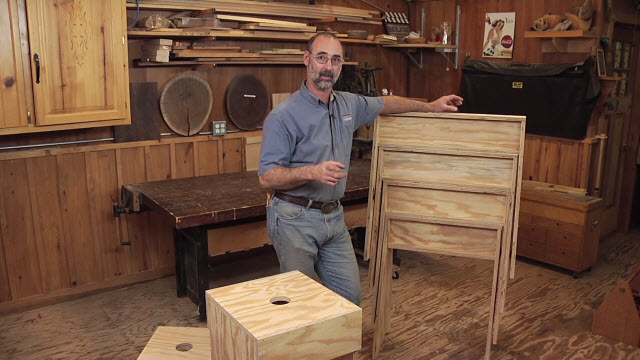
You’ll find that making picture frames is very easy using the techniques we teach in this instructional video. We love to help keep you working in the shop, so check out more of our easy woodshop projects and gift ideas.
More on table saws
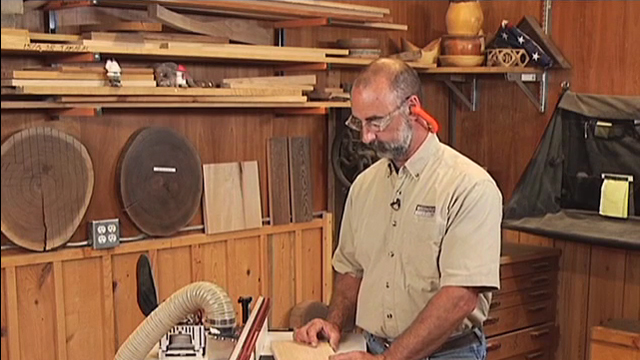
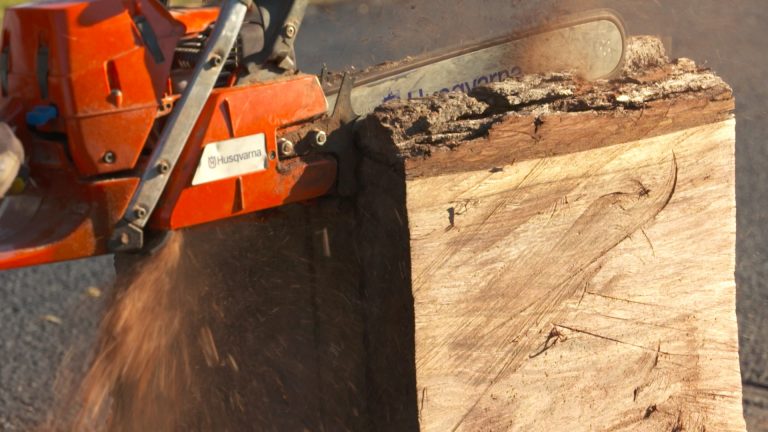
The table saw is key to this project, as it is to many woodworking projects. It’s important to have a good understanding of how to safely and correctly use this important machine, and WoodWorkers Guild of America has lots of information for you that’ll help you learn how to use a table saw.
More info
For more info on the Triton WorkCentre visit www.tritontools.com
Share tips, start a discussion or ask one of our experts or other students a question.
Already a member? Sign in
10 Responses to “Making Picture Frames Without Using Miters”
Explore videos by George Vondriska


You may be interested in

Premium Membership
Unlock exclusive member content from our industry experts.
- 24/7 Access to Premium Woodworking Videos, Projects, and Tips
- Step-by-Step Instructional Demos, Plans, and Tutorials
- 50% Off Video Downloads Purchased in the Woodworkers Guild of America Shop
- 2 Printable Woodworking Plans
Unlock exclusive member content from our industry experts.
- 24/7 Access to Premium Woodworking Videos, Projects, and Tips
- Step-by-Step Instructional Demos, Plans, and Tutorials
- 50% Off Video Downloads Purchased in the Woodworkers Guild of America Shop
- 2 Full-Length Video Downloads to Watch Offline
- 2 Printable Woodworking Plans
Gold Membership
$370 Value
Get everything included in Premium plus exclusive Gold Membership benefits.
- 24/7 Access to Premium Woodworking Videos, Projects, and Tips
- Step-by-Step Instructional Demos, Plans, and Tutorials
- 8 Full-Length Video Downloads to Watch Offline
- 3 Full-Length Woodworking Classes to Keep for Life
- 7 Printable Woodworking Plans
- Discounts on Purchase-to-Own Content in the Woodworkers Guild of America Shop
- Access to Ask the Expert Program
- Exclusive GOLD LIVE Streaming Events
If you want to use half lap joints how would you change the dimensions?
I dislike pocket holes, rather use dowels. Anddddd I dislike to be prick teased by showing half of a video and say '' if you want to see the rest of the video become a member''' lol
Video Freezes at 09:33 ??
This is dumb. Anyone who owns the equipment that he is using to show us how to do this, does NOT need this video. This type of video should be done on equipment more basic like most of us own.
I am very glad I came across this site. I got hired at a cabinet shop a few months ago because of somebody I know. I have literally no experience with woodwork. I didn't even take woodshop in school. This site has been extremely helpful and informative with helping me understand what some of the tools and machines do. Everything is explained very well. Thank you for this. It has been so helpful. Keep up the great work!
What do the purists in the Art World think of your Butt joints, rather than diagonal 45 degree joints? Could yow not make your 1/4 in. @ 3/8 in. Cuts on full length planks, before cutting frame sides to length? A thought.
George, Good info with a question. You made the boards a consistent width with parallel sides on the table saw and then jointed one edge which does not guarantee the sides are still parallel any more. Did I miss something? JimE
Nice video but no mention of how to hold picture/glass in place.
The test piece is routed (jointed) in the right direction: with the grain. The first project piece is routed against the grain!
This video seems to promote a particular brand of table saw and router table? How many people truly have this brand? I love woodworkers Guild of America. However this seems to be sponsored by a particular brand of equipment that many words workers do not own.?