Make Quality Doors Session 6: Beyond Standard Frame and Panel Doors
George VondriskaDescription
There’s more to door making than frame and panel doors. Bead board, a type of siding, can be used for doors, and provides a great “cabin” look. If you’re working on a project that will be painted, instead of stained and top coated, you can make your doors from mdf. It takes paint very well, provided you follow our recipe for painting success.
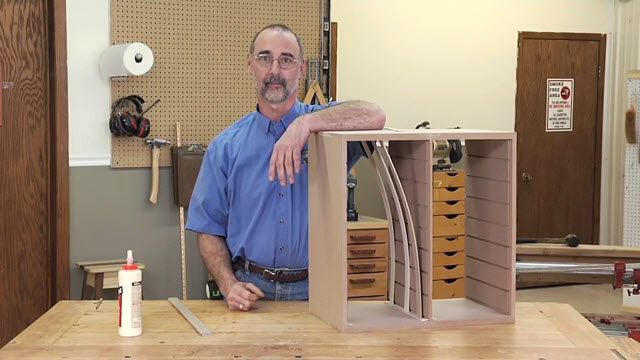
My guess is that like me a lot of woodworkers have a love-hate relationship with this stuff. This stuff being MDF stands for medium-density fibreboard The reason that I'm rolling it out here is I wanna talk about paint-grade doors. We've worked with solid wood up to this point. I wanna provide the opportunity for you to understand how you can make a really cool looking paint-grade door. Paint-grade what's the deal with that?
Well, what that means is that when the project is done we're not gonna stain it and topcoat it We're, just like the name implies gonna paint it. If you choose solid wood for this you have to be real careful about your selection and a lot of open grain woods like pine or oak if we put a coat of paint on them it causes the grain to raise especially if you use a latex based paint and the grain will telegraph through the surface of the paint really hard to work around that. Wood alternatives for paint grade would be poplar, birch, maple they all paint pretty well. But if we're gonna paint it, why make it out of wood? That brings us back to where I started which is man-made material like MDF.
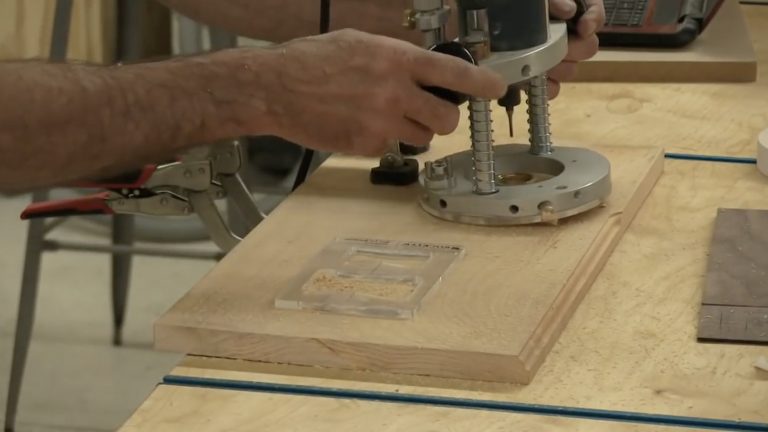
The surface of MDF is very, very, very, very dense. It paints like a dream. The edges are a little bit porous but I'm gonna give you some secrets for covering that up to make sure that those porus edges paint well as well. What I wanna do here at the router table is machine one more piece of my doorframe. What I really want you to look for out of this is the crisp and sharp way that MDF machines.
It's the real beauty. One of the beauties of working with MDF. So everything is set up. I've got three pieces already cut. Let me show you how this looks.
All right, have a look at what's going on here. We bring those parts together and look down at that OJ profile. Very sharp edges, no tear out, no chipping that's because we don't have a grain pattern to MDF. It's made up of tiny little particles all of which have been glued together and kind of a slurry that results in MDF. So when we cut these edges, they do come out really crisp.
Downside to working with MDF, it's dusty stuff so you wanna make sure you've got real good dust collection on your equipment. Also because of all the glue that's holding those particles together it can be pretty abrasive to your cutting tools. Come back to the benefit side of this. We need a raise panel for this frame we don't have to glue anything up. We can cut that raise panel out of a slab of MDF.
It's also easy to get real good yield which is how many pieces can we get out of a sheet 'cause there's no grain direction to worry about. So as we cut the parts out of an MDF sheet, they can go this way, they can go this way, they could be diagonal for all we care whatever it takes to get the most parts out of the sheet. I've got a door that's already a little bit further ahead in the process. So let's head for the bench and then we can have a look at what it takes to get the door ready for paint and how to get a really good paint job on our MDF door. I've got an MDF door here that I started earlier.
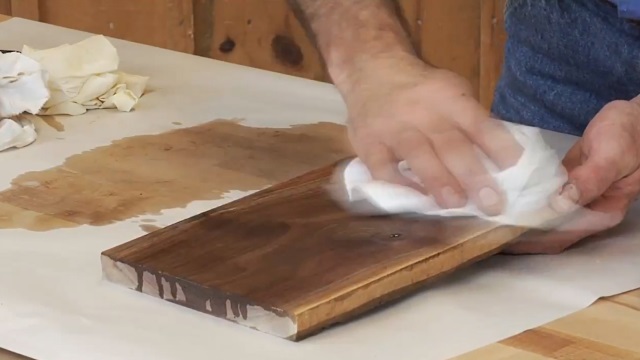
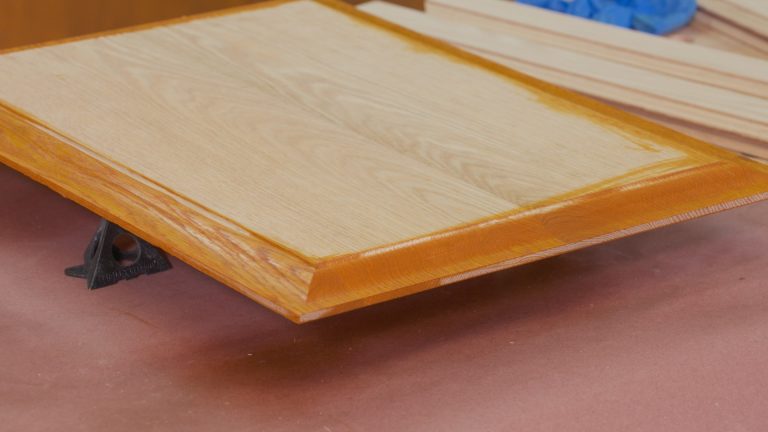
I did painting in stages on it so that I could show you what those stages are and what we want the door to look like. If you look at this part of the door the top half here, look at how nice that paint laid out. This is the beauty of working with MDF to do paint-grade projects. How do we get there from here? Well, first off, I wanna talk about what not to do.
Here's a piece of MDF, it's got the same edge profile on it that that door does. And I'm gonna grab the same paint that I use and hit that edge. And this is what's gonna continue to happen as we put paint on there, this being, you can see the porosity of the MDF 'cause the stuff is just so porous that soaks up the paint. We can't get a good coat of paint on there. The top surface is gonna paint real nicely because that top is so dense.
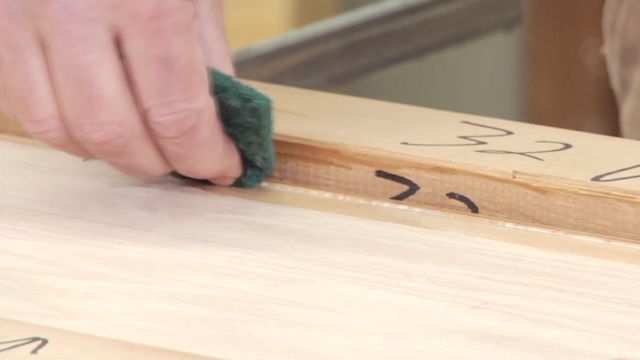
So as we build up coats here, you could be okay but on these edges, it's gonna be a perennial problem if we don't do something a little bit different. A little bit different is pretty simple. First step, we do have to sand these edges a little bit. I'm using a 220 grit sandpaper and this is gonna need to be done on the outer edges of the door where you might've done some edge forming. like I did here.
Also on the inner edges the edge of the raised panel and the formed edges from the coping style joint on the inside of the rails and style. Now you can probably already see that just from that sanding it started to smooth out the porous nature of the MDF. Now that doesn't mean we're ready for paint. Part of the solution to our painting issue with MDF is good primer. This product is available at home centers and its first life application is actually covering water stains on drywall or plaster before you put a coat of paint on them.
It's got a lot of body to it. It's very thick. So as a result that does a real nice job of covering up the porus edge. So simple stuff here, no rocket science. Clean all the dust off of there, shake the can, which I've already done.
Now already look at the difference here and here. We're already filling those pores thanks in part to sanding, thanks in part to a good primer. And I'm not as worried about priming the flat surface up here, the top of a raised panel or the top of the rails and styles as I am about making sure I prime those edges. Now the door, as I said is a couple of steps ahead of the game. If you look at this part of the door that's where we just came from which is I prime the how you can still kind of see the MDF you can see a little bit of the porosity through that and that's 'cause its first coat.
Once that first coat is dry then we'll come back, sands out real nice. And then it's gonna be it depends, its depends being did enough primer go on there with coat number one that at this stage we're ready for paint or do you need to go to a second coat of primer? Here this is still raw enough. See where we can see the stripe right here through the primer. I'd want to hit this again with another coat of primer to make sure that's completely sealed before the paint goes on top as luck would have it.
And this side of the door that's already got a second coat on it and I sand that out. And I can just feel the difference here. It's so much smoother. It's kind of like putting a filler in those pores. Now I wanna get a coat of paint on here just so you can see how that lays out.
Realistically, the rest of the door still needs that hand sanding, but I wanna show you the effect of the paint once we're laying it on a better coat of primer. Pretty cool, huh? So for your projects the next time you're looking at something that you know you're gonna paint and it's gonna remain painted. In other words, you're not worried about there being wood under the paint. Don't forget lowly little MDF.
It's very inexpensive. The price per square foot is so low compared to solid wood ease of working with it, ease of painting it. The end result is gonna be paint-grade doors that really look great on your project and were inexpensive to make. We've talked about a lot of different door styles so far in different ways to make frames on the router table. And that's a good, fast, efficient way to make cabinet doors unless you're gonna have a lot of weight in the door.
So what I want to do is take us in a different direction. Let's say that instead of a wooden panel in the doorframe you're gonna put a piece of stained glass, a mirror anything that's heavy and dense like that. We wanna have a door that's better capable of withstanding that load. A great way to put stuff together like that is with what's called a half lap joint. On a half lap joint, like the name implies, we're gonna take away half of this face half of this face, put them together, what we gain is lots and lots of glue surface making that for a very strong joint.
Half lap is part of where we're going with this but we need a place to put stuff into the door. We need a rabbet that we can insert our mirror or our stained glass into. So we're gonna have a rabbeted half lap door when we're all done. Pretty cool way to put doors together. It starts with getting the table saw blade to just the right height.
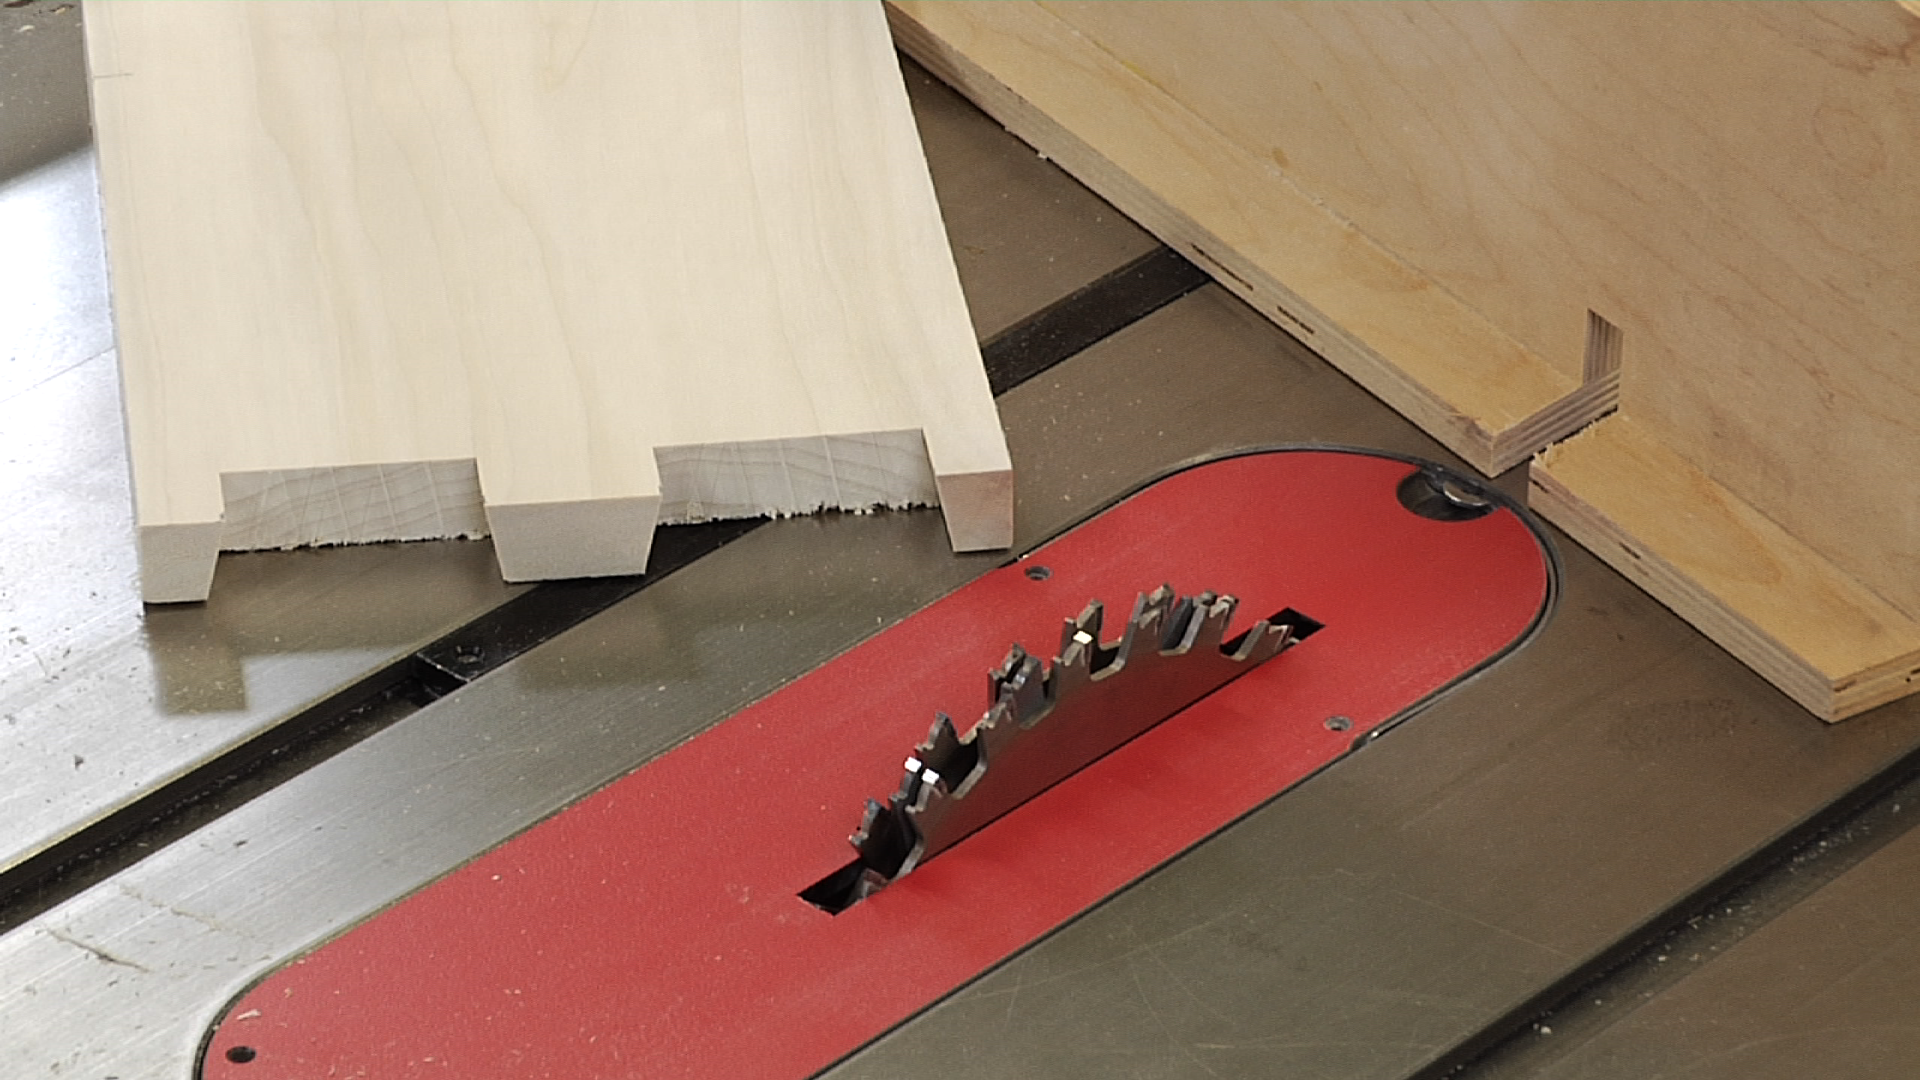
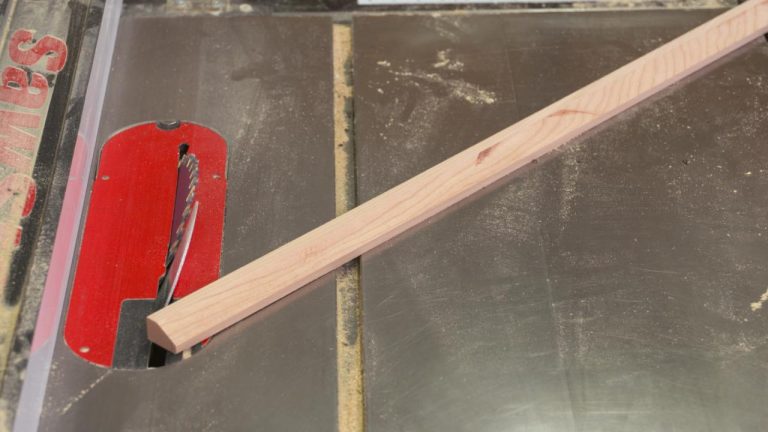
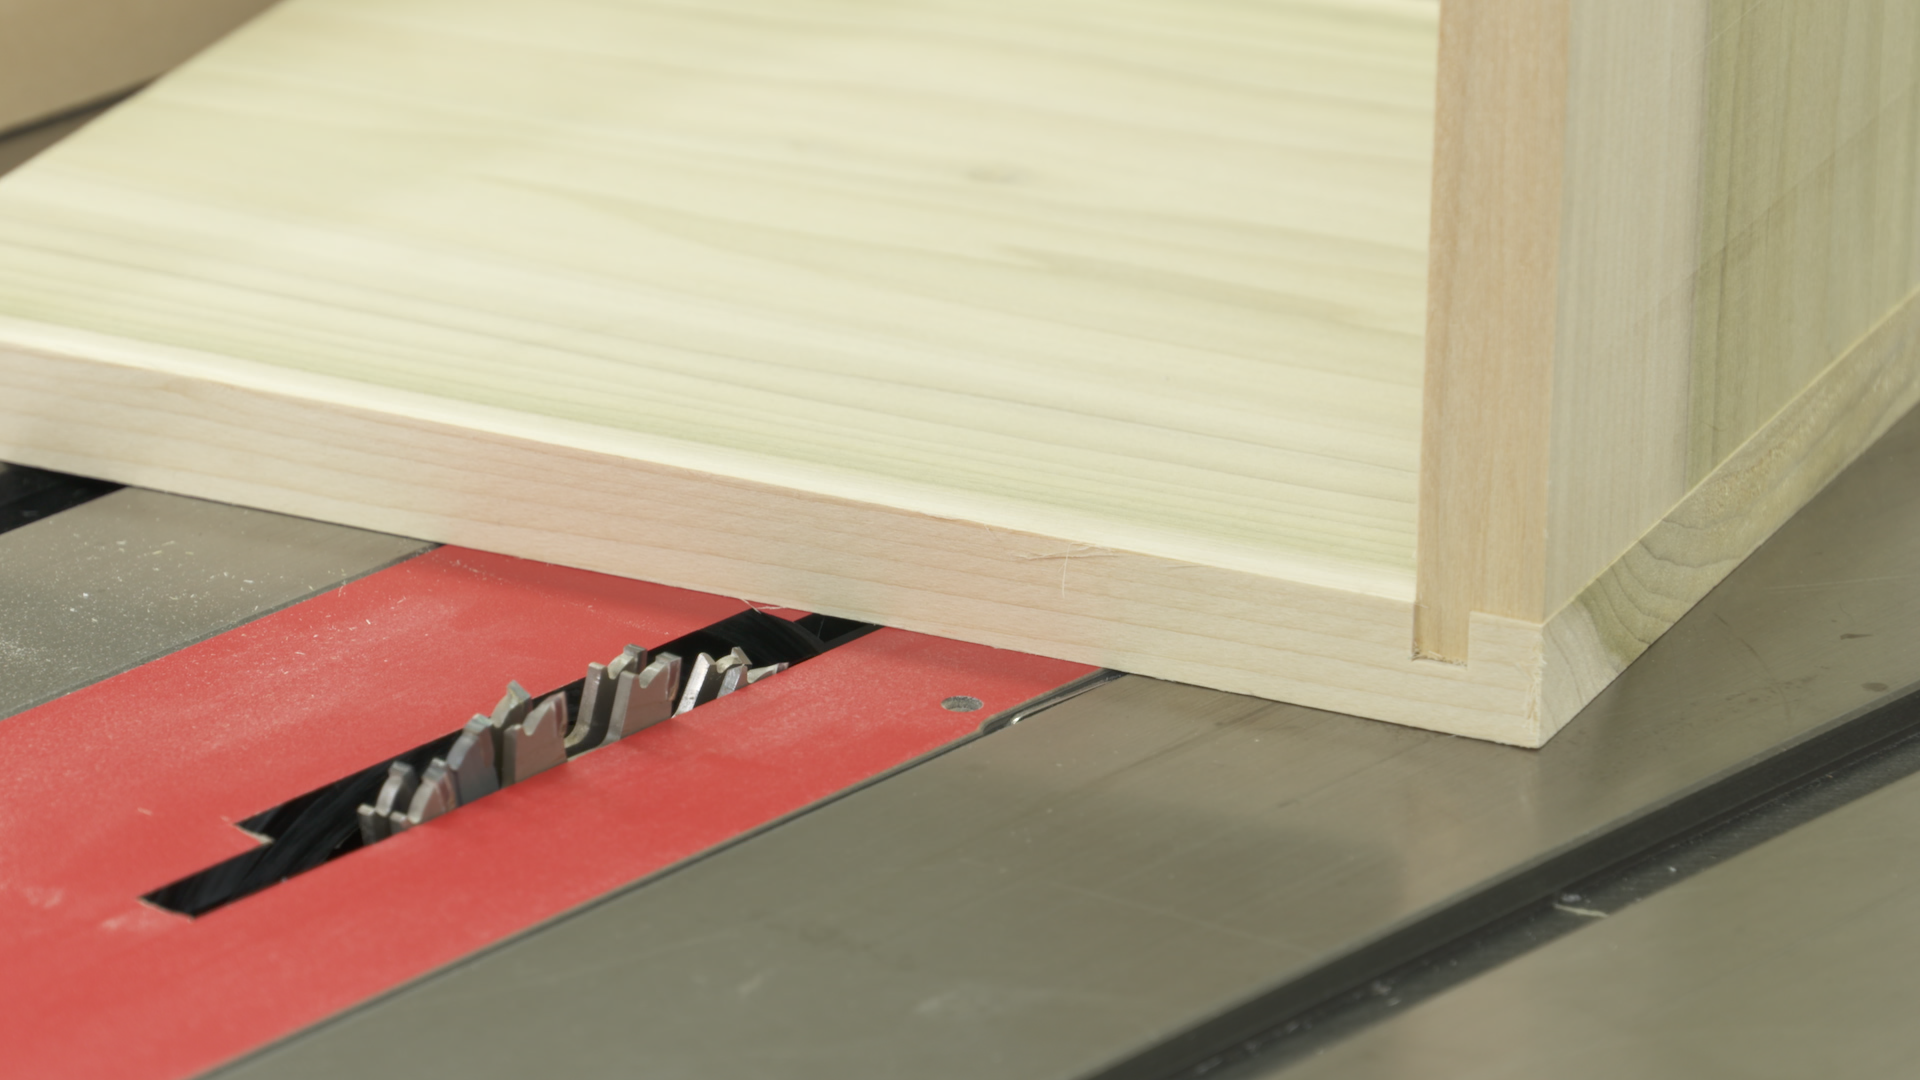
For our table saw blade here, we wanna use a dado head. So I was unplugged so I can mess with it. I've got the dado built up to three quarters of an inch wide and that's because when we come back and do our half lap joint, we have quite a bit of real state to cover. So a wide dado head is gonna take material out faster. For our rabbet, we're only gonna use a portion of this we're only gonna use about half of it.
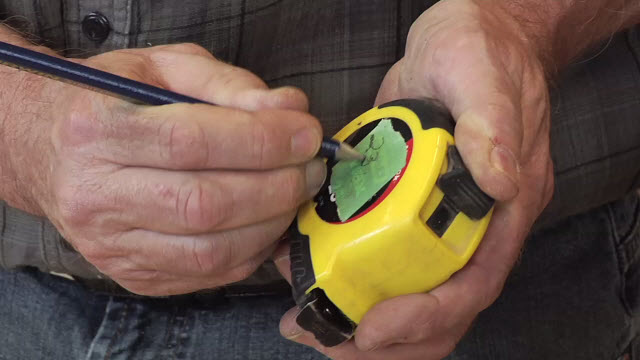
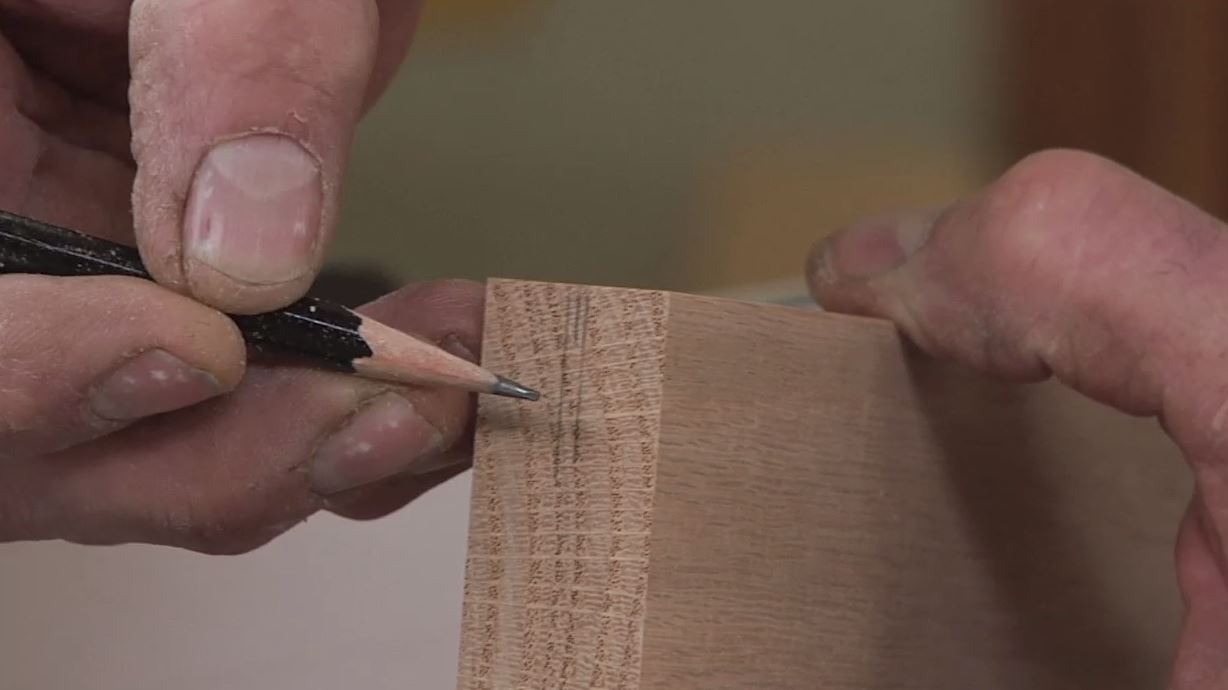
First step for us is to get the height of the dado headset. So it's just a little bit under half the thickness of our material. Here's how I usually do that. Using a pencil and my finger I'm gonna make a line. Keep your finger and pencil set, make a line.
What that tells me is that somewhere about there is the center of this piece. When I set the height of the dado head, I'm need to set it a little bit below that because I can always take more wood off, but I can not yet put wood back on. So if the half lap isn't deep enough, we can raise the blade and make another cut. And at this stage of the game, I took a cut too deep, then these pieces are no good to me. That's not a bad spot to start.
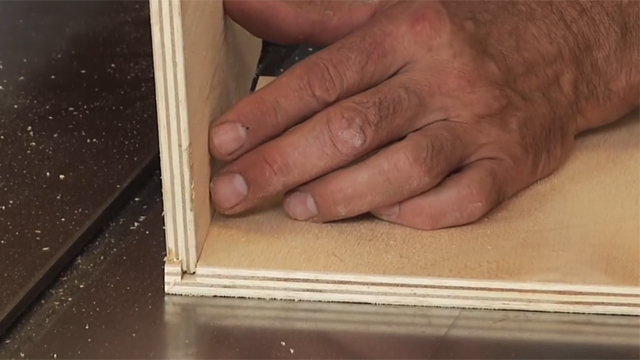
I'll plug the saw in do a test cut the test will really tell us if we're on or off. All right, our test is very simple. Put the pieces together. This is telling us what we need to know because this piece is higher than the underside of the mating piece. And it tells me that the half lap is not deep enough yet the key to this is that whatever this amount is you raise the blade by half that amount 'cause we're taking it off of each of our two pieces.
I then need to raise my blade, Oh, probably a strong 32nd of an inch. Better, but not there yet. It's really just trial and error at this point. Be conservative as you're raising the as you turn in the hand wheel on the table saw to make sure you don't go too far. We're very close.
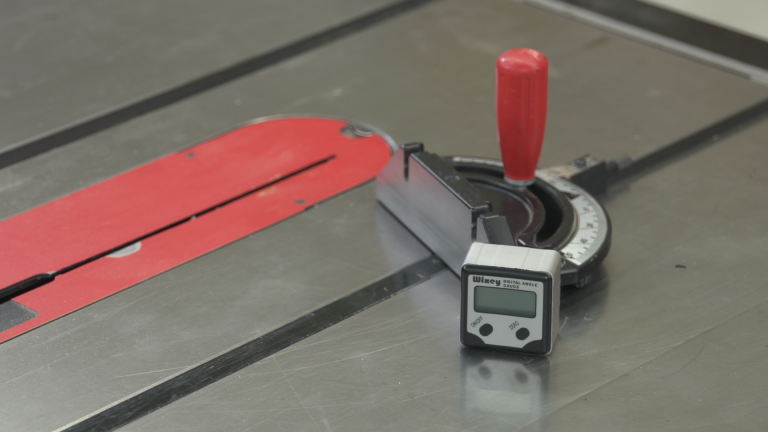
When I flip it over like this, what I'm doing is getting to a side where that gap isn't there on this side this lip is not touching the shoulder. It's a little easier to tell if they're flush on this side where they are touching at a little bit to go. Here we go, now we have them flush. That takes care of the height of the data blade. Got to unplug the saw, take off the miter gauge bring the rip fence into place.
Show you the next setup. Notice that on the rip fence I've got what's called a sacrificial fence. It's a piece of MDF. There's a little scoopy thing there's a scallop taken out of the bottom of it that I can hide some of the data in. As you're making these adjustments Remember we accurately set the height of the dado ahead so don't mess with that.
What we wanna do here is use the fence to bury a portion of the dado. A portion being whatever you want your rabbet to be that's how much dado had we want sticking out. I've got this set for three, eight, seven inch from the face of the fence to the outside of the dado. Now we're ready to cut our frame pieces by simply putting them against the fence plowing that rabbet out of the edge. Now we're ready for the cool part, the half lap part.
I'm gonna unplug the saw 'cause we got to get in close to the blade to do the setup. So let me unplug, take off the sacrificial fence. I'm gonna come right back so we can look at that setup. The easiest way to get a half lap right as far as the width of the cut goes is to gauge the cut off of the material that you'll be working with. Now, you've got to have an understanding of where we're going with this.
This is my vertical piece of the door, my style. This is my horizontal, this is my rail. The style is gonna lay over the rail like this. What that means is we have to cut the front of the rail back the full width of the style. I'm gonna do that first.
What that means is that I now use this piece to set my fence location. That's why we had to unplug by holding the style up against the fence and I'm gauging it against the outside of the dado head here. And what I'd like is for the tip of that dado to stick just a tiny bit past the edge of my material. I'm not quite there. A little too much.
There we go. Stick, pass part, that's gonna make more sense. It can be easier for me to show you why I'm doing that in a little bit. Here's what's really important now is to again, understand how the pieces work together. We're only gonna make this cut in the front faces of the rails.
We're not doing all of our cuts yet. Plug the saw back in and we'll be ready to come back to work. Front face of the rail means flip that over. Notice please that I never backed the board up over the dado head. I mean let it come to a stop.
I made a cut, came off the blade, came back. You never wanna pull material back over a spinning blade. That takes care of these pieces. Now again, these guys are gonna lay in here like this. Now unplug the saw and I use this to set up for the next cut.
Same thing. I'm looking for a little bit of dado head to project past that edge, right there. Now we can plug it back in and we're gonna cut the bottom faces of our styles. Now when this comes together it's easier to see from the bottom. The reason that we need to separate setups is because that this component is narrow it's not the full width anymore of our rails and styles.
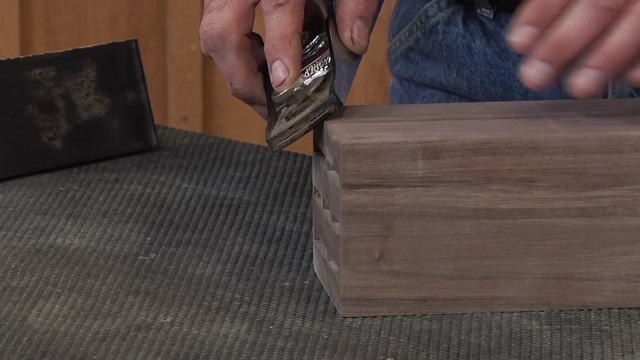
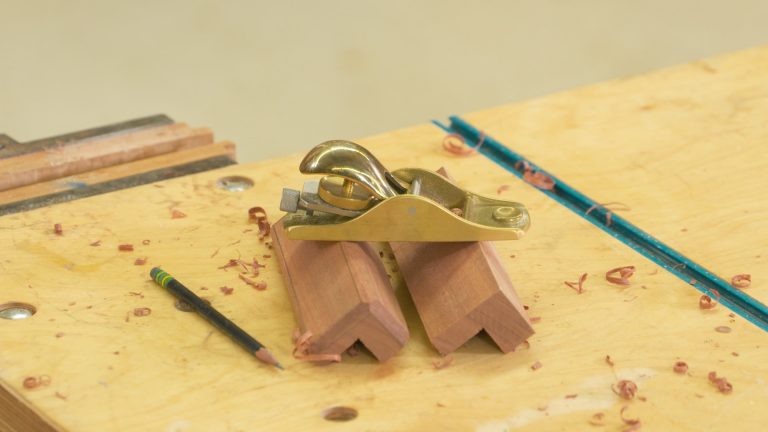
That'll go up against that shoulder creates the rabbet that we're gonna put our mirror or glass in later. When we glue this together, we have the benefit of all of this surface area holding that. Now let's talk about, setting the dado head so it's past the edge of my material, that results in this, this end grain projects past this long grain. Once this is glued together and the glue is dry. It's very easy to come with a block plane or a flush trim router bit and take off that excess which results in them being perfectly flush.
It's a lot easier to clean this up after the fact than to finesse and finesse and finesse to set up to try to make it perfect right off the saw same thing is true in this direction. Set it up, so the end grain is slightly past the long grain and clean it up later. Now glue adds a lot here because of the surface area. You wanna take it one step further to reinforce it. A couple of dials in here of contrast in colors would be cool.
That'll further reinforce the joint. So when we're done with this half lap rabbet door we still get the look on the front of the door of a rail and style the rail budding into the style. But we have a rabbet we could put a piece of glass into and really significant glue strength on the corner. This is a really good way to make a rock solid door. Pretty cool way to put doors together as using beadboard.
This is a great look for your shot. It's a great look if you've got a cabinet kind of an environment you're trying to create, here's what I'm talking about. This is a chunk of beadboard. It's from a home center made out of pine. Sometimes you see them in Cedar, you're gonna have to check in your area for what types of material are available.
It's tongue and groove. We've got a groove on one side, beadboard face, tongue on the other. We're going to take advantage of that to make the panel for the door. Set this is aside. Stay.
What I've done is cut three pieces to length for my door. Now like any edge to edge glue up the way you want to approach this is to glue your blank up oversize, then go back and cut it to its final height, its final length later. So the boards are just a little bit longer than what I need, glue up is really easy. Like I said, it's a tongue and groove. So we're gonna glue the groove.
That one's ready. Slip in the tongue, rinse and repeat. Very light clamp pressure. Doesn't take much to close this. Now you can probably already see here that part of what's cool about this is that I've just put three pieces together.
But the nature of this stuff is that the pattern in the face repeats including over the tongue and groove. So once we've got that tongue and groove glued together the seams really go away. One of the things you wanna watch for is if you've got squeeze out my standard approach for that is let that dry to a point where it's a little bit rubbery and then come back and slice it out of there with a chisel especially down in these fine details. What we don't want is for that glue to get hard in there and then you're working really hard with the chisel trying to cut it out later. This panel needs to dry.
We have to go another step. The panel alone is not enough we've got to put a Z strip on the back while still allowing for expansion and contraction. So I'm gonna take you through that process too. We've got our panel out of the clamps. Glue's dry.
The other thing I did is I cut to its finish length and I ripped it to width. So gluing three of these together left a tongue on one side, a groove on the other. I had allowed for that when I glued the panel up leaving it plenty big so that I could come back later and remove those. You don't want those on the edge of your door. Next thing we need to do is stabilize everything here.
There's not a great glue bond in that tongue and groove, 'cause it's not the same fit we'd get if we were tongue and grooving, a breadboard end or something like that, not a lot of glue surface. So what we wanna do is reinforce the door with the Z strip on the back. So flipping over, we wanna end up with a piece like this and a piece like this and then a diagonal and that's going to help stiffen everything up and help prevent this door from sagging on those joints over time. Now you probably are already aware that when we were working with solid wood, we can't do cross grain construction like we have here with the parts rigidly fastened together. Especially in pine like I have here we're gonna see a lot of seasonal movement.
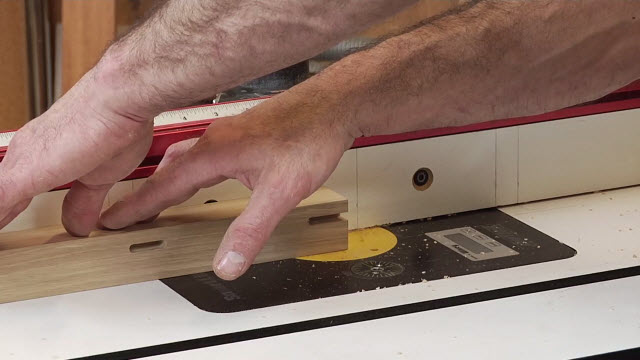
So this is a very cool looking door, but we need a way to Fasten these battens, these cleats onto the back of it and still allow the door to expand and contract seasonally so we don't get in trouble with cracking later. I'm gonna take you to the router table and I'm gonna show you a really cool way that we can put expansion slots for screws into these cleats. Now it's gonna allow the door to move as it needs to without having any cracking. This is a pretty cool solution to the problem of expansion and contraction and allowing it to happen. The solution being in the form of a router bit.
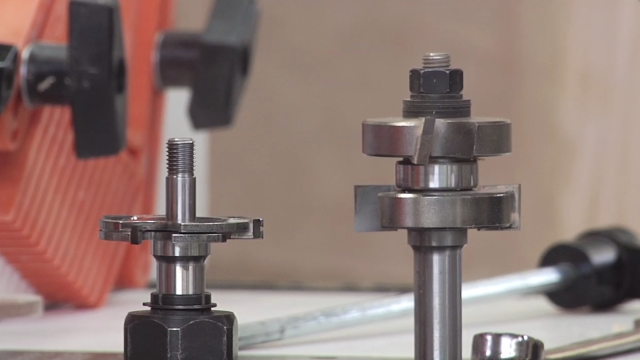
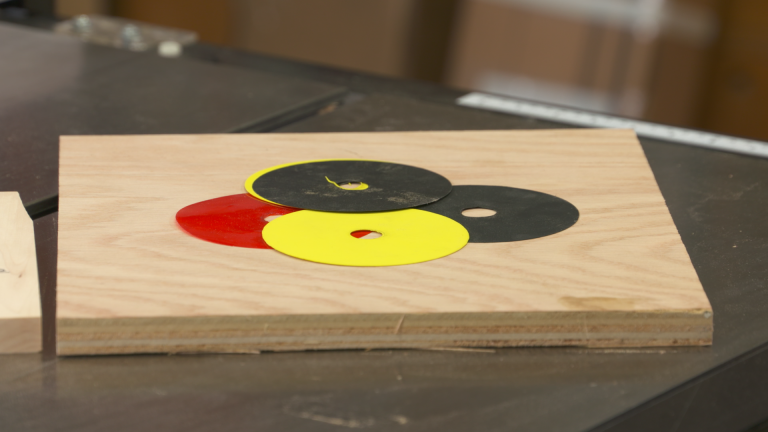
This is a real unusual cutter. It's got two parts to it. This component is designed to match up with the body of a screw. This component is designed to match up with a head of a screw. We're gonna use those to cut a slot that will then allow the screw to move back and forth with the seasonal changes in our pine so that we don't get any bowing or cracking.
What we need to do for setup on this is set the height of the cutter so that, if I can get my screw to stand up so that the shoulder on that bit is just a little bit higher than the head of the screw right about there. For my fence position. I'm set, so that I'm gonna cut this slot across the center of the width of the board. I've added some lines that show me my start and stop points for where I want the slot to go. Now, realistically, I'm probably making those slots longer than I need to.
What you can do for that is look up charts that indicate how much wood will expand or contract from the most humid times of the year to the driest times of the year. And based on the width of your door make the slot inappropriate with, to that length to allow the door to have that movement. I'd rather go a little bit too long than a little bit too short, so that we don't impede that. Here's how this will work. Then once the router is plugged in and running I'm gonna plunge onto my material.
Move forward from pencil line to pencil line then flip around, do the same thing on the other end to my cleats. I repeat that process with my other cleat, but I wanna show you what's gonna happen here. Once we run that screw in, there she goes, the head of the screw will be able to move back and forth on the channel that we created with that part of the cutter. While the body of the screw is gonna be able to move in that slot. I didn't want to do one in the center because we can simply drill and drive a screw here.
This doesn't need to allow movement. As long as the board can move from the center out we're gonna be fine. So we only need those two outer slots. I'm gonna wrap up my other cleat and then we'll go back to the door and put everything together. I'm ready to apply my cleat.
I've got layout lines on here. Notice, notice, notice the absence of glue. If we glue these parts together, we're completely defeating the purpose of the expansion slots. Pre drilled for a hole here in the center or a screw. That of course, as a conventional wood screw out here on the ends, I'm using a sheet metal screw.
Now the router bit I used in the table we've provided a source for that on the PDF that accompanies the video. There's two forms of that. The form that I used here produces a flat bottom slot that lends itself to a pan head screw. They also make one of these that'll create a V-shape a funnel shaped on the bottom that would allow itself to work with a flat head screw like this. Concept is the same either way the screw is gonna slide back and forth.
What I'm gonna do is get the screw in the center. The big deal here is don't overdrive this. Overdrive, meaning if I spin and spin and spin that screw I'm gonna allow the head of that screw to bury into the soft pine. If it does that, it's not gonna wanna slide back and forth with seasonal changes. So it's important that you just make contact with that gutter and quit.
Now we call this a Z strip because this is gonna go in here. That's what creates our Z arrangement. The way I was taught to do this and I think there are people fall on both sides of the fence is that this is the top hinge side with the Z going down toward the side, bottom away from the hinges. And makes some sense to me, as far as preventing this door from racking from slipping down that way. In order to get this Z cut, adjust the right angle.
What I would do is position it, where it's gonna live and then I'm gonna make a mark right here even with this edge. I'm doing the same thing on my side, do the same thing at the top, one right here at the bottom of my fast and cleat, one on my side. Then we can connect the dots. And once I have this line on here, I'll go to the miter saw, cut to the line and then I'll come back and do the final installation on my Z strips. Once again, no glue.
And we don't need expansion slots on this 'cause this Z strip as the wood moves is gonna kind of pivot back and forth. And I'm allowing it to do that by just putting one screw in each of my pieces of beadboard. Wrapping up, our beadboard door with the Z strip on the back to keep that door nice and stable.
Share tips, start a discussion or ask other students a question. If you have a question for the instructor, please click here.
Already a member? Sign in
No Responses to “Make Quality Doors Session 6: Beyond Standard Frame and Panel Doors”