Dovetail Session 3: Through Dovetails
George VondriskaDescription
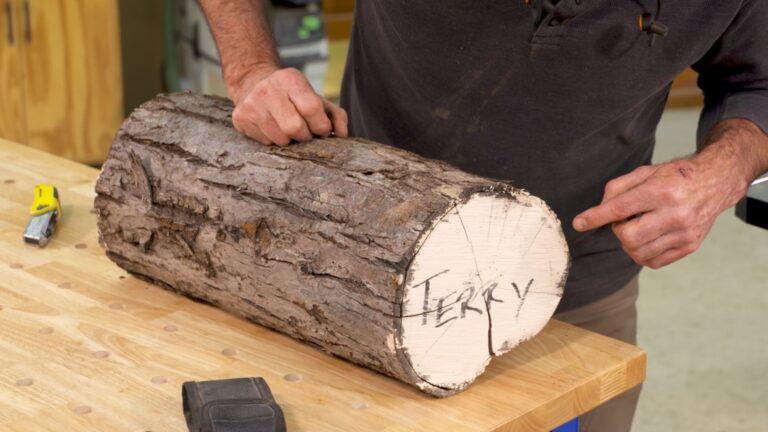
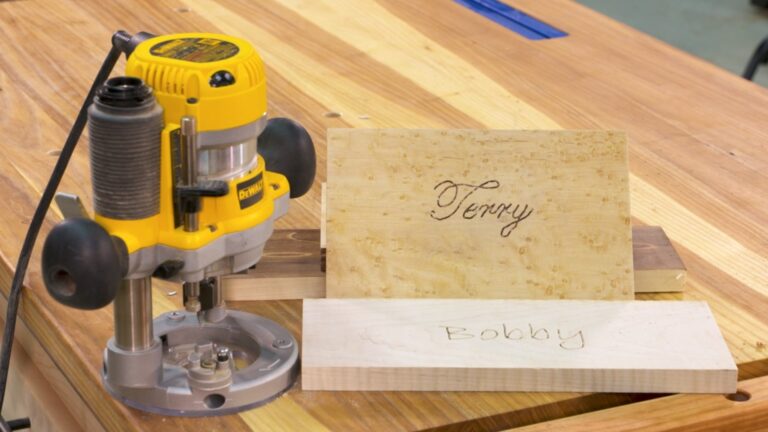
Once again we’ll start with labeling our boards, and then look at positioning the material in the jig for through dovetails. The fit of a through dovetail depends on the size of the sockets, and you’ll learn how to correct the fit as needed. You’ll also see how to use climb cutting to prevent chipping of the boards.
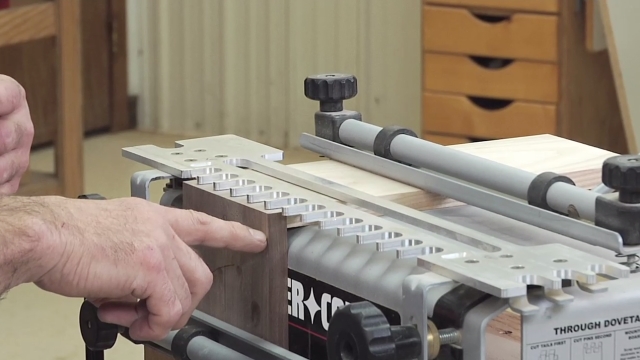
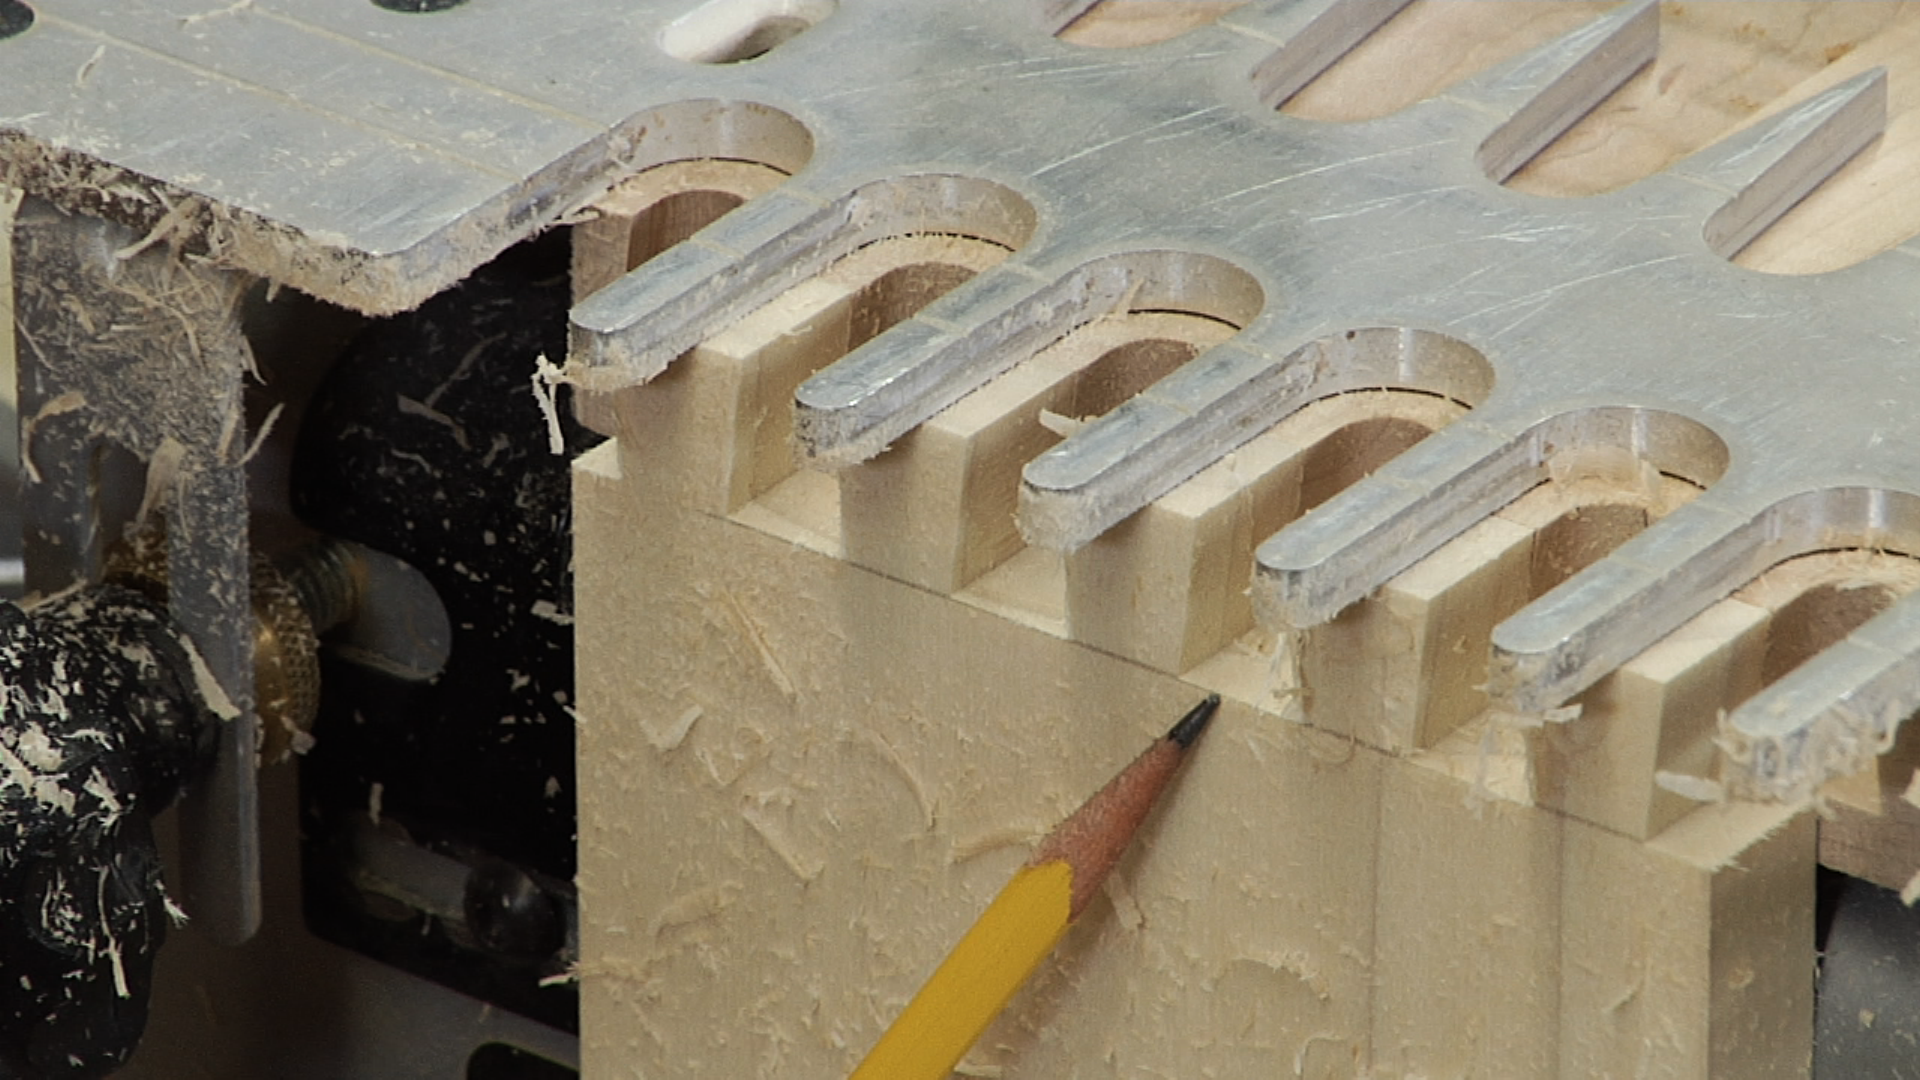
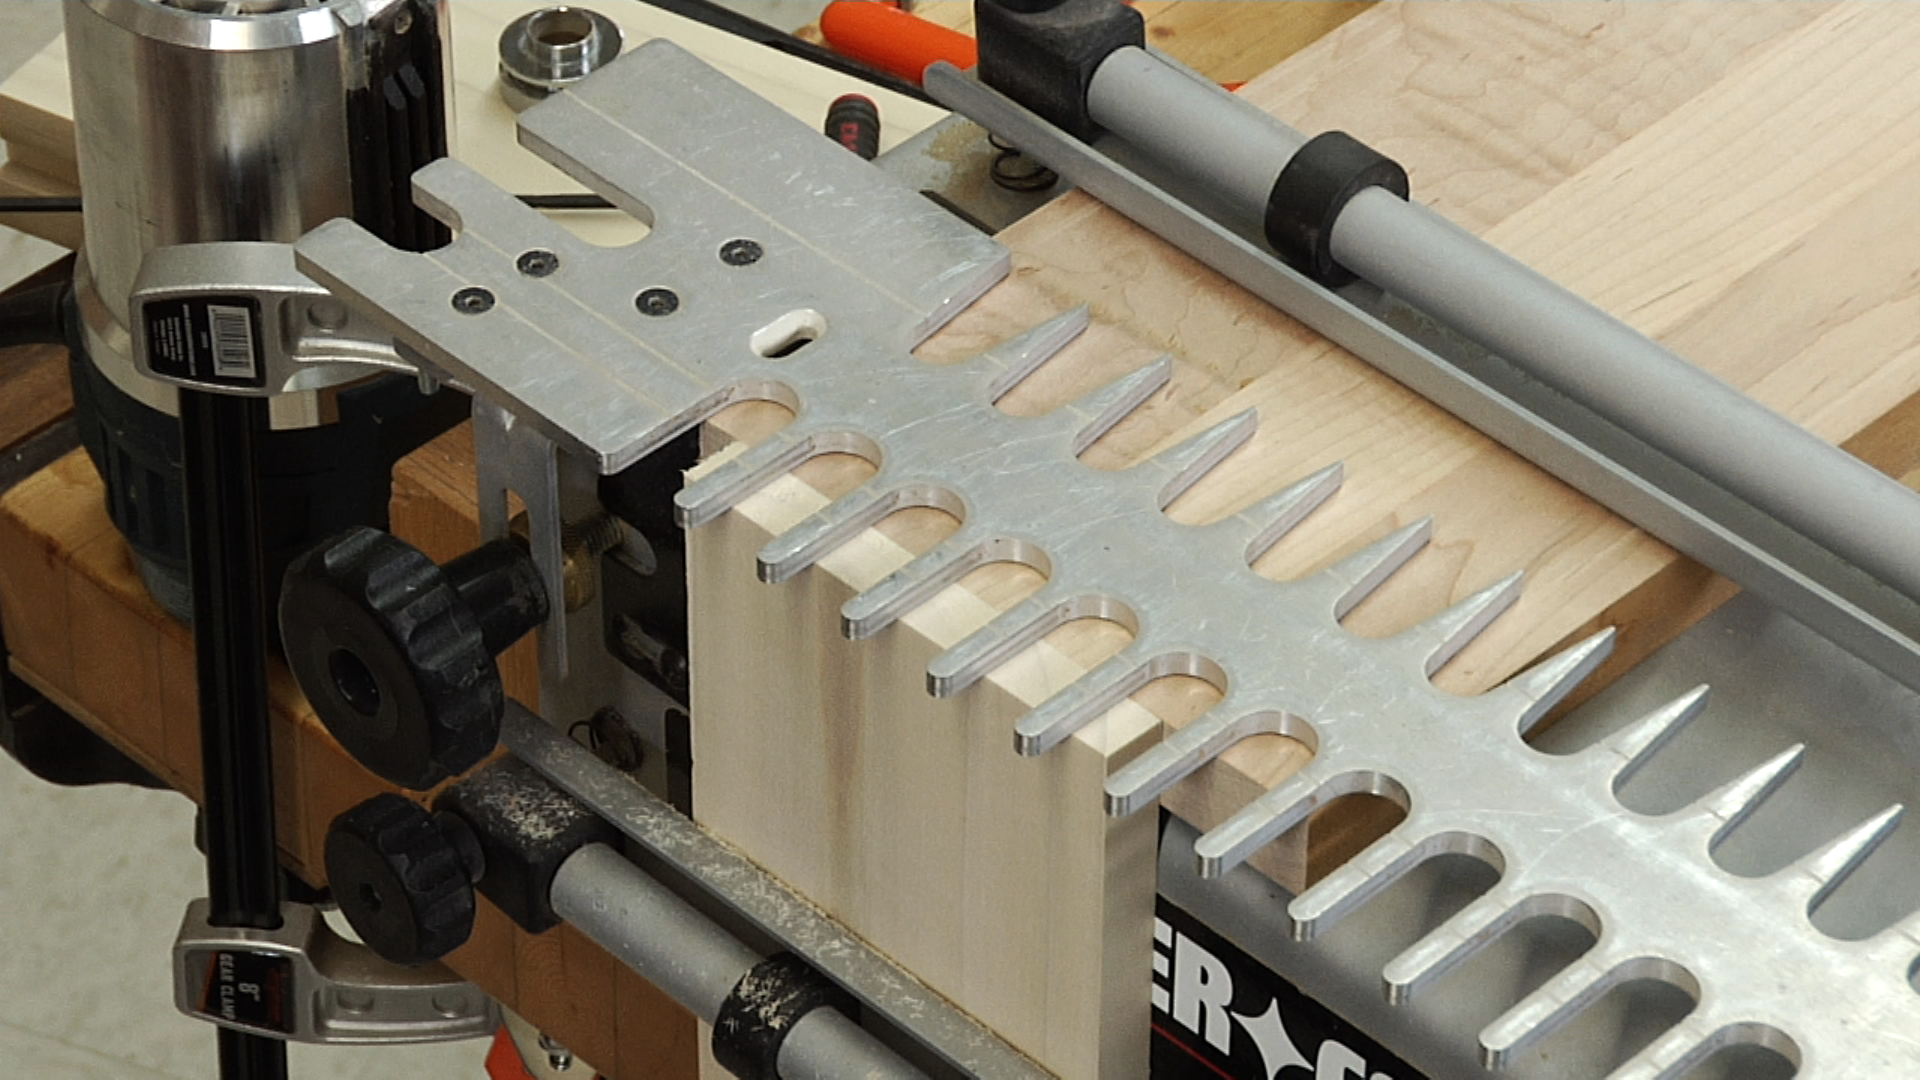
Let's go from half blind dovetails to through dovetails. A couple of different setup changes here. First, let's look at the cones. We gotta change combs And with this one, we have one side that's gonna be used for tails, the other side that's gonna be used for pins and sockets. A way to remember this is that the side that's got straight fingers is used in conjunction with the angled bit, our dovetail bit.
The side that's got angled fingers is used in conjunction with the straight bit. You'll see more about this when we get to the next step. On the jig, I've got a board. This is a sacrificial board. Here's the deal.
When we do through dovetails, we only cut one board at a time. So we need a waste board behind it so that when we exit on the backside, we're not splintering out the back of our project board. This board, the sacrificial board, needs to be slightly thicker than our project piece. Two reasons. One, so that if it's too thin, we could accidentally cut into the jig.
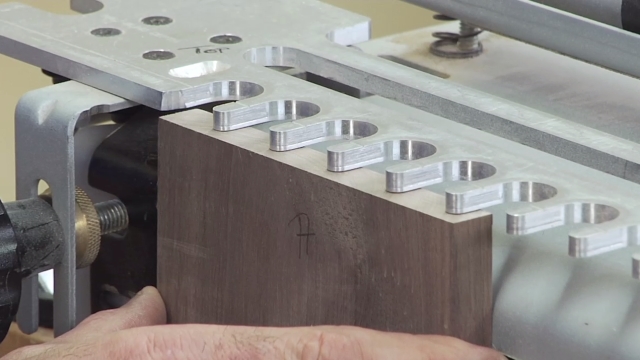
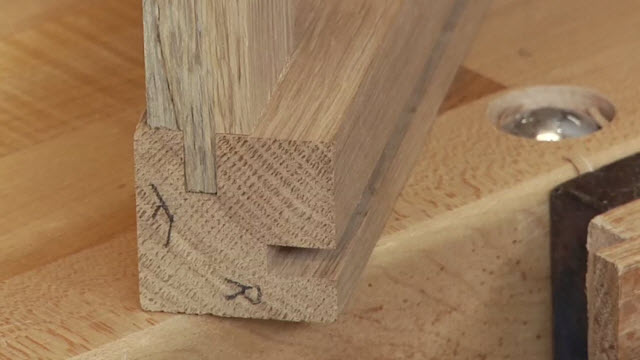
Secondly, we wanna fully support this board on the exit side of our cuts. Now let's talk about our labeling. Here I've got T for top, joint number one. That's my tailboard. T for top, joint number one.
Here's the big difference. When you lay out for through dovetails, on the tailboard, your marks go on the inside face. On the pin and socket board, they go on the outside face. So let's get our jig put together. our comb is just gonna drop on top of that waste wood.
Now depth of cut this way. You're gonna have to refer to your owner's manual and see what the recommendation is for how deep does this template needs to be in that direction. What we need to do is get it set so that when we cut through this board, we're cutting all the way through. So looking at our comb, if this is too far forward, it'll prevent us from going all the way through. You'll be able to see this in just a second what I'm talking about.
Set up now when we get started is gonna be the same. T for top against the stop, joint number one is up. So I go against the stop. Kiss the bottom of the comb. If need be, we could change the position of the stop in order to get this center.
Waste board kisses the back of our tailboard. I gotta lock that template down. There we go. Waste board kisses the back of our project board or tailboard. And then like we did with the half blinds, give that a little feel test across the top.
Make sure end grain is even with face grain. We're almost ready to cut. But we don't know if our dovetail bit is the right depth or not. And I know that it's not because we just finished doing our half blind. So depth of cut on a through is really, really easy.
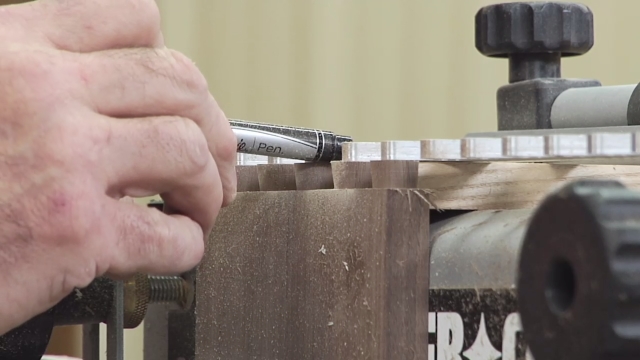
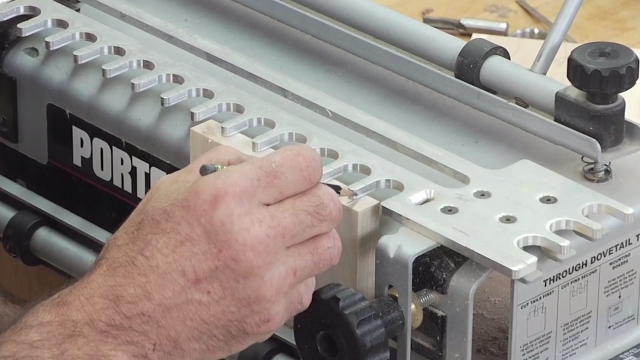
All we have to do is take our mating board. And what we're gonna do is place it on the bottom of the comb and draw a line. So mating board eases up against the bottom of the comb and then reach underneath with a pencil, draw a line. Then we get that. We've transferred the thickness of this piece to the face of this piece.
Now, when you set your depth of cut, what we wanna do is get the ears, the points of the dovetail bit on, or even slightly below that line. Now depth of cut with a router bit. Router's unplugged, just needs to match our pencil line. So what I'm gonna do is lower the router. And if anything, we'd like to cut some of the pencil line away.
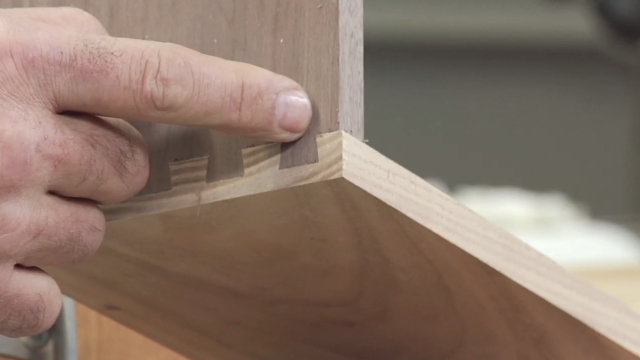
We want the end grain of this board to project past the face grain of the pin and socket board and vice versa. That looks pretty good. Now looking at the way our column is, how it projects past the face of the board. We can't do a scribing cut on through dovetail. So this is gonna be really simple.
Straight in, straight out, straight in, straight out, straight in, straight out, all the way down. This looks good. And let's look from the top here and see. Remember I was talking about you gotta make sure that you're deep enough? When I look here, I've cut well into the pine board.
That's my backer board behind the poplar. When I look at my tails, I can see that the edge of the tail is nice and straight. If I hadn't cut in far enough, we'd see a little curve here at the back of the tail. That'd be bad. We'd have to move this template deeper.
So this part looks fine. Looking at the line across the front, that looks like our depth of cut is plenty deep. Now let's think about this a second. If this is our tailboard, we're probably also gonna put tails on the other end. How's that gonna work?
If I take the board out and simply rotate it, T for top is no longer against the stop. What's the solution? Use the other side of the jig. So just like we did with half climbs, you're gonna cut some of your tails over here. Half of them on a four-sided box you're gonna cut the other half over here.
And you can lay out your stop block the exact same way that we did with the half blind dovetails to make sure it matches left and right. That takes care of our work to get tails cut. Next thing, we'll have a look at how we change the comb configuration and what we need to do to cut perfectly fitting pins and sockets. With a couple of conversions here on the jig, we're gonna be ready to cut pins and sockets. What'll happen is we have to cut those such that they fit the tails we've already done.
I'll show you how to do that. First thing let's look at the router. I took out the dovetail cutter and put in a straight bit. Remember, on the side of the template, that's got angled fingers, we use a straight cutter. You've gotta use the diameter of bit called out for your jig.
Other stuff isn't gonna work. Similarly, in this case, and for this jig, I also had to change the guide bushing. Read the owner's manual. This diameter has to also match what the jig expects you to have. We'll talk about depth of cut in just a little bit.
Once again, we need a sacrificial board laying on our jig that's slightly thicker than the material we're working with. The comb is gonna go on. And lay on top of that sacrificial board. Angled fingers forward. The board that we looked at earlier, T for top, joint number one.
This is the outside face of the pin and socket board. Like we've done a number of times already, T for top against the stop. Put that against the stop. Kiss the bottom of the comb. I don't have the comb tight yet 'cause I wanna show you something.
On this particular jig, and this is gonna vary a little bit from jig jig. There's an index line on the top. The index line corresponds to the joint between the vertical board and the sacrificial board. So what we need to do is get this line to correspond to that seam by dialing the template back and forth. Get it close, test cuts are gonna be the order of the day.
The test cut is what's really gonna tell us if we have a fit or not, but that'll get us close. Your jig might be a little bit different. And if I haven't said it before, I'll say it again, check the owner's manual. Now I'm ready to snug this down 'cause my line is pretty darn close. So again, once you're in position, T for top against the stop, kiss the bottom of the comb.
Horizontal sacrificial board should be kissing the back of our pin and socket board. Good to go. Depth of cut, second verse, same as the first. We're gonna scribe a line, set the bit to the line. So we take a piece of our mating material.
Ease it up against the bottom of the comb, strike a line. Now here's a good question for you. Does the thickness of our tailboard and our pin and socket board have to be identical for this to work? Doesn't. Because in each case, we're setting the depth of cut for that particular board.
So we can have two different thicknesses of material in our project, one thickness for pins and sockets, a different one for the tails. Depth of cut, same as what you've already seen, which is set our straight bit so that it's gonna hit the line and maybe go just a smidge beyond it. So that end grain projects beyond face grain. Our cutting procedure, I want you to watch this closely. This is gonna be a little different than what we've already done.
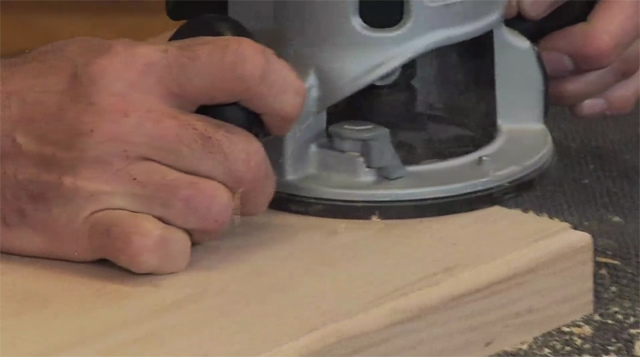
In this case, what will happen is, if I come in on the left and this would be a normal motion with the router left to right, left to right, sweeping that out. Sometimes what we can get here at the end of the cut is a little bit of chipping in this face. So on the pins and sockets, when I hollow out these sockets, I'm actually gonna start on the right and I'm gonna climb cut to the left. We're moving in the same direction as the router bit is turning. But by doing so, it's gonna give us a better quality of cut.
So I'm gonna climb cut probably two passes per socket. Then I can come back and go in a conventional direction once I've penetrated the face over here on the right side, sweep all of this socket out. Again, and again, and again, and again, and again. Keep in mind the lessons you've already learned. Turn the router on while it's on the jig.
Let it come to a stop on the jig. Handles parallel to the face of the jig and this plane. Now let's think about some of our other lessons out of this class. Before we remove the material, we wanna make sure we have a complete cut. So I'm looking down at the top here and making sure that the wall of the socket is parallel to the template all the way down.
Sometimes it's easier to feel than to see. That looks good. Now, before we take this out, have a look at this and visualize what kind of changes we can effect. This is a tapered shape. So if I move this entire template away from me, I'm gonna use a wider part of the taper resulting in the socket being a little bit bigger.
If I move the template toward me, I'm gonna use a narrower part of the shape, resulting in the socket being a little bit smaller. So when we get to the next step here, which is, do they fit? That's the adjustment we'll have to make here on the comb is deeper or shallower in order to change the width of our resulting socket. Now remember that on our tailboard, the marks were on the inside. So these should fold together like this.
And then we'll see if we can tap, tap, tap to get them in. Okay, no tapping required. So what do we got going there? It's a little too loose. Tails can't be changed.
That comes from the dimensions of the template. We can affect change in our pins and sockets. We have to make them a little bit wider, which means we've gotta move the template just a little bit forward. On this jig, what that means is, I'm gonna loosen up the black knobs. There are neural knobs behind it.
I'm gonna turn each of those the same amount, bring it forward a little bit. Now we're in the world of test cuts to see where we end up. Let's look at one more thing as long as we're test cutting. Are we deep enough? Does the end grain of our pin project past the face grain of our tailboard?
Yes, it does. That's just great. Just like that. All right. I am gonna bring my template forward just a little bit, do another test cut, and then we'll come back and hopefully put everything together.
Can take a little bit of trial and error to get this just right. But we are gonna make that happen. Because this is just my board for test cuts, I don't care at this stage about T for top. We're just using that as an example on the layout. So I'm gonna go ahead and come right back on this side of the jig and do another set of cuts.
All right. Still looser than we want. Got a little ways to go. Well, nothing succeeds like success. So once we have this right, now we can continue the process and we can cut our pins and sockets around all the boards.
I wanna talk about this labeling inside versus labeling outside and help you understand why that is. So lemme disassemble. And I'm gonna go ahead and put labels on this one to refresh your memory. All right. So let's turn the clock back.
This was our tailboard. T for top went against the stop. So this was our reference edge. That's the edge that went against the stop. Now we cut our pin and socket board.
T for top went against the stop. So that's our reference edge. When we put them together, the two reference edges have to stay aligned with each other. So when I assemble this, it has to go this way to keep the T for top lines, the T for top edges, in line with each other. If I turn it around, it may go together, we can try it.
But the edge probably won't align unless the joint is perfectly centered. What a great fit. That's why the lines for this board are inside face and the lines for the pin and socket board are outside face. So that takes care of custom-fitting the pins and sockets to match the tails that you've already got. Make sure that you get a good fit.
Follow that procedure for climb cutting and it really does a lot to increase the cut quality across the face of your sockets.
Share tips, start a discussion or ask other students a question. If you have a question for the instructor, please click here.
Already a member? Sign in
No Responses to “Dovetail Session 3: Through Dovetails”