George Vondriska

Dovetail Session 2: Half Blinds

George Vondriska
Duration:   36  mins

Description

Great half blind dovetails start with proper labeling of the box parts. With that complete we’ll look at setting up the jig so the joint is properly centered on the board, how to accurately position parts in the jig, and what we learn about depth of the router bit from doing test cuts. You’ll also learn how to use a set up gauge to more easily set the depth of the router bit the next time you use the jig.

Share tips, start a discussion or ask other students a question. If you have a question for the instructor, please click here.

Make a comment:
characters remaining

No Responses to “Dovetail Session 2: Half Blinds”

No Comments
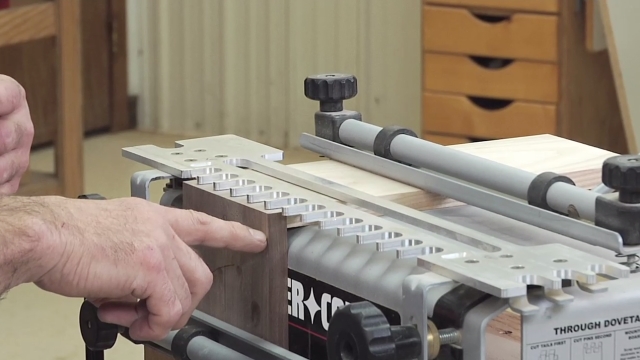
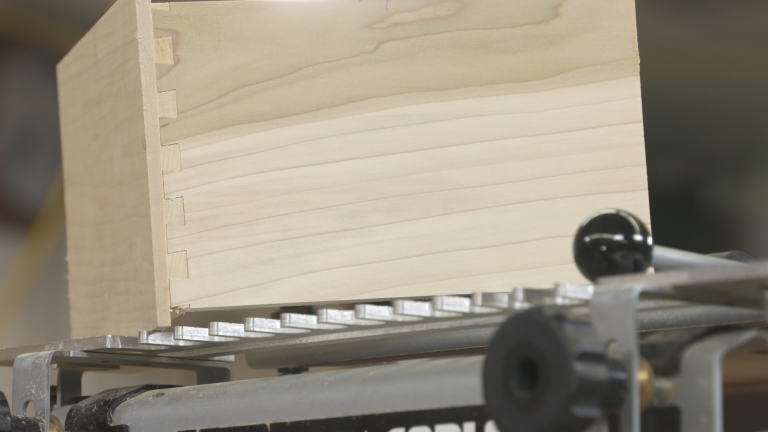
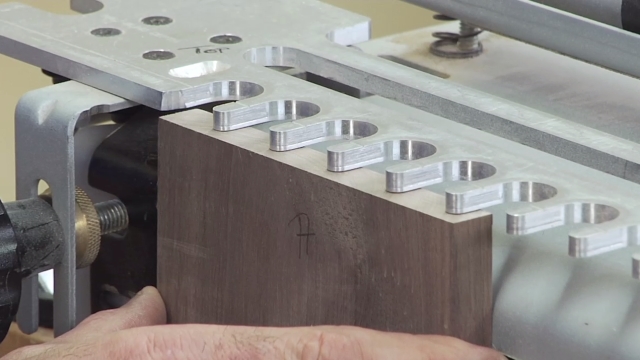
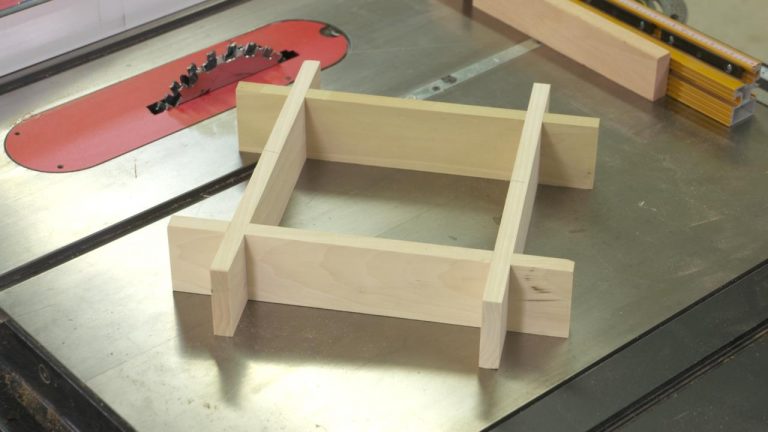
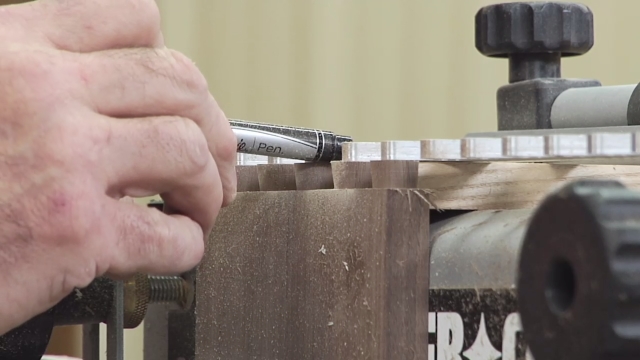
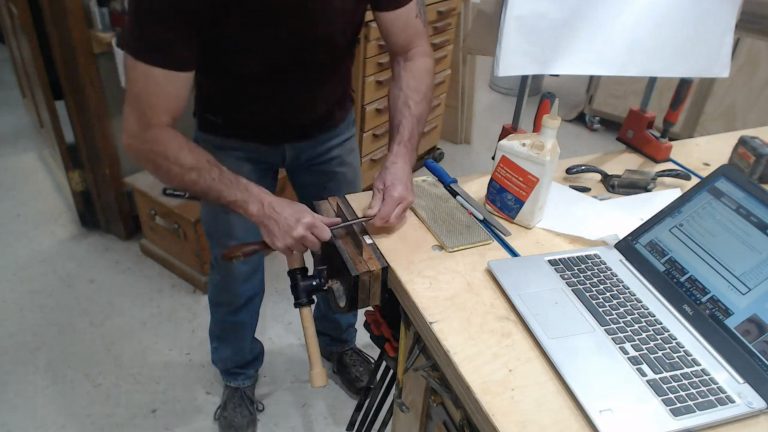
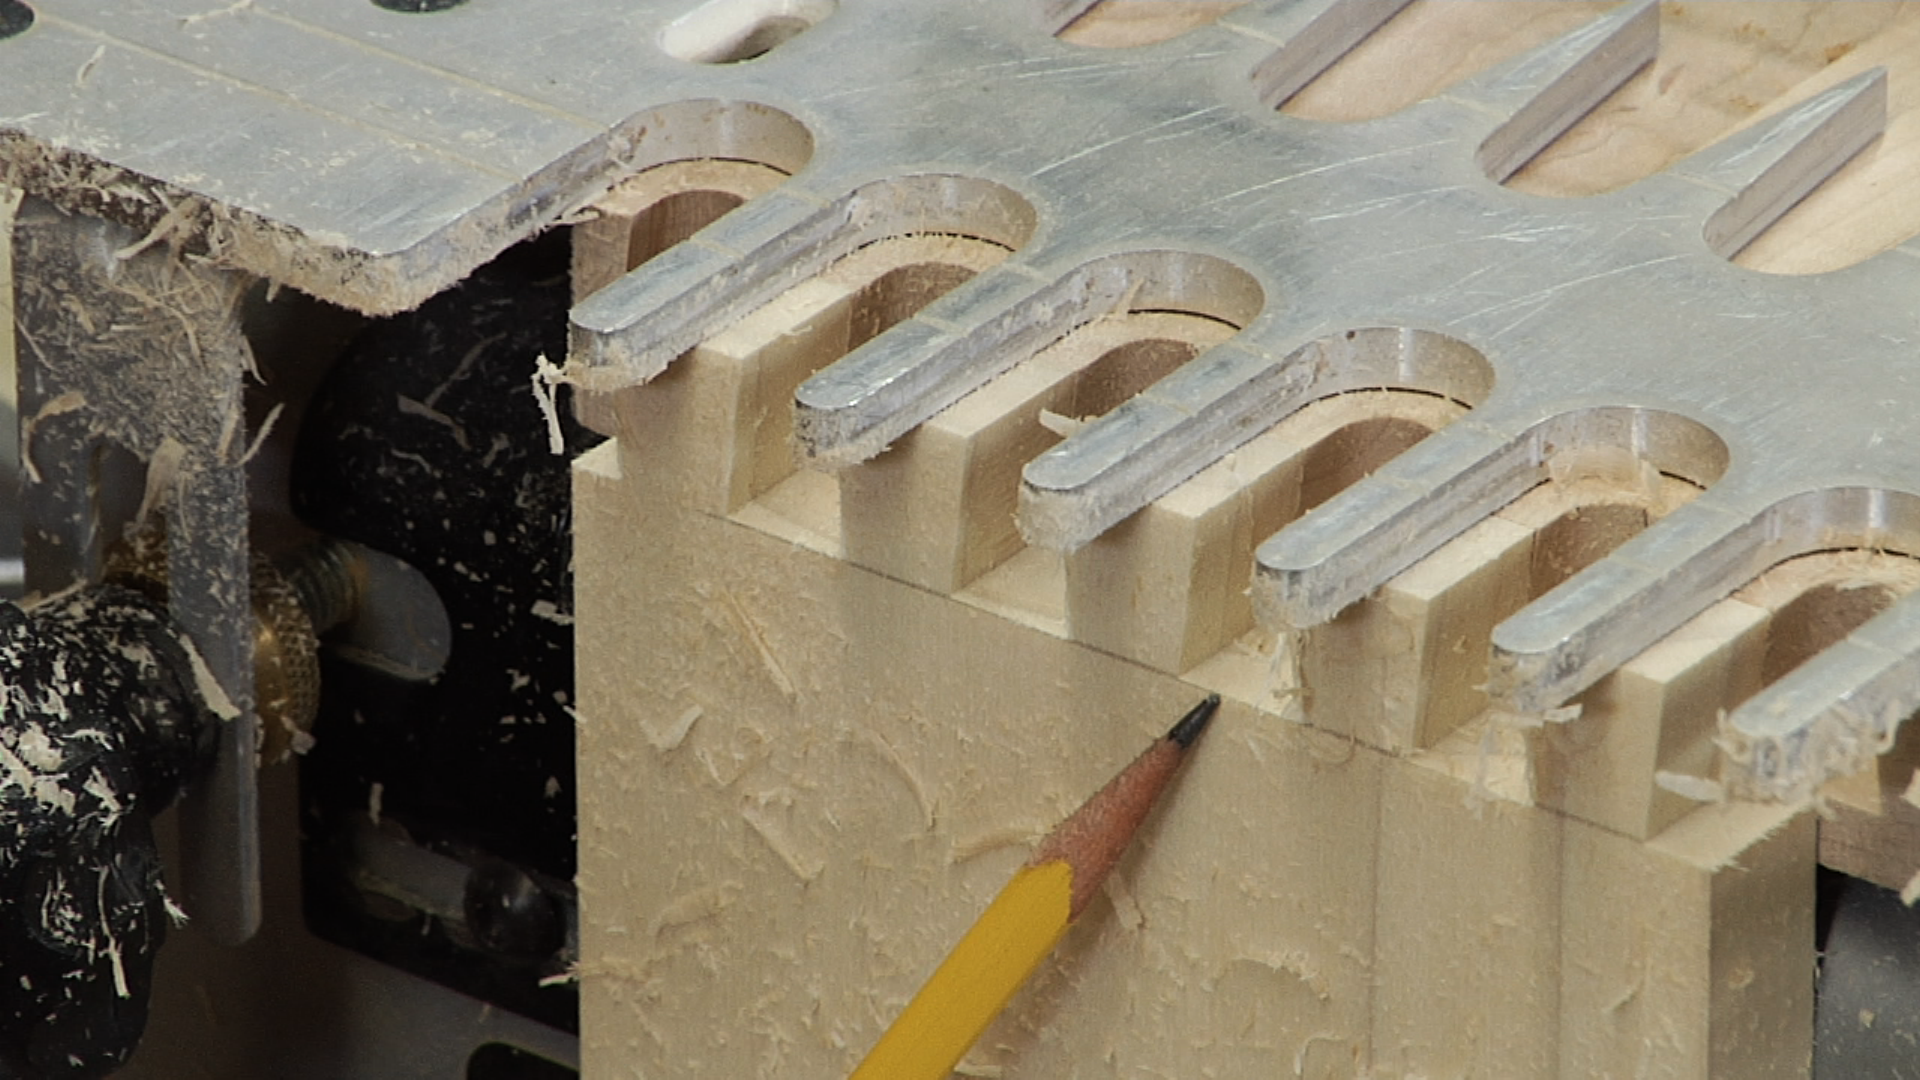
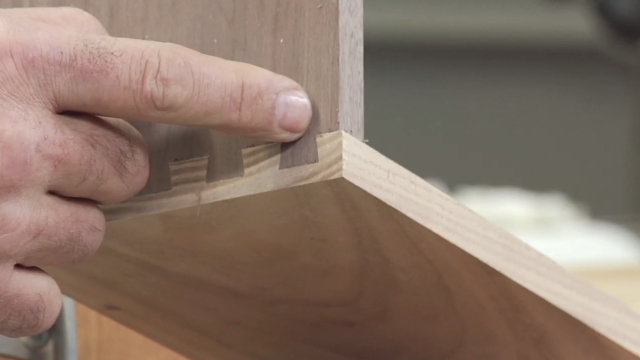
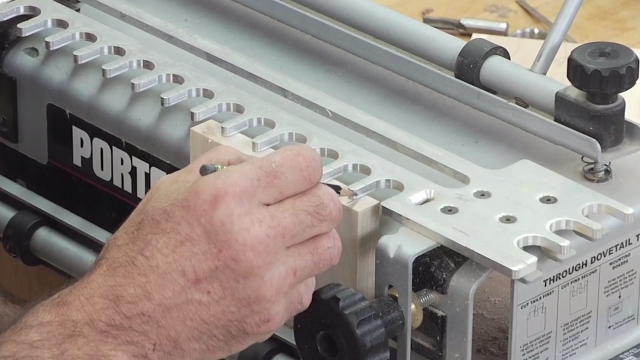
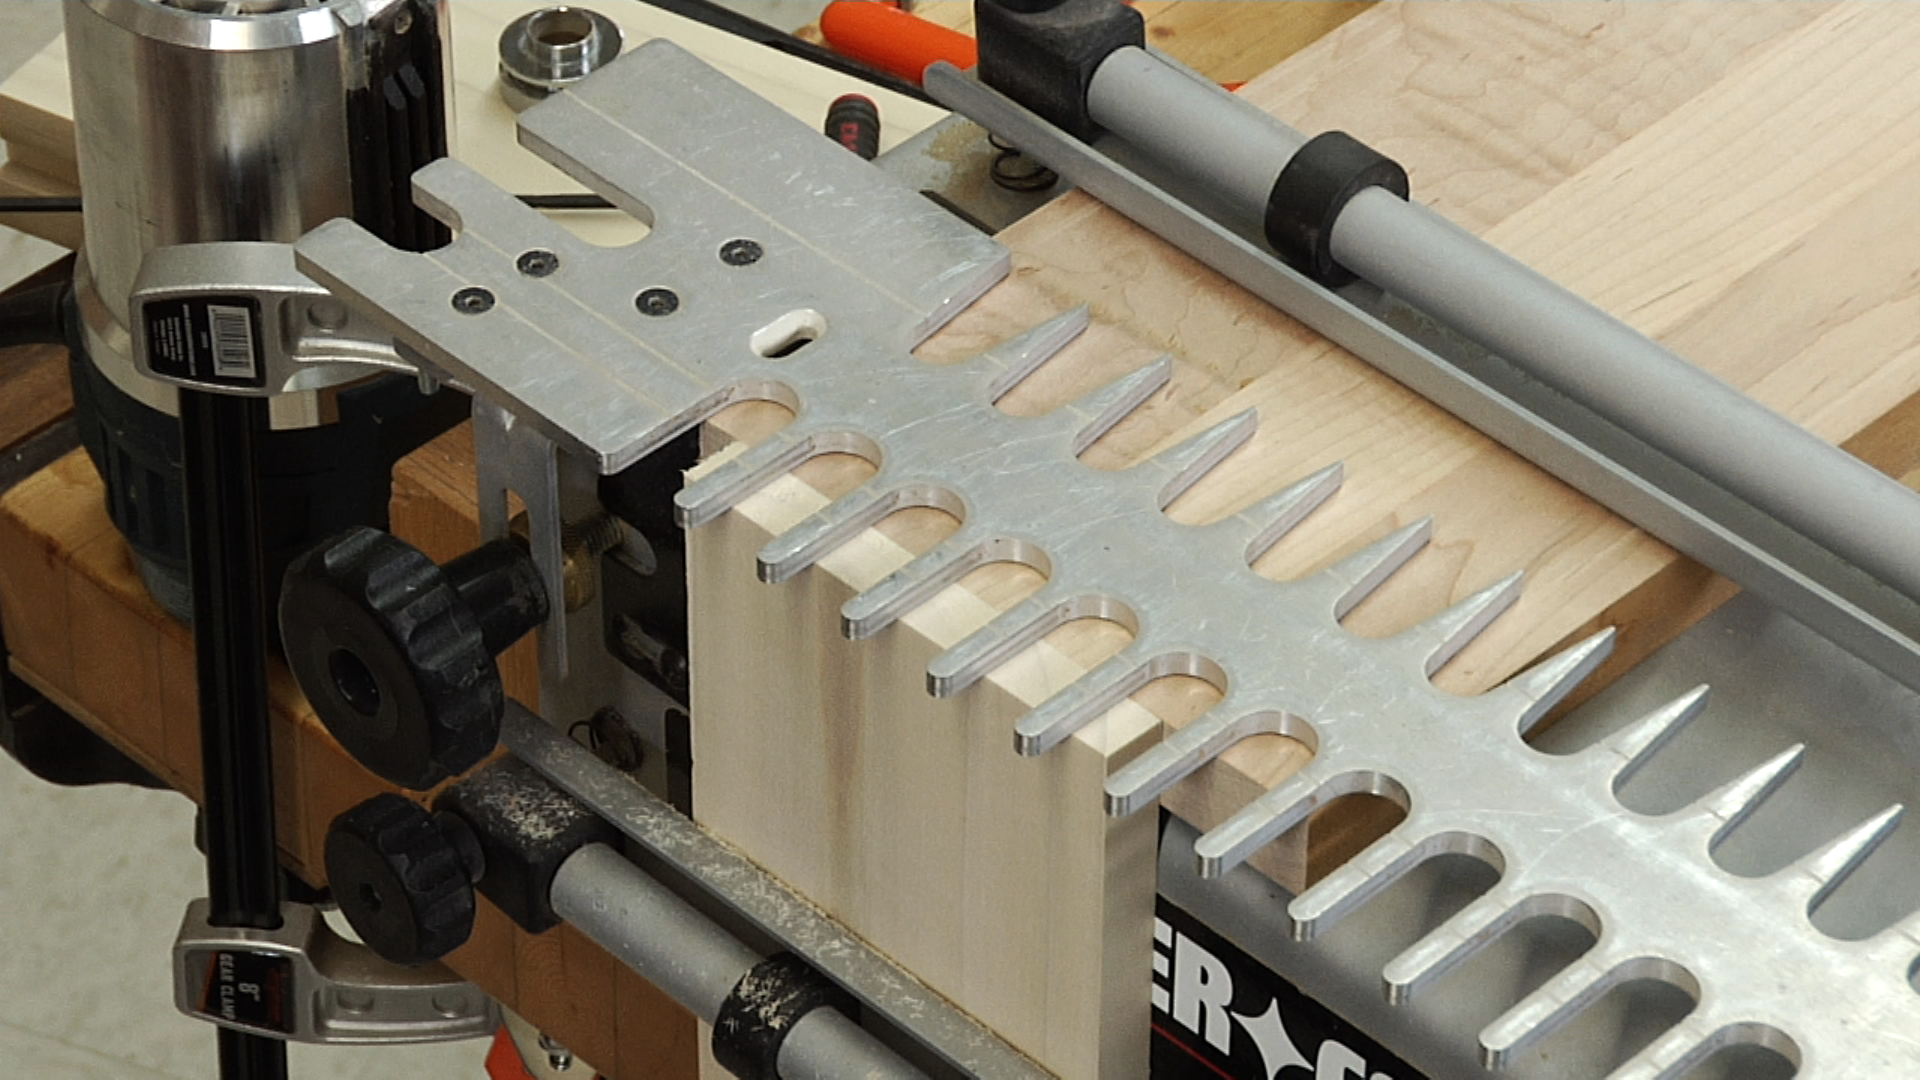
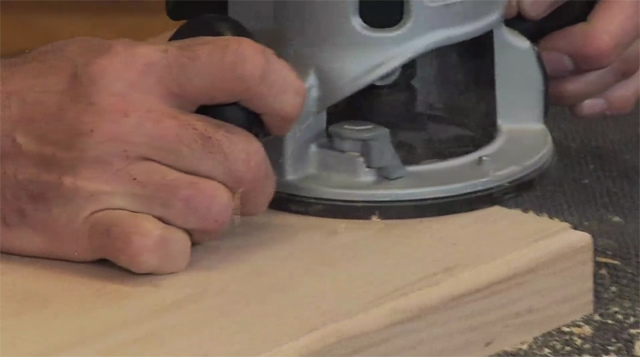
Before we head to the jig, we need to get parts labeled correctly. So first thing we're gonna do is a half blind dovetail and I'm on the presumption that you're gonna make some kind of foresighted box. Maybe it's a drawer, maybe it's a jewelry box but we wanna get those parts labeled before we head for the jig. So, first thing, I've got my parts laying here. And remember I talked about the importance of similar sides have to be perfectly identical. So these two parts go together, these two parts go together. They're labeled accordingly, so I can tell which ones are the same dimensions. Ends are cut square, edges are straight, faces are flat, it's all part of our material prep. Now when we put our box together that means that's gonna go there, and that's gonna go somewhere there and that's gonna go somewhere there and that's gonna go somewhere there. Next step, look at your parts, and if they have a good face, bad face we want the good face to the outside, so that we can see it when it's done. Once we've got that established, what we wanna do is now look at the inside faces of our pieces. So once the box is all stood up and you have good face out, open up the box. Now we can start our labeling to make sure everything goes together the way it should. So with our pencil, we're gonna first mark on the end grain of our material and then we'll work all the way around this. We're gonna mark joint by joint. So this is number one, and it's gonna coincide with number one. Then go into our next spot, two, and all the way around. And hopefully we end up at four. And there is a distinct reason why we're marking this on the inside, and that's gonna make sense when we get to the dovetail jig. Next thing is just to go to remember we folded these down to look at the inside faces, so now go to this, that will be our top edge T for top needs to go on the edge that's away from you on every piece. This roadmap is really important, so I have this general guideline for woodworking and it's not just dovetail jigs. When you get to the tool, your parts should be labeled such that you're not making decisions about how the parts play nice together at the tool. So this is table saw, joiner, plainer, dovetail jigs dancer so whatever it is. You need to have the parts labeled enough here at the bench. That right now I can concentrate it on this make sure everything is oriented correctly, so when I get to the dovetail jig and I have this roadmap laid out, it makes it more Bulletproof, less opportunity for mental error. It's also safer because when you get to the tool you can concentrate on just what you need to do to run the tool without second guessing the configuration the orientation of your parts. So take the time to do that labeling, next we're gonna take these parts to the dovetail jig and get some test cuts done to see what it takes to get a dovetail cut. Let's talk about getting material in the jig. This is really, really, really, really, really really important that you get this right. Couple of things here, I'm not putting in the material from which we're gonna make our foresighted box. This is about test cuts. And so in that material, I do like to see that the material we'll ultimately use for our test cuts is the same, or at least as similar working characteristics to the final project. Because if this wood is really soft and the project wood is really hard, when we work in a little bit on the fit of our dovetail, we could get cheated there. So my parts are labeled T for top, joint number one, it's gonna go with head number one over here, so just like we did on the four-sided unit. A couple of things are important to keep in mind. Your pin and socket board, which is always your drawer front or drawer back is always in the horizontal position, then meaning your tailboard is always gonna be in the vertical position. On half blind dovetails both parts go in the jig at the same time, you will see that in a second. We've got our half blind template on the jig and we can tell 'cause it's only got one set of fingers and the through template of course is two sets of fingers. So this looks like everything is set to go. Now, here's what's gonna happen. Remember we labeled our pieces T for top. We all remember, top against the stop. the stop being this part of the jig that I showed you a little bit earlier. On this jig, I can loosen this and I can reposition that step. That's not always the case, but the manner in which the wood goes into the jig is always gonna be the same. So I made it just kinda randomly locate that for now. We'll leave it right there top against the stop, that means we put our material in. This is my pin and socket board in a horizontal position, goes against the step. Don't worry about the altitude of the comb at this point, see how it's way above my work doesn't matter. But I'm gonna temporarily hold that horizontal board in place. Now we have this rule top against the step. There's my T, there's my stop. Comes in, goes over. That's the way the parts should look in here. Now we should be able to do a visual check. We very intentionally labeled the inside faces of our pieces because they go into the jig with the inside faces out and up. So the double-check is, I should be able to see all of my layout marks when these are in the jig. Top against stop, see your marks number and number should correspond. Now, let's talk about that composition, what do we do about that? Easiest thing on most of these jigs, this is adjustable based on the thickness of your material. Easy setup, all we have to do is loosen, let that drop until it touches, just snug that up again. It's gonna move my board to the other side. Loosen, let that sit until it touches, you're done. All right, now let's take this a step further reinforce some of our setup rules top against the stop. Number one is facing forward, tailboard comes in vertically, until, it kisses, it's an important word, the bottom of the comb. So I'm gently pulling this up, pushing to my left with my right hand, to make sure it's snug against the stop. Lock that in place. I noticed my horizontal piece is still kinda wiggly in there, that's fine 'cause now my horizontal piece comes forward until it kisses the back of the vertical piece. And then what do I need to check, reach over here, push it, so it's top against the step. So I'm doing two things here, with one hand I'm gently pulling forward, with the other, I'm pushing against the stop, lock it in place. Now this gently kissing all of that stuff. When this piece goes in and I say kiss that against the comb. If I pull up hard, watch the aluminum relative to watch the comb relative to the face of that piece. If I lift, I can lift that comb off that surface. That's bad, it's gonna mess up my dovetail. So we kissed the bottom of the comb, then we're gonna do a double check in a second. Similarly, when I bring my horizontal piece in, if I lean on it, it's possible I could pull my vertical piece forward it's gonna mess up your dovetail. So it's just gentle touches on our setup. Now I said, we're gonna do a double-check. What we wanna do is double check that the end grain of this piece is even with the face grain of this piece. And I'm gonna do that by touch. Currently, my end grain is just a scotch too high, so I'm gonna loosen my board, let that sneak down just a little bit until they're perfectly flush. Double-check I'm still against the stop, lock it in place. Check that again. That feels great. This is the position in which we're ready to start making a cut. Now, one of the things you're gonna have to check on your particular dovetail jig is where the comb should be in a front to back orientation. How far forward, how far back. On this jig, there's a line that's etched into the aluminum and that line aligns with the scene between these two pieces. So when I get up here and I looked down from the top I would control the front to back position of the jig, until that lines up. When we have a joint and we put it together I can show you what we're checking for there as to whether or not this is too deep or not deep enough on the jig, but that's a starting point. But you'll have to check with your individual jig to see where that registration is. Now, let's revisit this whole stop thing. When I look at this layout, one of the things we wanna check is we talked about a half pin being on the outside of our joint. So when I make a cut here, what I wanna look at is the distance from this edge of the board, to the first finger the same as this edge of the board to the last finger. And this is where by having an adjustable stop and I'm gonna loosen it and move it out of the way, Because that stop is adjustable, I can change this position until this board is centered under the comb, and that's a good position. so what I'm looking at again is the distance here, edge to finger, edge to finger, then what I'll do is lock that vertical piece in place, take my horizontal out of the way. I'll push that stop against the vertical piece that we just got correctly located, lock it in place. Now the stop automatically controls the position of the horizontal piece, relative to the vertical. So here's the dealio big picture. Using this jig or any jig that's got an adjustable staff position. The first thing I'm gonna do is bring my part to the jig and get it in here in the correct spacing. So with the staff disabled, I'm gonna get this centered, then locate the stop, then go back and do the horizontal and vertical placement that we just talked about. So up against the stop, kiss the comb. Up against the stop kiss the back of the vertical, double-check here, I'm just a little lippy, I'm gonna move my vertical down a smidge. That gets us to a point where we're ready to cut wood. Now, one of the things I want you to see and I'm gonna take the comb off for this is, there's an offset in our pieces. Every dovetail jig is gonna do this on half blinds 'cause what happens is that we're producing a tail here that fits into a socket that we cut here. So we end up with a tail and then socket. So as a result, when we put this all back together we need that offset to get the edges to align. So this is correct, don't think that your jig is broken. We should have an offset right there. Once we cut a joint and we can see the cuts that's gonna make more sense. It's really important that we hit these stops 'cause if you don't, when you go back and put your joint together the edges won't align and there's no fix for that. So you really wanna concentrate on getting that right. Now, here's a good question. We're all set materials in the jig. What happens when we do joint number four? Let me find it. Okay, we make that cut. Now I'm gonna change my mind, joint number, no joint number four is correct. When I look at joint number four there's T for top, but I wanna cut number four, so top against the stop, we're gonna use both sides of the jig. So when I do this cut we got to go in the jig this way, top against the stop. Top against the stop. Kiss the comb everything is identical. It's just a mirror image. But we want the spacing on this side when you an adjustable stop to be the same as what we already set up over here. Easy peasy. On my setup board, which is this one, we've got our stop correctly located, gonna bring that to the bottom of the comb and in this case, we're just using it for layout purposes. Out here on this first finger, I'm gonna trace the edge of the finger onto the end of my board I'll show that to you. That gives me that line traced off the edge of that finger. Now we're gonna turn this, disable the position of my stop, put the board in such that, the pencil line we just made aligns with this edge, whoops, wrong finger. This edge of that finger, lock it in place. Bring the stop over until it touches it. So that beats the heck out of measuring. It's a very, very, very easy way, when you have adjustable sidesteps to transfer this offset distance from this side to this side because as I said, we have to use both sides. So take your time, get the material in there correctly. pay attention to these rules top against the stop kiss, the comb horizontal piece which is four pins and sockets kisses the back of the vertical, tight against the stop, double-check and grain to face current location, ready to cut it. Once you've done that a few times it'll become rote, it'll become very mechanical and you'll get it right. Double, triple check to make sure you're against those stops or you'll have an offset in the joint that we can't fix after you cut it. This gets us ready for test cutting dovetails. I went through all the steps, we've already outlined to make sure my material is in here just right top against the stops, flush even make sure you're understand all that stuff about the material going in the jig. Next thing we're gonna do a test cut. And the test cut is gonna determine if the height of our router bed is just right. So here's where we're at. With the router bit the depth of cut of these cutters, my routers currently unplugged is what determines how good a fit we get between the tail and the pins and sockets. And we'll talk about diagnosing what the problem is, once we get one cut here, but what you really need to do on this one is read the owner's manual for your jig, because this distance beyond the base is idiosyncratic to each different manufacturer, so you've got to make sure you get it right. Now when you do that, don't pull your hair out and dialing it into bazillions of an inch, because a test cut is gonna tell us so much more. So it's not worth fussing and fussing and fussing over the depth of cut it. Get it as close as you can, and then do a test cut. Now, when I do the test cut, here's what I want you to watch for some handling things. I'm gonna keep the handles of the router parallel to the front of the jig throughout the cut. We don't wanna turn the router, and the reason for that is sometimes the guide bushing is not perfectly concentric with the shaft of the motor. So if you turn, as you go it can change the fit of the dovetail. So once you pick a position, stick with it. We're gonna cut from left to right working against the rotation of the router. When we do our first cut, it's gonna be a scoring cut. What I mean by that is using the tip of the cutter only, we're gonna barely penetrate into the face of the board. I'll do that cut, and then we'll stop and have a look at it. What it does is it helps prevent chipping down this face as we do subsequent cuts. So even though this is only a test cut, get in the habit of doing all of these procedures each time to make sure you get things to come out right. Up here on the top of the router, wanna make sure the router stays nice and flat on the comb. If as I'm cutting it tips, that's gonna mess up our cut. So make sure the base lays on there nice and flat, as we go in make sure you're penetrating all the way to the bottom of each finger. As we come out, make sure you're tracing the finger cause it's easy to come out too far and I'll show you what that looks like, what before you go back in, so just maintain pressure, stay in contact then go into the bottom of the next column. Those are awesome great little tips and tricks, and let's see what that actually is gonna look like. There's our scoring cut. Now the other thing I want you to notice here is that, what I did is I got on the dovetail jig, contacted the wood, pulled off, turn the router on, made the cut, stop the router then came off the jig. So don't turn the router up on up here in space, in place and then come set on the jig, that's a very dangerous approach, and then similarly, when you get to the end, don't lift it off while it's still spinning, start and stop on the jig. There's our scoring cut, barely breaking the face of our material. Now, once that's done, I'm ready to allow the guide bushing to just follow the fingers of the column all the way across our work piece. With the router off, we can look at our cuts and see what we've got here. Round, round, round, round, whoop, what's that business. Well, I came out too far before I went over and went back in, so that shape is completely wrong then we're okay, okay okay. Right now this is really easy to fix. Get back on the jig, turn on the router, zip, just cut that one finger and you're gonna be fine. If we take this off the jig and notice it later, it's gonna be really hard to correct it. That's way more better. So less than out of this is always a visual inspection before your material comes out. At this point, we're ready to take the material out but let's talk about this offset business. I'm gonna take the comb off, cause here you can really see why the guide on the eye on the edge here has this offset in it. When I take this piece out, the vertical, this tail has to go into this socket. This tail into this socket all the way down. So they fold together, they were like this. They fold together like this, that's why we have to have that step, that offset in there. All right, let's see how we did here. What am I looking for? I wanna be able to tap them together, not pound them together. You really shouldn't have to beat on these with a mallet, to get them to fit. This is just, boy, a tiny, tiny bit too deep. They really do not wanna go together but they're pretty damn close. So the rule here is too tight too deep, too loose, too shallow. So too tight, too deep, my router bit is currently set out of the base just a little bit too much. If they were too loose that would mean it's not set out of the base far enough. So this comes out, unplugged my router, too tight, too deep. I have to reduce my depth of cut just a little bit. Now here's a question I get all the time. Since this is too tight, too deep, and we're gonna take more material off, couldn't I just, could I just cut the same end all over again and I don't bother. What I'll do is cut the opposite end of these boards. If I have to go again, if I have to make another test cut after that, I'll cut those ends off. My preference is to always start on a fresh end rather than re cut and existing. So we'll go through our setup procedure here. Now this time you'll see, normally when I score, I score come right back and cut. I don't stop in between. All right, we're just a little too deep, I'm gonna repeat the procedure, cut, these ends off, cut him again, and then we do wanna get to where this is gonna sneak in 'cause we wanna talk about the relationship between this face crane and this end grain, it's another setting on the jig. So I'm gonna cut my ends off, reset my bit, we're gonna get this right. That's what we're looking for. Should be able to just gently tap that in and have the joint close. Now, the other thing I promise you, we're gonna talk about is the relationship between end grain and face cream, and this is what I want. The end grain is just slightly past the face cream. Let's look back at the jig and see where that comes from. If you think about it, with this comb the further back it is on the jig, the deeper the sockets will be and the smaller the tails. So if you find that on your completed joint you don't have this kind of a fit, then we need to adjust the in and out of the comb itself. On this jig that's done here, there's a brass knurled knob, and if I advance that, if I write a tidy that goes in toward the jig that moves the comb back. Got to do the same movement on both sides. That system will be a little bit different, how it adjusts will be a little bit different from jig to jig, but the adjustability the fact that it will adjust as the same. So that's the other thing that we wanna check. And what we're doing, the reason that I had that stand a little bit proud is after the joint is put together, we'd come back and use a block plane or a sander to flush that up. That's a lot easier than trying to get them perfectly flush now. Now when you do your jig, you might find that getting to this point is a little fussy, and I'm gonna fix that for you. The great news is once we have this board and we know that our joint is a good fit, then problem solve from here on out. The next time you use the jig, what you would have done is saved this board, save. And the next time you're using the jig put this in and then we'll have a look at setting your bit, unplug the router. Now the next time we use the jig set your depth of cut to the shoulder that was created here. We know that this is the right fit and what's really cool about these half blind dovetails is that it doesn't matter how thick the material is. This setting is idiosyncratic to the jig not to the material. So when this is right for half inch it's also right for three quarter. So we can use this as a gauge block to set that depth of cut. I'm still gonna do test cuts first, but it's gonna get you really, really, really, really close. Now a question I've had from students in class a number of times is, boy that dovetail is a great fit, do I even need to bother putting glue in there? And the answer is yes. We do have a great mechanical fit between these parts, but you still wanna put glue in there when you're assembling the joint. That takes care of our test procedure. We already set up the other side of the jig. I showed you how to do that. So once we're set up with depth of cut on the left side it's gonna work exactly the same way on the right side. That means that our test cut is perfect, our depth of cut is ready to go. What we're gonna do next is cut all four sides of a drawer box. And the way that we're gonna do this is we're just gonna match through the process here on the jig through our test cuts. You've seen all of this stuff happened, but in this case 'cause we're cutting all four sides, we're gonna use both sides of the jig. So I want you to watch for that. The other less not of this is just paying attention to the way that we use the labeling, how it corresponds to what's happening here on the jig. What's nice about what we're about to do is that of course you can always stop rewind make sure you fully understand what's happening here. So watch the whole process start to finish, watch for T for top against the stop, the corresponding numbers to make sure everything is getting used where we want it to get used, and you'll see how a whole box gets cut. That takes care of the cutting procedure on a box with four sides procedure that you've seen through the test cuts but, I liked that we were working on both sides of the jig. So couple of tips out of this. Make sure that you're following the roadmap that you created with your layout. Make sure you're following all the little setup nuances that we talked about, and as a result, you're gonna end up with great dovetails on all four corners that fit well and look great.
Get exclusive premium content! Sign up for a membership now!