
How to Create a Bowtie Inlay
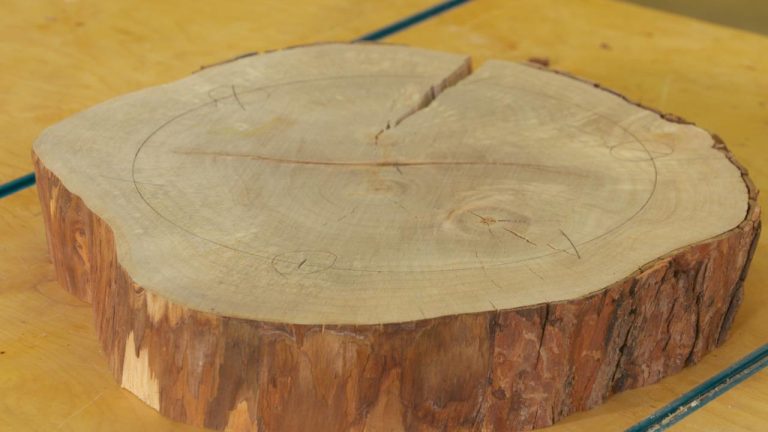
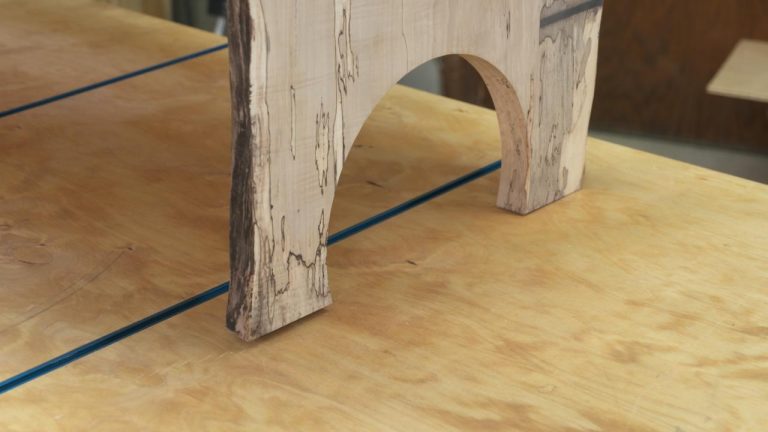
George VondriskaA bowtie inlay, also called a dovetail or butterfly inlay, serves a couple of purposes in your woodworking. If you’re working with a piece that has a crack in it, you can use a bowtie inlay to bridge the crack and stabilize it. If there’s a defect in your board that you want to mask, you can inlay a bowtie or butterfly to cover the defect. Or, if you simply want to add a great looking effect to your woodworking project, this may be it.
Making the bowtie
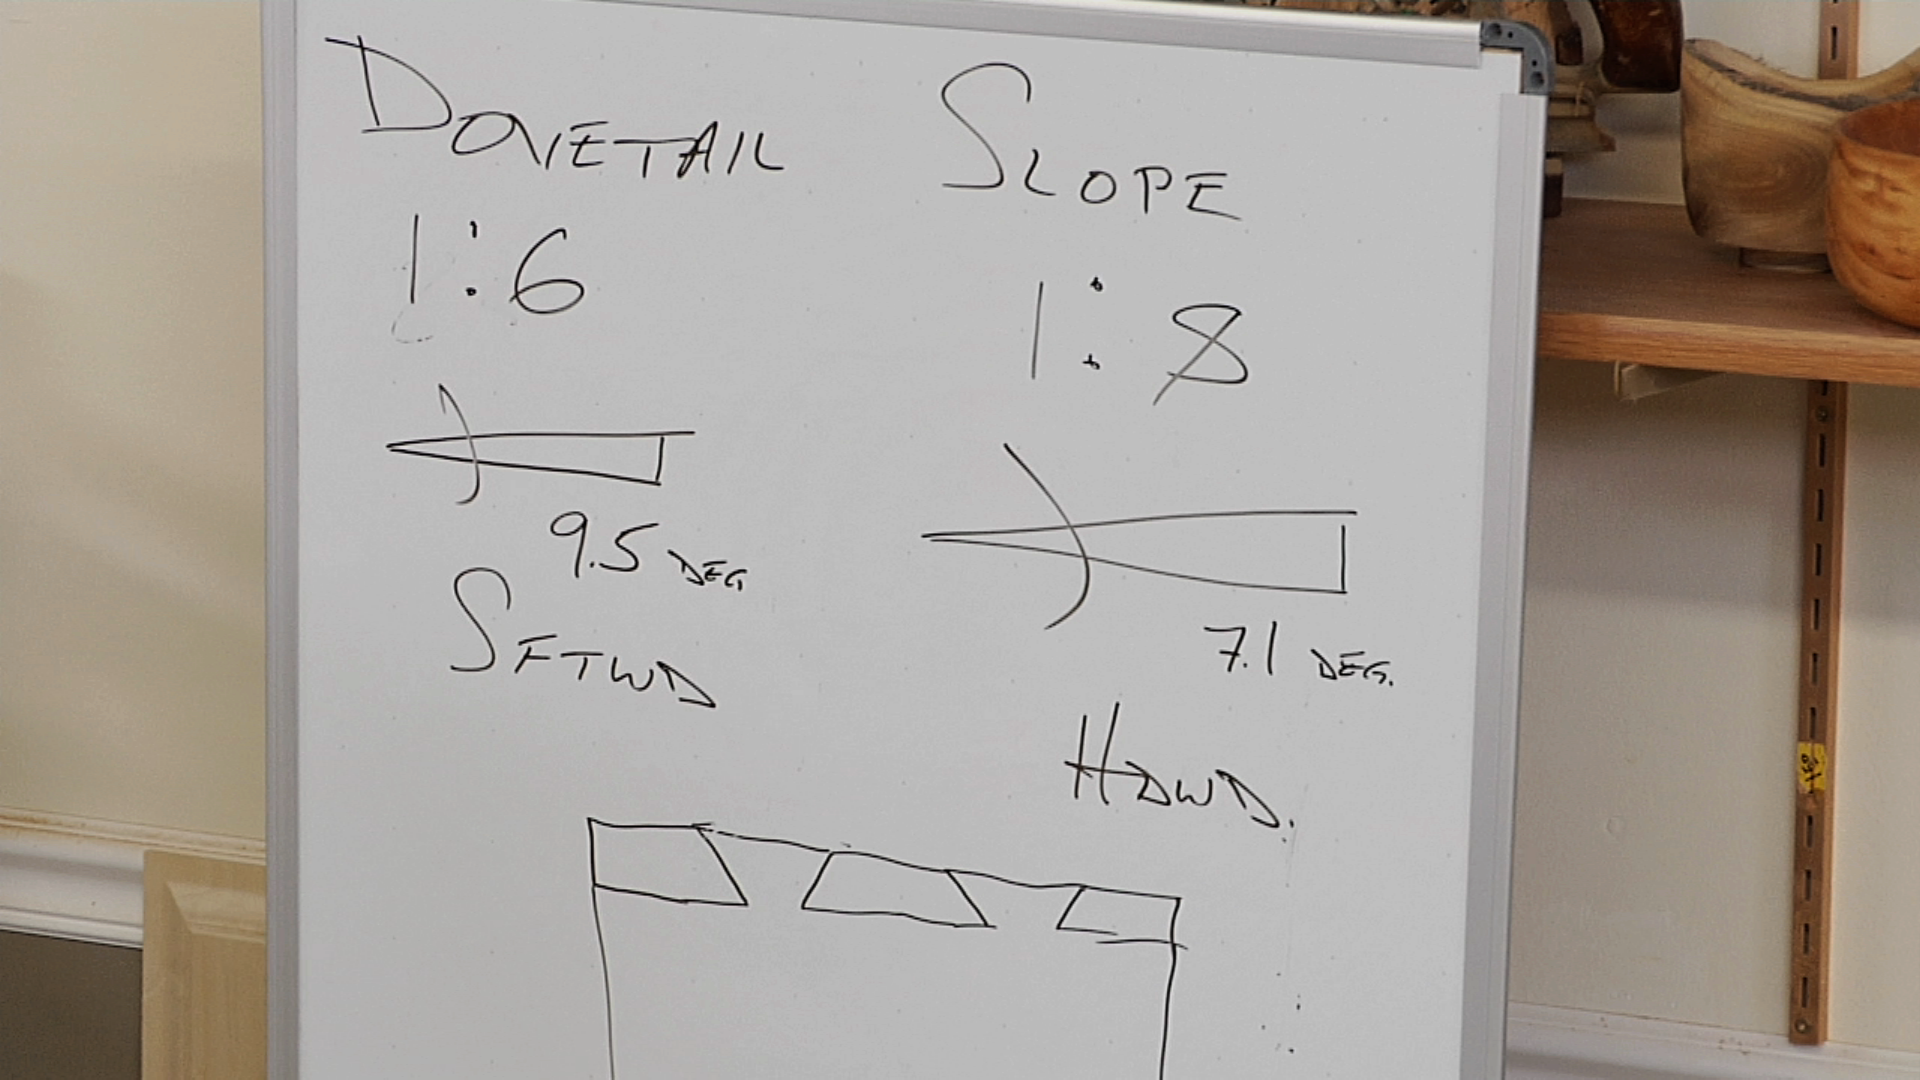
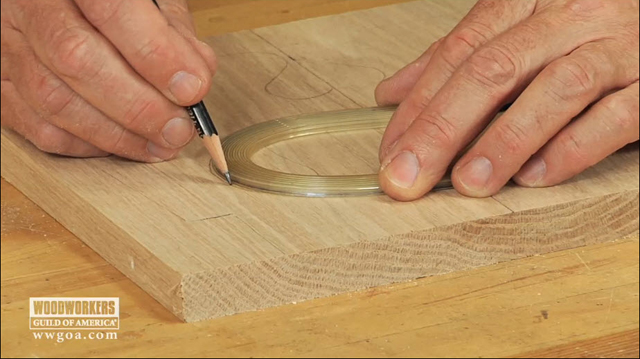
A bowtie is, basically, a double-ended dovetail. This video provides you with the recommended angle for the dovetail slope. If you’re working on a dark wood, like the walnut shown in the video, you’ll find that it’s much easier to see lines made with a charcoal white pencil that those made with a regular pencil. The bowtie shape gets finalized with a little chisel work.
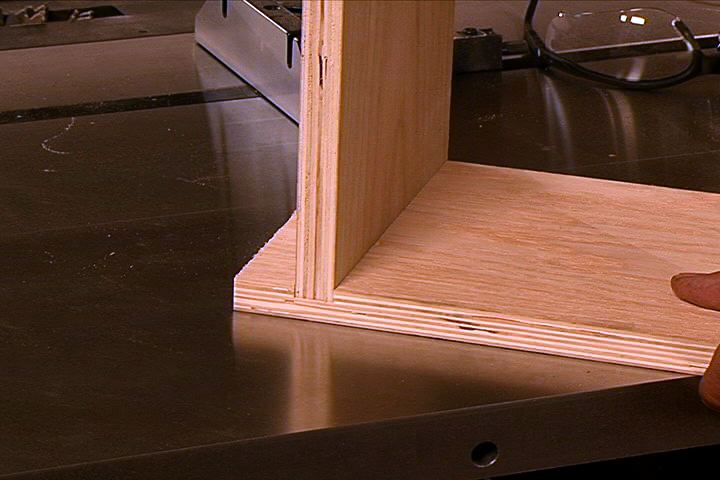
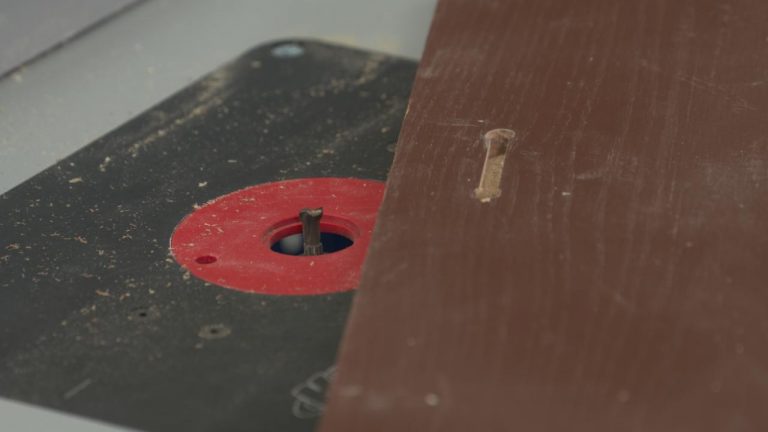
Making the cut
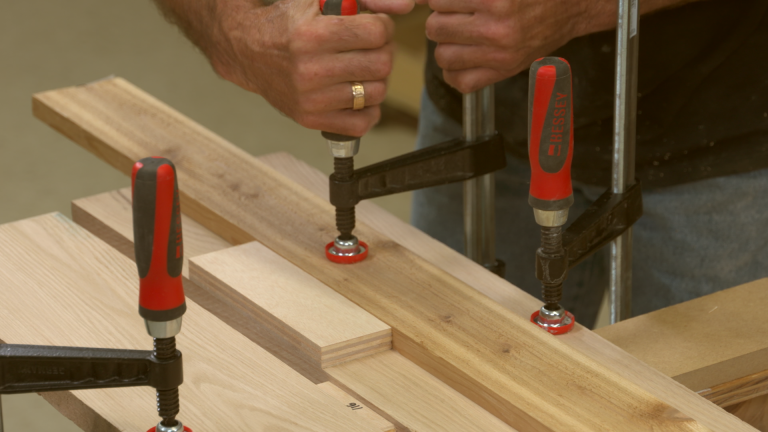
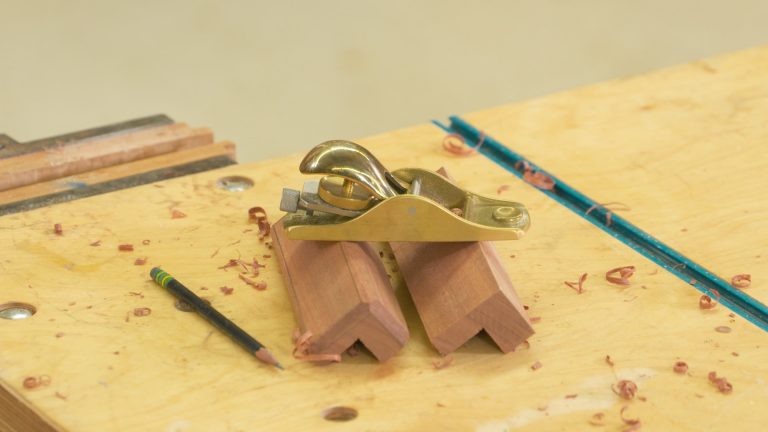
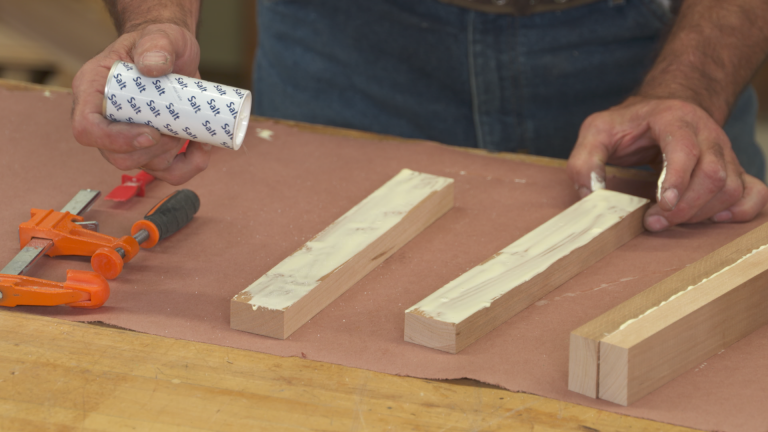
The bowtie recess is created by freehand routing. This isn’t as complicated as it may sound. There are some great tips and tricks that’ll help get you through the process. Of course practicing in scrap is always a good idea. The router work is followed up by chisel work. Having your chisel nice and sharp will make it easier to pare to the lines, so spend a little time honing the edge before you get started.
More on butterfly joints
One of the cool things about woodworking; there are lots of ways to accomplish woodworking tasks.Check out this article for more info on custom-cut butterfly joints.
Don’t bridge it, repair it
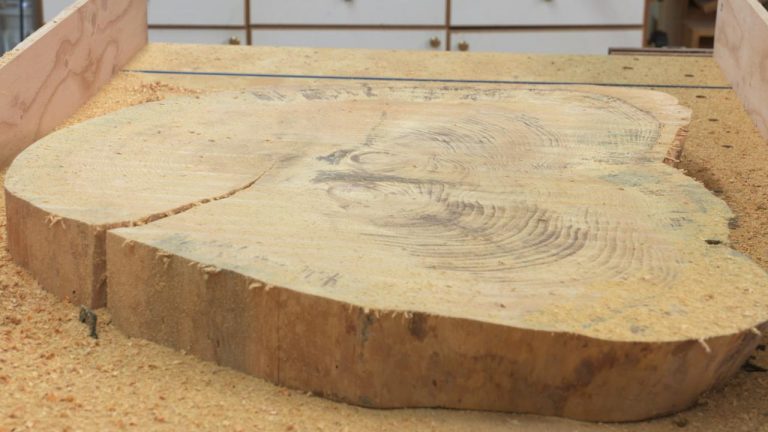
On pieces with hairline cracks it may make more sense to repair wood cracks than to span them with a bowtie.
Share tips, start a discussion or ask one of our experts or other students a question.
Already a member? Sign in
4 Responses to “How to Create a Bowtie Inlay”
Explore videos by George Vondriska


You may be interested in


Premium Membership
Unlock exclusive member content from our industry experts.
- 24/7 Access to Premium Woodworking Videos, Projects, and Tips
- Step-by-Step Instructional Demos, Plans, and Tutorials
- 50% Off Video Downloads Purchased in the Woodworkers Guild of America Shop
- 2 Printable Woodworking Plans
Unlock exclusive member content from our industry experts.
- 24/7 Access to Premium Woodworking Videos, Projects, and Tips
- Step-by-Step Instructional Demos, Plans, and Tutorials
- 50% Off Video Downloads Purchased in the Woodworkers Guild of America Shop
- 2 Full-Length Video Downloads to Watch Offline
- 2 Printable Woodworking Plans
Gold Membership
$370 Value
Get everything included in Premium plus exclusive Gold Membership benefits.
- 24/7 Access to Premium Woodworking Videos, Projects, and Tips
- Step-by-Step Instructional Demos, Plans, and Tutorials
- 8 Full-Length Video Downloads to Watch Offline
- 3 Full-Length Woodworking Classes to Keep for Life
- 7 Printable Woodworking Plans
- Discounts on Purchase-to-Own Content in the Woodworkers Guild of America Shop
- Access to Ask the Expert Program
- Exclusive GOLD LIVE Streaming Events
I've got a nasty split just like this video and was wondering if you recommend sanding or otherwise smoothing the inside of the split? Mine has a lot of splinters so I want to clear those while keeping it natural looking. Also, are keys necessary on both top and bottom of a cookie slab like this if the split goes all the way through? I imagine it may look strange from the edge to see both. Lastly, how would I go about finishing the inside of the crack? I also have mini cracks at the very edges of the slab and I plan to fill those using a mixture of wood glue and sawdust as your video pointed out. Any other ideas? Thanks!
You mentioned the difference in width of the various size bowties, but do you have a rule of thumb for the thickness of the bowtie? Does it vary with the thickness of the table top?
I am about to start a project exactly like this that I've had on my "to do" list for 9 years. Lo and behold I found your video that shows exactly how to do it. Clear and easy to understand. You have inspired me to get working. I do have a question about finish. My table will be outside on our deck and exposed to the elements. In my case, the cookie is from a giant hardwood tree (cherry?) that came down at my friends house in a storm back in 2010. It is well aged and dried now. Have you any recommendations as to how I should finish it?
2 questions. 1 is that the grain or did you like the look of burn in the top? Also what's the tape on your hand. Didn't look like was covering an injury.