
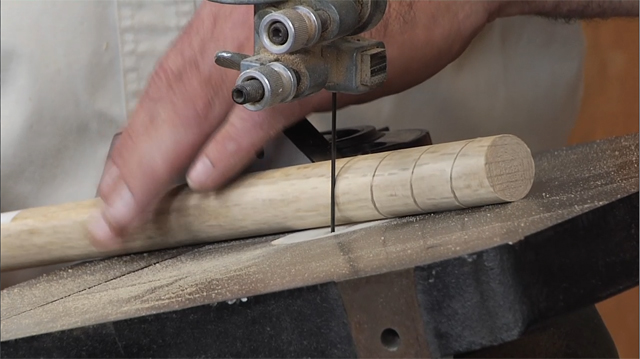
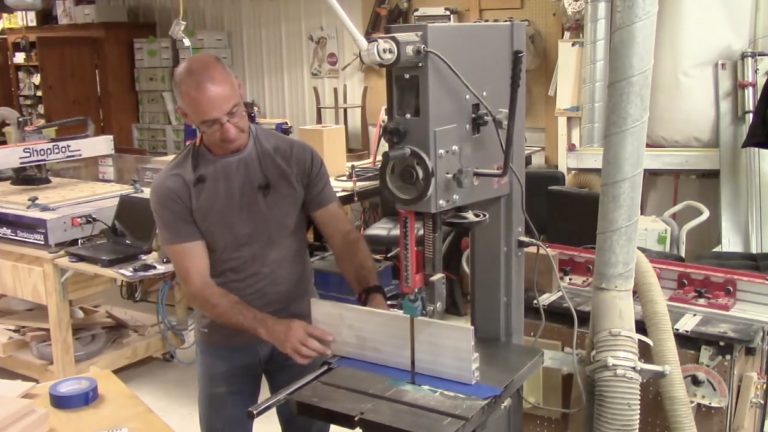
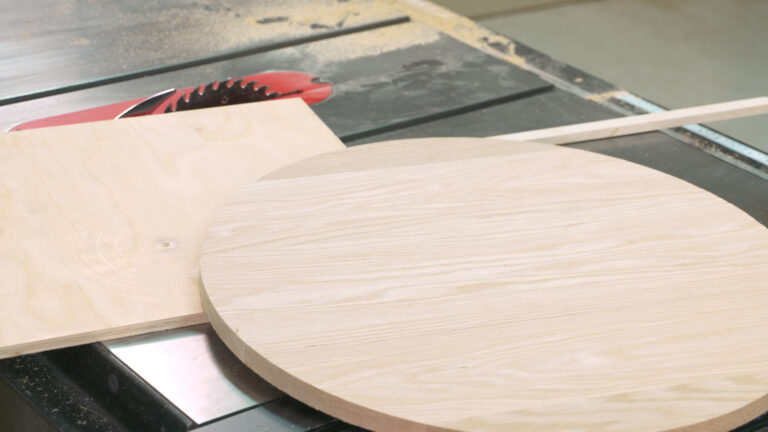
Circle Jig on the Bandsaw
George VondriskaGeorge Vondriska shows his shop-made circle jig solution for cutting a perfect circle on a band saw. A WoodWorkers Guild of America original video.
Share tips, start a discussion or ask one of our experts or other students a question.
Already a member? Sign in
18 Responses to “Circle Jig on the Bandsaw”
Explore videos by George Vondriska


You may be interested in


Premium Membership
Unlock exclusive member content from our industry experts.
- 24/7 Access to Premium Woodworking Videos, Projects, and Tips
- Step-by-Step Instructional Demos, Plans, and Tutorials
- 50% Off Video Downloads Purchased in the Woodworkers Guild of America Shop
- 2 Printable Woodworking Plans
Unlock exclusive member content from our industry experts.
- 24/7 Access to Premium Woodworking Videos, Projects, and Tips
- Step-by-Step Instructional Demos, Plans, and Tutorials
- 50% Off Video Downloads Purchased in the Woodworkers Guild of America Shop
- 2 Full-Length Video Downloads to Watch Offline
- 2 Printable Woodworking Plans
Gold Membership
$370 Value
Get everything included in Premium plus exclusive Gold Membership benefits.
- 24/7 Access to Premium Woodworking Videos, Projects, and Tips
- Step-by-Step Instructional Demos, Plans, and Tutorials
- 8 Full-Length Video Downloads to Watch Offline
- 3 Full-Length Woodworking Classes to Keep for Life
- 7 Printable Woodworking Plans
- Discounts on Purchase-to-Own Content in the Woodworkers Guild of America Shop
- Access to Ask the Expert Program
- Exclusive GOLD LIVE Streaming Events
It would be good to know what machine and blade size your using
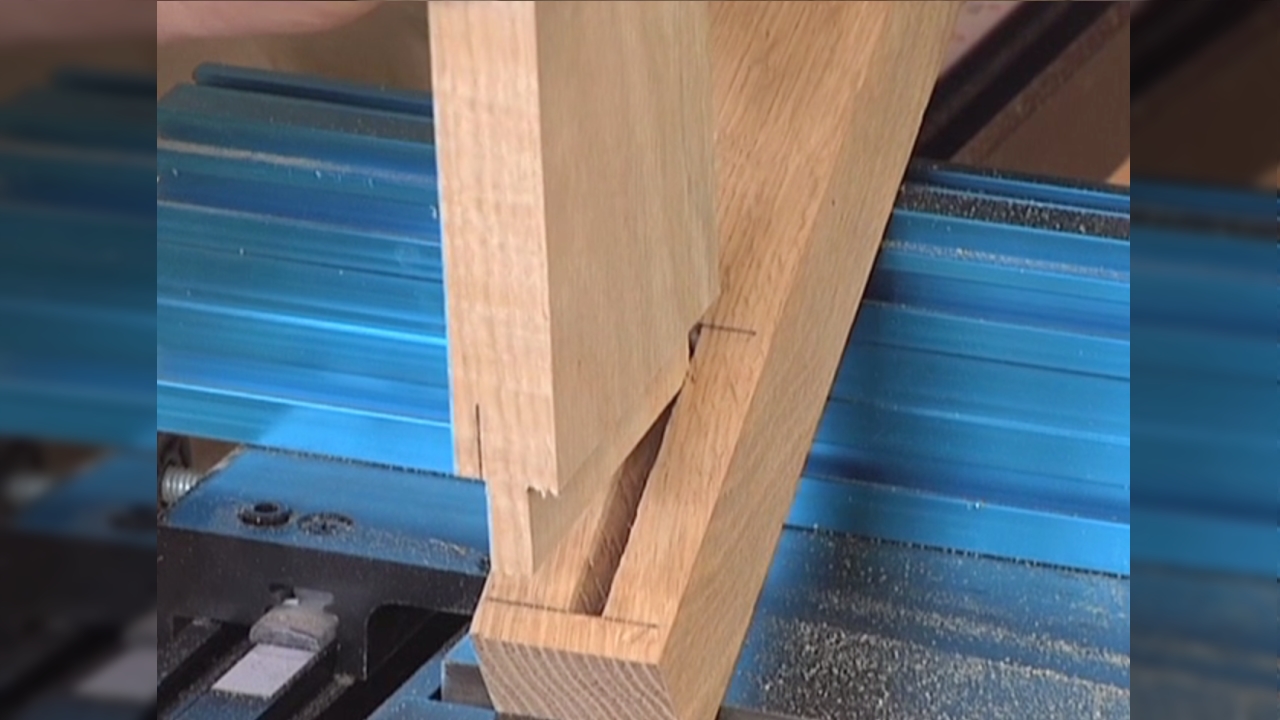
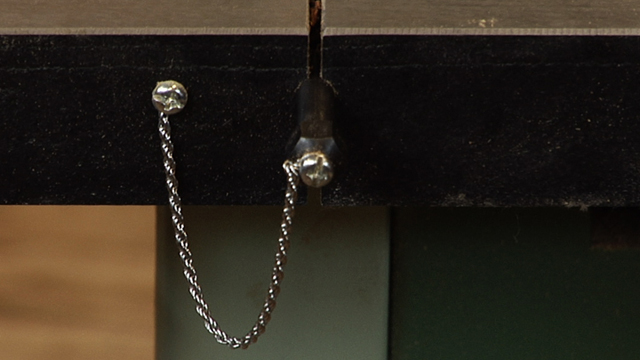
What keeps the sliding circle center positioner from dropping out from the underside of the jig?
Is it possible to get the drawings and dimensions for constructing the circle jig for the bandsaw? Thanks
Excellent jig. I have one I made myself but it doesn't work well. This video showed me what I was doing wrong. I'm just going to use your idea and build me a new one. Thanks
Where do you get the plans for this jig
Is there a plan or dimensions available for this?
Do you lock the Slider when cutting the circle?
Outstanding idea. Any possibility to have a copy of the plan. And the one for the route as a player.
Is there any way to have a copy of the plan for me to built one for my small Craftsman band saw. I will be appreciated. It is a great idea.
I like to keep a wide blade in my bandsaw for resawing and straight cuts. It there a limit to the radius that can be cut with certain blades?