
Building a Box with Barrel Sides: Part 1
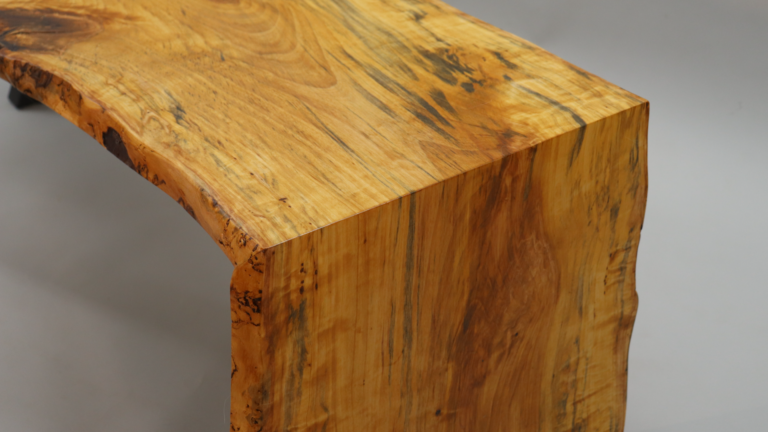
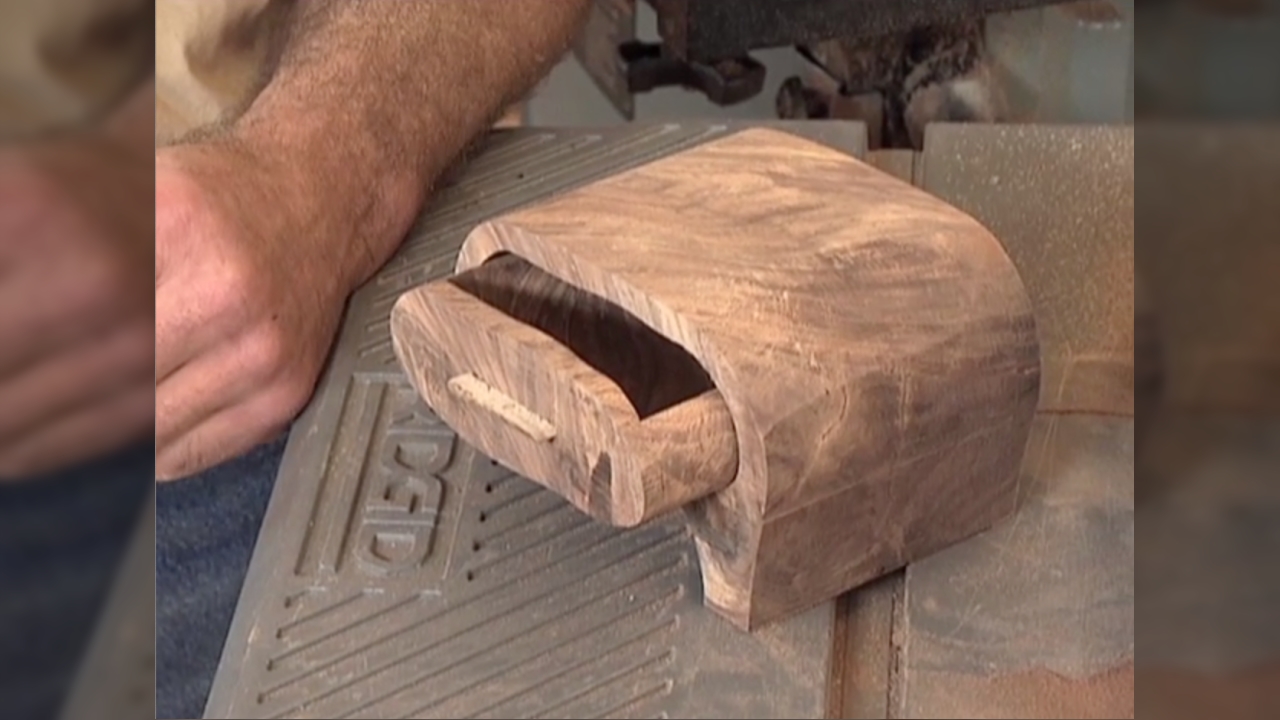
George VondriskaBe careful. Once you build one of these cool projects everyone is going to want one. It’s a great looking box that looks way more complex than it is. You’ll find that building a box is pretty darn easy to do. This is a two-part video, so be sure to catch both parts to get all of the instruction.
Glue up
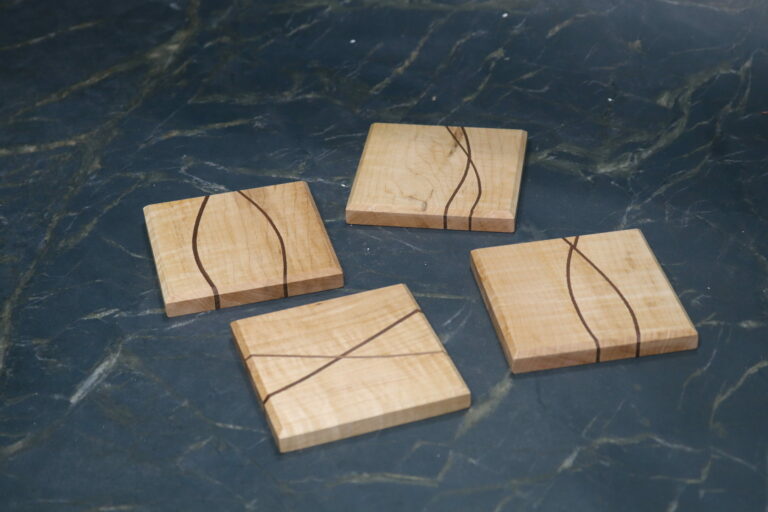
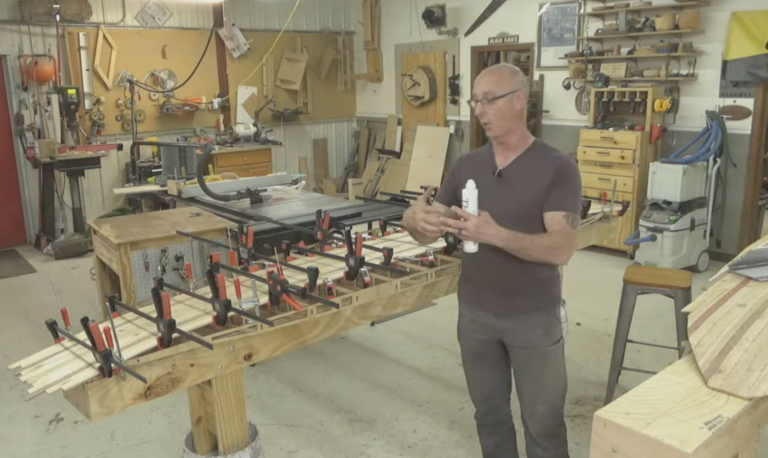
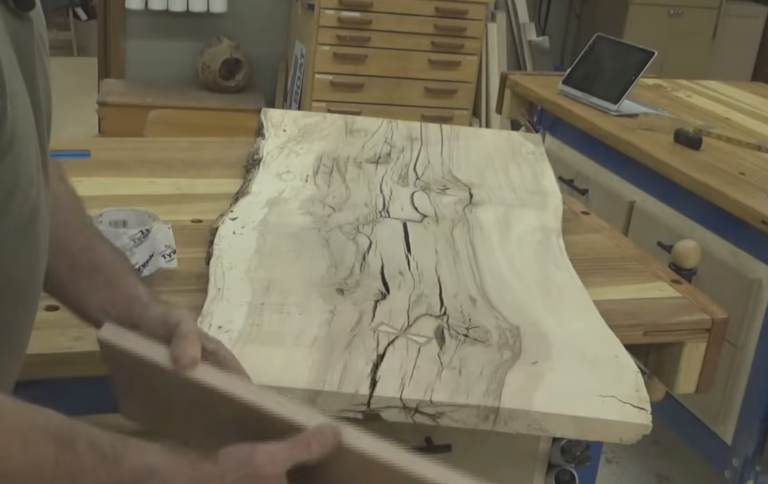
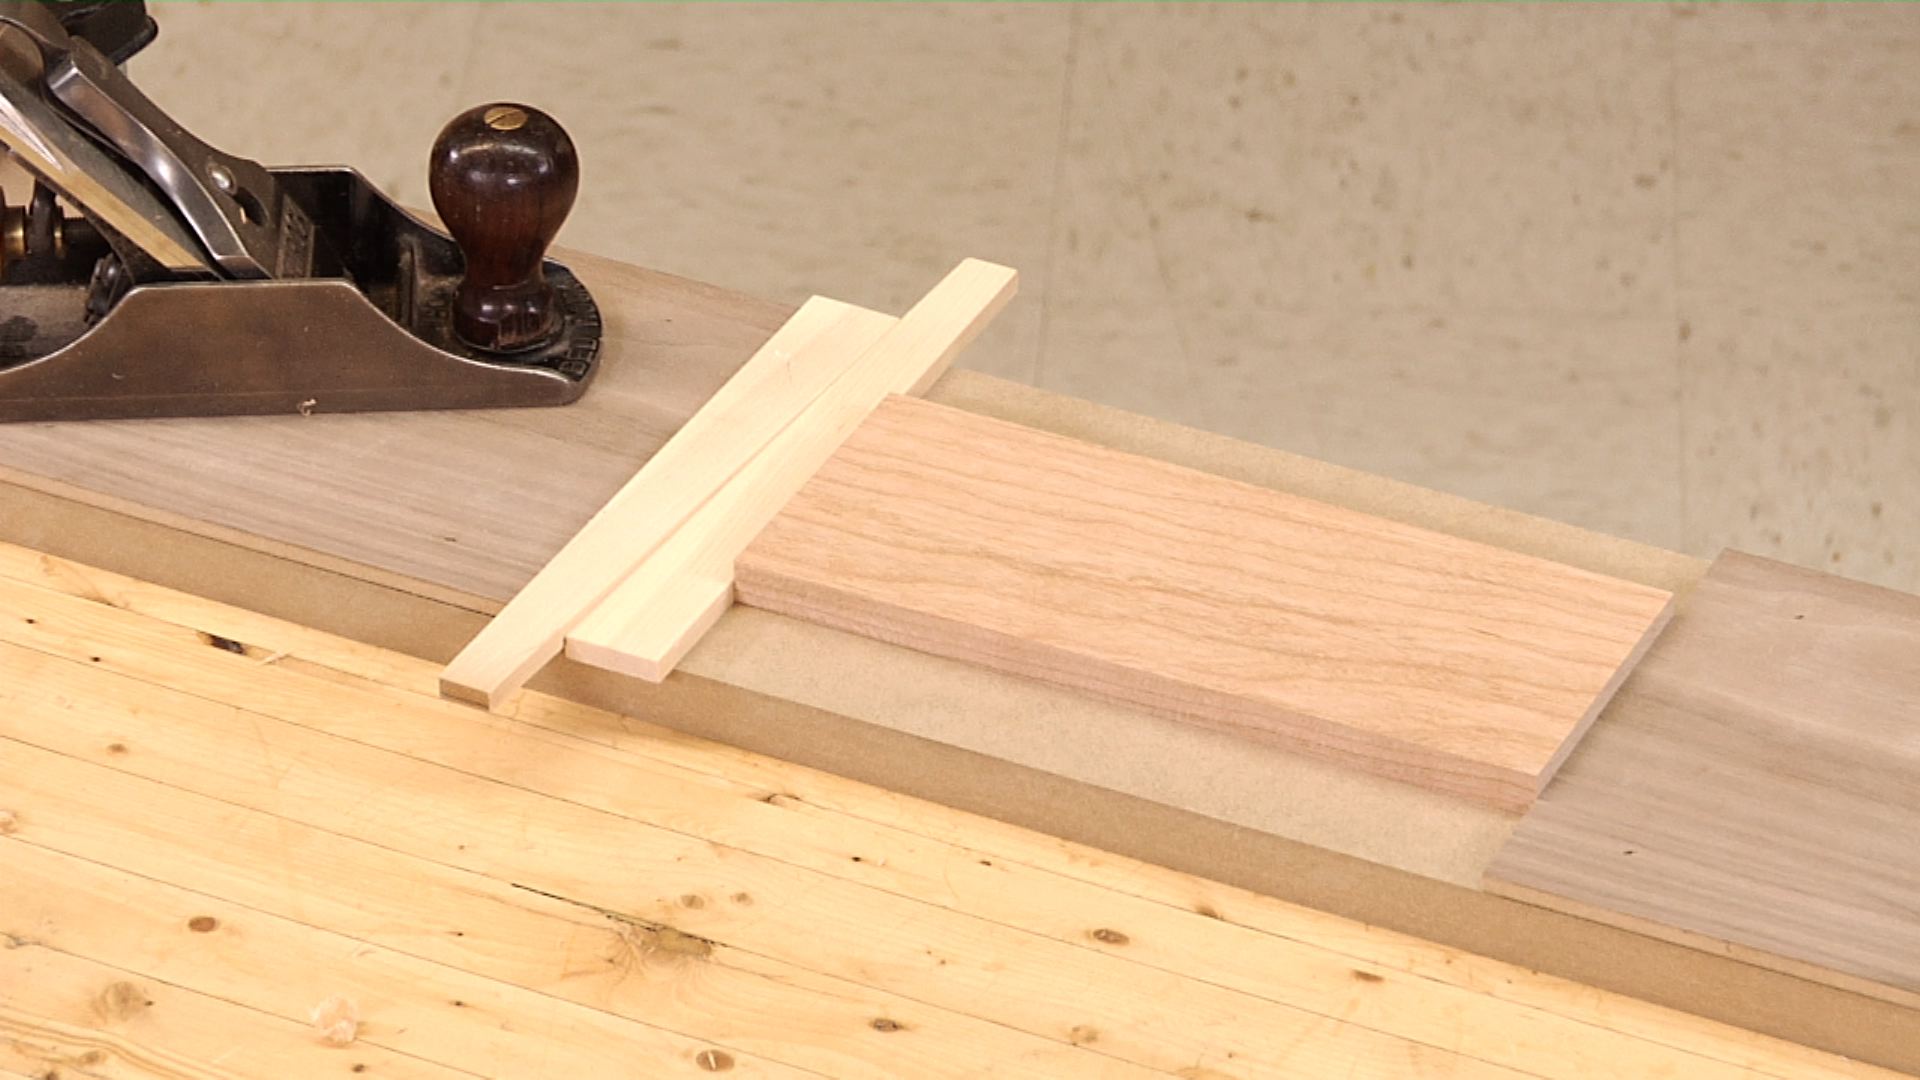
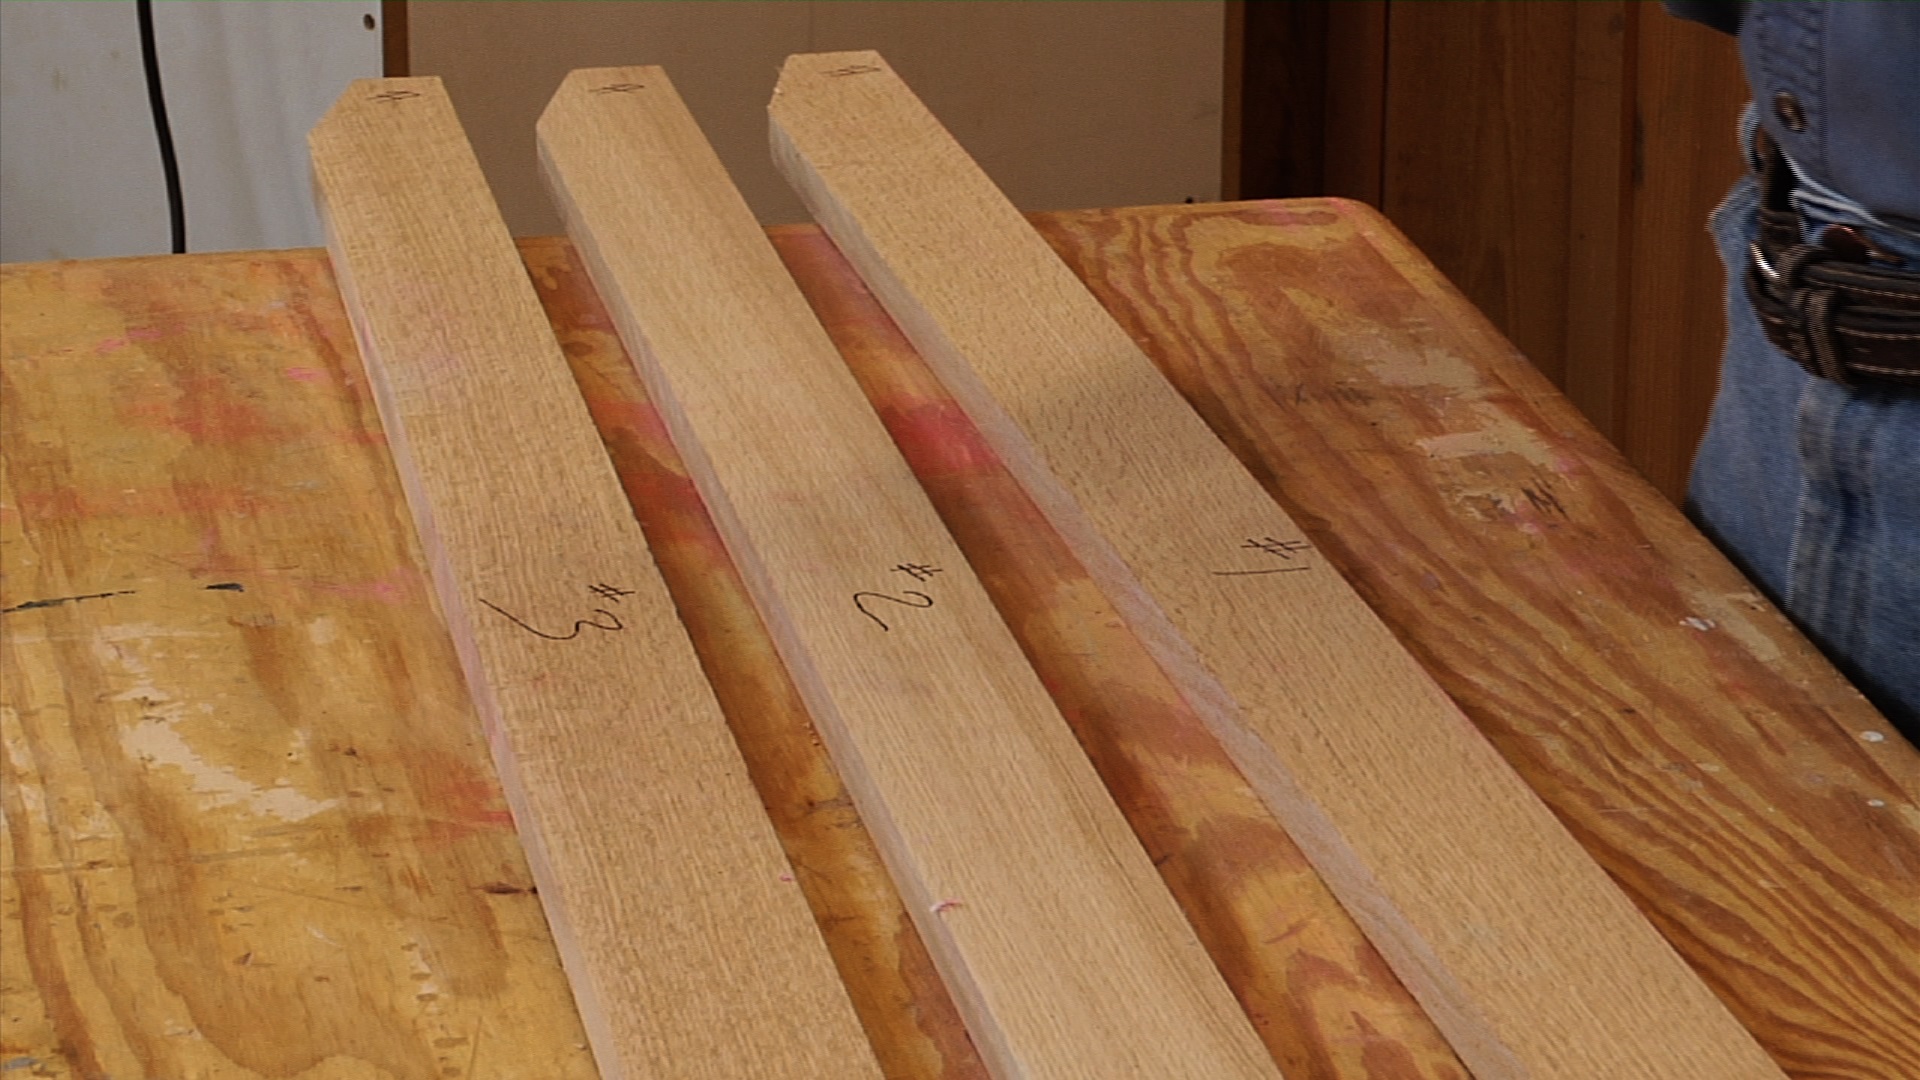
The first step in building a box is gluing up blanks for the box. The finished box has a nice accent stripe in it, and the accent needs to go in at this step in the procedure. As you’re cutting the curve for the accent, be sure it’s a gentle curve that your stripe will bend to.
Project dimensions
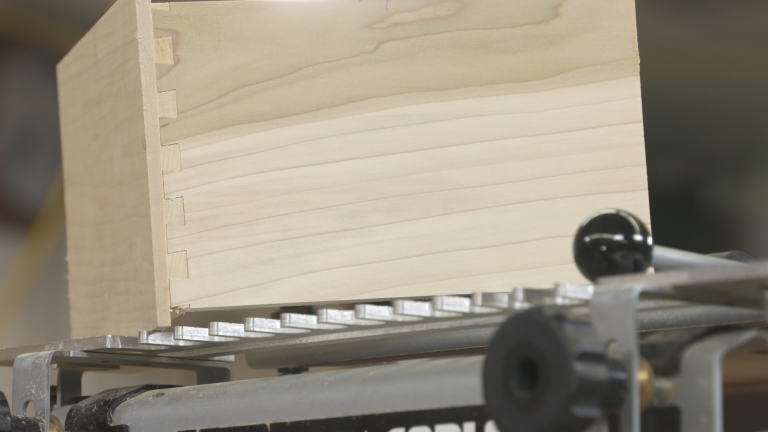
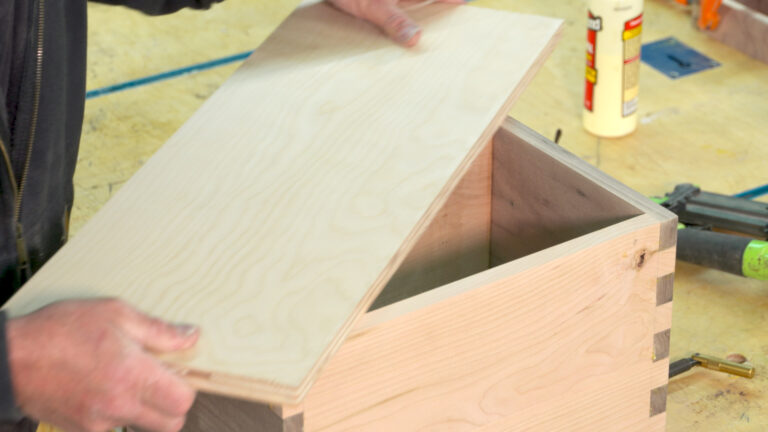
Using pieces greater than ¾” thick will allow you to cut a more dramatic curve in the box sides. The completed box is 5” x 5” x 8”, with ¼” deep rabbets joining the corners.
Assembly
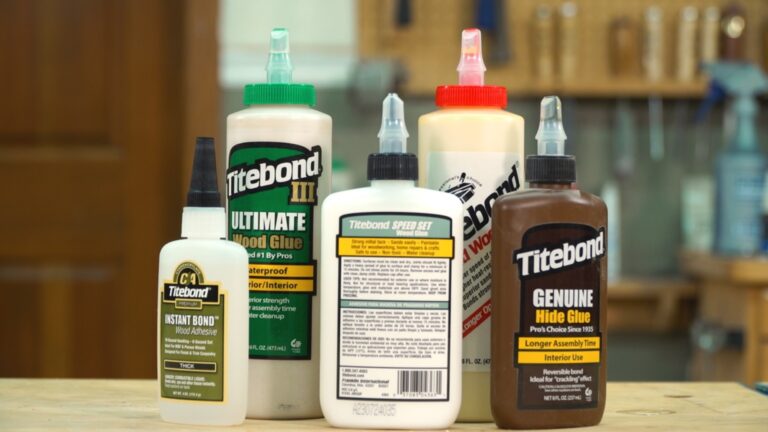
Remember that using a thick glue can help prevent glue from squeezing into the inside of the box. This is important, as it’s hard to clean up the interior if it’s got lots of squeeze out in it. There are lots of tips and tricks involved in assembling projects, and WoodWorkers Guild of America has plenty of great content that covers how to glue wood together, along with general tips for choosing glue and gluing up woodworking projects.
Building a Box with Barrel Sides: Part 2
For more info:
For more information on Titebond glue visit www.titebond.com or call (800) 877-4583
Share tips, start a discussion or ask one of our experts or other students a question.
Already a member? Sign in
4 Responses to “Building a Box with Barrel Sides: Part 1”
Explore videos by George Vondriska
You may be interested in
Premium Membership
Unlock exclusive member content from our industry experts.
- 24/7 Access to Premium Woodworking Videos, Projects, and Tips
- Step-by-Step Instructional Demos, Plans, and Tutorials
- 50% Off Video Downloads Purchased in the Woodworkers Guild of America Shop
- 2 Printable Woodworking Plans
Unlock exclusive member content from our industry experts.
- 24/7 Access to Premium Woodworking Videos, Projects, and Tips
- Step-by-Step Instructional Demos, Plans, and Tutorials
- 50% Off Video Downloads Purchased in the Woodworkers Guild of America Shop
- 2 Full-Length Video Downloads to Watch Offline
- 2 Printable Woodworking Plans
Gold Membership
$370 Value
Get everything included in Premium plus exclusive Gold Membership benefits.
- 24/7 Access to Premium Woodworking Videos, Projects, and Tips
- Step-by-Step Instructional Demos, Plans, and Tutorials
- 8 Full-Length Video Downloads to Watch Offline
- 3 Full-Length Woodworking Classes to Keep for Life
- 7 Printable Woodworking Plans
- Discounts on Purchase-to-Own Content in the Woodworkers Guild of America Shop
- Access to Ask the Expert Program
- Exclusive GOLD LIVE Streaming Events










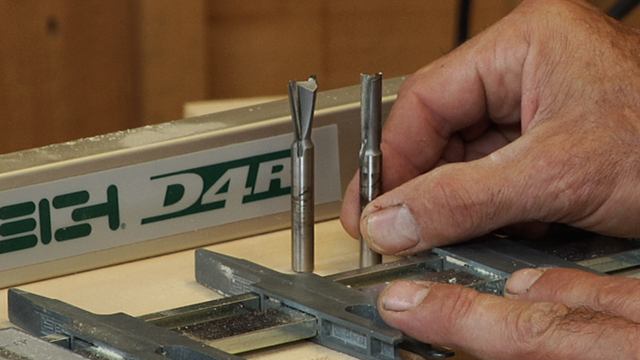


It certainly wouldn't be necessary for the box, but is there any reason it couldn't be constructed with dovetail joints? Complete overkill, but I'm thinking to use this as a learning experience.
Wouldn't it be easier to use strap clamps instead of f-clamps?
Do you feel that mitered ends would be strong enough for this box... I think it would look better. Roger
Thank You for this inspirational video !!! Tips and tricks videos are great, but many of us require this type of video. Not that we need the box in this case, but just to follow you along will keep us busy in the shop and experience the sense of satisfaction and accomplishment when complete. So we will think lets try another one with different types of wood or whatever to keep us active and creative. Thanks again...... more please !!! Roger