
Worksharp Knife and Tool Sharpener
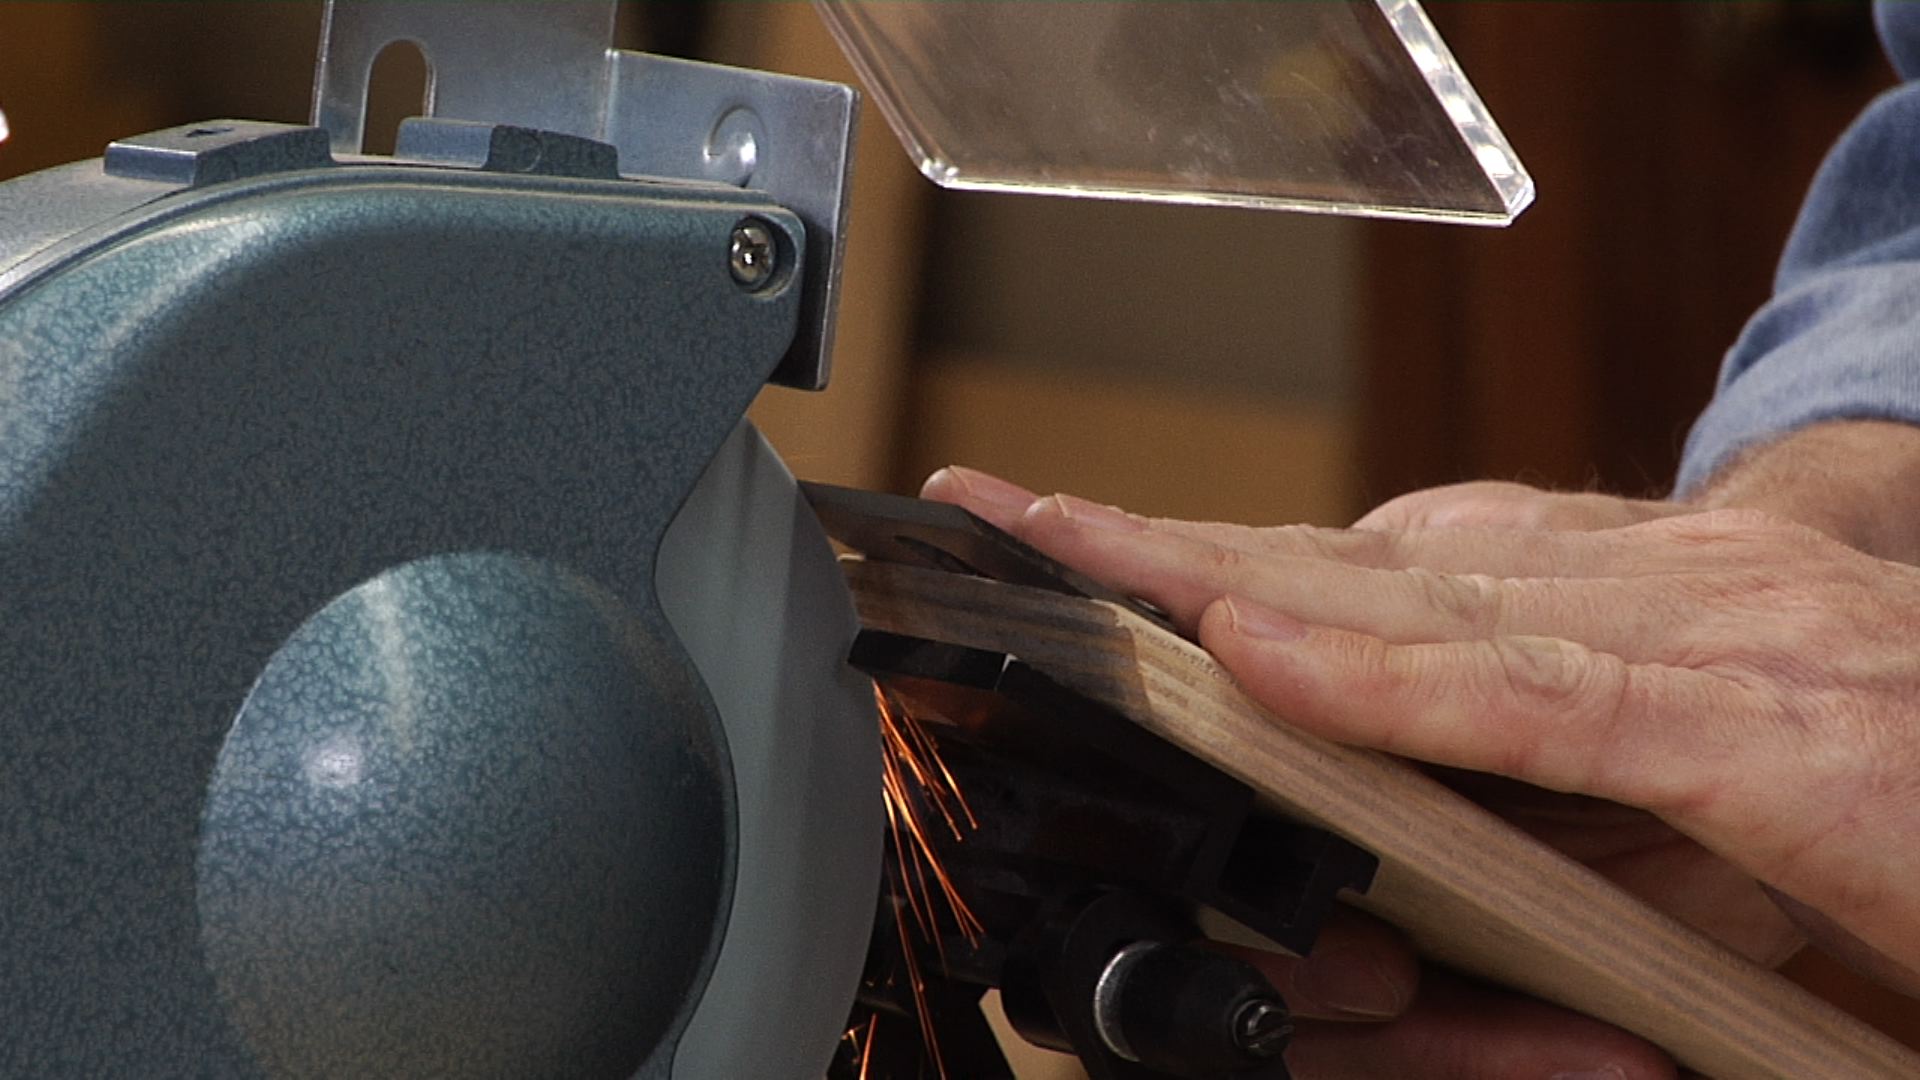
George VondriskaDo you walk around with a pocket knife always in your pocket? Are you a knife snob and like having your kitchen knives super sharp? The answer to both of those questions is yes for me. The Worksharp Knife and Tool Sharpener provides a fast and easy way to keep your knives and tools sharp. You can sharpen concave and convex knives, knives with gut hooks, even serrated knives.
A bunch of features make this sharpener dirt simple to use. The owner’s manual is great. It defines what angle you should be sharpening at depending on the application of the knife, what grit sandpaper to start at, even how many passes to make. And guides on the sharpener make it super simple to maintain the sharpening angle.
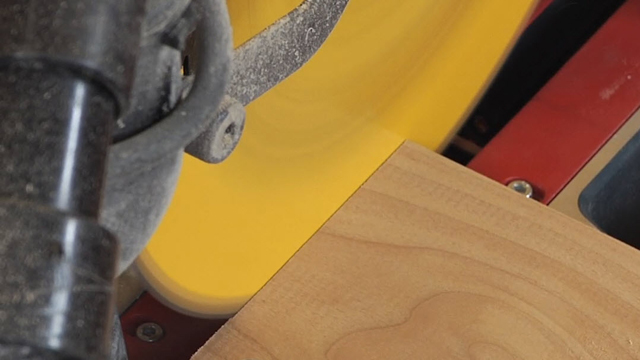
Edge geometry
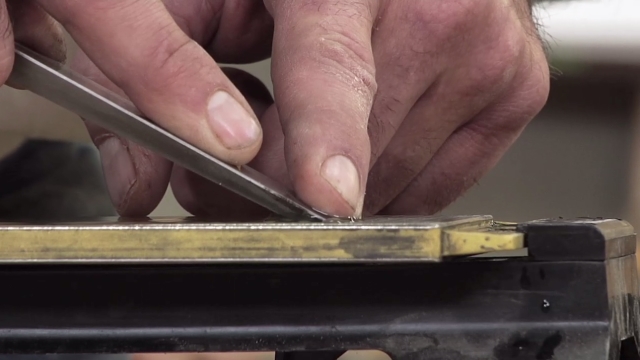
Thanks to the way the abrasive belt contacts the knife it leaves behind a very well-supported edge. The shape of the edge is such that is sharp, and slightly convex. This will help it hold an edge, even under robust conditions.
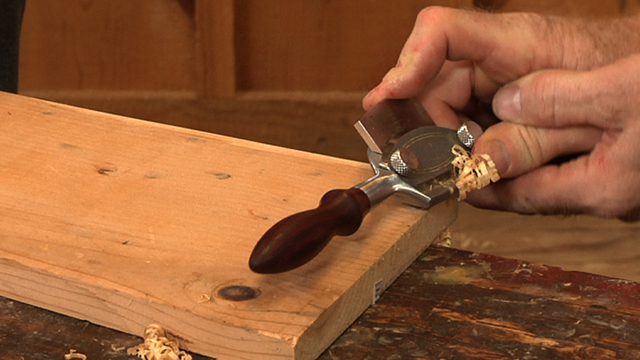
In your shop it’s more likely that you need to sharpen chisels and plane irons. Worksharp has a solution for that, too.
For more information on Worksharp tools visit www.worksharptools.com.
Explore videos by George Vondriska


You may be interested in


Premium Membership
Unlock exclusive member content from our industry experts.
- 24/7 Access to Premium Woodworking Videos, Projects, and Tips
- Step-by-Step Instructional Demos, Plans, and Tutorials
- 50% Off Video Downloads Purchased in the Woodworkers Guild of America Shop
- 2 Printable Woodworking Plans
Unlock exclusive member content from our industry experts.
- 24/7 Access to Premium Woodworking Videos, Projects, and Tips
- Step-by-Step Instructional Demos, Plans, and Tutorials
- 50% Off Video Downloads Purchased in the Woodworkers Guild of America Shop
- 2 Full-Length Video Downloads to Watch Offline
- 2 Printable Woodworking Plans
Gold Membership
$370 Value
Get everything included in Premium plus exclusive Gold Membership benefits.
- 24/7 Access to Premium Woodworking Videos, Projects, and Tips
- Step-by-Step Instructional Demos, Plans, and Tutorials
- 8 Full-Length Video Downloads to Watch Offline
- 3 Full-Length Woodworking Classes to Keep for Life
- 7 Printable Woodworking Plans
- Discounts on Purchase-to-Own Content in the Woodworkers Guild of America Shop
- Access to Ask the Expert Program
- Exclusive GOLD LIVE Streaming Events
Share tips, start a discussion or ask one of our experts or other students a question.
Already a member? Sign in
No Responses to “Worksharp Knife and Tool Sharpener”