
Pen Turning Basics
George VondriskaTurning pens on the lathe is a project that’s fun and, with the right instruction, easy to do. In this woodturning project, George Vondriska provides information and demonstration about tool requirements and material selections for preparing your blanks for turning, mounting your blank on the lathe, techniques for turning on the lathe, sanding and finishing, and assembly of the finished pen.
Here’s the shopping list of what you’ll need in order to get started making pens:
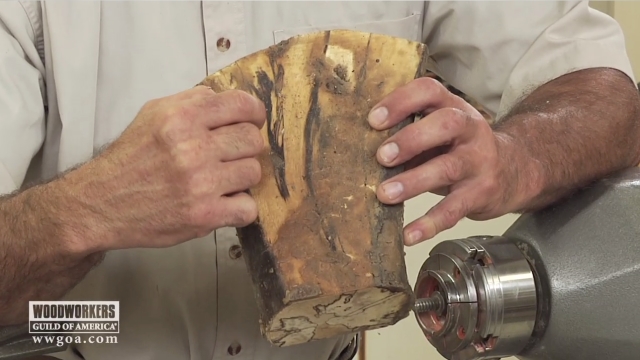
Blanks: Pen blanks can be cut from a variety of natural or man-made materials. You’ll need a blank, approximately 3/4-in. x 3/4-in. x 5-in.
7-mm. bit:The kits shown in this article require a 7-mm. hole in the blank, so you’ll need a 7-mm. drill bit.
CA glue:Thick cyanoacrylate glue is used to glue the pen barrels into the blank.
Barrel Trimmer: A barrel trimmer, also called a pen mill, is handy for trimming the blanks after the barrel is glued in.
Mandrel: You’ll also need a pen-turning mandrel in order to mount the blanks on your lathe. The mandrel includes bushings that are used to determine the correct pen diameter.
Cone center: It’s nice, but not imperative, to have a cone center for the tailstock.
Abrasives: In addition to standard 120, 150, and 180-grit paper, plan on having an assortment of finer abrasives handy. I often sand pens to 800 or 1000-grit sandpaper.
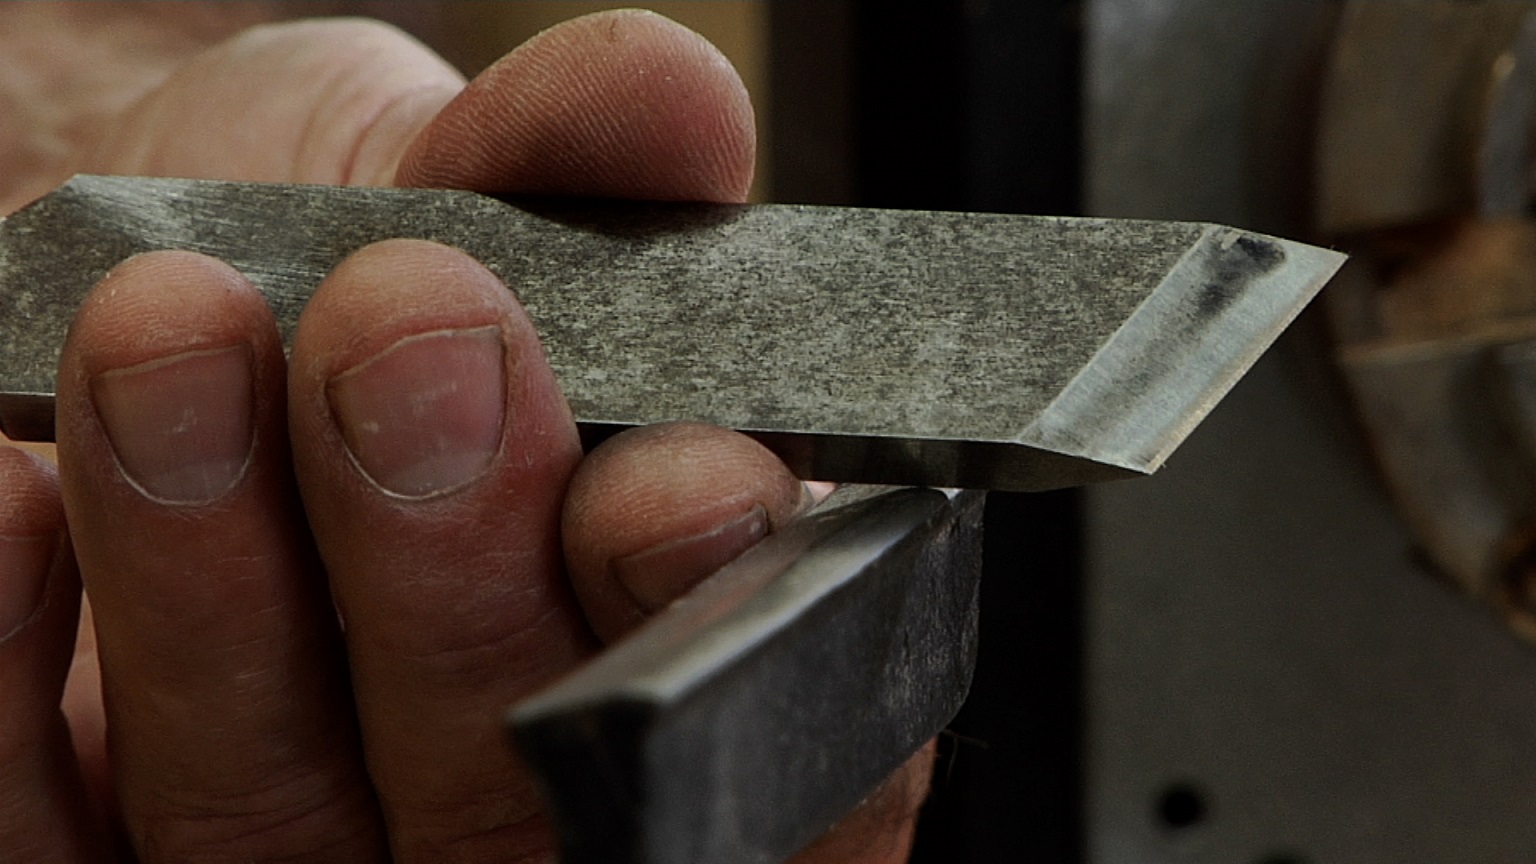
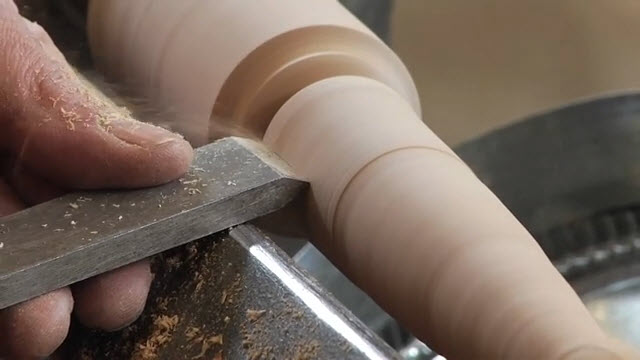
Lathe chisel: You can turn pens with conventional spindle turning tools, like a spindle gouge. A small gouge, 3/8 to 1/2-in., will provide better control than a large gouge.
If you’d like to cut your own blanks, get in the habit of setting aside special pieces you come across in your shop. You can easily cut them into pen blanks on the bandsaw. Once they’re cut, put the blanks in a bag so you can easily label the bag with the wood species. If you don’t want to cut your own blanks, you can purchase blanks made from a variety of materials. Before cutting the blanks to the correct length for the pen, make sure both pen barrels are the same length. On some pen kits, they’re not. Cut the blanks so they’re about 1/16-in. longer than the barrel. The bandsaw provides a safe and easy way to cut these small parts. Keep the pen blanks organized so you know which halves go together. It’s a nice touch if your finished pen has the grain flowing from one half of the pen to the other.
In order to get a perfectly straight hole, the blanks must be drilled on a drill press. You can’t possibly hand-hold the blanks while drilling. A hand screw clamp works well to secure the blank, just make sure the blank is perpendicular to the table. You can also buy pen blank specific jigs to hold the blank. Drill all the way through the blank, making sure you give the bit a chance to clear the waste so you don’t overfeed the bit and split the blank.
Before gluing the barrels into the blanks, rough up the barrels with 220-grit sandpaper. This gives the CA glue a better bite on to the barrel. Insert the tip of the barrel into the blank and apply a bead of CA glue to the barrel. Without hesitating, slide the barrel into the blank (You don’t want the glue to grab when the barrel is half way in). Since the blank is longer than the barrel, the barrel won’t be flush with the end grain of the blank. The glue dries very quickly. Once it’s completely dry, use the barrel trimmer to make the blank even with the barrel. Take off just enough wood to make sure the barrel is flush with the end grain. Don’t remove any more wood than you need to.
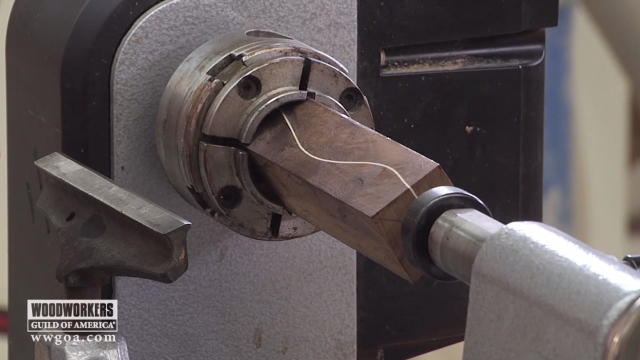
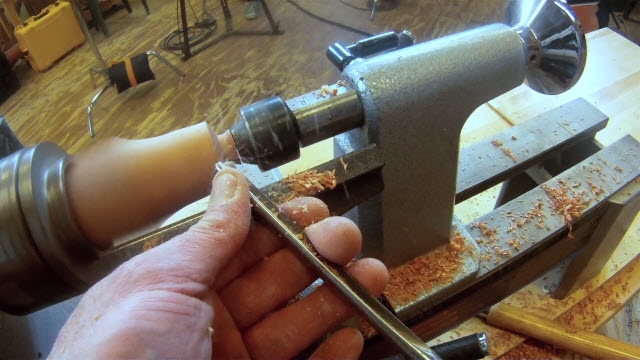
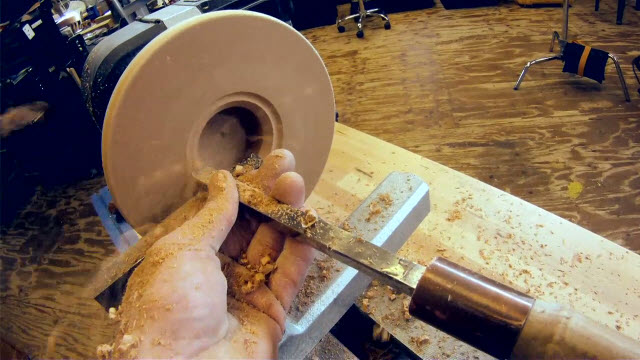
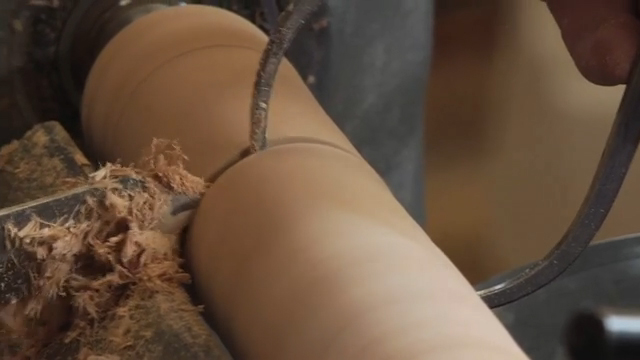
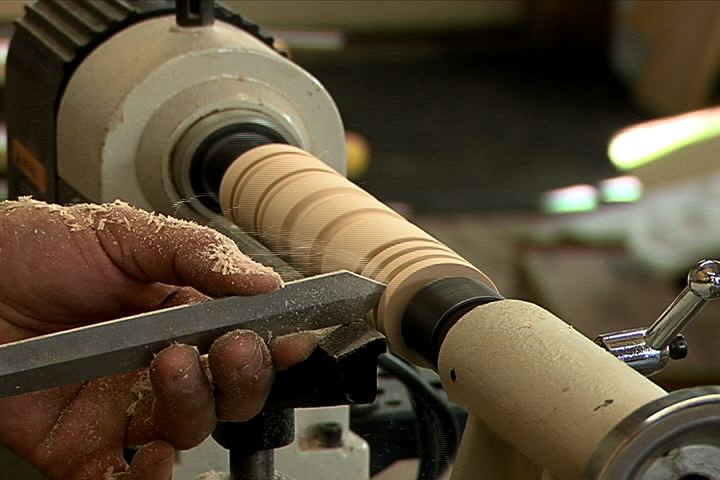
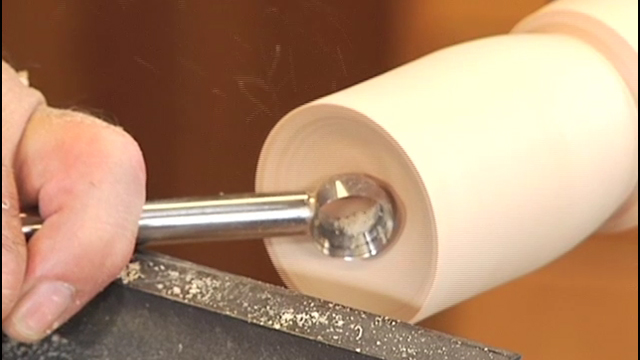
Set your lathe speed to approximately 2000 rpm and mount the mandrel on the lathe. Slide the blanks on to the mandrel, paying attention to the grain on the blanks. Remember that when the pen is complete, it’ll look best if the grain flows from one half of the pen to the other. There should be a bushing next to each blank. Tighten the nut that locks the blanks on to the mandrel. Slide the tailstock over and tighten it. Be very careful not to over tighten the tailstock against the mandrel or you may bend the mandrel. Position the tool rest so it’s as close as it can be to the blanks, without touching. The first step in turning is knocking off the corners and making the blanks round. Take light passes. If you find that the blank stops spinning as you cut, you may need to tighten up the locking nut on the mandrel. Shape the blanks, keeping in mind that the ends of the blanks should be turned until their diameter matches the diameter of the bushings. Don’t cut into the bushing with your lathe chisel. A conservative approach would be to get close with the chisel, then sand to final dimension.
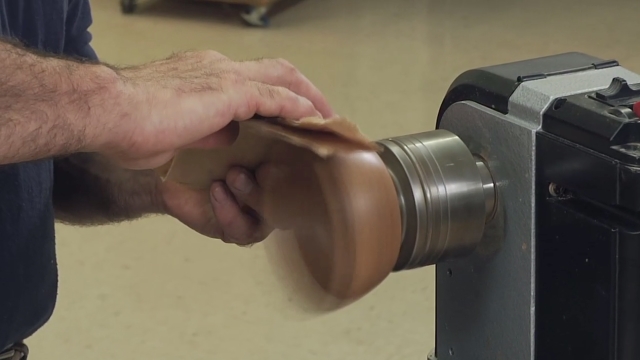
Before sanding, remove the tool rest. The first abrasive you use needs to be aggressive enough to easily remove any chisel marks you have. I usually start with 220-grit, but the abrasive you start with will depend on how good a job you did cutting. Your goal with each level of abrasive is to remove the marks left by the previous abrasive. Take your time and do a good job sanding using progressively finer grits. The finer you sand, the better your finish will look. Apply the finish using a paper towel, not a rag. I use wood turners finish, which dries quickly and easily comes to a very high gloss. Apply two coats, with light sanding between each coat.
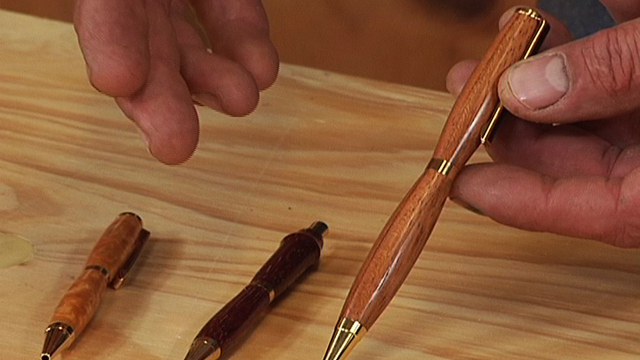
Remove the blanks from the mandrel, keeping track of the grain orientation. Start assembling the pen by inserting the tip into the bottom end of the blank. Press it until it’s completely seated. Next, insert the mechanism into the blank in the end opposite the tip. Press the mechanism into the blank until the detent ring is even with the end of the blank. It’s possible to overdo this part of the assembly. Take the time to make frequent checks using the ink cartridge so you don’t accidentally insert the mechanism too far. Once the mechanism is in, slide the decorative ring over it. If you want to include the pocket clip, install it on the cap and press the cap into the remaining blank. Then slide the upper half of the pen over the mechanism. Once you’ve mastered these basic pen-making skills, you’ll be set to turn a huge array of items all of which use very similar techniques.
Explore videos by George Vondriska


You may be interested in


Premium Membership
Unlock exclusive member content from our industry experts.
- 24/7 Access to Premium Woodworking Videos, Projects, and Tips
- Step-by-Step Instructional Demos, Plans, and Tutorials
- 50% Off Video Downloads Purchased in the Woodworkers Guild of America Shop
- 2 Printable Woodworking Plans
Unlock exclusive member content from our industry experts.
- 24/7 Access to Premium Woodworking Videos, Projects, and Tips
- Step-by-Step Instructional Demos, Plans, and Tutorials
- 50% Off Video Downloads Purchased in the Woodworkers Guild of America Shop
- 2 Full-Length Video Downloads to Watch Offline
- 2 Printable Woodworking Plans
Gold Membership
$370 Value
Get everything included in Premium plus exclusive Gold Membership benefits.
- 24/7 Access to Premium Woodworking Videos, Projects, and Tips
- Step-by-Step Instructional Demos, Plans, and Tutorials
- 8 Full-Length Video Downloads to Watch Offline
- 3 Full-Length Woodworking Classes to Keep for Life
- 7 Printable Woodworking Plans
- Discounts on Purchase-to-Own Content in the Woodworkers Guild of America Shop
- Access to Ask the Expert Program
- Exclusive GOLD LIVE Streaming Events