
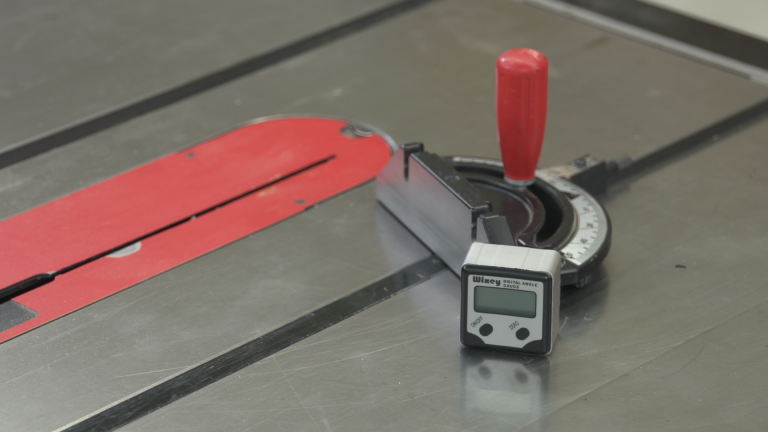
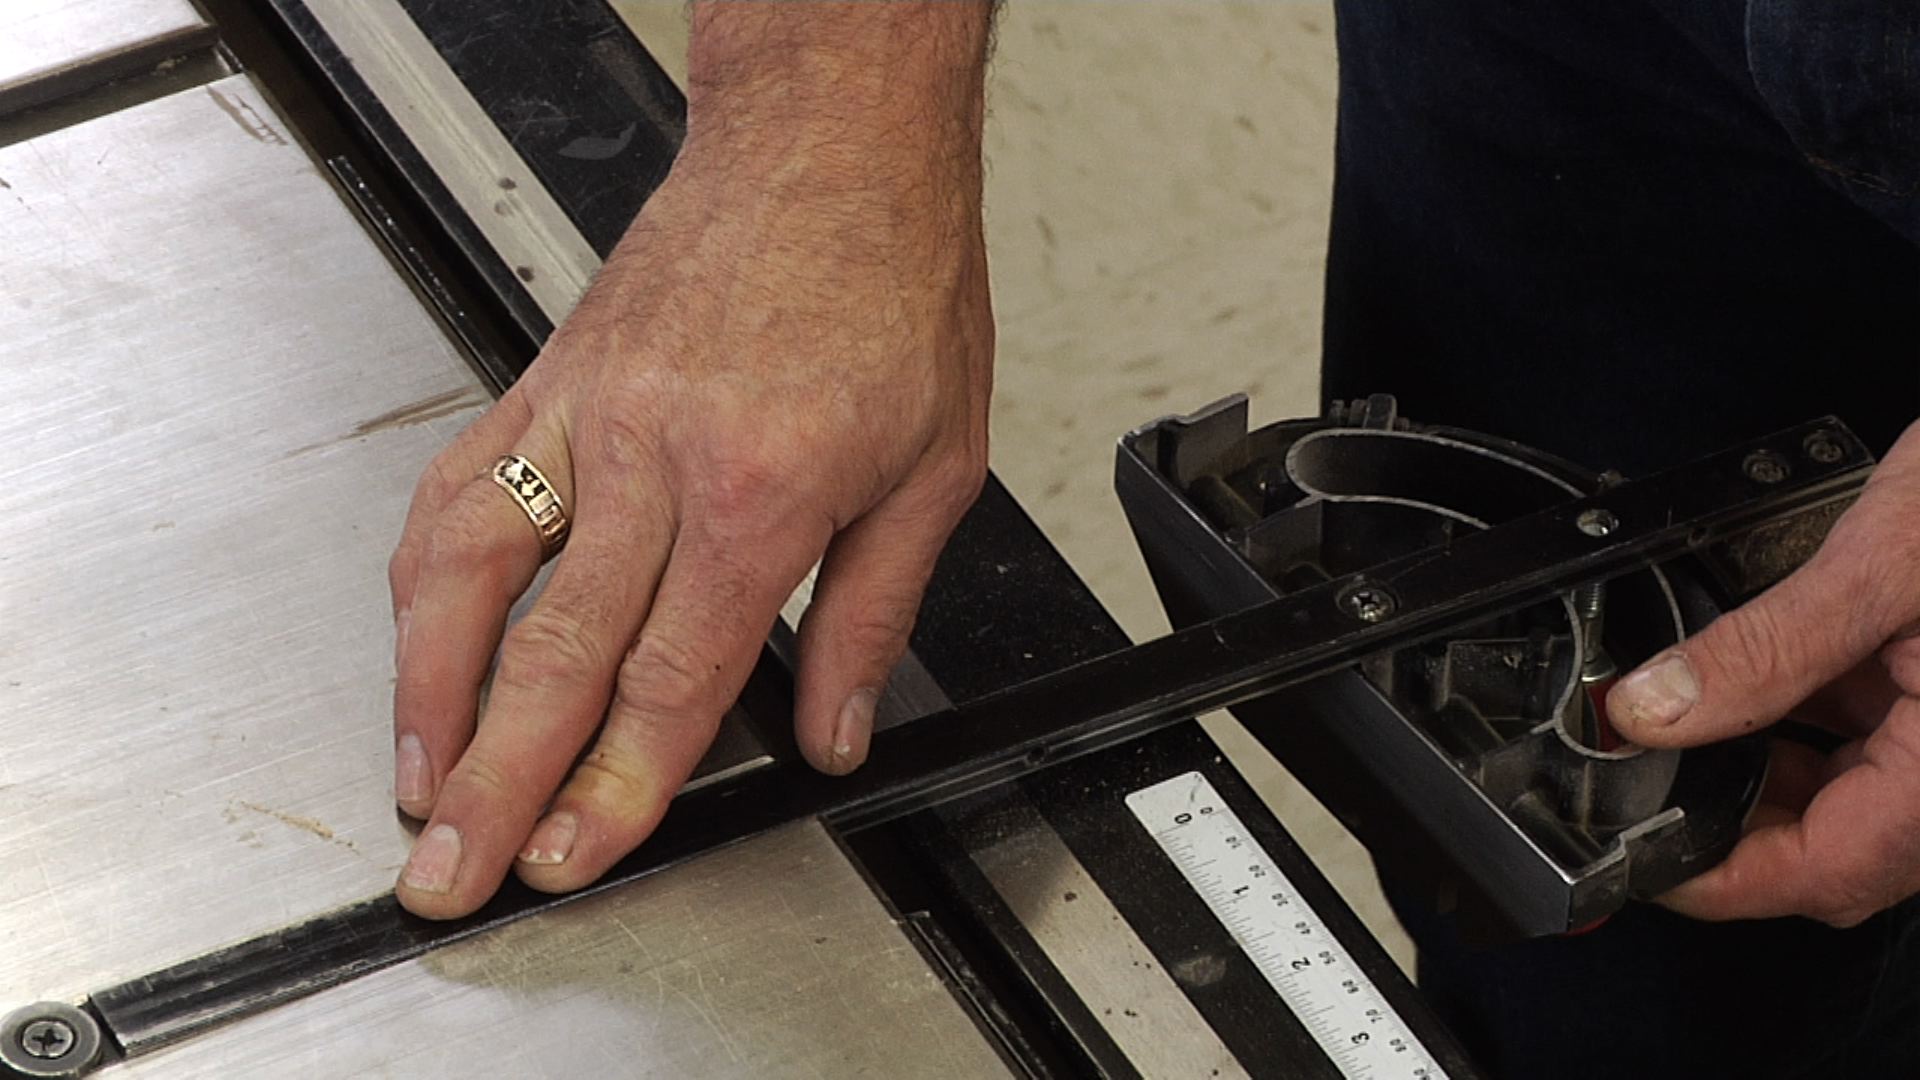
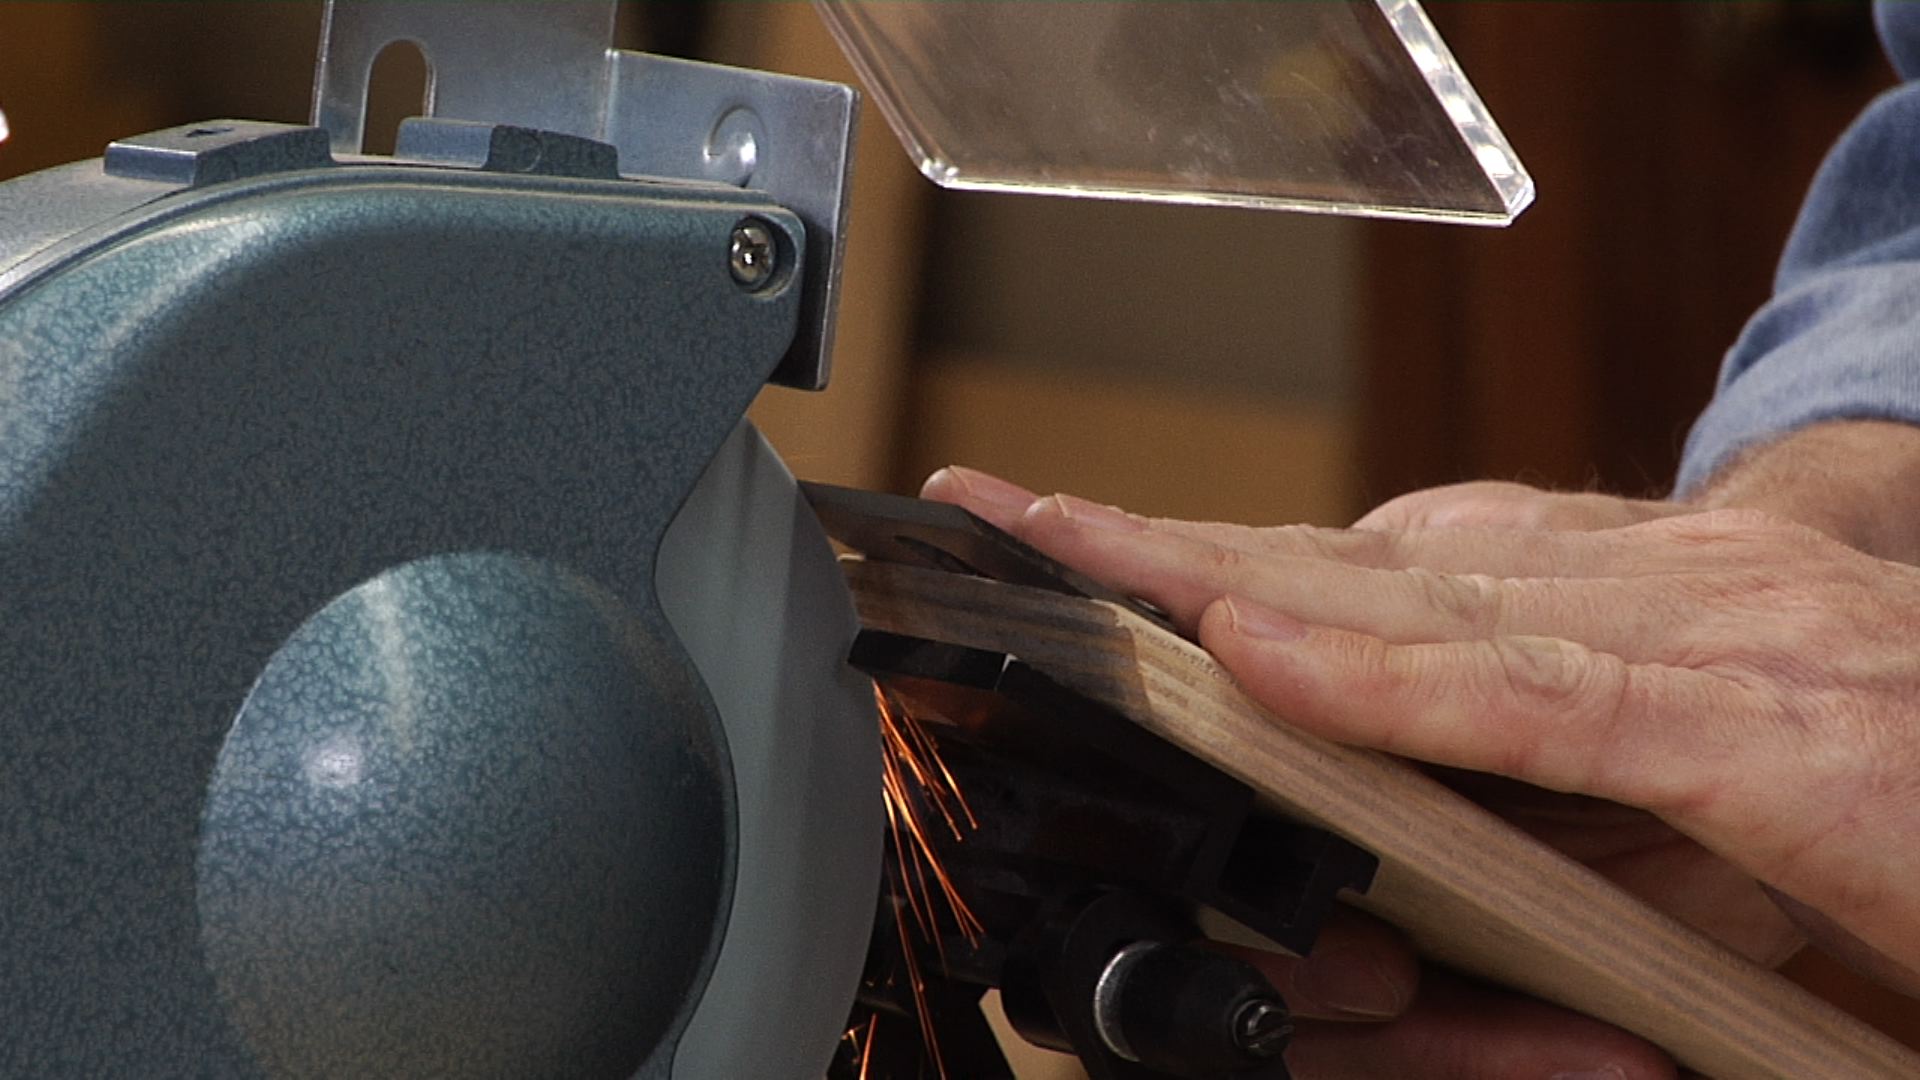
Tuning Up Your Miter Gauge
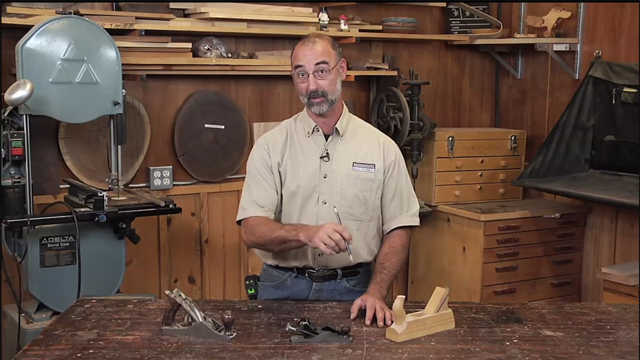
George VondriskaMaster woodworker George Vondriska demonstrates how to tune up your miter gauge for use on woodworking projects. A WoodWorkers Guild of America (WWGOA) original video.
Incra Miter 1000HD provided by Incra. For more information, visit www.incra.com.
More Videos provided by Incra:
Mitering a Perfect Octagon
Share tips, start a discussion or ask one of our experts or other students a question.
Already a member? Sign in
4 Responses to “Tuning Up Your Miter Gauge”
Explore videos by George Vondriska


You may be interested in


Premium Membership
Unlock exclusive member content from our industry experts.
- 24/7 Access to Premium Woodworking Videos, Projects, and Tips
- Step-by-Step Instructional Demos, Plans, and Tutorials
- 50% Off Video Downloads Purchased in the Woodworkers Guild of America Shop
- 2 Printable Woodworking Plans
Unlock exclusive member content from our industry experts.
- 24/7 Access to Premium Woodworking Videos, Projects, and Tips
- Step-by-Step Instructional Demos, Plans, and Tutorials
- 50% Off Video Downloads Purchased in the Woodworkers Guild of America Shop
- 2 Full-Length Video Downloads to Watch Offline
- 2 Printable Woodworking Plans
Gold Membership
$370 Value
Get everything included in Premium plus exclusive Gold Membership benefits.
- 24/7 Access to Premium Woodworking Videos, Projects, and Tips
- Step-by-Step Instructional Demos, Plans, and Tutorials
- 8 Full-Length Video Downloads to Watch Offline
- 3 Full-Length Woodworking Classes to Keep for Life
- 7 Printable Woodworking Plans
- Discounts on Purchase-to-Own Content in the Woodworkers Guild of America Shop
- Access to Ask the Expert Program
- Exclusive GOLD LIVE Streaming Events
I have a Dubby sled for cutting miters and have no problem even with 12 sided (or any # of sided) object having perfectly accurate miters. I got rid of my incra miter gauge
'Morning Mr Vondriska...I just viewed your video on fine tuning the miter gauge...And not to be critical, but there's a few points that need to be addressed. I agree 200% about the cumulative effect...however...your first "set" of cuts to establish the first 30 deg angle was made with hand pressure, not a positive stop, and that is critical. A proper set up requires as little "chance error" as possible, which could happen with "creep" while cutting the first miter. The 2nd miter was correct with the positive... but the "knife edge" you mentioned is now a wedge and will most likely work itself behind the stop minutely..these are best done with an adjusting screw in the end of the stop, which will contact the miter up the cut a titch,say 1/4", which eliminates the "wedge" effect. And the cumulative effect is the result of 12 cuts, 6 joints 2 sides. And the result you ended up with, a less than hairline space, is amazing, everything considered. I believe if the same test was made with these adaptations, that space might be gone. And the whole presentation is a testament to investing in good equiptment...when the gauge is set at 30 deg, are the numbers and detents on the gauge accurate? Obviously pretty close!! I mean the space that was left, divided by 12, becomes practically immeasurable! Really, how many of us work to 4 decimals tolerance? Please continue the great work that you do....Jack
I enjoyed the video and appreciate the technique of magnifying the error to check accuracy. t was a little disappointing there was no instruction on how to actually correct the miter gauge error, though. The statement "follow your manufacturer's instructions" is a bit like passing the buck. I think a couple how-to tips for making the actual corrections would have made a "good" video a "great" one.
Hi George ! Thanks for the video. That was a cool way to check your miter gauge. Are you familiar with the 5 cut method from William Ng ? I think it might be a bit easier and straightforward to get the amount of error as you measure with a caliper. Just a thought.