
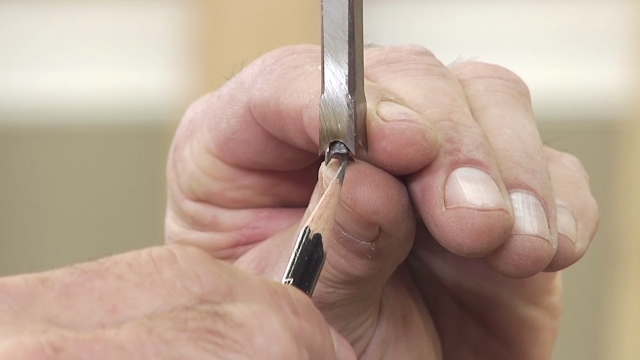
Testing a Miter Gauge for a Square Cut
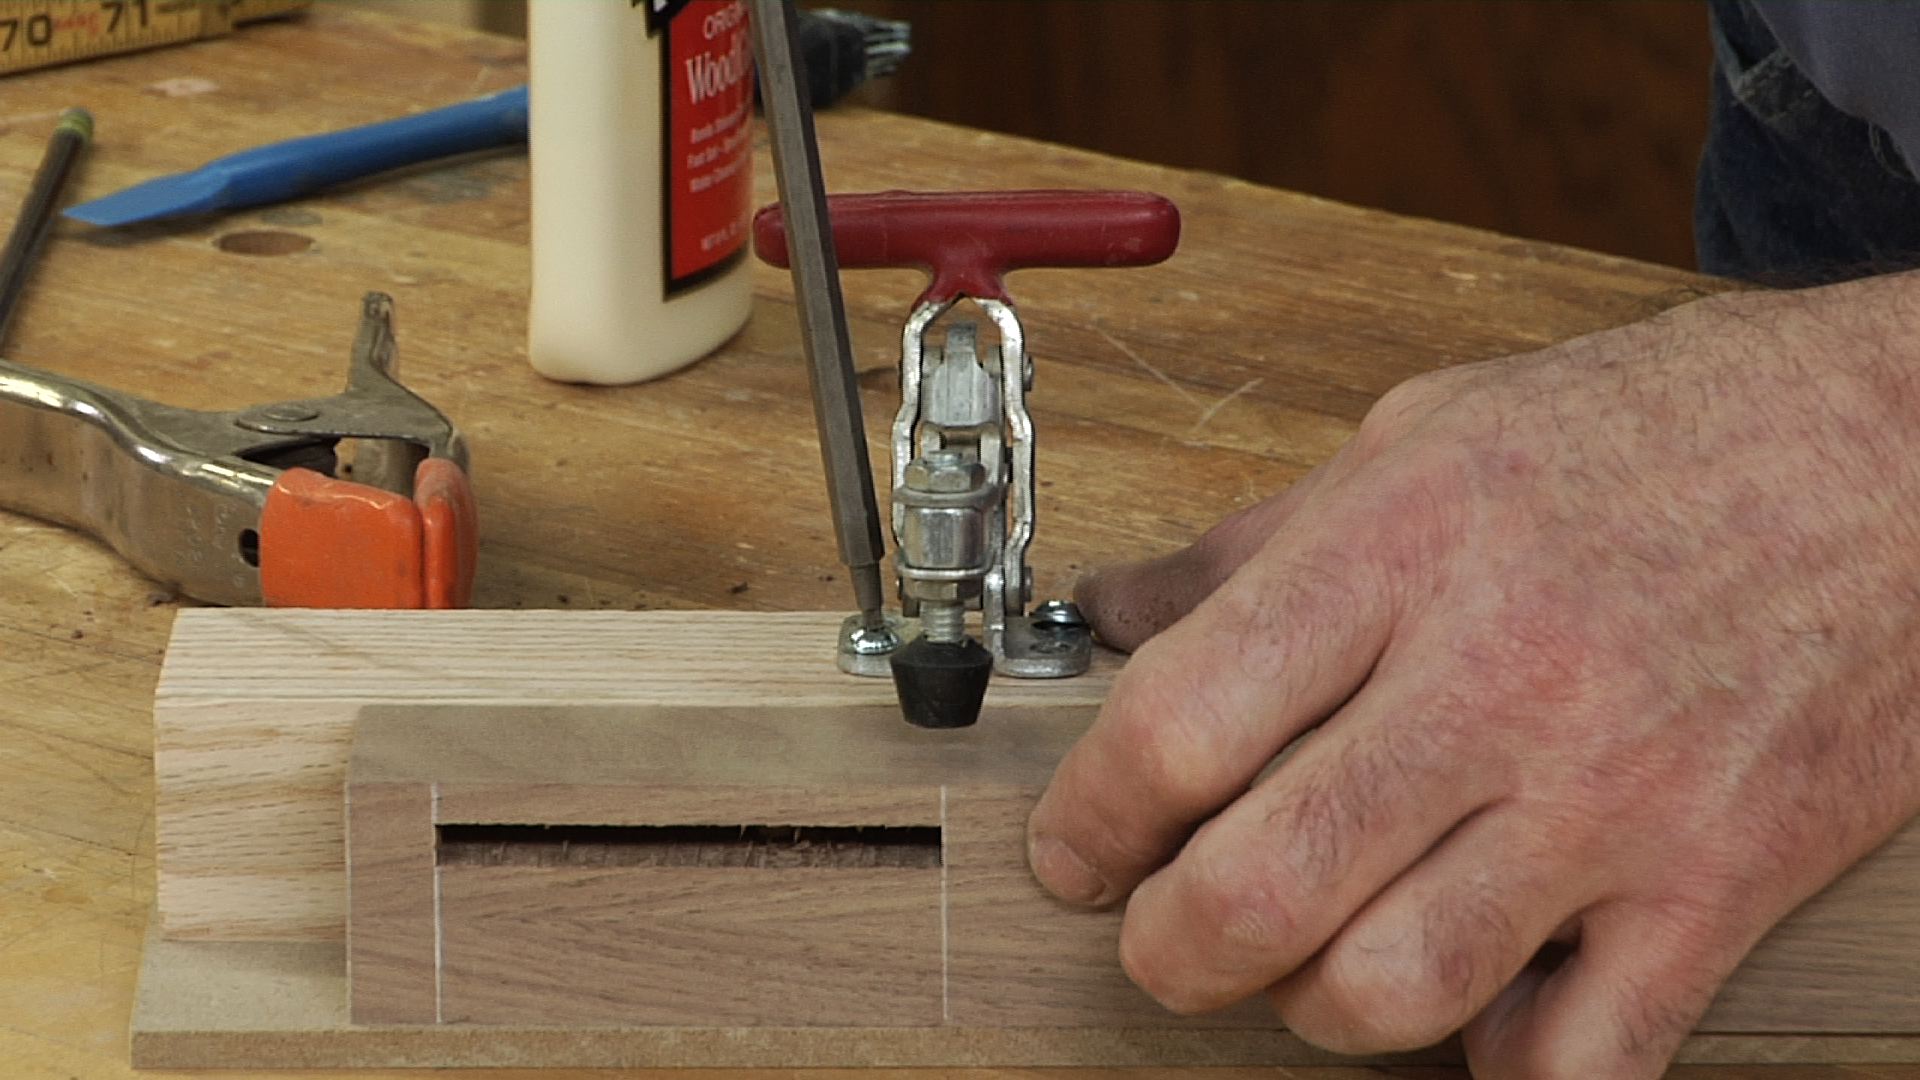
George VondriskaThe table saw is a key participant in many woodworking projects, therefore it is critical to ensure that the saw is performing at its best, and adjusted for perfect accuracy. A well-tuned table saw is capable of producing crisp, square cuts, and helping you to produce projects that come together as nicely as you had planned.
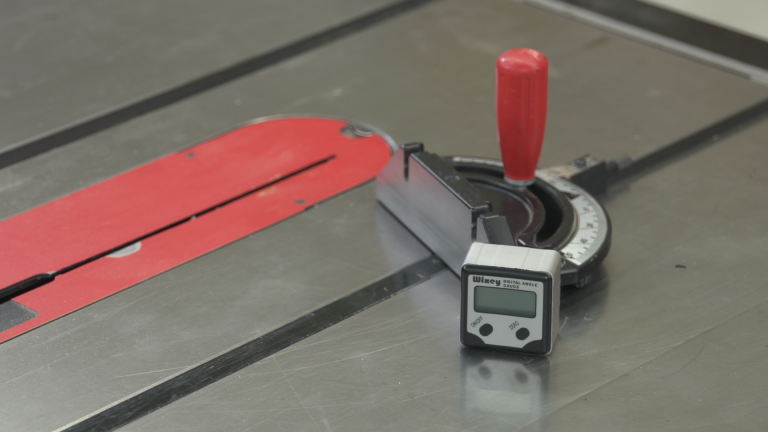
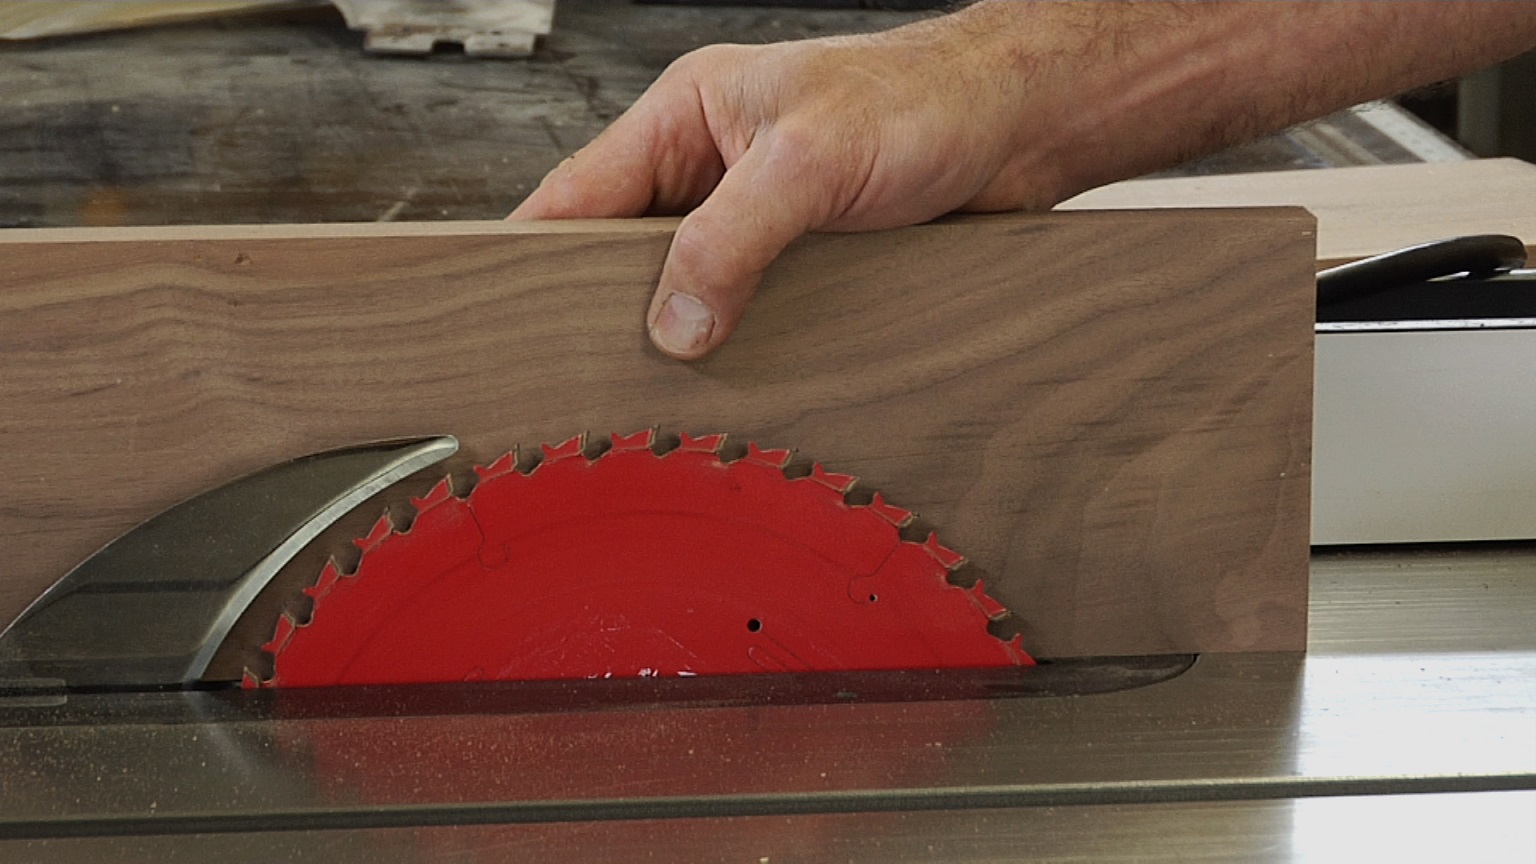
One of the adjustments that should be made is to calibrate the miter gauge so that it is perfectly square to the miter slot and blade. The miter gauge plays a key role in making square or angled cross-cuts, as well as producing tenons and other operations that require precision. If the miter gauge is as much as ½ degree off, it can cause you grief, and the problem can quickly compound when stacking multiple cuts, so getting this adjusted as precisely as possible will pay dividends in your projects.
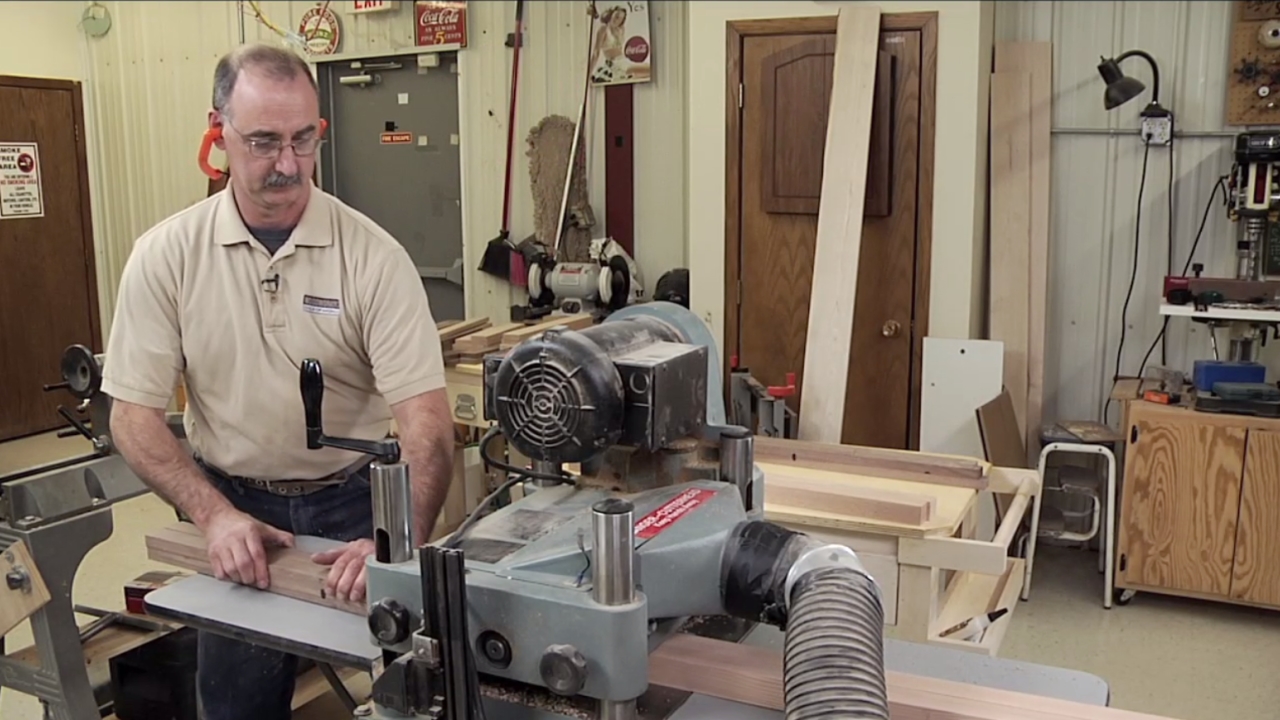
In this video George walks through a simple process to dial in the accuracy of the miter gauge. Before stepping through these steps to dial in precision, you might want to take a look at a quick tip for aligning a miter gauge that can get you into the ballpark right away. Once you have approximate square established, it’s time to dial it in:
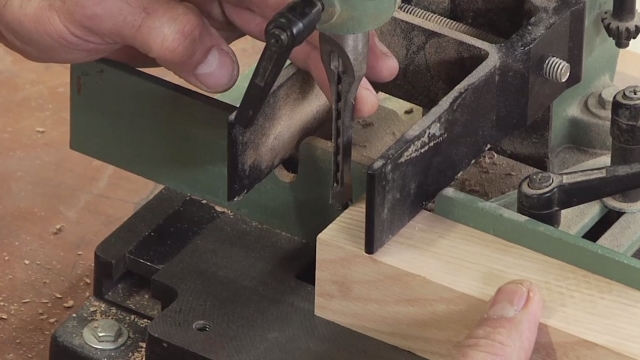
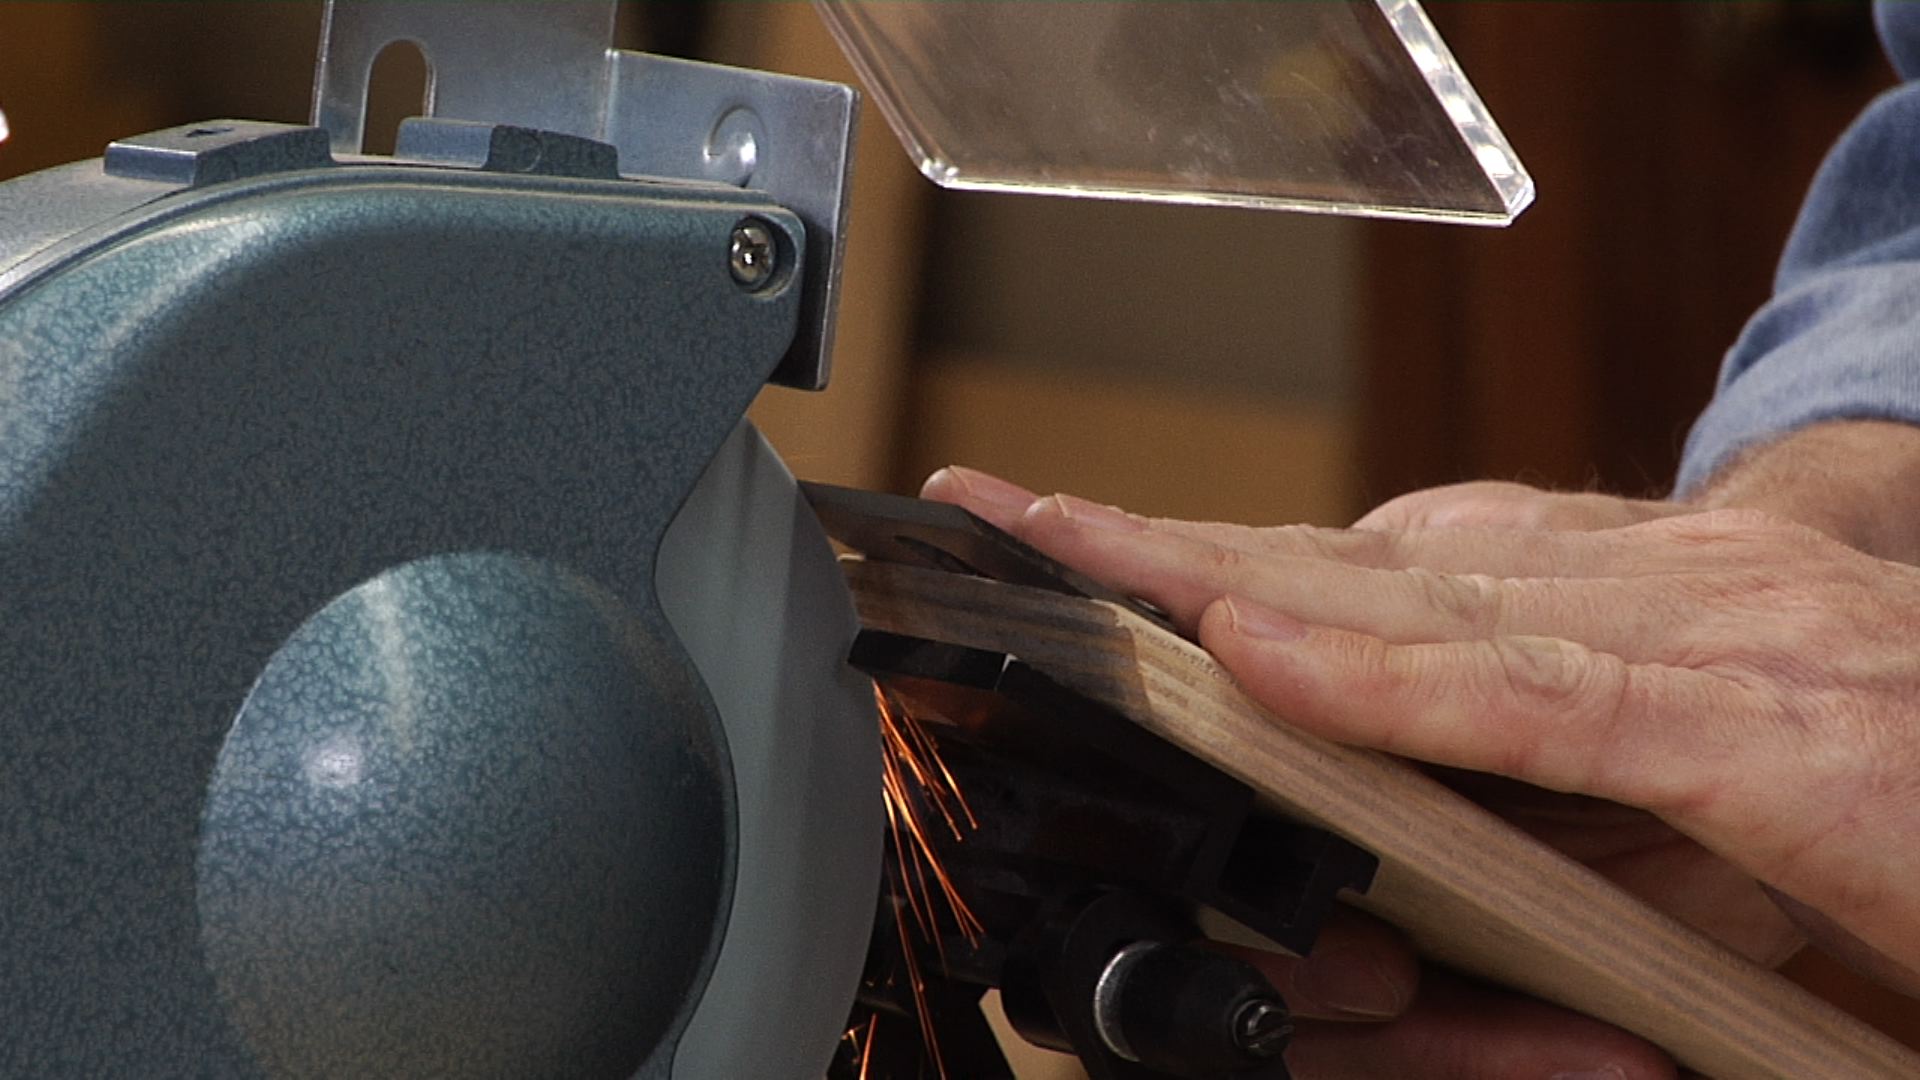
Test Cuts: You’ll make two cuts using the critical setup that George describes.
Measure for accuracy: Next you’ll measure in two locations to determine how accurate your saw currently is, and how much adjustment needs to be made.
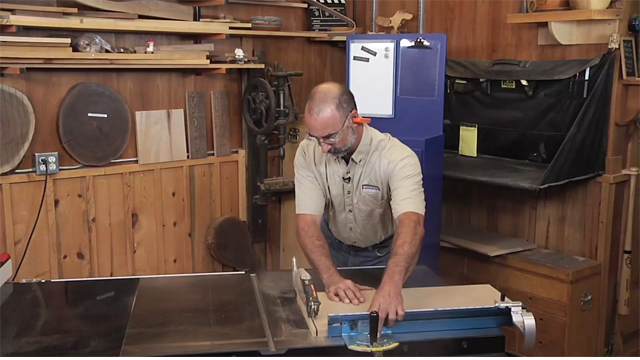
Adjust: Based on the results of the test, you’ll make any adjustments to the miter gauge that are necessary.
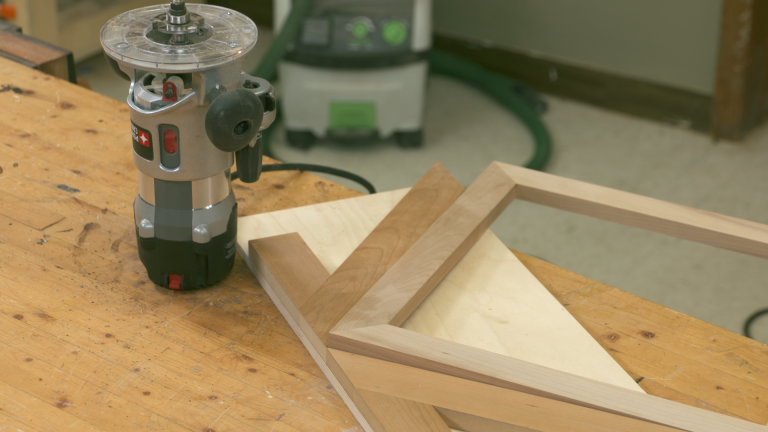
Now that you have your miter gauge perfectly square, you might want to try using a miter gauge as a square. Then you’ll be a miter gauge pro, and ready for any project!
Explore videos by George Vondriska


You may be interested in


Premium Membership
Unlock exclusive member content from our industry experts.
- 24/7 Access to Premium Woodworking Videos, Projects, and Tips
- Step-by-Step Instructional Demos, Plans, and Tutorials
- 50% Off Video Downloads Purchased in the Woodworkers Guild of America Shop
- 2 Printable Woodworking Plans
Unlock exclusive member content from our industry experts.
- 24/7 Access to Premium Woodworking Videos, Projects, and Tips
- Step-by-Step Instructional Demos, Plans, and Tutorials
- 50% Off Video Downloads Purchased in the Woodworkers Guild of America Shop
- 2 Full-Length Video Downloads to Watch Offline
- 2 Printable Woodworking Plans
Gold Membership
$370 Value
Get everything included in Premium plus exclusive Gold Membership benefits.
- 24/7 Access to Premium Woodworking Videos, Projects, and Tips
- Step-by-Step Instructional Demos, Plans, and Tutorials
- 8 Full-Length Video Downloads to Watch Offline
- 3 Full-Length Woodworking Classes to Keep for Life
- 7 Printable Woodworking Plans
- Discounts on Purchase-to-Own Content in the Woodworkers Guild of America Shop
- Access to Ask the Expert Program
- Exclusive GOLD LIVE Streaming Events