
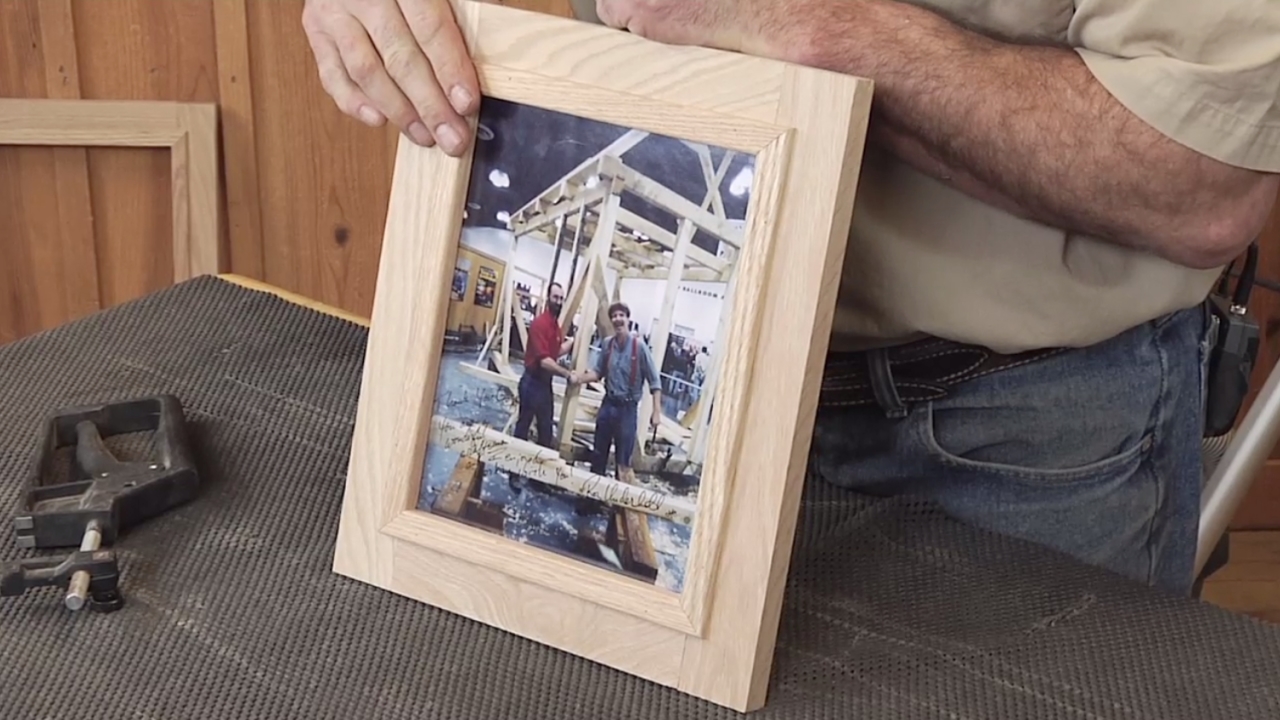
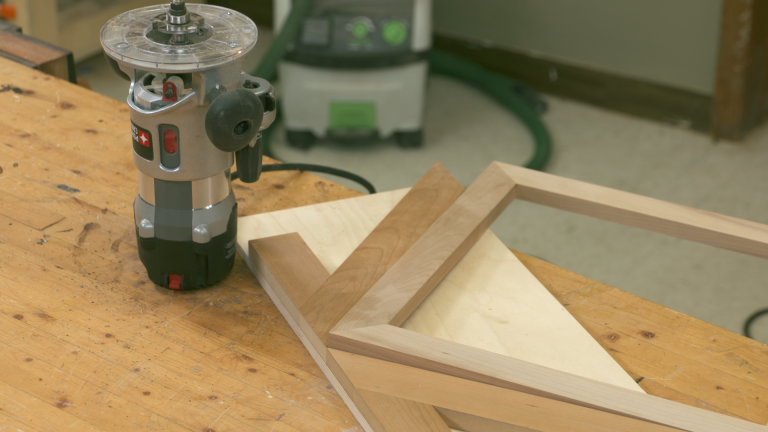
Making a Picture Frame with Pocket Hole Accents
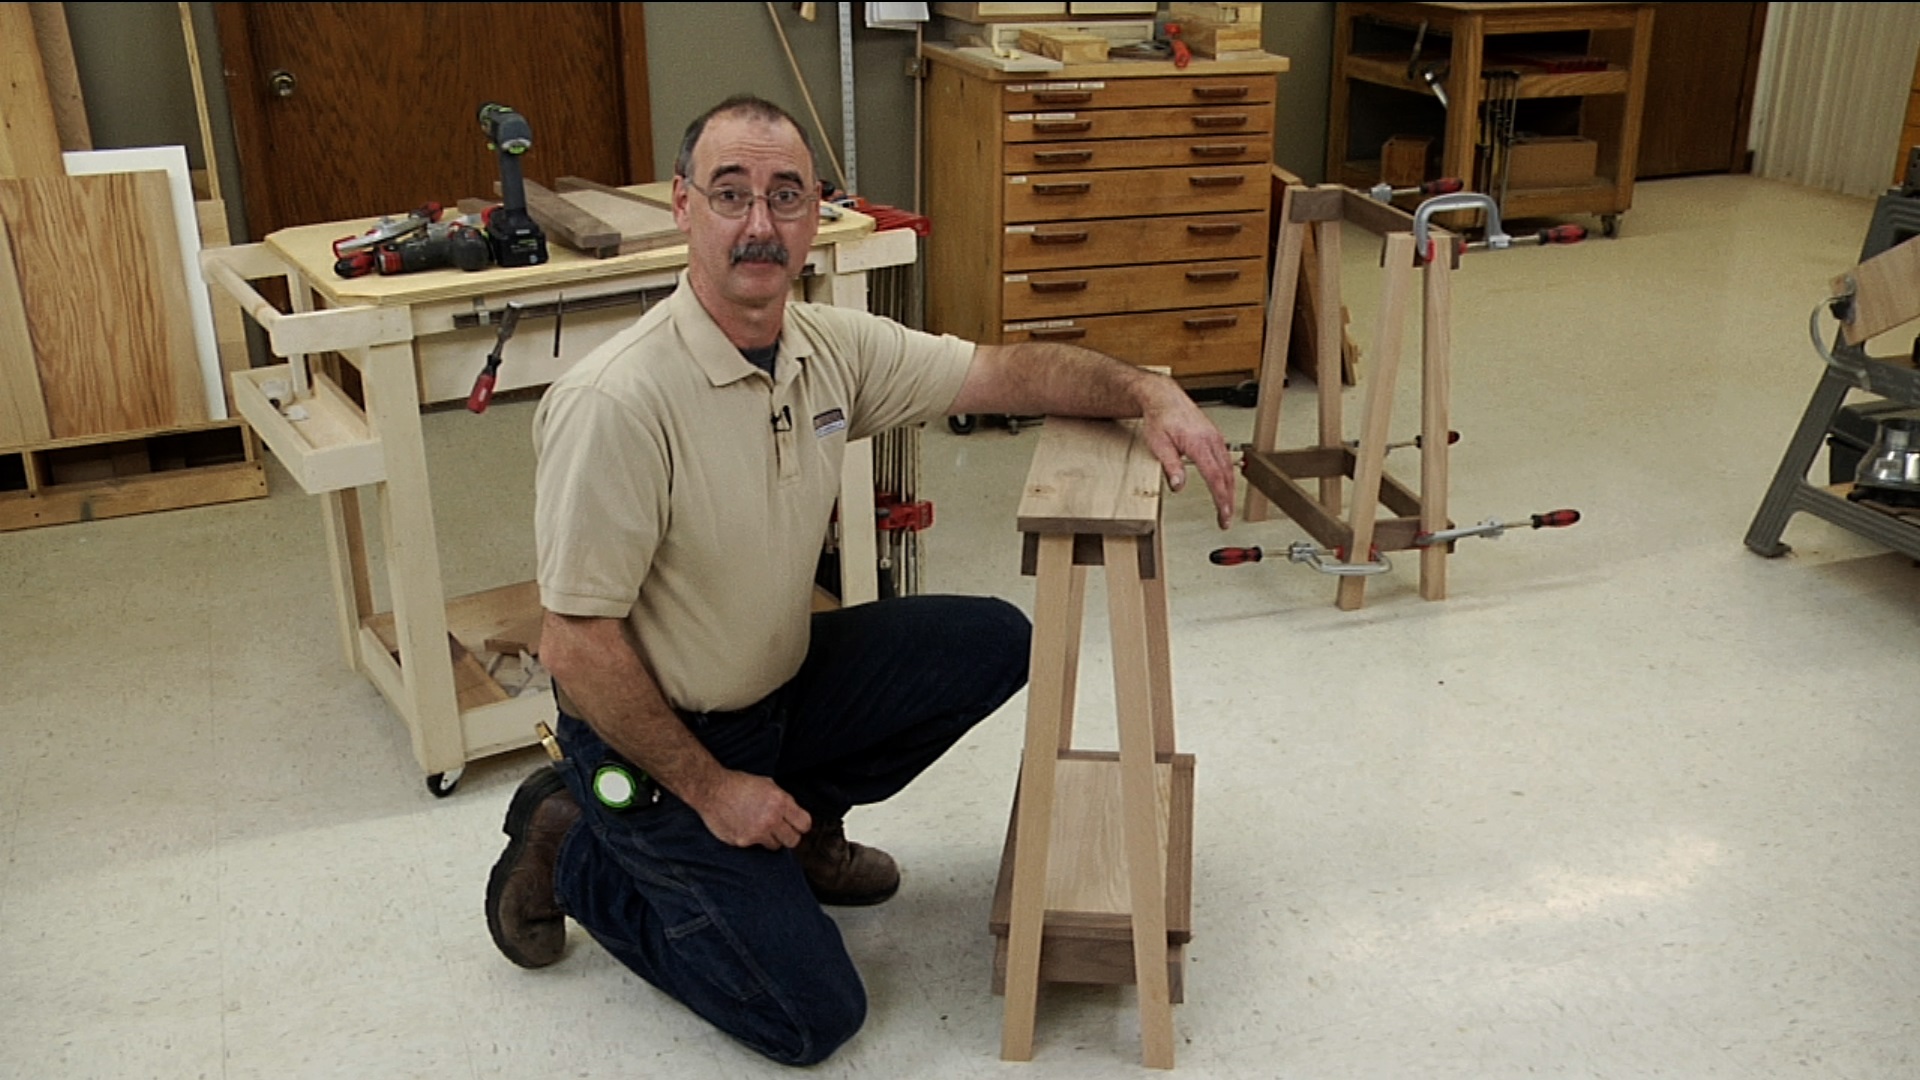
George VondriskaHow many times have you been asked to make a picture frame for someone? Many, I bet. Here’s a great approach to making picture frames that doesn’t require any mitering, AND creates a cool accent by making pocket pocket holes the main joinery method.
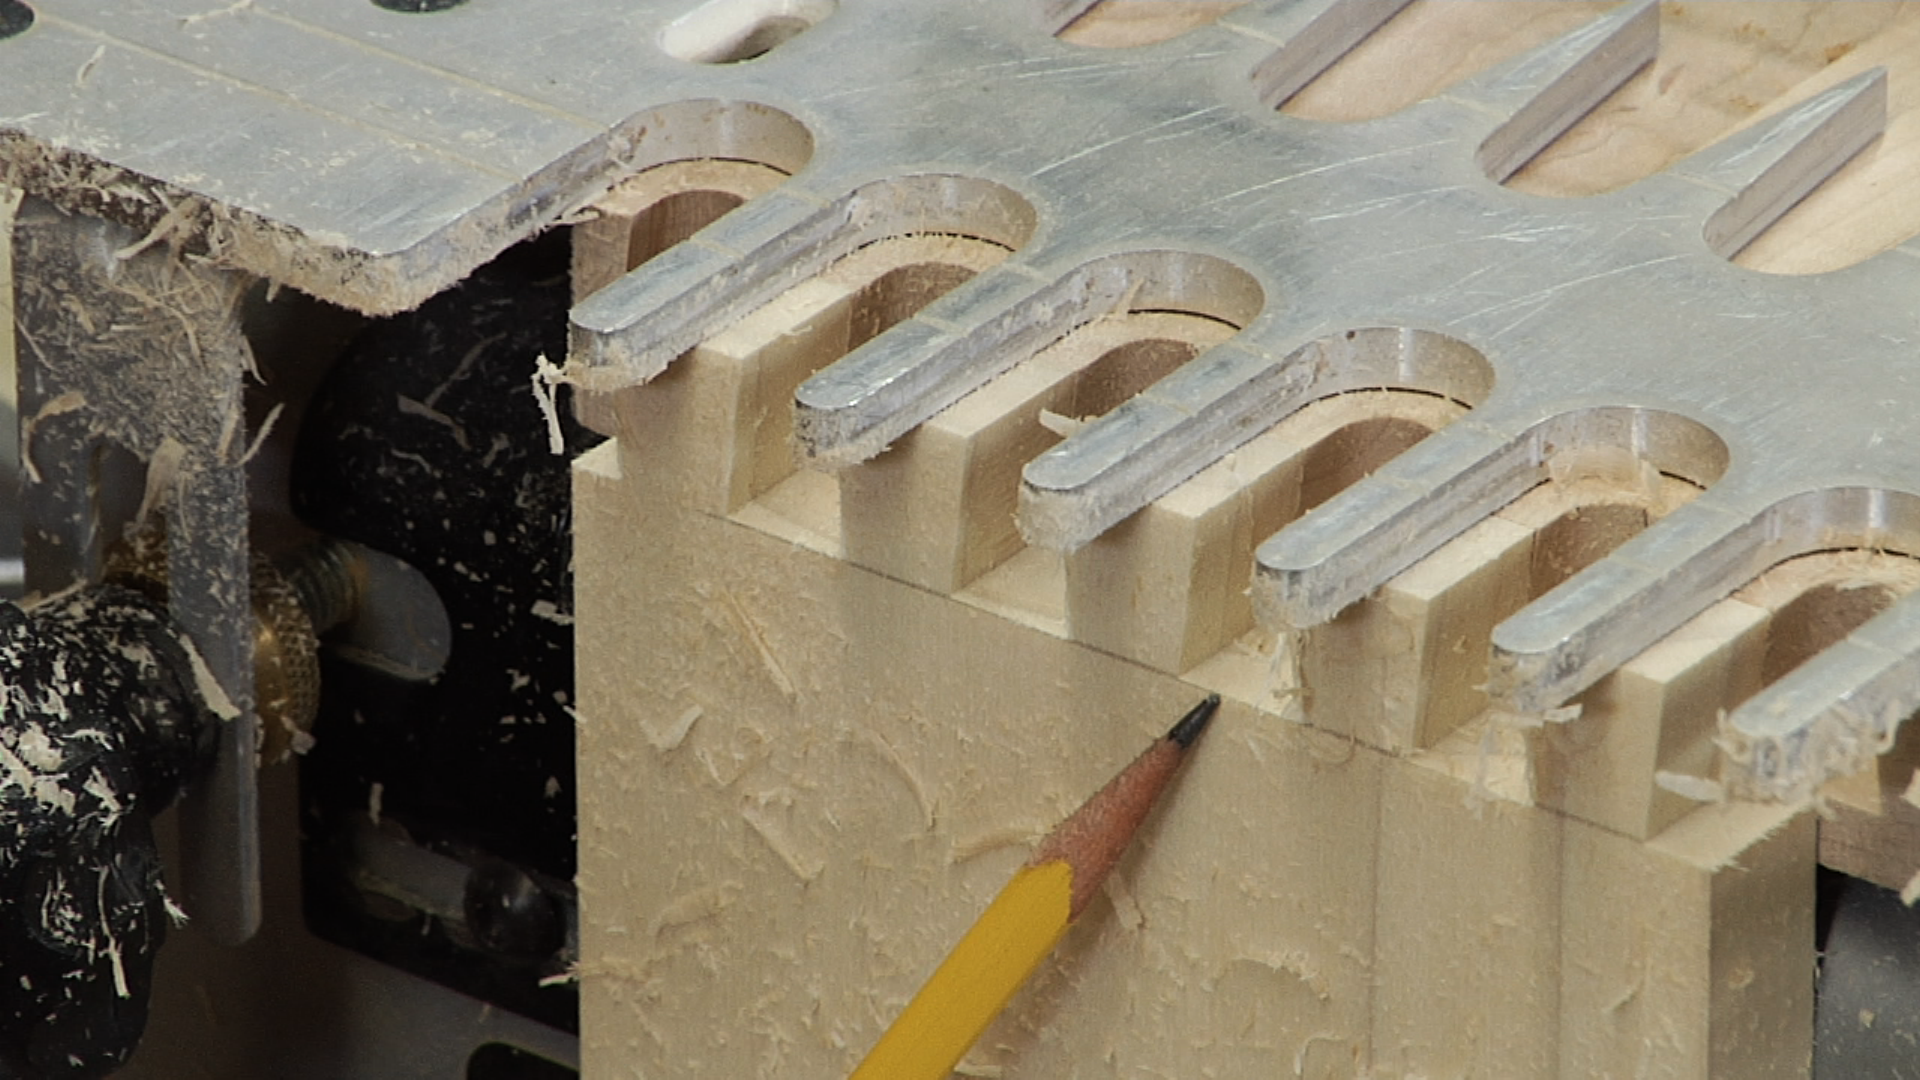
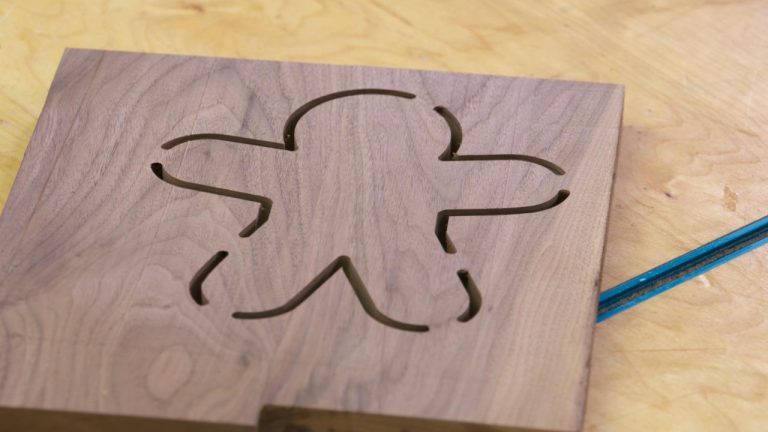
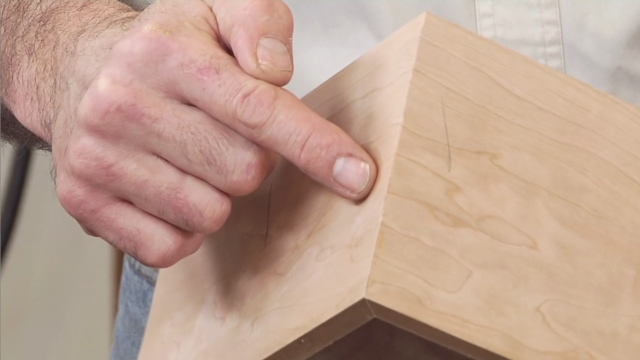
Hiding the pocket holes
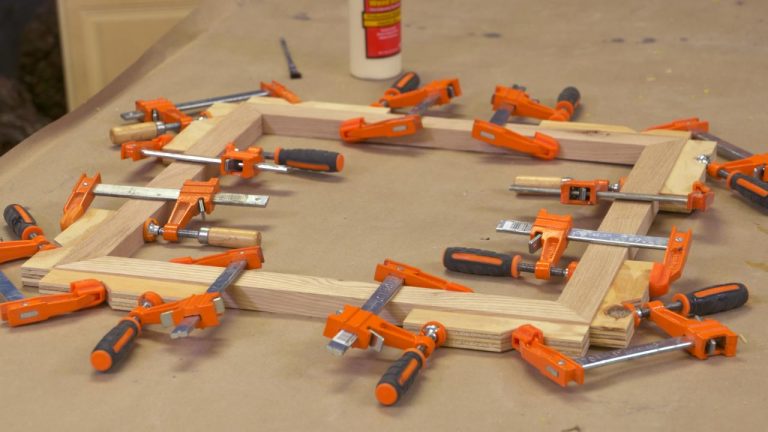
Making pocket holes is easy, and pocket holes do a great job of holding the frame together, but we don’t want to leave the holes exposed on the front of the frame. It’s very easy to plug the holes, and this creates a very cool look if you use a contrasting plug material. A new product from Kreg allows you to cut your own pocket hole plugs from any material you have in your shop.
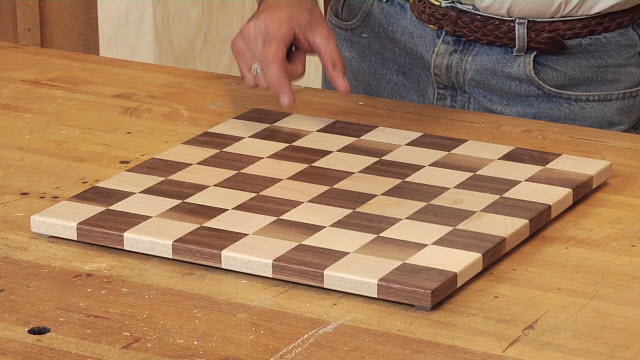
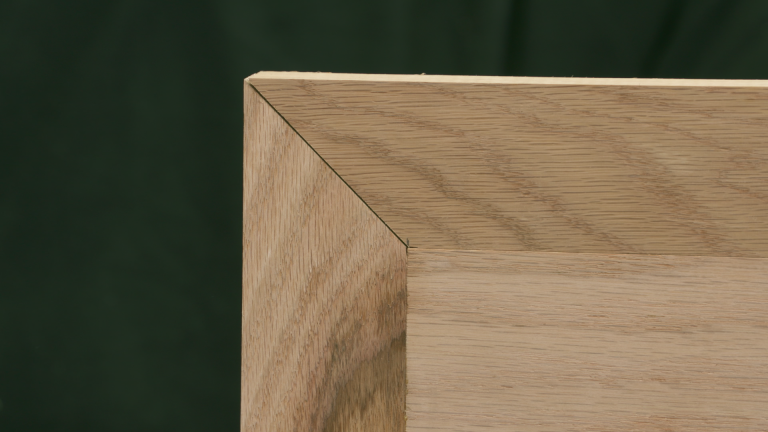
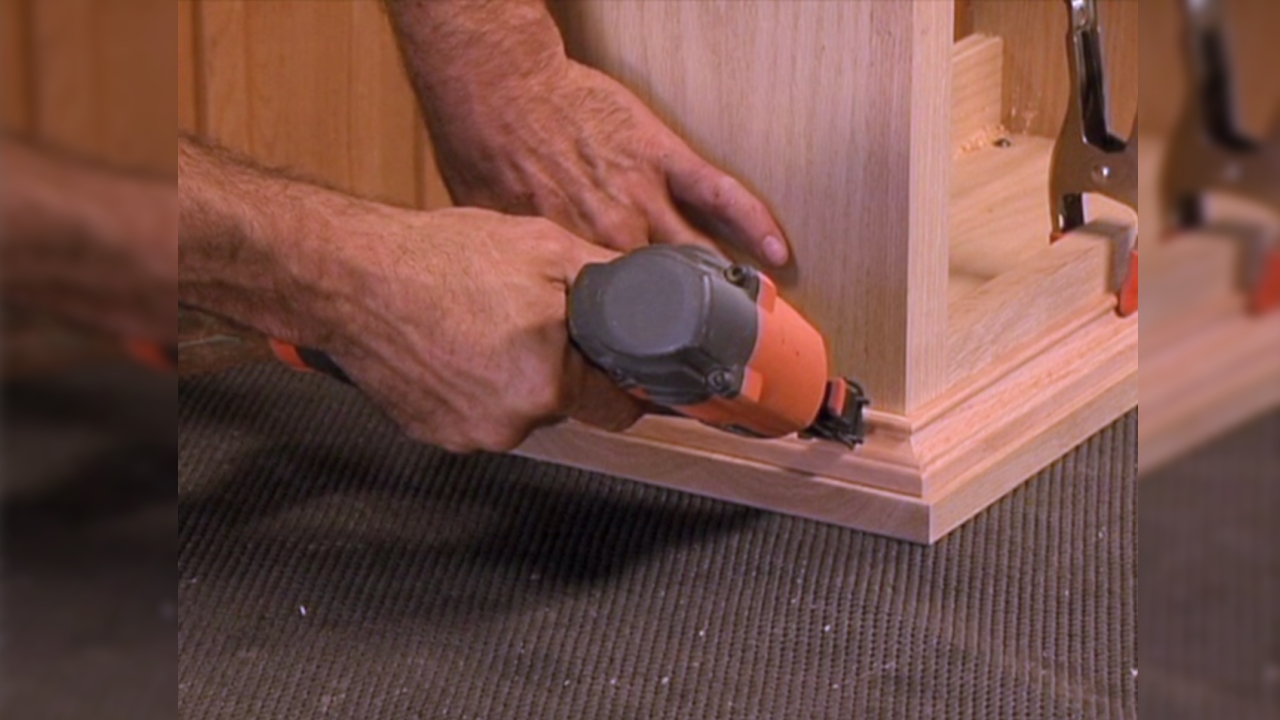
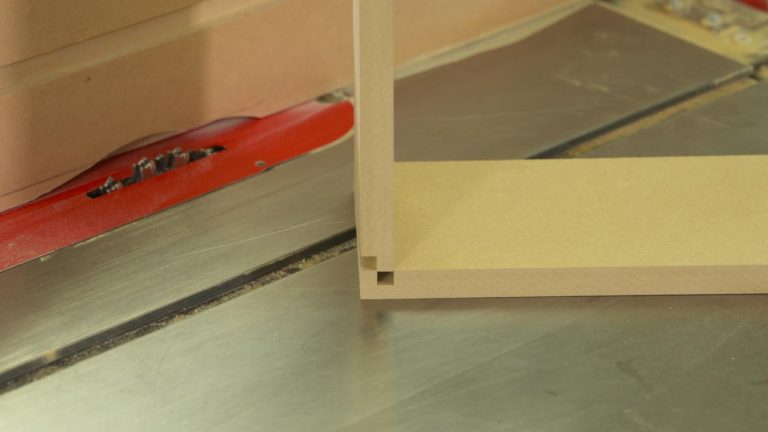
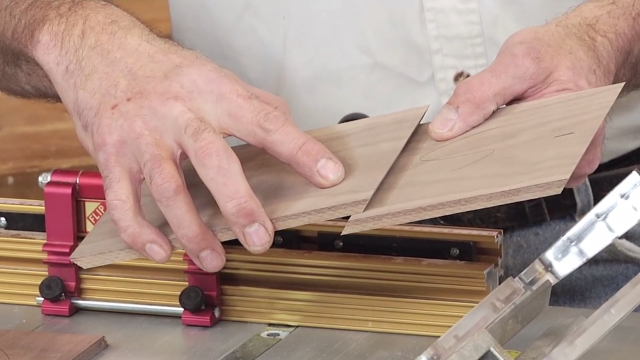
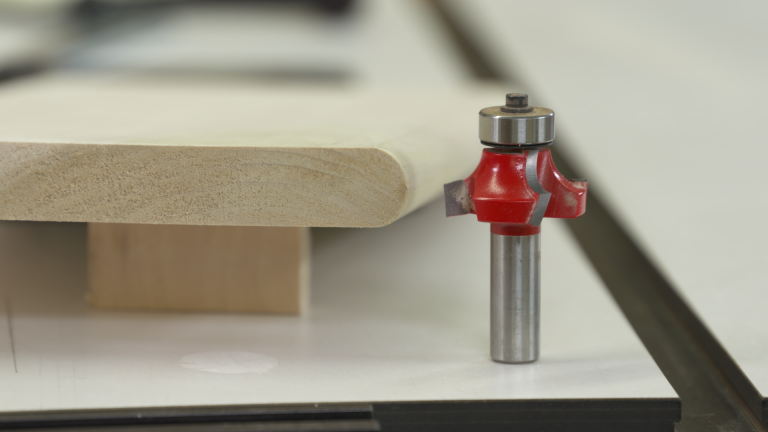
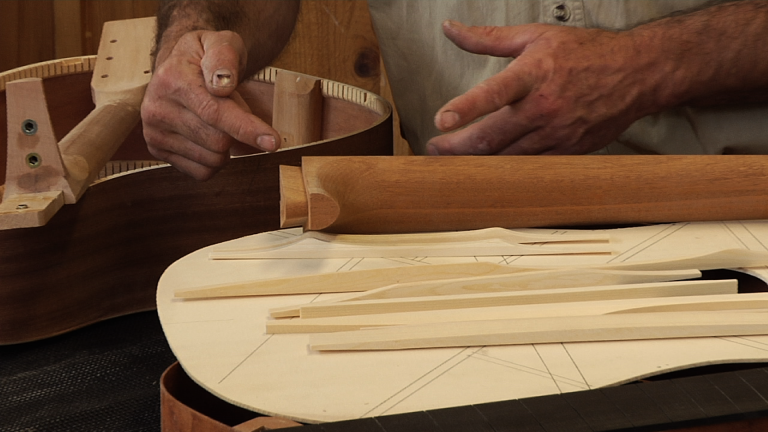
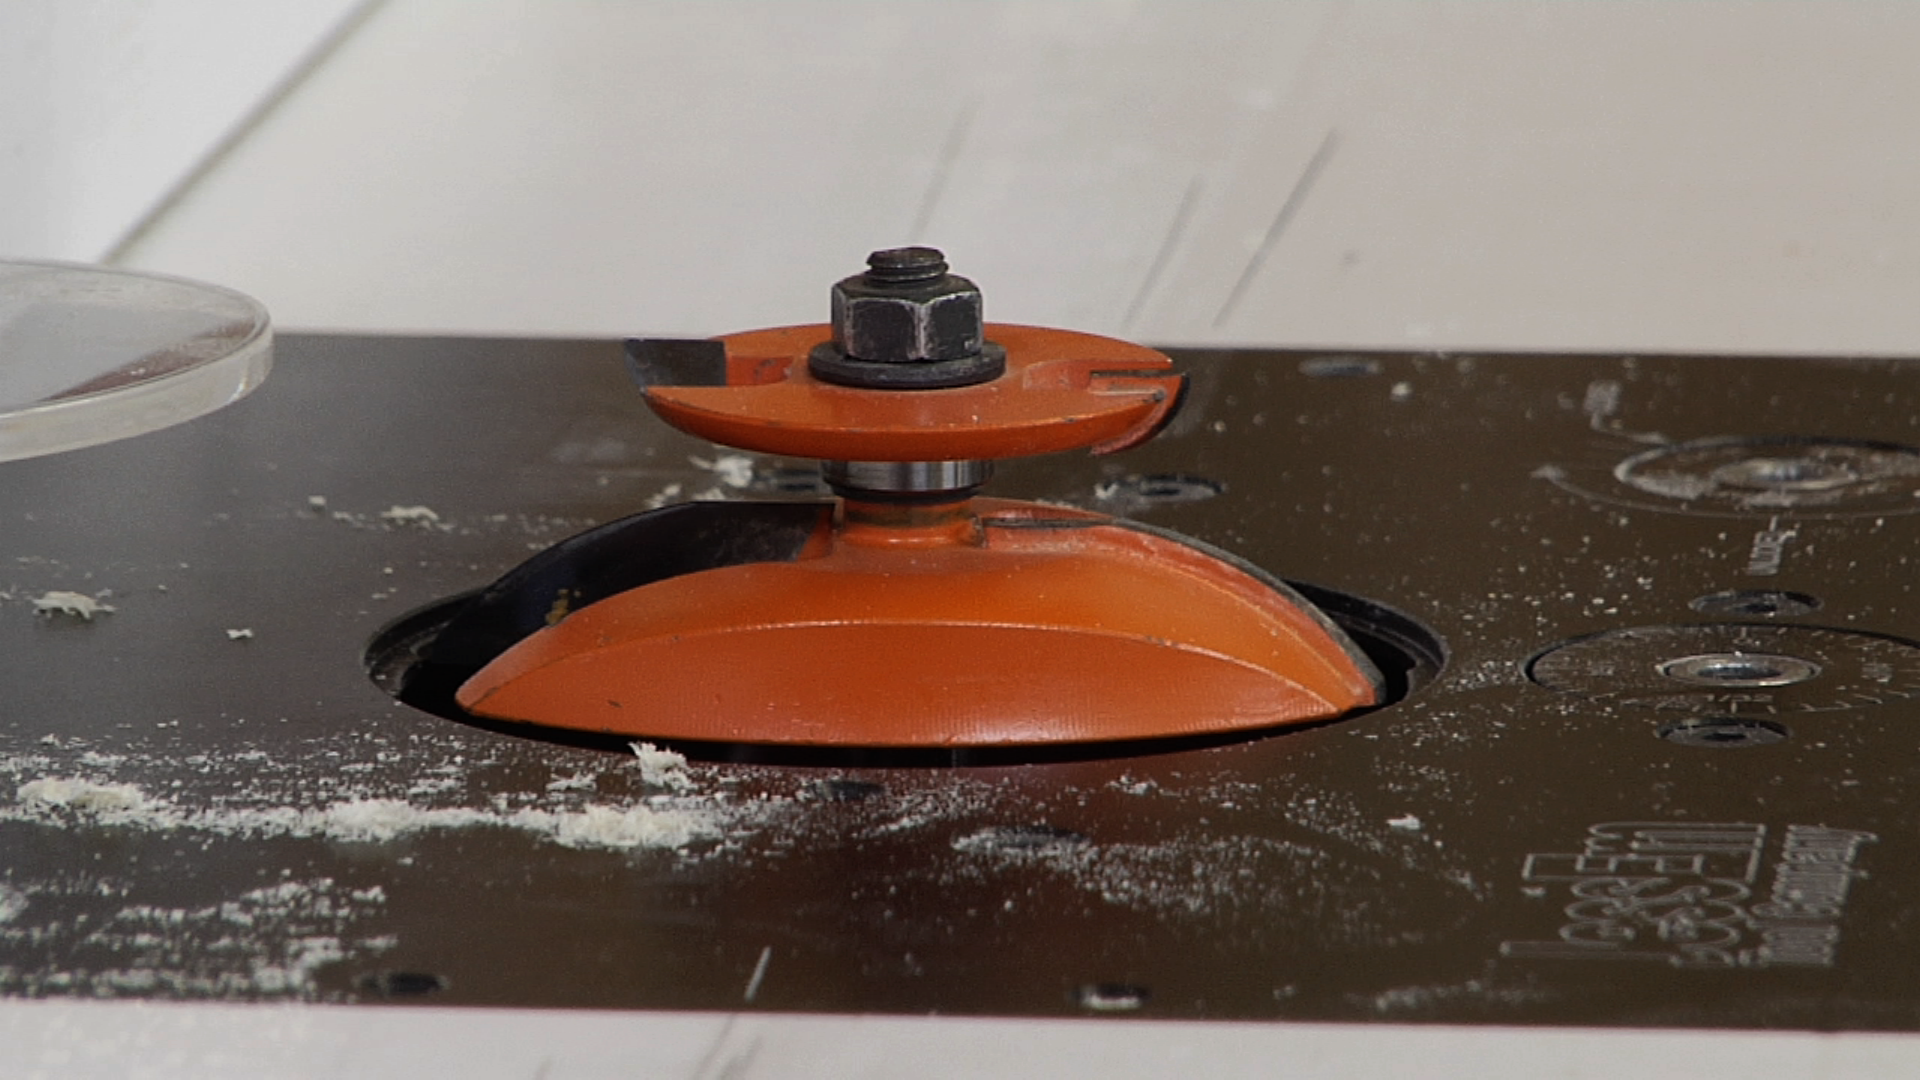
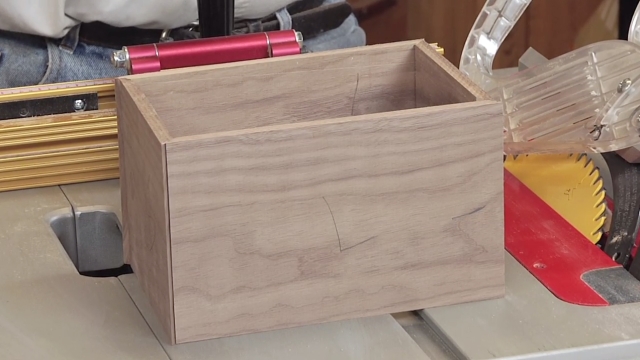
No rabbets
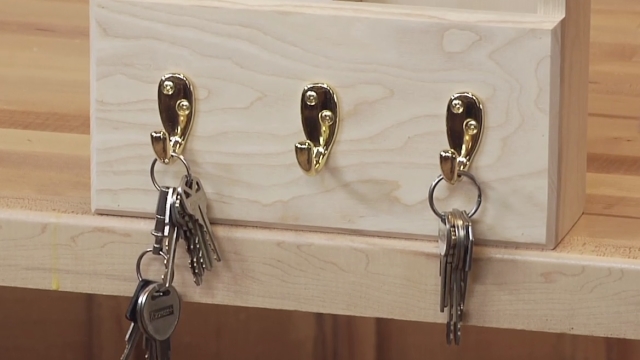
In addition to this frame being miter-free, it’s rabbet free. Instead of cutting rabbets into the frame material, a piece of shop-made molding is applied to create the ledge that captures the glass and picture. And, the applied molding can also be used to create an attractive contrast.
More on screw pockets
Screw pockets (pocket holes) are a very effective way to join woodworking projects. Learn more about screw pockets, and how they’re used, to see how this joinery method will complement what you do in your shop.
For more info:
For more information on the Kreg Custom Pocket Hole Plug Cutter, visit www.kregtool.com, or call (800) 447-8638
Share tips, start a discussion or ask one of our experts or other students a question.
Already a member? Sign in
10 Responses to “Making a Picture Frame with Pocket Hole Accents”
Explore videos by George Vondriska


You may be interested in


Premium Membership
Unlock exclusive member content from our industry experts.
- 24/7 Access to Premium Woodworking Videos, Projects, and Tips
- Step-by-Step Instructional Demos, Plans, and Tutorials
- 50% Off Video Downloads Purchased in the Woodworkers Guild of America Shop
- 2 Printable Woodworking Plans
Unlock exclusive member content from our industry experts.
- 24/7 Access to Premium Woodworking Videos, Projects, and Tips
- Step-by-Step Instructional Demos, Plans, and Tutorials
- 50% Off Video Downloads Purchased in the Woodworkers Guild of America Shop
- 2 Full-Length Video Downloads to Watch Offline
- 2 Printable Woodworking Plans
Gold Membership
$370 Value
Get everything included in Premium plus exclusive Gold Membership benefits.
- 24/7 Access to Premium Woodworking Videos, Projects, and Tips
- Step-by-Step Instructional Demos, Plans, and Tutorials
- 8 Full-Length Video Downloads to Watch Offline
- 3 Full-Length Woodworking Classes to Keep for Life
- 7 Printable Woodworking Plans
- Discounts on Purchase-to-Own Content in the Woodworkers Guild of America Shop
- Access to Ask the Expert Program
- Exclusive GOLD LIVE Streaming Events
Cool picture frame can't wait to do it
This project is under "beginner projects". Why would a beginner have a $70 - $240 piece of equipment that is only used for a specific type of joinery. Beginners have the challenge of not a lot of equipment- no table saw or router table, I have a jig saw, a router, drill, level, t and speed squares, tape measure, clamps.. Give me a project that I can make on my kitchen table!
Love the info & videos - very helpful. Suggestion for us newbies: It would be helpful to give cut sizes in the description. EX: Post-haste project: no miter picture frame - length of each piece so picture fits correctly. Better yet, explain how to figure the cuts on different sized pictures so the picture fits inside. George is a great teacher and entertaining as well as educational.
That looks very nice and so simple! Thank you WWGOA!
What is the border around the picture is it an inlay? Also, what size of wood do I start with when cutting the 1/4" x 1/4" border. Thanks. Ray.
your hand made plugs fit flush and it looks like minimal amount of sanding is needed. I just bought a Kreg and the premade plugs are not sitting flush. Is the issue with the premade plugs or the users?
When making the pocket holes, I have prosblems with the screws sticking out the backs of the piece receiving the screws. I set my Kreag jig to the settings for 3/4" wood and the collar on the drill bit to 3/4" wood. What am I doing wrong? Do you have an instructional video on how to set up a pocket jig?
I have come up with a simple way to make plugs out of dowels, the same diameter of the hole. I wish I could send pictures, but if you are interested, let me know.
Packing was good.. The bit comes in a protective container which will allow the stop collar to remain in place when stored.My first use produced a cut with some chipping at the top and right side of the plug. Part of this was caused by drilling to fast (SLOW THE CUT SPEED WAY DOWN) and the second cause was not using the vacuum attachment.(MUST USE THE VACUUM ATTACHMENT) When this was done, the quality of the cut was much improved, There was still a small burr on the the top and right edge of the plug. This burr will stand proud when inserted into the pocket whole and be gone when sanded flush. PROBLEM... When the work piece was clamped into my K5 jig, and I started drilling I noticed that the left side of the work piece would rise up. I made several pressure adjustments to the K5 until it stopped. I deemed the pressure required was far to excessive and the jig began to creak under the pressure. The problem was determined to be that there was insufficient surface area on the plug cutter to keep the work piece secured when fighting against the torque of the drilling. SOLUTION... I cut a piece of 100 grit sandpaper and glued it onto the outside of the plug cutter. When the work piece was now clamped against the plug cutter, the work piece remained secure. I was able to reduce the clamping pressure on the K5. HAPPY HAPPY ..With those problems and procedures behind me, the plug cutter is now a 5 star ***** Roger Klein
What a rip-off WWGOA is!!! Got an email to watch a free video, but the video wont load. Nothing about wwgoa works well.