
Gluing Up Furniture Legs
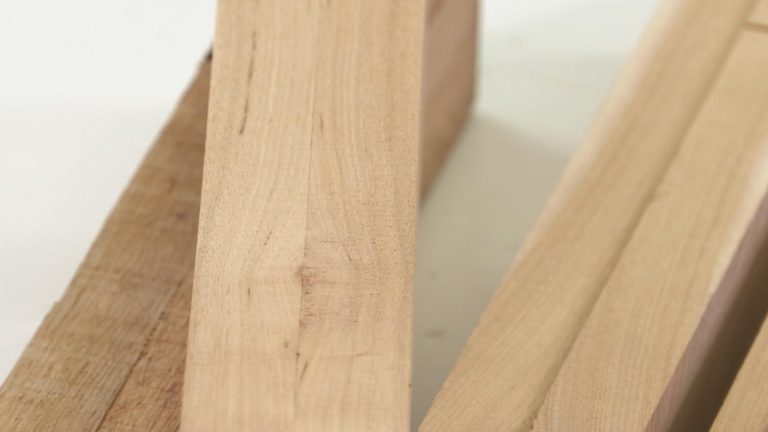
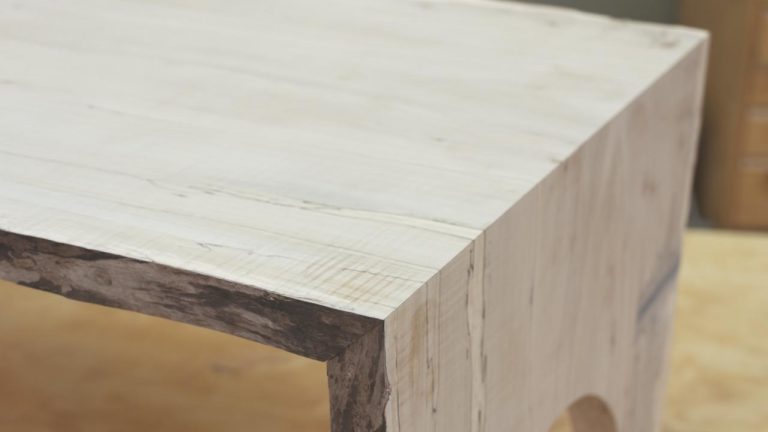
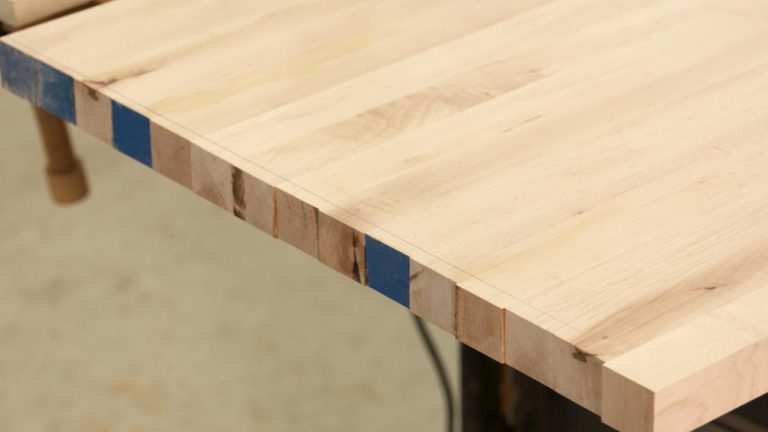
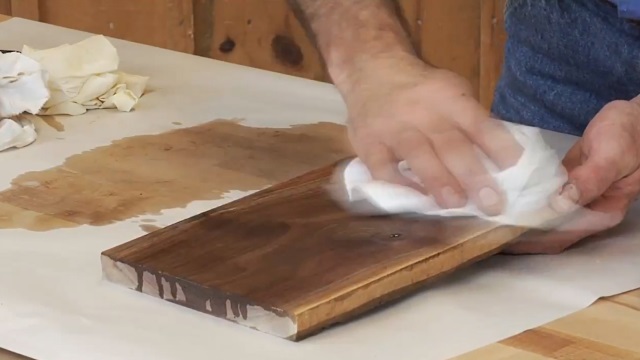
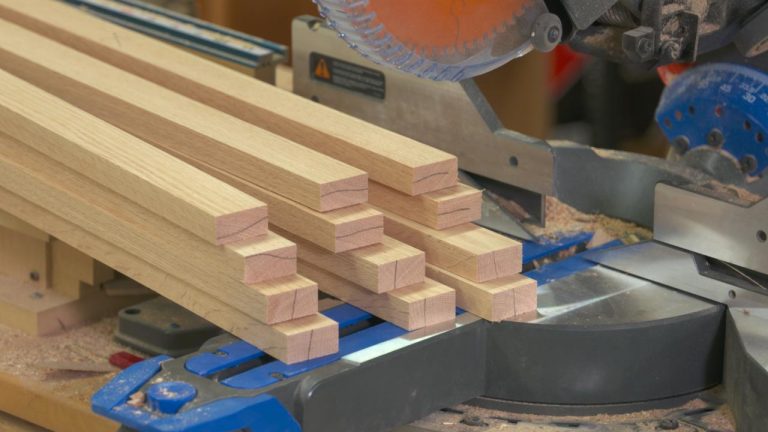
George VondriskaNeed large legs for your next woodworking project? In all likelihood you’ll need to glue up furniture legs in order for them to be large enough. The problem with a glue up is that two of the faces will look great, and the two adjacent faces will not. At minimum you could have a striped look because of color and grain variation. Additionally, if you want quartersawn legs, you’ll end up with two quartersawn faces, and two plain sawn faces. This simple tip solves that problem, and provides a great low tech method for spreading glue uniformly.
Good Glue Ups
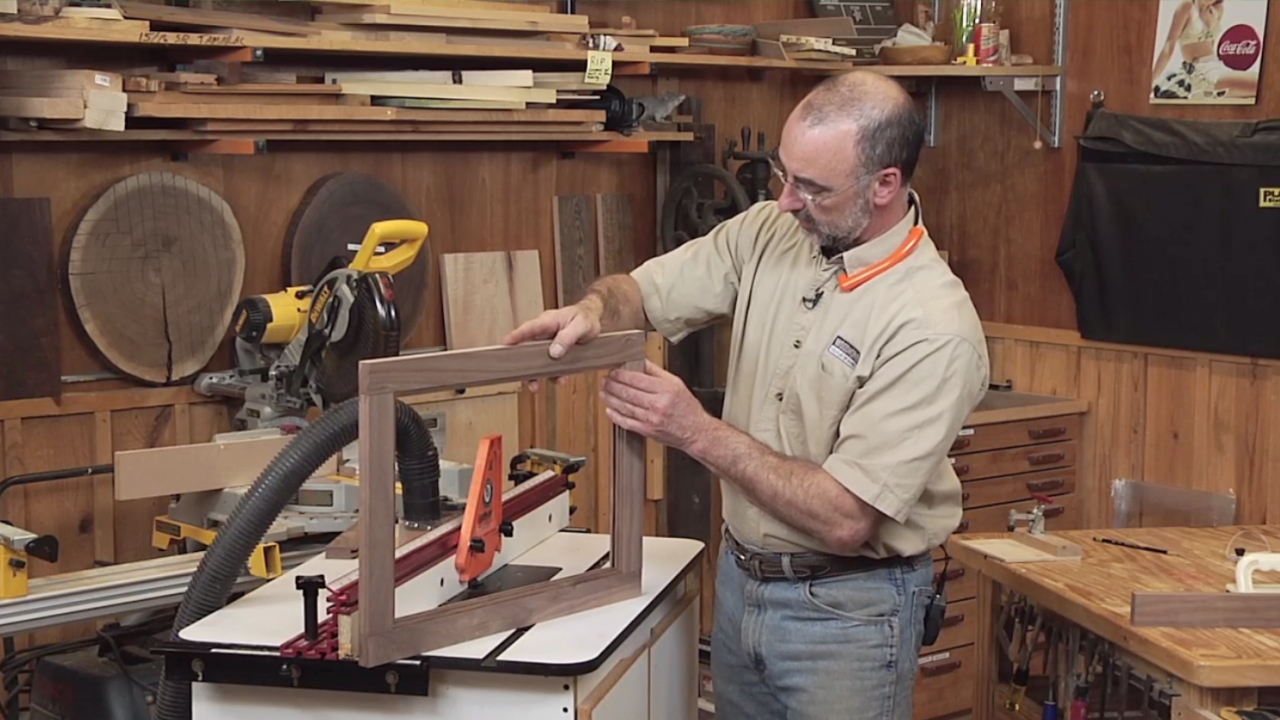
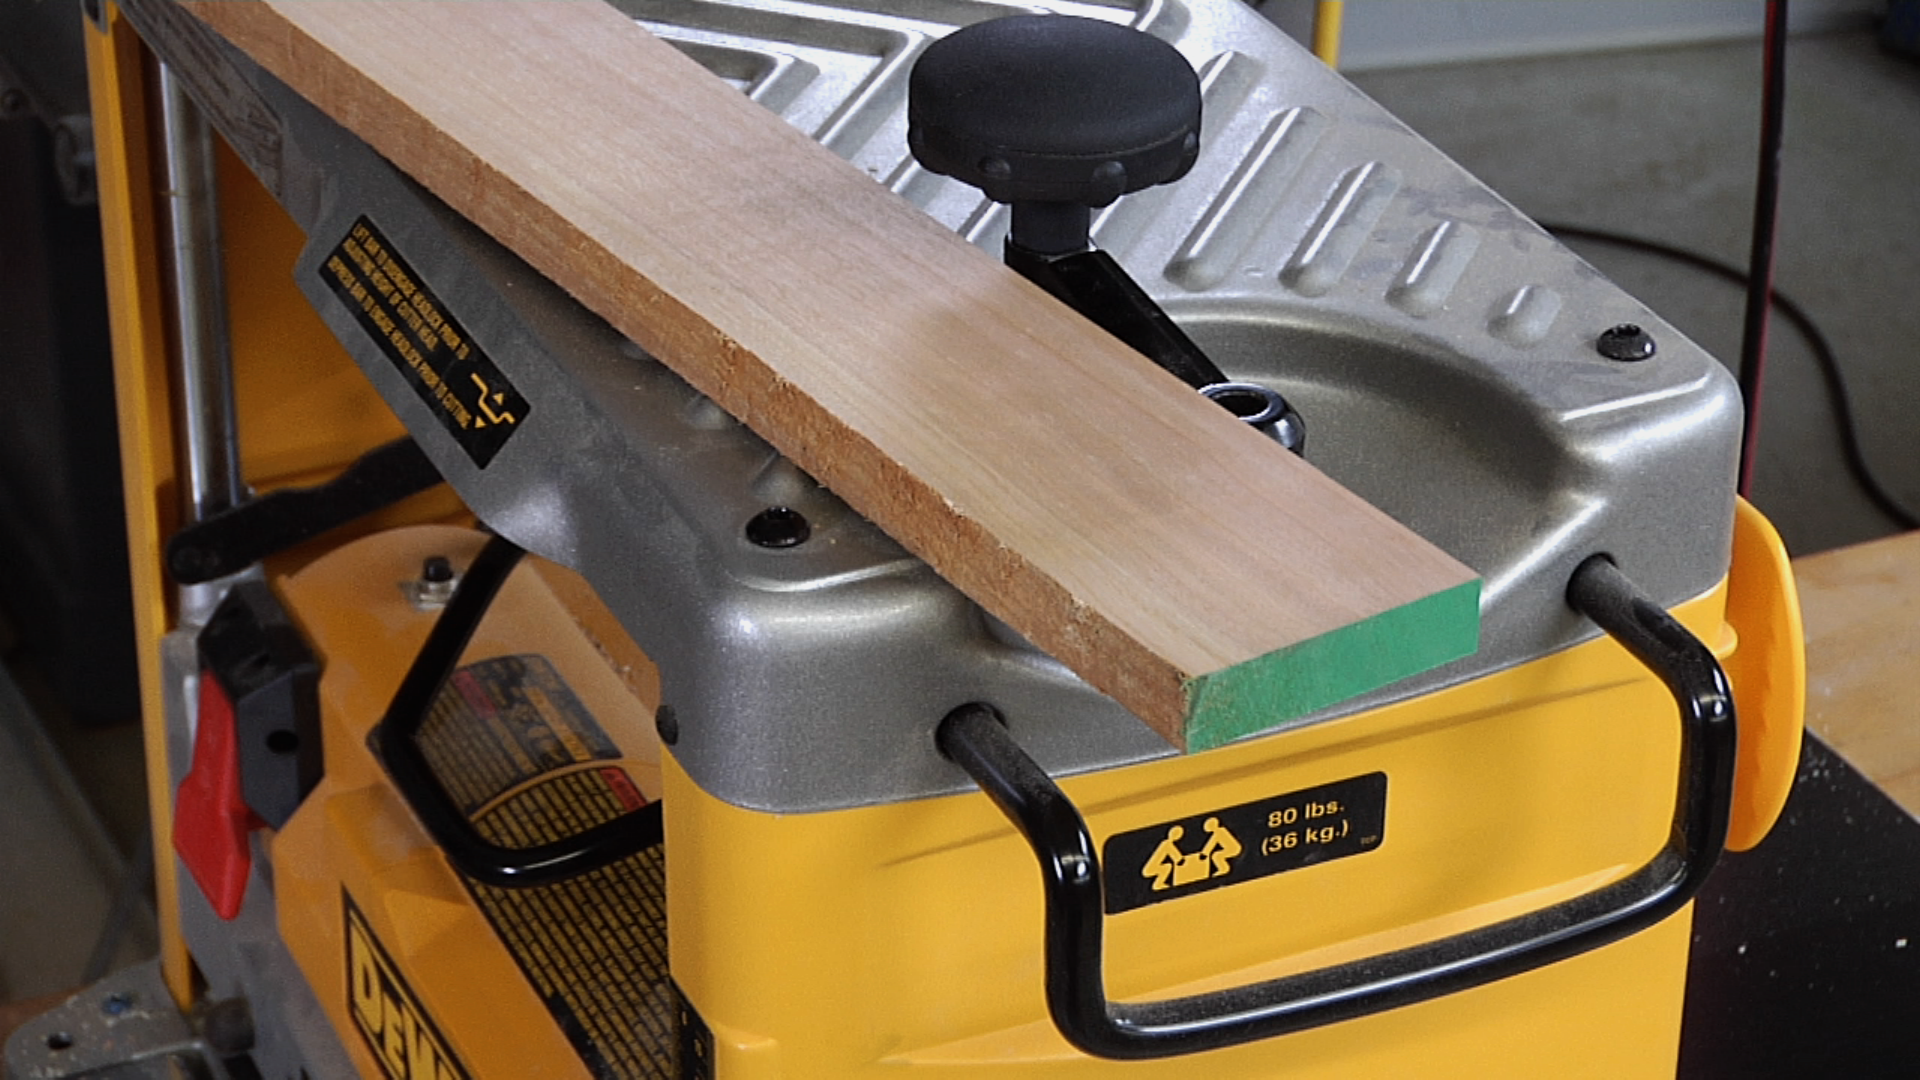
Many things are involved in getting good glue ups in your woodworking projects. The material must be prepped correctly, you need to use the right glue, and you need to correctly clamp the parts together. WoodWorkers Guild of America has lots of instructional videos that will help you learn how to glue and clamp wood together, including lots of approaches you can use to glue up furniture legs.
Furniture Making
Learning how to build furniture can be very rewarding. You can get high quality pieces of furniture for a fraction of the cost, while improving your skills for your next woodworking project. Be sure to check out everything WoodWorkers Guild of America offers on this topic.
Titebond Original
Original Wood Glue provided by Titebond. For more information visit www.titebond.com.
Share tips, start a discussion or ask one of our experts or other students a question.
Already a member? Sign in
4 Responses to “Gluing Up Furniture Legs”
Explore videos by George Vondriska


You may be interested in

Premium Membership
Unlock exclusive member content from our industry experts.
- 24/7 Access to Premium Woodworking Videos, Projects, and Tips
- Step-by-Step Instructional Demos, Plans, and Tutorials
- 50% Off Video Downloads Purchased in the Woodworkers Guild of America Shop
- 2 Printable Woodworking Plans
Unlock exclusive member content from our industry experts.
- 24/7 Access to Premium Woodworking Videos, Projects, and Tips
- Step-by-Step Instructional Demos, Plans, and Tutorials
- 50% Off Video Downloads Purchased in the Woodworkers Guild of America Shop
- 2 Full-Length Video Downloads to Watch Offline
- 2 Printable Woodworking Plans
Gold Membership
$370 Value
Get everything included in Premium plus exclusive Gold Membership benefits.
- 24/7 Access to Premium Woodworking Videos, Projects, and Tips
- Step-by-Step Instructional Demos, Plans, and Tutorials
- 8 Full-Length Video Downloads to Watch Offline
- 3 Full-Length Woodworking Classes to Keep for Life
- 7 Printable Woodworking Plans
- Discounts on Purchase-to-Own Content in the Woodworkers Guild of America Shop
- Access to Ask the Expert Program
- Exclusive GOLD LIVE Streaming Events
Excellent idea and one l will definitely use, I especially like the laminate idea which also adds strength. Just one small criticism though and that is the very wasteful use of glue in the clip! Great idea to use the threaded rod, another trick l will use, but while spreading the glue you took off a huge amount that was waste in a paper towel. Then to my amazement, you add more glue from the bottle, spread that and took more off which was wasted! If that was me the waste glue would have found its way back into the bottle. Great videos, keep up the good work.
would would you taper the three piece laminated leg?
With those thin skins I would have expected to see the use of clamping cauls to spread out the clamping force ?
What is the best way to make the thin veneer?