
Build a Side Table
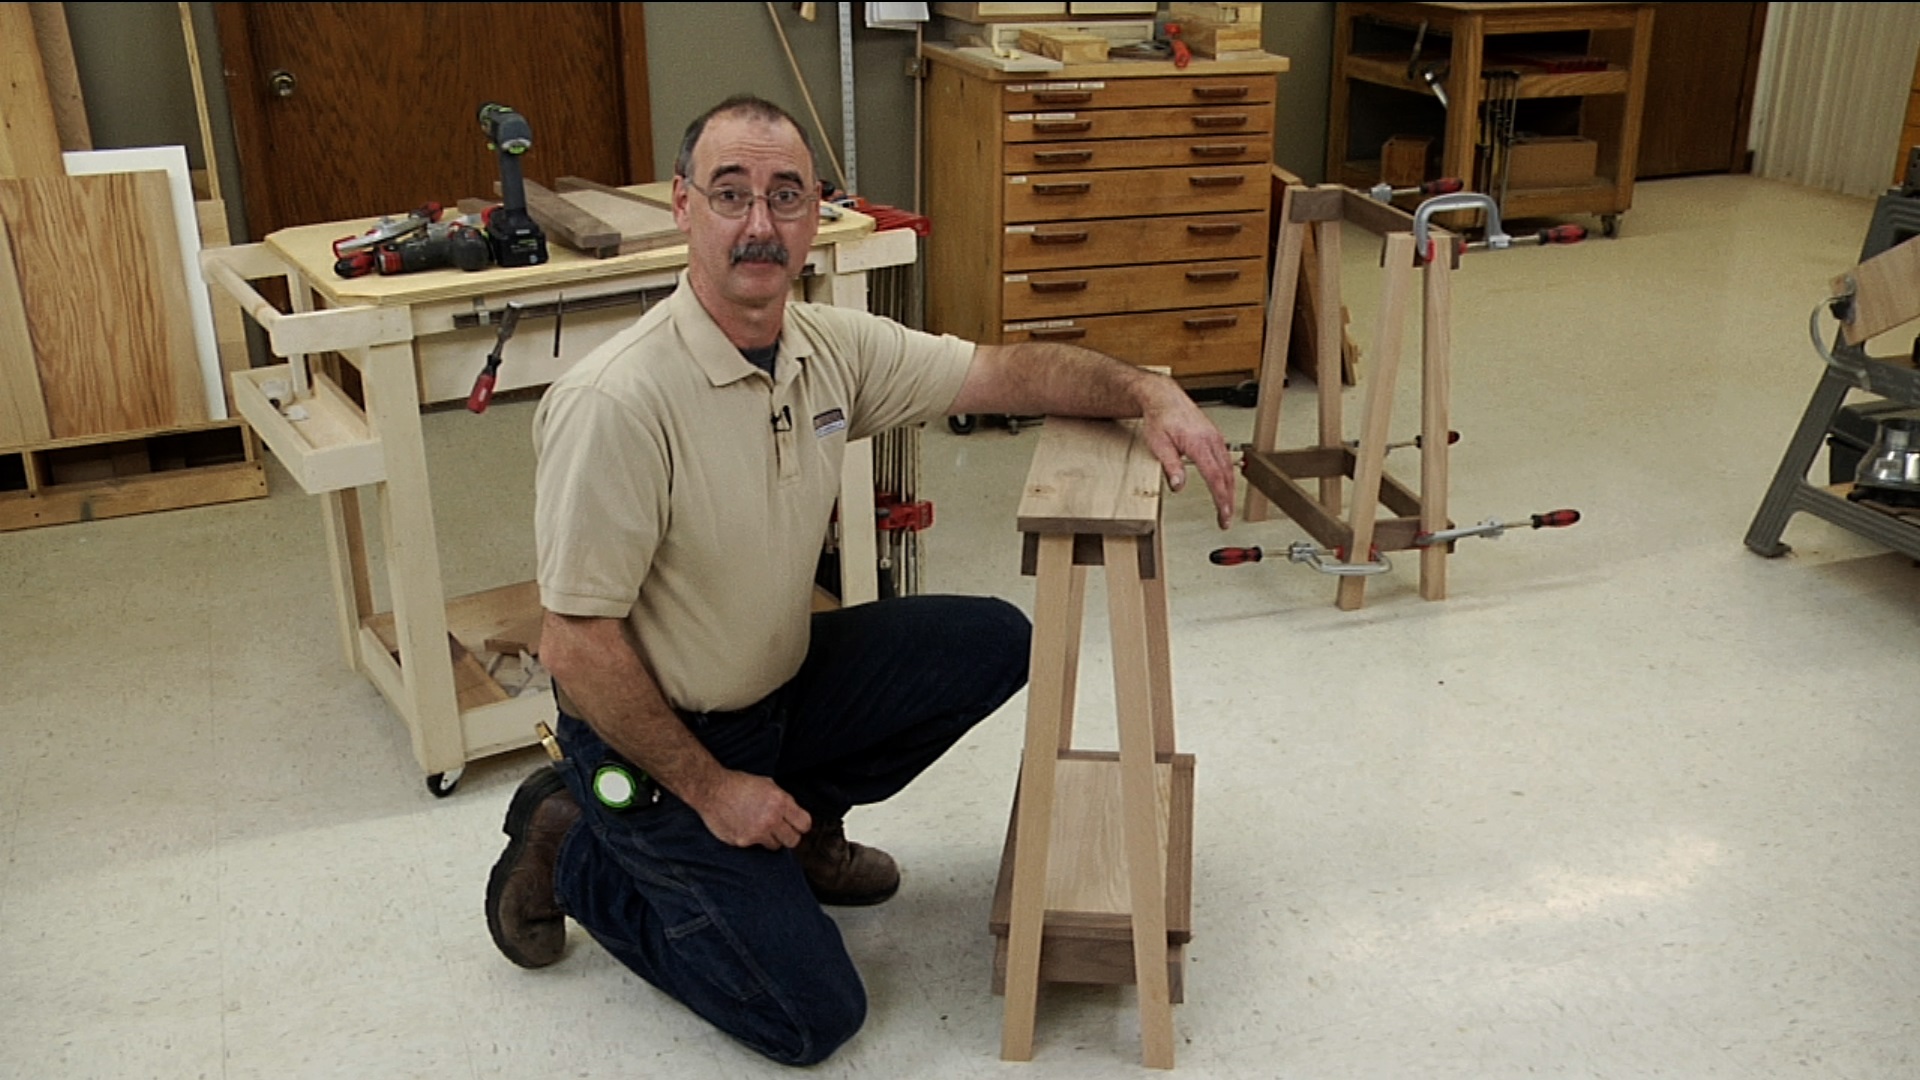
George VondriskaLooking for a great project that you can put together in no time? In this free video lesson, we teach you step by step how to build a side table. The joinery is simple, with screw pockets holding everything together.
Getting Started: How to Build a Side Table
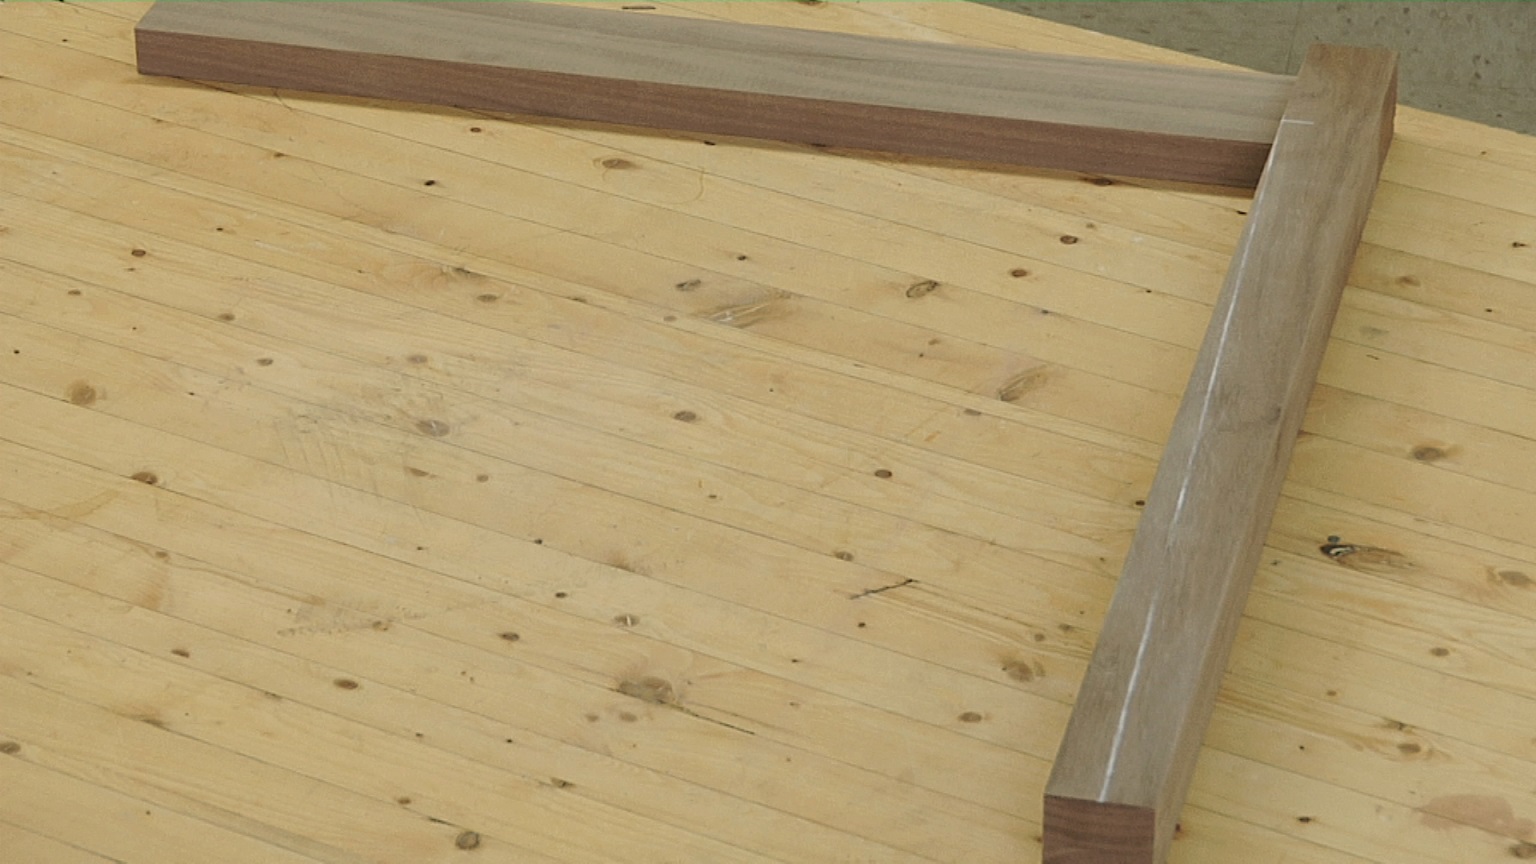
Prep your material by jointing straight edges onto all your parts. This is especially important on pieces you’ll be gluing edge to edge for the top and shelf. Cut one end square on your rails and legs. Cut them to their final length.
Joinery
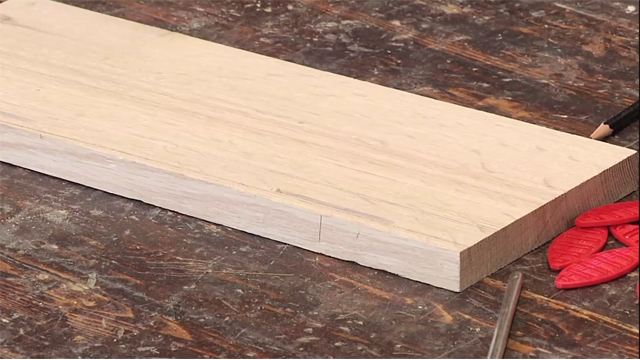
We’re using screw pockets throughout the project. Drill pocket holes in the back face of one of the mating boards for each edge to edge joint. Also drill pocket holes in both edges of each rail.
Allow for Expansion and Contraction
Follow the instructions for using your pocket hole jig to create elongated holes in the top edge of the short rails. This allows us to screw the rails to the top and shelf while still allowing the parts to move seasonally.
Assembly
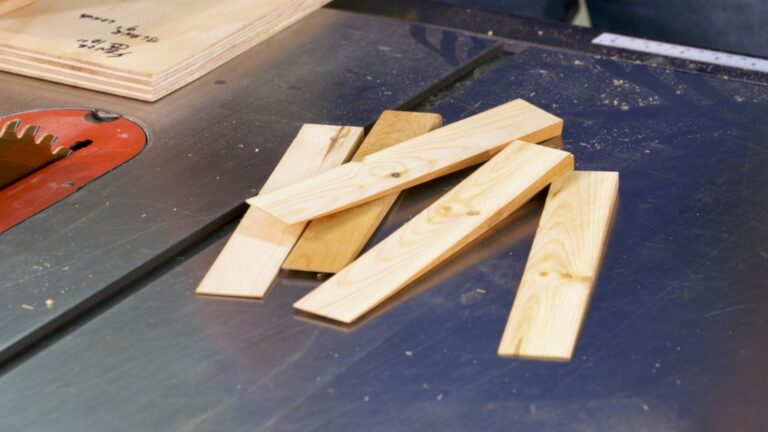
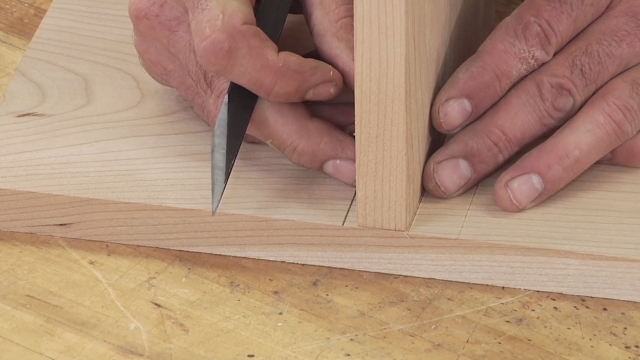
Before assembly use a ⅛” roundover bit on all the outside corners. Use a ¼” spacer to provide the correct reveal between the legs and rails, and a 3-½” long spacer to position the lower rails.
Cut the top and shelf to their final sizes and install them on the base. When finishing the project it’s best to remove the top and shelf so you can get finish on both faces, then reinstall them.
Cut List
Top ¾” x 16” x 25-½”
Long rails ¾” x 2-½” x 21-½”
Short rails ¾” x 2-½” x 11-½”
Legs 1-½” x 1-½” x 28”
Shelf ¾” x 14-½” x 24-½”
More Info
For more information on Kreg products visit their website or give them a call at (800) 447-8638.
Share tips, start a discussion or ask one of our experts or other students a question.
Already a member? Sign in
7 Responses to “Build a Side Table”
Explore videos by George Vondriska
You may be interested in
Premium Membership
Unlock exclusive member content from our industry experts.
- 24/7 Access to Premium Woodworking Videos, Projects, and Tips
- Step-by-Step Instructional Demos, Plans, and Tutorials
- 50% Off Video Downloads Purchased in the Woodworkers Guild of America Shop
- 2 Printable Woodworking Plans
Unlock exclusive member content from our industry experts.
- 24/7 Access to Premium Woodworking Videos, Projects, and Tips
- Step-by-Step Instructional Demos, Plans, and Tutorials
- 50% Off Video Downloads Purchased in the Woodworkers Guild of America Shop
- 2 Full-Length Video Downloads to Watch Offline
- 2 Printable Woodworking Plans
Gold Membership
$370 Value
Get everything included in Premium plus exclusive Gold Membership benefits.
- 24/7 Access to Premium Woodworking Videos, Projects, and Tips
- Step-by-Step Instructional Demos, Plans, and Tutorials
- 8 Full-Length Video Downloads to Watch Offline
- 3 Full-Length Woodworking Classes to Keep for Life
- 7 Printable Woodworking Plans
- Discounts on Purchase-to-Own Content in the Woodworkers Guild of America Shop
- Access to Ask the Expert Program
- Exclusive GOLD LIVE Streaming Events




you had me until "pocket holes"
How does he know how far away from the long sided edge to drill the pocket holes?
Did you use any glue when you attached the top and the shelf to the assembly or did you just use the screws? Thanks
I bought red cedar spindles for legs. Frame is cedar. Top is grenadillo.
My better-half really likes the look of this table, but wants to mount a granite top and paint the base black. I know the top will need to be glued to the base with polyurethane adhesive. Any suggestions on wood selection for the base (legs and rails)? Seems to be a waste (and expensive) to use a nice tight grained hardwood only to finish with paint.
Love it! Any plans I can print out?
What woods would be good for this table?