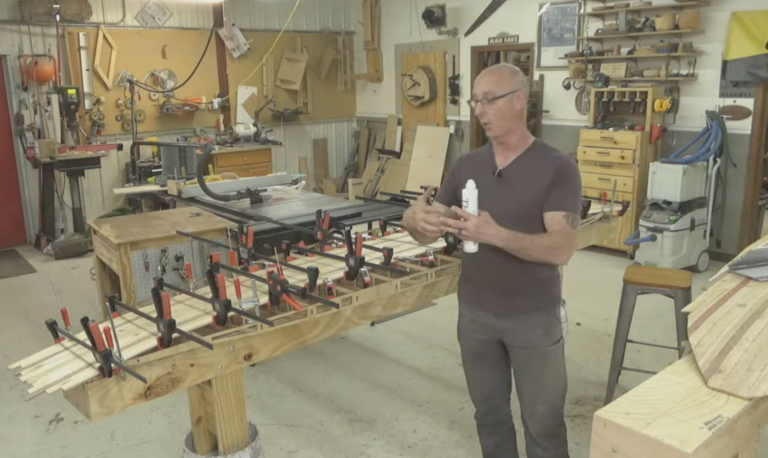
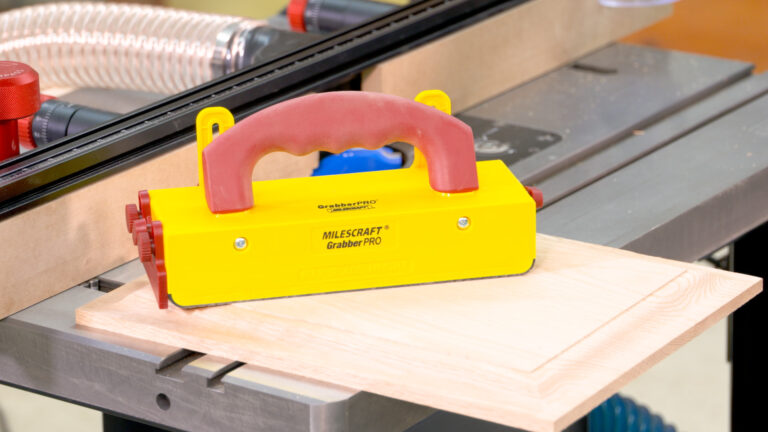
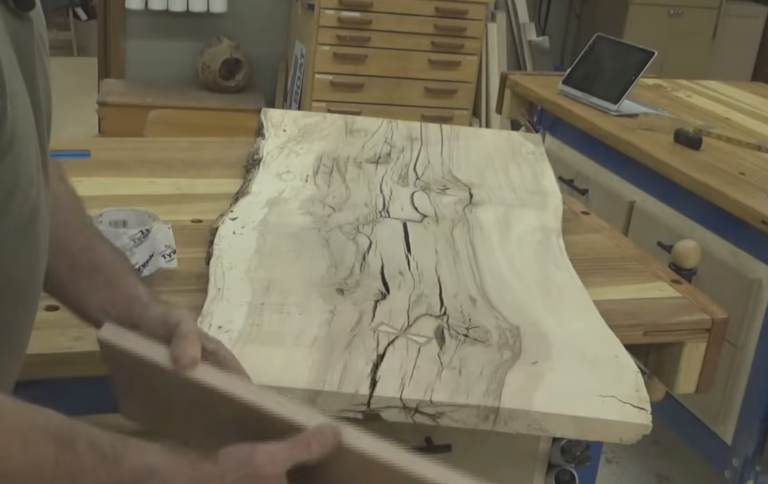
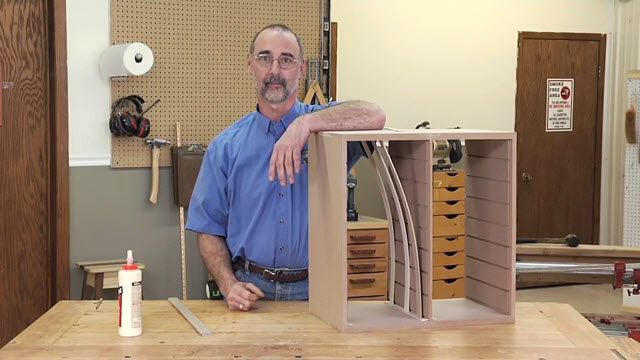
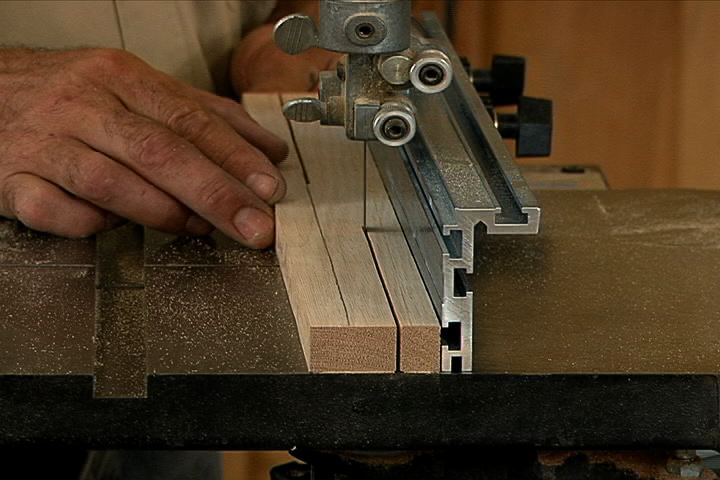
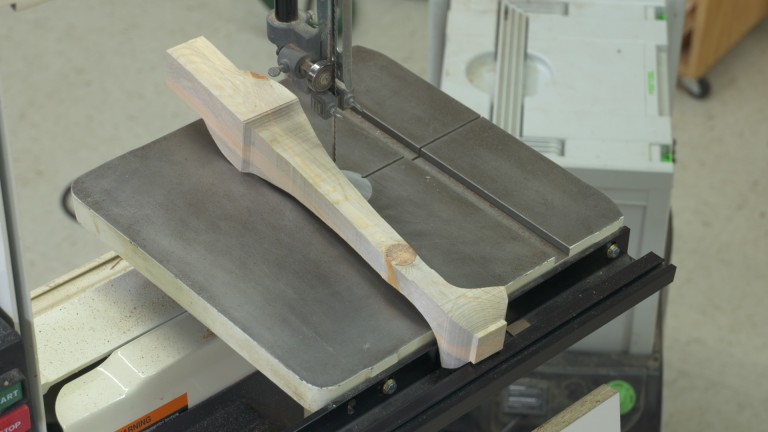
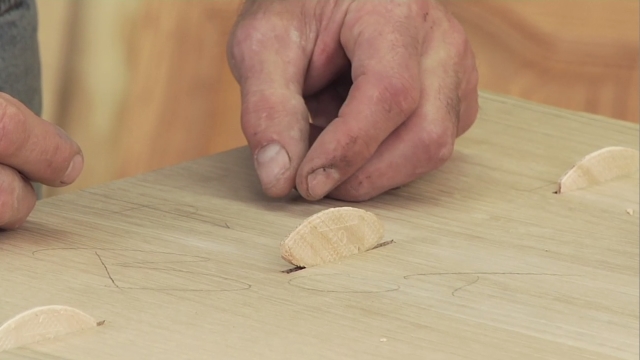
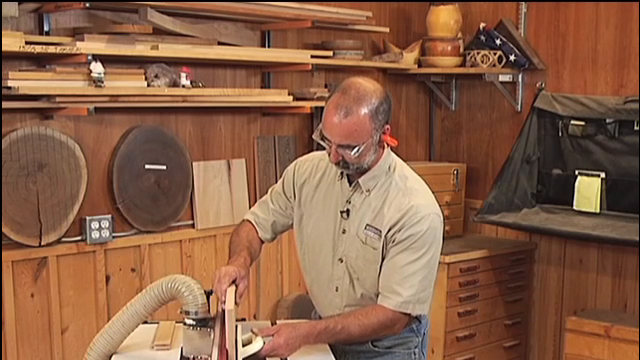
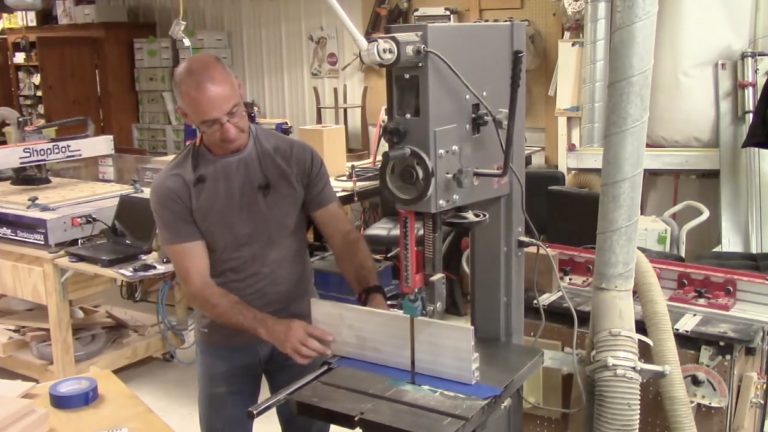
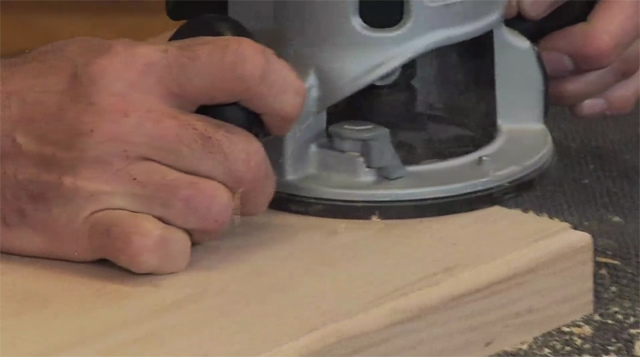
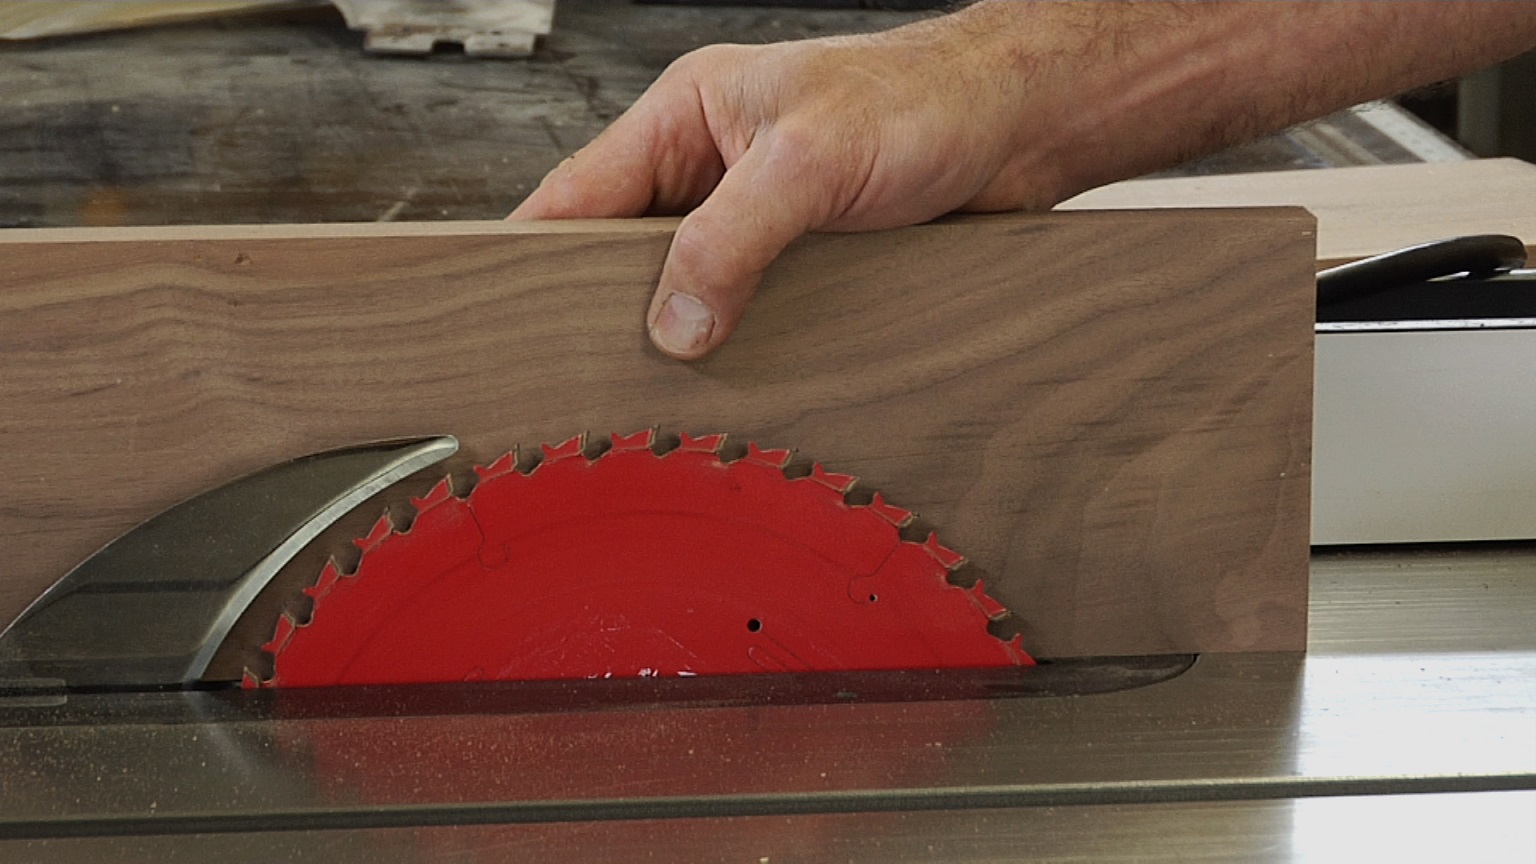
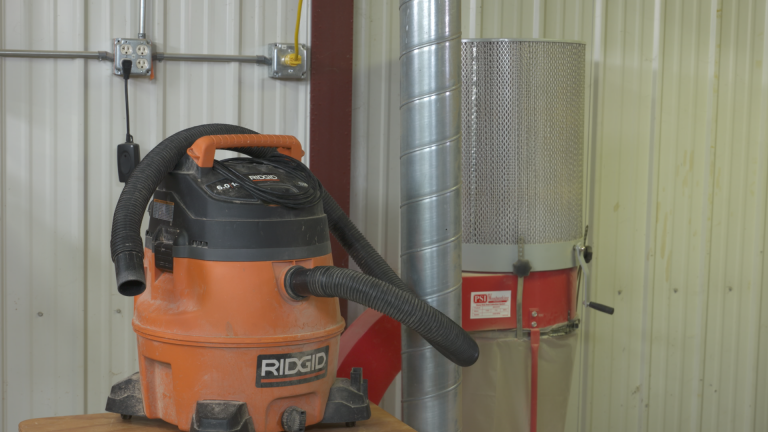
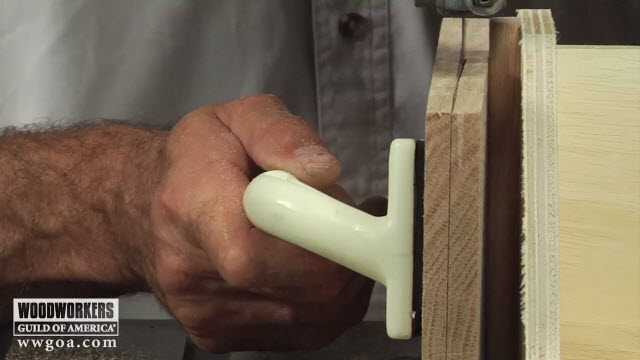
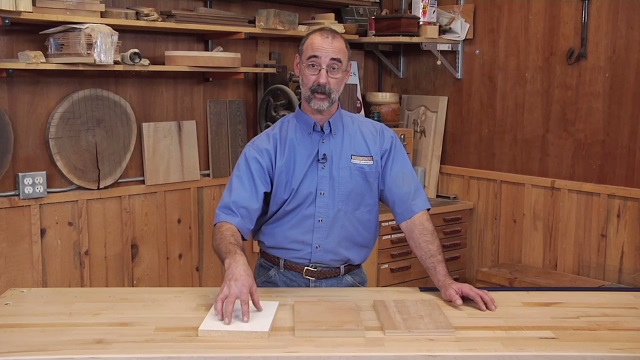
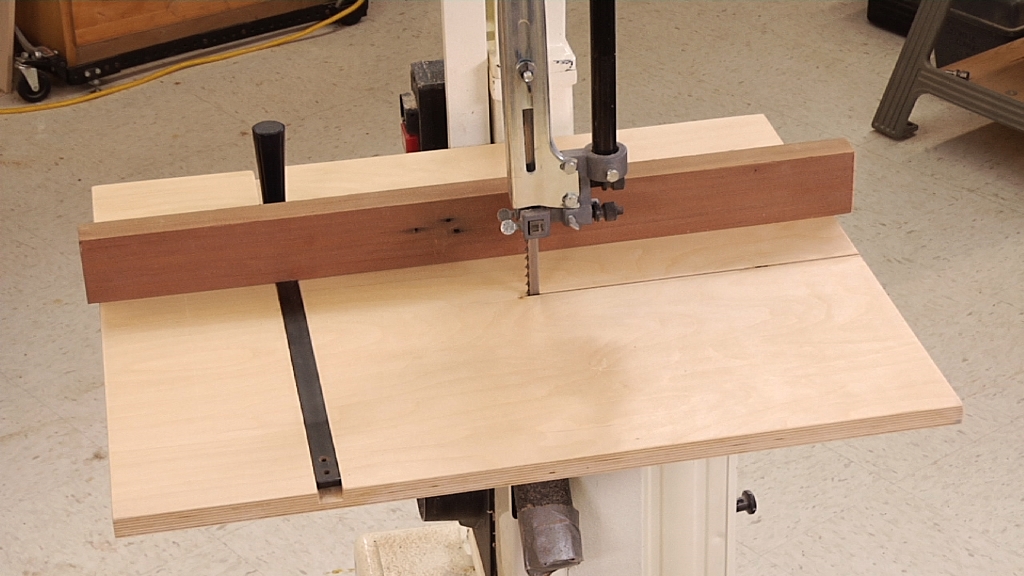
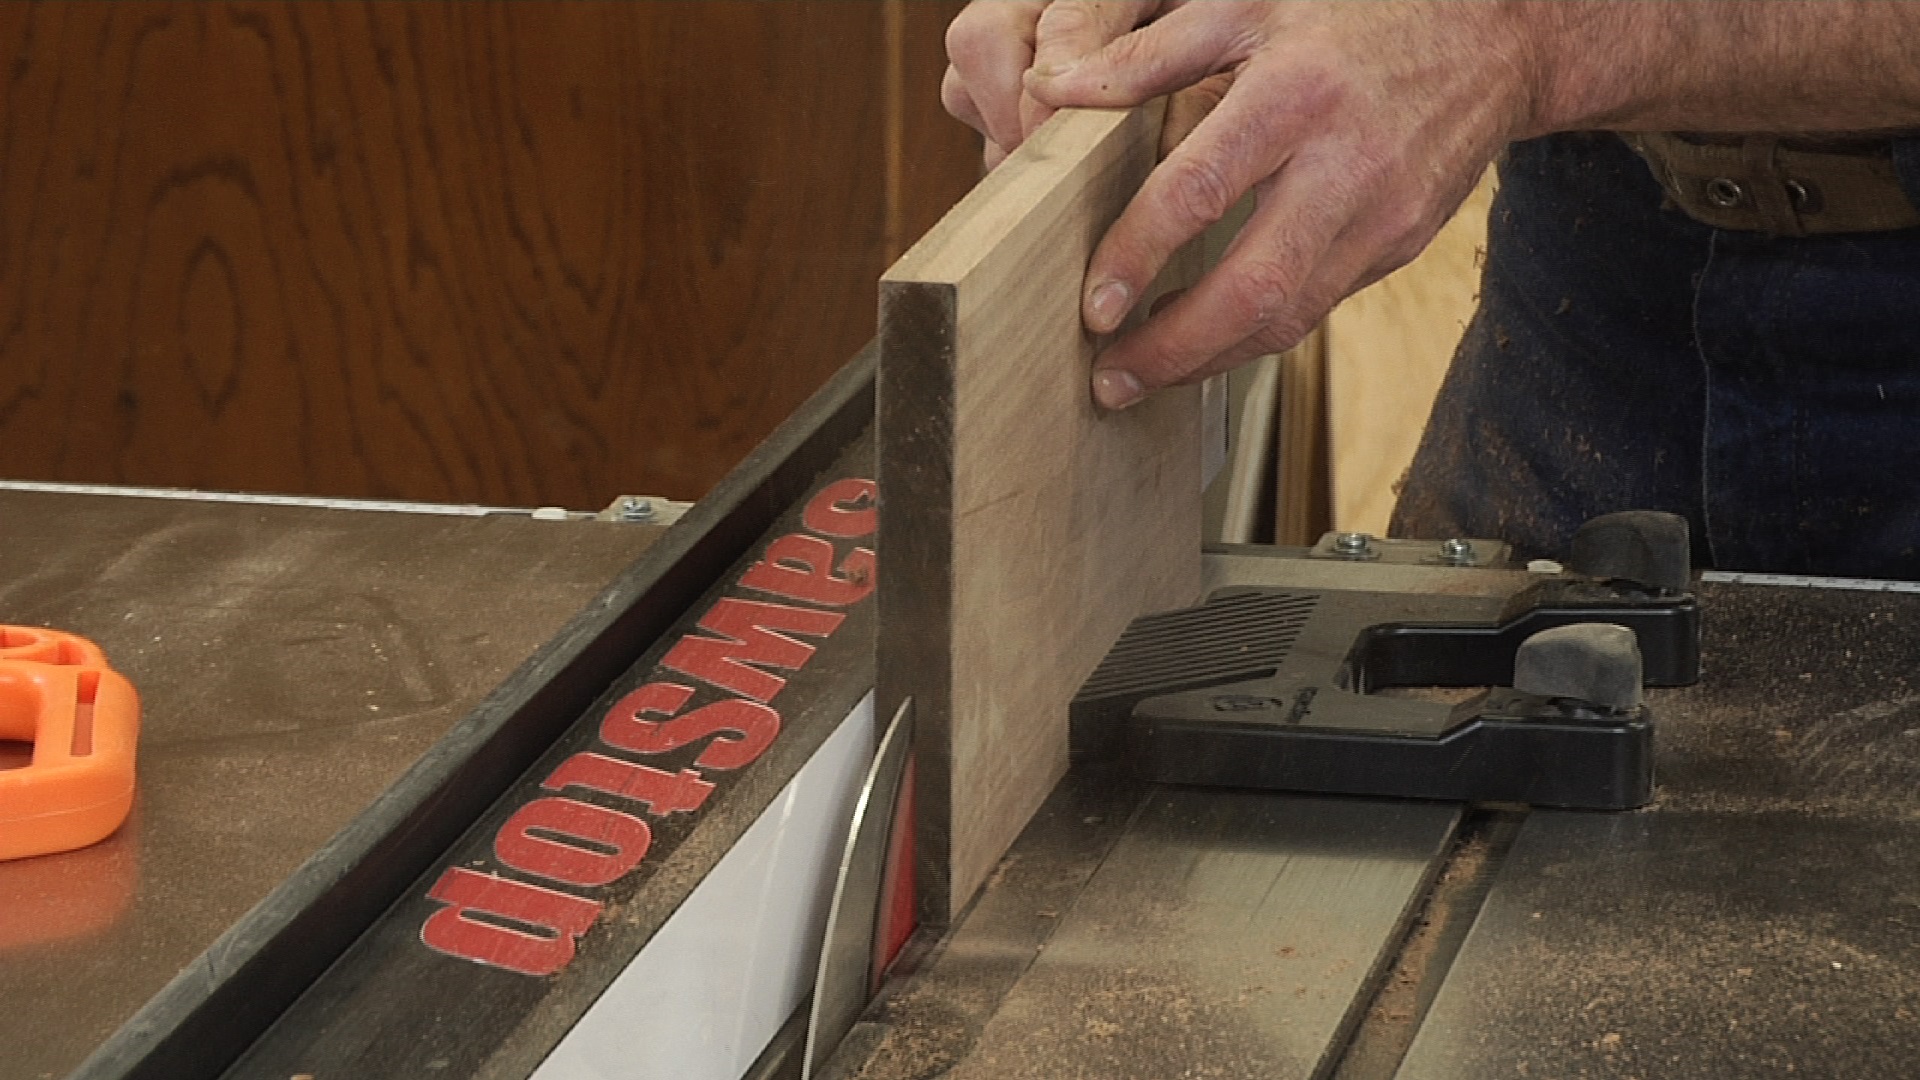
There are handful of different ways that you're gonna see to resaw on the bandsaw. We're gonna start with the simplest which is called single point contact resawing. There are commercial fences out there. That'll do this for you. I'm gonna show you a shot made fence, it's really easy to make. Here's what we've got going. Plywood base, plywood vertical. These two are assembled at 90 degrees. The degrees, not the temperature. I've got a gusset in here that holds them at 90 degrees. You wanna build this to the height that matches the height of resaw you will do. This one is six inches tall, so I can do up to a six inch resaw with this. The nose out here is very important. This is the single point part. We need some kind of a half round out here. I found the easiest way to do this is I start with a piece of three-quarter inch stock. I do a three-eighths round over with a router bit, another three-eighths round over with a router, that results in a bull nose, at that stage of the game the piece is still six or eight inches wide to make it easy to handle. After the bulldozer is done, I can cut this edge off. Glue it to the face of my jig. So I have a single point contact resource offense. The way this works is that, we're gonna get this positioned here near the blade. So it acts as a guide, It's gonna help hold our material vertical, so that we can do a resaw. The way it works is we have to have our target material. Here's the material that we're gonna be cutting. And, what we need to do is mark out on the board where we want the resaw to happen, where we want the cut to happen. So the good news with this approach is that, it's very simple to set up. It's very fast to set up, compared to what we're gonna do in just a little bit. The downside is you have to mark every board that you're going to cut. So, I wanna find the center of this board. That's where I'm gonna do my resaw. And I'm gonna do that by locking my finger and pencil together, at what looks like approximate center, draw a line. Keep my finger and pencil in that exact same position. Flip the board, draw a line and that's gonna work just fine. That shows me that right about there is the middle. If the finger pencil thing doesn't work for you you can measure it and mark it. You can use a marking gauge. A lot of different approaches for that. But the bottom line is, we need a pencil line on here showing us where the cut is going to happen. That line gets used, in order to locate our fence. I'm gonna center the blade on the pencil line that I just made. Let's talk about blade selection for a second. It's a half tooth for tooth per inch blade. Anytime we're doing resawing, we want a good aggressive tooth pattern on there. Three or four teeth per inch. So that the gullets, the valleys between the teeth are large enough to carry the sawdust away. If you use a real fine tooth blade, you're gonna get in trouble here because the blade can't remove the sawdust fast enough. Things are gonna start to bind up and get a lot of friction. So, center the blade on that pencil line we just created. Then the fence comes into place and here's the thing that's really important about the fence. I want my material to contact the single point contact fence before it touches the blade. So this single point contact is about three eights of an inch, in front of the teeth. If it's back here, even with the blade, that's too far back the problem would be, I'm gonna start cutting. I'm not in contact with the fence yet. It's not gonna do me any good. So it has to make contact with the fence before it makes contact with the blade. So right about there is gonna be our sweet spot. And that means clamping our jig to the table. And for that, I'm gonna show you a trick here. The webbing under a bandsaw table can be problematic when it comes to clamping. I'm gonna put this board under and what that's doing is it's bridging that webbing. Now, when the clamp comes in, the head of that clamp is now on the board. I'll get my fence approximately where I want it. And then we'll check it again. It's just loose enough, I can wiggle a little, well, that's looking pretty good. I'm still just a tiny bit too far to my left. Now we're getting there. All right, now there's good news and there's bad news. The good news is, we're set to go. We're ready to do a resaw. The bad news relatively, is that you are gonna have to steer this as you go. One of the things you'll notice is that, as I'm making the cut, I'm gonna be guiding this piece and it might end up a few degrees off parallel, parallel being. If you kinda gauge it against the miter gauge slot, you'll see, this is the drift of the blade. Every blades got a slightly different drift than another blade. So, as I'm cutting, I gotta find that drift angle. What the single point fence is really doing for me, is helping make sure the piece stays upright. Especially a narrow three quarter inch piece like this. It'd be easy for it to tip over. So that's gonna let me push against the fence, doing that with my right hand. Start the cut, use the fence to guide and steer the piece at the same time. Looking a little like this. Before I finish this, I really wanna make sure you notice that, I'm about to completely shift my hand position and pull with both hands. So that I'm not doing any pushing on this end, where that blade is gonna exit. Also, my right hand, that's holding this against the fence is never up here adjacent to the blade, it's in front of the blade. So that if something funky happens and the blade exits this way, I don't want my hand to be next in line. All right, now, why would I wanna do this? Maybe I need thinner pieces for making a smaller scale project, like a jewelry box, maybe I want a bookmatch. So, when we look at these two pieces, because they opened up from the same starter piece, it's gonna be even cooler, I think if I go this way. This is a bookmatch, where this grain is a perfect mirror image of this grain. Glue these together, make a panel for a door out of that, really, really dramatic look or two adjacent panels by side in a project with matching flame patterns like that, they're really cool. With our single point approach, the cool thing is set up is pretty fast and easy. The downside is, you are gonna have to mark every piece that you cut. So we have that line to follow and kinda trace that line, follow that line as we make the cut. When we move ahead and look at compensating for drift, things are gonna change a little bit, set up a little bit more complicated. But worth having a single point fence in your shop, 'cause it makes this form of resawing so easy to do. Resawing with offense and doing a drift compensation is a great thing to learn on the bandsaw. Where we're gonna end up here, is that once the fence is set, you can use this just like the fence on your table saw, set to any position, make any rip anything from pen blank parts to veneer to book matches. Here's what we got to figure out. When we put a blade on a saw and we tension it, the blade probably gets some amount of drift in it. What that means is that the blade itself is no longer parallel to the miter gauge slot in the table. We really have no point of reference, on a table saw it's not like that. Once we set up the table saw, every time you put a blade on it's good to go. It's gonna cut the same way. Here on the bandsaw every time we put a blade on, it could cut a little bit differently. So we have to do a couple of tests to see what the drift is and then we can move forward setting our fence, to compensate for that. So the bottom line is, we can't do our next cut until we get the drift. Get it? That's long road to get to that little joke but here we are. Now normally the line I'm about to make I would just make on my cast iron table, but you're not gonna be able to see that. So I'm gonna add, some masking tape to the equation just to make it easier for you to see what I can see. And like I said, if you're doing this in your own shop, a masking tape is really not a step you have to take. All right, for material we need a chunk of something, doesn't matter too much what it is. The big deal is, it has an edge that's perfectly straight. This idea has been jointed. What we need is a line that's perfectly parallel to that edge. That technique works for me. If that doesn't work for you, measure it, measure it, connect the dots, use a mark gauge, whatever you gotta do. But this line and this edge have to be parallel. Now I'm gonna start cutting. And as I cut, very similar to what you've already seen in this class on single point resign, I'm gonna find probably that I have to angle the board a little bit to get it to cut straight. Once I found that angle, we'll stop the saw and look at the next step. So I'm playing with the feed. Trying to find just how do I have to feed this, to follow the line. That's looking good. Stop the feed. Shut off the saw. It's really, really important when you stop the feed, you freeze the board at that angle. Now this is why I threw the masking tape on there. Because we're gonna do this. The line on the table or in this case, the line on the masking tape, is why it's so important that we have a straight edge and that our cutline is parallel to that edge. Now look over here to the right, at this edge of the board, relative to the miter gauge slot. And we can see that this board is definitely feeding at an angle. So what do we need in our resaw fence? What we need is the ability to accommodate that drift angle. What that means is we have to be able to loosen the fence, independently of the head. So that the body of the fence can wiggle. So now, I'm gonna bring the whole fence system over, get close to my pencil line, lock the head in place and put the body of the fence, in a position where it's parallel to that line. And then lock the body of the fence in place. Let's do a double check. Okay, I could go back just a little. We're gonna do a tusk cut. So as you get pretty darn close here, the test cut's gonna tell you, if we need to make another adjustment or not. Okay, and as I said, normally I'm just making those pencil marks right on the table. I'm not using masking tape, but the masking tape gives it more visibility for your benefit. All right, now we can do a test cut. And then our test cut, here's what we're looking for. I'm gonna feed this piece. One of three things, three things is gonna happen. Maybe it's gonna cut perfectly, yay, we're done, we're ready to go on. Two, it's possible that back here, behind the blade, the edge of the board and the face of the fence will start to separate from each other. If a gap is opening up between the two that tells me the back of the fence is too far to the left, or as I feed, if it starts to bind, the back of the fence is too far to the right. And I'm shoving my board into a funnel, basically. And you'll be able to hear that. What I'll do is, I'm gonna cut a little bit and then I'm gonna let go, cut a little bit and let go, just to see how things react. No gap here. I do not hear any binding. That went great. It doesn't always happen that way. It's not at all uncommon that we do that test cut, we have to make a compensation in the fence. Do another test cut, another compensation on the fence. It could take two or three tries to get that fence exactly where you want it. Remember that even if I take this plate off and put this very same blade back on, we're gonna start at ground zero again. We're gonna do the drift test with a piece of scrap, reset the angle, 'cause even putting the identical blade back on, it doesn't mean it's on exactly the same way. It's a function of tension, blade position on the wheels. So we're always gonna start from scratch every time we get the blade on there. This one cut just great. Now, before we go on and do a resaw, I wanna talk about matching the fence to the work that you're doing. So, one case for this is, if I'm going to cut three quarter inch stock, like I just did, I would rather have the fence down here. So in this particular case, I can turn the fence 90 degrees. Use this side, keep that upper guide nice and close to my work and allow me to cut thin stack. Let's go the other way with this whole thing and say we wanna cut something that's really, really wide. Then what you really need to do is, add to the fence. And this is just shot made, it's a piece of melamine. The nuts on the back of this will engage in the T slots on the extrusion. The lesson out of this is it doesn't really matter what kind of fence you have, or how you go about attaching it. If you're doing wide stack, you want a wide fence, so that we have good support for that. The other thing that we wanna do to make sure that we're gonna stay stable is work with a feather board. Feather board is gonna help put pressure against the fence, so the stack stays nice and tight through our resaw. What we've got here is a feather board that's got magnetic switches on it. It's pretty cool technology. I can position it wherever I want. Turn the magnet on. It's got two sides. Sometimes I use this here. Sometimes I use it on the jointer which means using the other side, we've got the source on the PDF for you that comes with the class. Now, the way that goes on is gonna be really important. Let's position our fence for a resaw and say we wanna make some veneer. Veneer typically ends up being about three 30 seconds of an inch thick. And the best way to make veneer is to cut it off the outboard side of your piece. So when I set this up, if you look here where the board meets the blade. This is my veneer, that's gonna peel off the outboard face, make a cut, move the fence over, make a cut, move the fence over, make a cut. Then that feather board position I was talking about. I want the feather board to be here, pushing the board against the fence, not here, pushing the board against the blade. Feather board position has to be in front of the teeth. That's gonna really help hold that bottom in. I need to go up on my guy just a skosh. Long or real wide boards. I'm gonna use a push pad to push this through. On this one, I'm gonna do similar to what I already did which is I'm going to push, until I get to a point where that's not safe anymore. And then I'll pull from the back. Let's see how we did here. Board's slightly wider on this end and that end. So I'm gonna raise my guide just a little, it's all right. It's a good stopping point 'cause I wanna make the point that this is a race that goes to the slow and steady not the Swift. We can have the entire setup perfect. But if you try to feed too fast, it'll cause the blade to deflect, that'll make your resaw go kerflooey, so listen to the saw, let it do its work, take it easy on the cut rate. Time to start pulling, instead of pushing. See what we got. There's our veneer piece. Now my work with this would be I would take it to a surface sander, get the bandsaw marks off of that face and that's ready to be used as a veneer. This face, I would clean that up on a joint or a plainer. Come back and as I mentioned earlier, move the fence over, always taking the veneer off of the outboard face. Now, why is this a big deal? Why do we wanna get the hang of resawing with drift compensation? Well I mentioned earlier, now that we know this angle, we can put this fence any place we want, make any cut that we want. With a bandsaw blade the kerf is around 32,000 of an inch maybe as small as 25,000 of an inch. On a table saw, if you're using an eighth inch saw blade which is pretty narrow, it's 125 000 of an inch. So, from a, how much wood is going up, the dust collector perspective, we're wasting a lot less wood here. I use the bandsaw for general ripping all the time when I'm working with really expensive woods, 'cause I don't wanna send so much wood up the dust collector. A great example would be, if I had a board like this that I wanted to cut pen blanks out of, I could bring the fence over and I'd have it in that other position, where it's a low fence instead of a high fence. And how many more rips would I get with that thinner curve at half inch wide boards, half inch wide rip, half inch wide rip. I'm gonna get a lot more cuts out of this board with the bandsaw blade, but I with the table saw blade. And because of the size of the board, it's just playing a lot safer to handle here. The other safety thing we got going with a bandsaw. I mentioned this earlier, the blade is driving down toward the table, not back at the operator. So we don't have a kickback potential, makes the bandsaw a little bit safer to do rips on than a table saw. And the other obvious thing is, when we get to our full capacity here, 12 inches where else could we cut, a 12 inch wide piece of an ear from a 12 inch wide board? So a lot of great reasons to master resawing specifically this drift compensation, you really can set up your bandsaw just like the rip fence on your table saw, that's a great feature to have in your shop.
Share tips, start a discussion or ask other students a question. If you have a question for the instructor, please click here.
Already a member? Sign in
No Responses to “Bandsaw Essentials Session 3: Resawing”