
Finishing a Wood Table
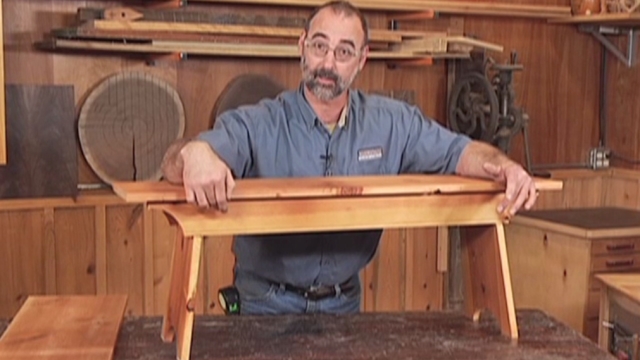
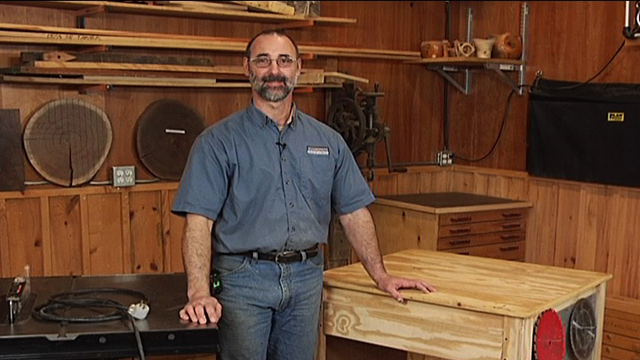
George VondriskaWood finish can be tricky. It’s nice to have techniques to help you out. Here’s my approach to finishing tables. It doesn’t matter what your finish method is—brush, wipe on, spray—this will help you out.
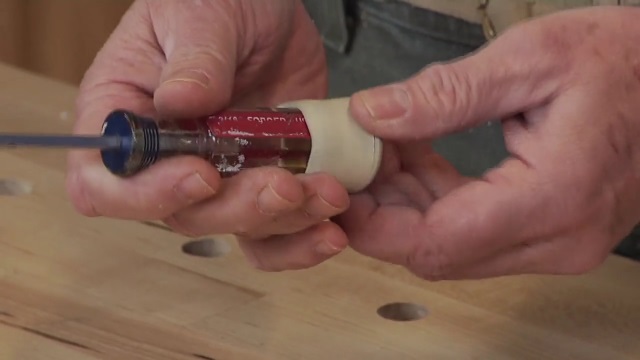
Start with screws
The table starts upside down on the bench, but while the finish is still wet, it’ll get flipped so it’s right-side up. A wet finish on the bottom of the legs would stick to your bench. And we’ve got to have a finish on the bottom of the legs. So get started by predrilling and driving a screw into the bottom of each leg. They’ll keep the legs from making contact with your bench when you flip.
Grab some scrap
Before flipping your table over, place some scrap on the bench so the tabletop isn’t directly on the bench. This allows you to get the finish on the edge of the top without adhering it to the bench. You want space, but use something other than pyramids for this. They can sometimes dimple the top. Bench cookies work well for providing space, but also have a soft, protective surface for your project.
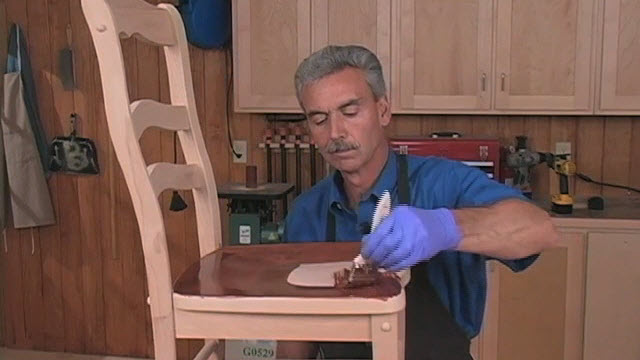
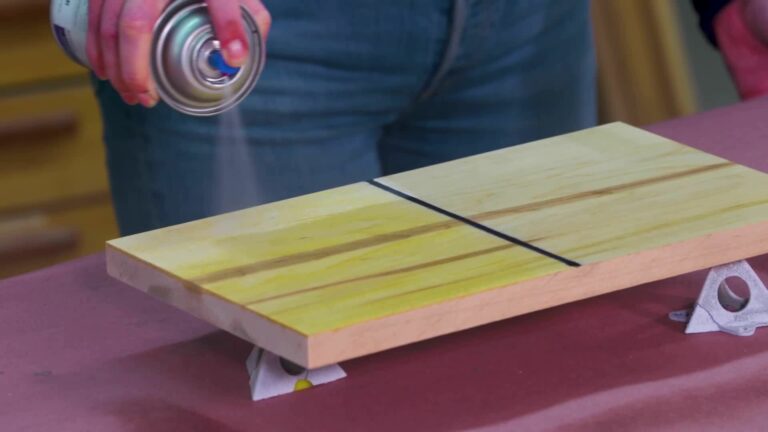
Start finishing
Now you’re ready for the wood finish. As you apply it, remember to leave a few spots where you can place your hands to grab the table and flip it. As a rule, you want to finish top to bottom, so while it’s upside down, get the feet first and work down from there.
Flip
Once the underside is done, you’re ready to flip. Carefully set the table on the screw standoffs, and you’re ready to top coat the top.
More info
We know finishing your projects can be intimidating, so we’ve got lots of great info that’ll help you get wood finishing right the first time.
Explore videos by George Vondriska


You may be interested in


Premium Membership
Unlock exclusive member content from our industry experts.
- 24/7 Access to Premium Woodworking Videos, Projects, and Tips
- Step-by-Step Instructional Demos, Plans, and Tutorials
- 50% Off Video Downloads Purchased in the Woodworkers Guild of America Shop
- 2 Printable Woodworking Plans
Unlock exclusive member content from our industry experts.
- 24/7 Access to Premium Woodworking Videos, Projects, and Tips
- Step-by-Step Instructional Demos, Plans, and Tutorials
- 50% Off Video Downloads Purchased in the Woodworkers Guild of America Shop
- 2 Full-Length Video Downloads to Watch Offline
- 2 Printable Woodworking Plans
Gold Membership
$370 Value
Get everything included in Premium plus exclusive Gold Membership benefits.
- 24/7 Access to Premium Woodworking Videos, Projects, and Tips
- Step-by-Step Instructional Demos, Plans, and Tutorials
- 8 Full-Length Video Downloads to Watch Offline
- 3 Full-Length Woodworking Classes to Keep for Life
- 7 Printable Woodworking Plans
- Discounts on Purchase-to-Own Content in the Woodworkers Guild of America Shop
- Access to Ask the Expert Program
- Exclusive GOLD LIVE Streaming Events
Share tips, start a discussion or ask one of our experts or other students a question.
Already a member? Sign in
No Responses to “Finishing a Wood Table”