Spindle Turning Session 2: Chisels and Sharpening
George VondriskaDescription
As you get ready to turn, choosing the correct chisel for the task will be critical. Gouges, skews, parting tools… they all have a place, but are not interchangeable. You’ll also learn about the differences between tool steel and high-speed steel, and how this affects your chisels.
Perhaps most importantly, you’ll see a variety of methods for sharpening lathe chisels, so you can choose the approach that works best for you and your shop.
There's a lot down on a good starter set of lathe chisels before we talk about profiles, let's talk about material for a second. There are two common materials for lathe chisels, high-speed steel and tool steel. So here's the deal, the tool steel that's what this chisel is made out of, it's just a little bit softer than high-speed steel. Benefit to that it's gonna be easier to sharpen, negative to that it's gonna dull more quickly. When you're doing your sharpening, you gonna save some money on your starter set.
If you get them in tool steel, instead of high-speed steel but as a long-term investment, you're much better off with high-speed steel it holds an edge longer. You won't make as many trips back and forth from your turning to the sharpener. Now once you know what steel you gonna get, you gotta know what profile you gonna get. So like I said, here's a good starter set for you. This is a spindle gouge, more specifically, it's a one inch gouge that indicates the distance from tip to tip they're available in different sizes.
This is the chisel that we'll use to turn the spindle round to do a quite a bit of our shaping. We can look at different sizes. This would be a half inch spindle gouge. What the smaller chisel let's us do is get into tighter spots, get a tighter detail on the spindle but the manner in which it works is the same between the two of them. That's gonna do rounding and curves an internal curve.
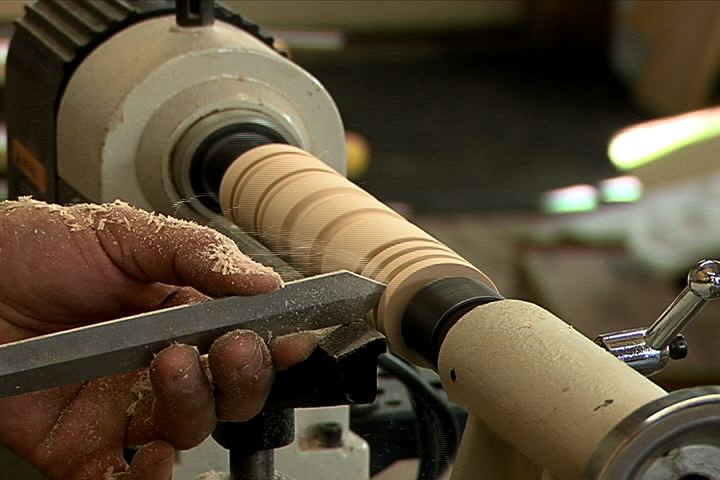
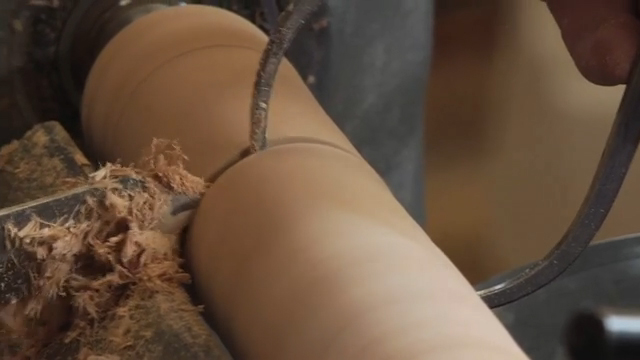
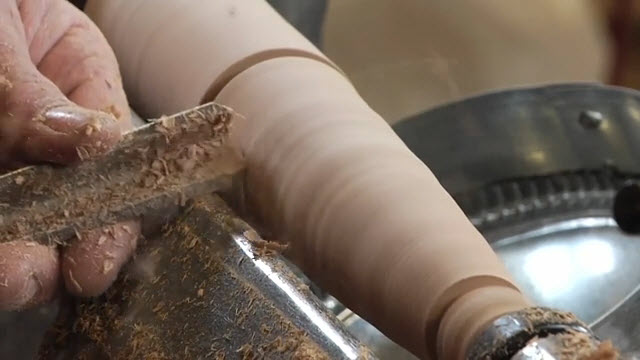
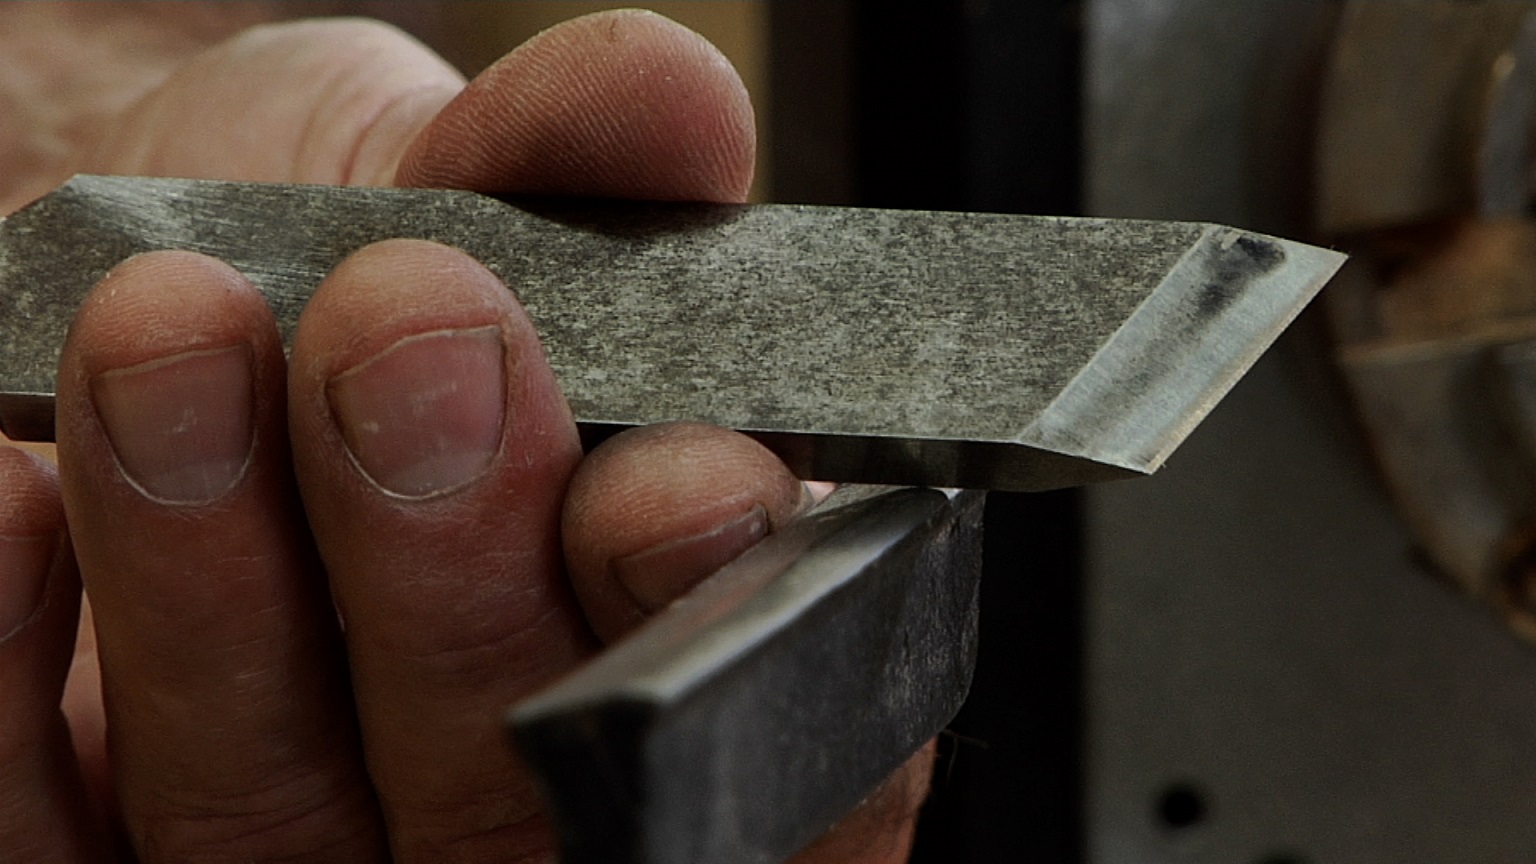
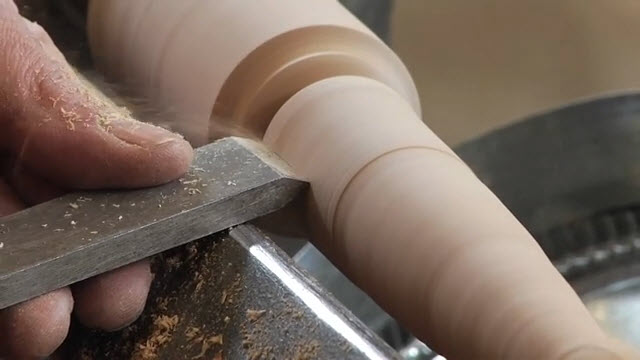
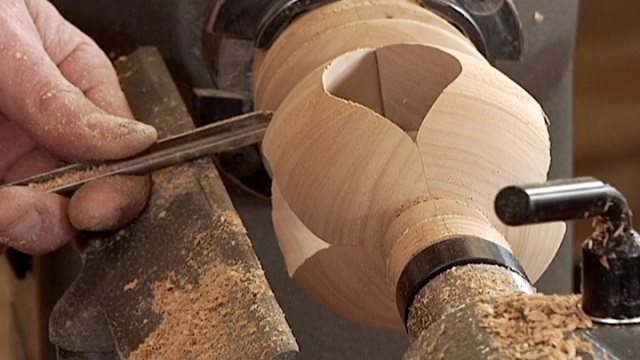
This chisel is called a skew and we talk about skewing something. It's just a word for having it at an angle. So this chisel gets its name from the fact that the tip is at an angle like that. With a skew, we can do a bunch of different stuff with this. We can flatten the spindle to make sure it's one consistent cylinder from end to end.
We can also use this to put outside curves, just the opposite of what we'll do with the gouges outside curves like beads on our spindle as a decorative element. The skew eventually when you graduate on your spindle turning is the tool with which you'll do lots and lots of shearing. Another must have in your kit is what's called a parting tool. Partying on a lathe is an operation where technically what we're doing is separating pieces. This is a chisel that's very commonly used in conjunction with this tool which is called a caliper.
And with the two of these we can turn something into a real specific diameter. I'm gonna show you how to manage that technique. The parting tool is really a must have if we ever gonna put a turning on the end of a spindle and expect it to fit in a hole that we drill someplace else. In the world of nice to have, this is a gouge but more specifically, it's a roughing gouge. So when you look at this, compared to our standard spindle gouge, those sides really wrap up on the roughing gouge.
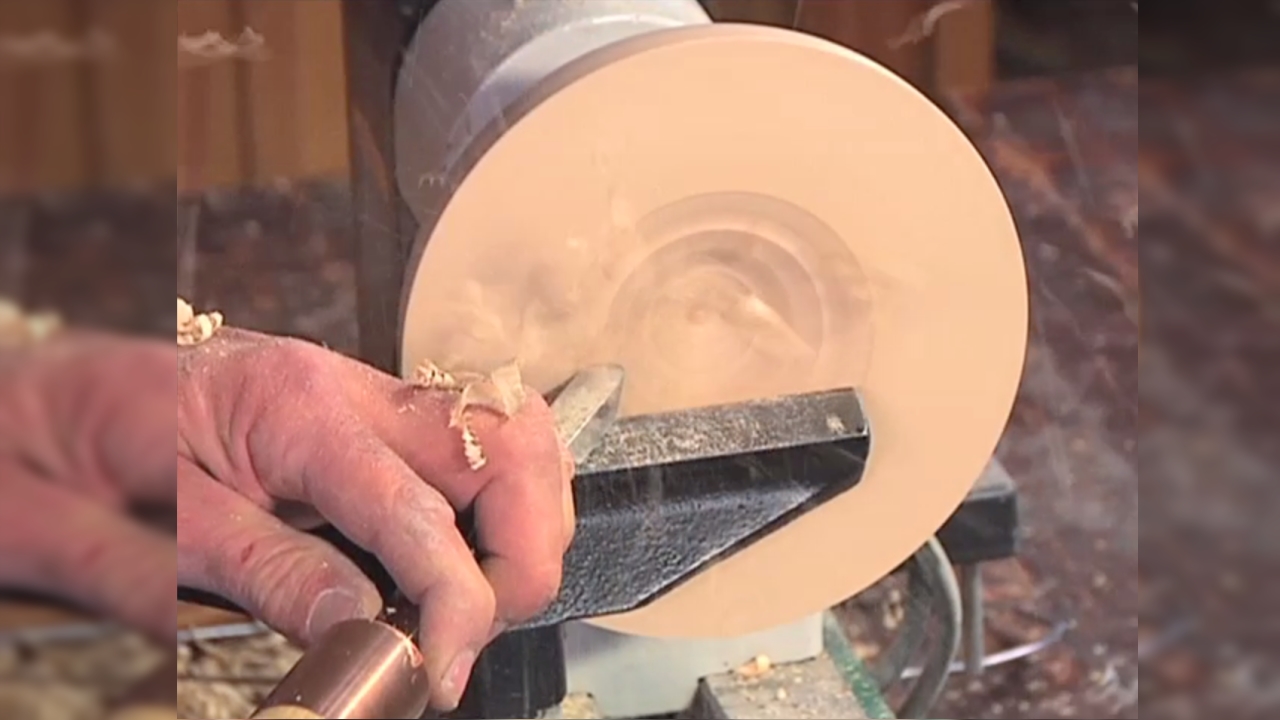
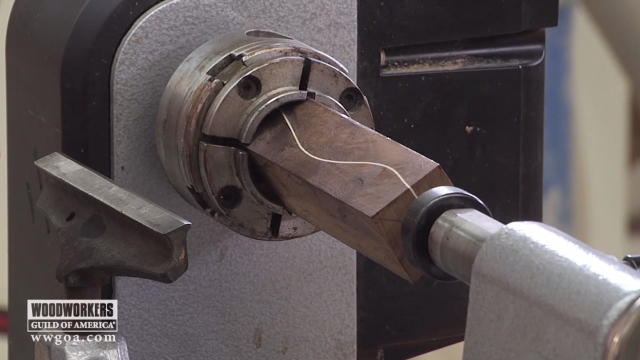
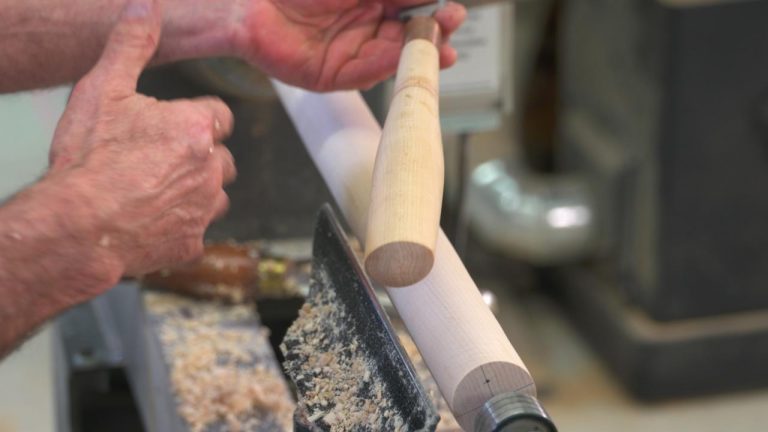
This is gonna take material off quite a bit more quickly than the conventional spindle gouge. So as a result, roughing this is the first step in spindle turning where we're taking the corners off and we're changing it from a square to a cylinder. The roughing gouge is gonna do that more quickly in a conventional spindle gouge leave behind a little bit better surface finish. You don't have to have one of these in your kit but if you gonna do a lot of spindle turning it's nice to have 'cause they do move the process along more quickly. With those basic tools, you can do lots and lots and lots of spindle turning with the techniques that I'm gonna show you next.
Once you understand what kind of chisels you need. The next thing to understand is how to sharpen them. Unlike other woodworking tools where when a table saw blade gets duller or joiner knives get dull, router bits get dull. You send them out to be sharpened with lathe chisels, you gotta be able to do this yourself 'cause in the course of a single turning, you could come back and sharpen your chisels a number of times make sure they're cutting as well as they possibly could. First question is, how do I know when they're dull?
And we can look at a couple different things here. One is, when you drag a sharp cutting tool across a fingernail it should very easily be able to raise some nails. So right here, as I do this across my thumb it's bringing just a little bit of thumbnail with it that tells me that that chisel is still sharp. The other thing you can do is look at the very tip of it. And this is more subtle but you can get the hang of it once you do it a couple of times if this tip comes to a perfect V, it can't reflect light.
So what I'll do is look at a chisel like this and I've done this a bunch of times in classes, when students hand me a chisel and say do you think this needs to be sharpened? First thing I do is look right down at the tip, and if I can see a stripe of light right there on the cutting edge, yes it does. 'Cause that means it's been rounded or flattened. It's capable of reflecting light when it comes to a perfect V, It's not. As you use your chisels more and more what'll happen is you'll develop a feel for this that the tool's not cutting as well as it could.
I know I need to go and do some sharpening. How are we gonna do that? I'm gonna show you three different media on which you can do sharpening real basic here with a whetstone then a couple of mechanized methods you can use as well. In this case, I'm using a diamond stone and it's not imperative. I like diamond stones cause they don't wear out because diamonds are forever.
This surface will last a really long time. It's gotta be a little bit careful with stones 'cause the way we gonna sharpen, if it's a stone that can't wear it's possible to dish it and then it's not gonna be good for your other tools. With no matter what stone you're using, they need to be lubricated with diamond stones. All it takes is water. This is a 45 micron diamond stone to give you a feel for how aggressive the grid is.
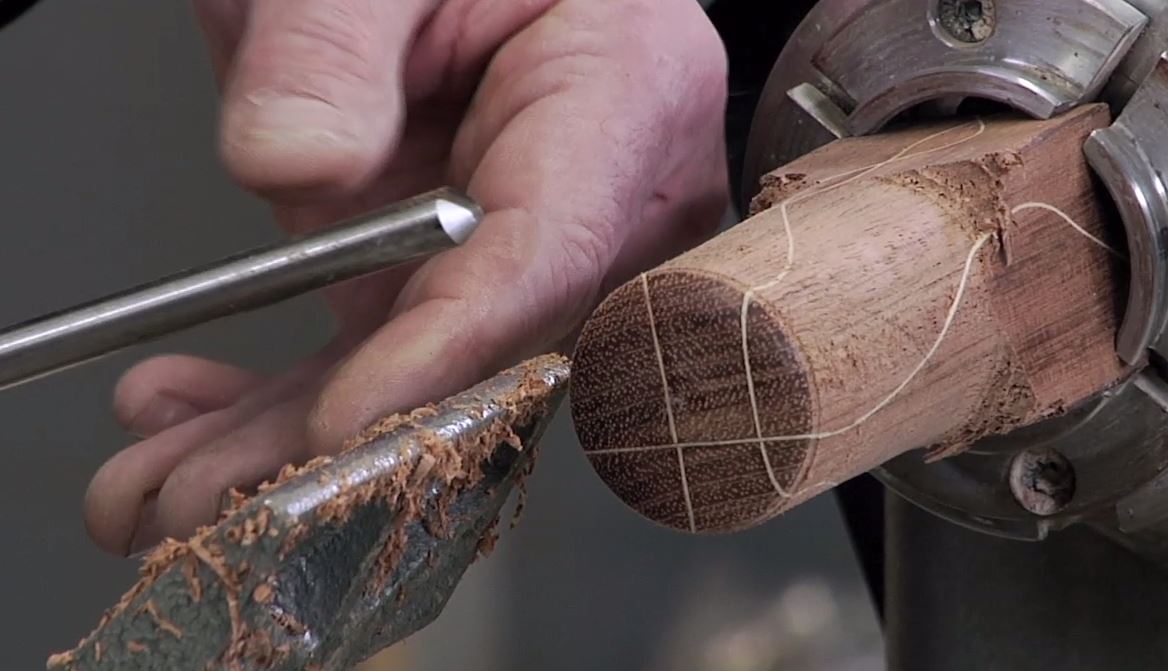
Now. Good question we'll be, When I sharpen any of my chisels, we gonna start with the gouge. How do I know I'm getting the angle right? Here's a good trick for that. Using a felt tip, Color this pebble.
Now when I set this on the stone, my goal is to rock that flat so that the bevel is nice and flat on the stone. Once I think it's there. I think that's it 'cause I can feel it flatten out. Then I'm gonna do a windshield wiper action and just roll that back and forth. So rock I'm gonna put my other finger down here to help maintain that.
Let's have a look. Now what the magic marker tells me is I didn't hit that angle very well 'cause it's taken it off the heel, not off the toe. Next strokes handle needs to come up a little bit more. Try again. That's better.
It's much more uniform removal of that felt tip on there. Now good lesson was sharpening is if there's any question sharpen them 'cause a dull tool is much more dangerous than a sharp tool and it doesn't take much to do this once you get the hand of it. So you really wanna just make a habit of dressing the tools up whenever you think you need it. Now with your gouges, we need to do an extra step here. The work we just did, kicked up a little bit of a bar inside here.
We need one more style a stone for this. This is called a slip stone. And the benefit to this is that it's got a partially rounded face with this I can come in this way Knock that part down. And now that chisel is ready to cut. All your gouges regardless of their size or spindle gouge or roughing gouge.
They're all gonna sharpen the same way on the stone. With the skew, get some more water on here. This is the same way I would sharpen a bench chisel or a plain iron on the stone, I'm gonna roll this up. Once that bevel is flat, make a stroke roll it up, make a stroke. Now, if you watch carefully, what happens when I roll this up is a little puddle forms right in front of this cutting edge.
There. There the puddle tells me as well as feeling this to be fled on the stone that I'm in the right spot, place my finger, move forward. What my finger does is it helps me know that I'm holding this at the right angle, 'cause I can feel the pressure between the tip of my finger decrease or increase if I raise or lower the handle. So puddle flat finger. When you get comfortable with that angle, This of course is twice as fast as just doing this.
But when you're first starting out, I'd recommend you rock up finger, come back, rock up finger. Same thing to the other side. Now if you want to, there is no reason why you can't color this in. Make your strokes, check your work with the skew, we don't have quite as much of a bar issue here. We don't wanna use the slip stone.
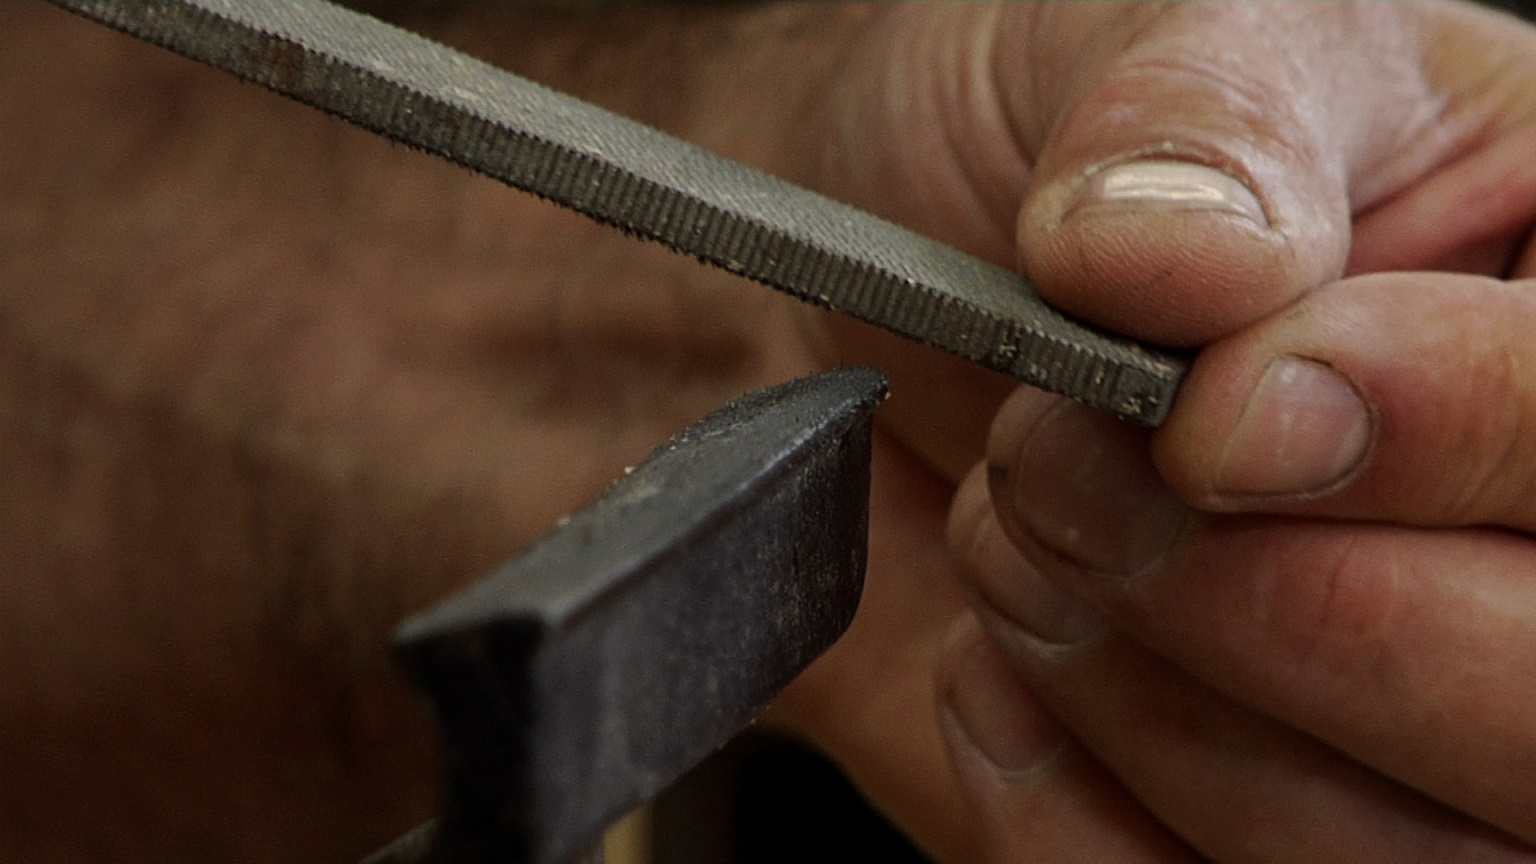
If your work on this side, kicks up a bar on this side, eliminate that by doing just a backstroke, don't go the other way. And that'll take that off. Parting tool, just like the skew, rock it forward, parting tool is little harder than the skew 'cause I have less surface area on the stone. It's harder to feel that flat. whetstone is a good entry point for sharpening.
Remember I said you gonna sharpen a lot. So I find this to be a little bit slow for me. So I wanna show you a couple of different mechanized versions you can use to do your sharpening on your lathe chisels. It's really unusual for me these days. I do a lot of turning to go to a whetstone to do my sharpening.
I've got a couple of different power tool techniques. I wanna show you. The good news is they're faster. The bad news is they're faster. Bad news because if we don't get this right it's easier to mess up our chisels.
But once you get the hang of this free hand sharpening it's so much faster back to the left to get back to turning. Here's what we've got, sharpeners like this are available in the marketplace. Works kind of like in old record player. If any of you know what a record player is. When I turn this on, that spins it's got an abrasive disc on top of it.
My free hand is gonna be to roll my gouge across here much like we did with the whetstone but because the abrasive is moving, I don't have to windshield wiper of the gouge, all I have to do is roll it across the surface. Now to make sure I'm getting it right, we can do the felt tip again and then I'm gonna make contact and in one fluid motion, roll and roll. We don't wanna just touch, touch, touch 'cause then you gonna get facets and we don't wanna have facets on here. You wanna have a continuous curve. So contact, roll through, feeling for that bevel to be nice and flat, check our work.
So pretty good on that side. Not as good on this side. Very nice. Little bit more to go there. That's what we want.
Nice continuous flow from one side of the other just like off of the whetstone. Next step. Hit the inside with a slip stone. Ready to go back. Then in my normal sharpening, I'm not using the felt tip anymore I just approached this, hit it, go back.
Skew. I'm gonna lay this down, get that bevel nice and flat. Lay this down, get the bevel nice and flat. Same with our parting tool. Benefit to this is that we gonna get back to our turning more quickly a sharpener like this is a real versatile you can do bench chisels on it.
You can do plain irons. You can do knives, scissors. So adds a lot of sharpening capabilities to the shop, keeps you turning, 'cause we don't spend as much time sharpening but like I said, you gotta master that free hand operation. Once you do that, it's a really nice way to sharp. And I got one more thing to show you.
It's a very common approach to sharpening lathe chisels. That's our next setup. This is my most common approach to sharpening for turning. This is a slow speed grinder. And here's to deal here with that most common grinders turn at 34, 50 RPM.
That's really good for grinding and shaping. Not good for honing or sharpening. The difference is that on a low RPM grinder like this, turns at 1,725 RPM, I can use a finer wheel. If I put this really fine wheel on a high-speed grinder, it's spinning so quickly that it's spinning faster than the wheel can take material off. That's gonna 'cause the chisel to overheat.
It's really bad, you just can't do it. Low speed grinders is an investment because what they're really for is just sharpening chisels. Like we're doing here. Really not good for grinding lawn mower blades but it's a very fast way to get your life chisel sharp. Here's the way I do this, I'm gonna allow the bevel of the chisel to sit flat on the face of the wheel.
Once I make contact, I'm gonna roll it through, roll it back two passes. It's gonna be all done. The way I'm keeping the bevel flat in this case, as I'm standing over over the wheel and looking down at it and I can see when the bevel is flat versus tipped or tipped. Here's what that'll look like. Contact roll, roll, done So looking down at the top, watch the bevel go flat.
Like our other methods I'll come back with the slip stone, take that bar out of the inside. I'm ready to go back to the lay. We can bring the parting tool to the grinding wheel and that's nice 'cause we're actually gonna get what's called a hollow ground. We gonna end up with a slightly concave surface that actually makes the parting tool cut even better I'm gonna do this by making contact and I push it up through the cut just a little bit, flip it, make contact, ready to go back to the lay. My skew, I prefer to stick to a flat surface like the whetstone or the sharpening device that I just showed you, that's the easiest way for me to keep my skew sharp.
But gouges, parting tools. Most of my other tools I can bring to the grinder. With this I'd really recommend you practice and the other devices first to make sure that you get the feel for that cutting angle that we want to maintain before you bring them to the grinder because of the Grinder's ability to mess up your chisel quickly if you hold it at the wrong angle. But like I said, for me, this is my favorite approach for sharpening lathe chisels bottom line you gotta keep them sharp so they can do what we're asking them to do. Once we start on our spindle turning.
Share tips, start a discussion or ask other students a question. If you have a question for the instructor, please click here.
Already a member? Sign in
No Responses to “Spindle Turning Session 2: Chisels and Sharpening”